
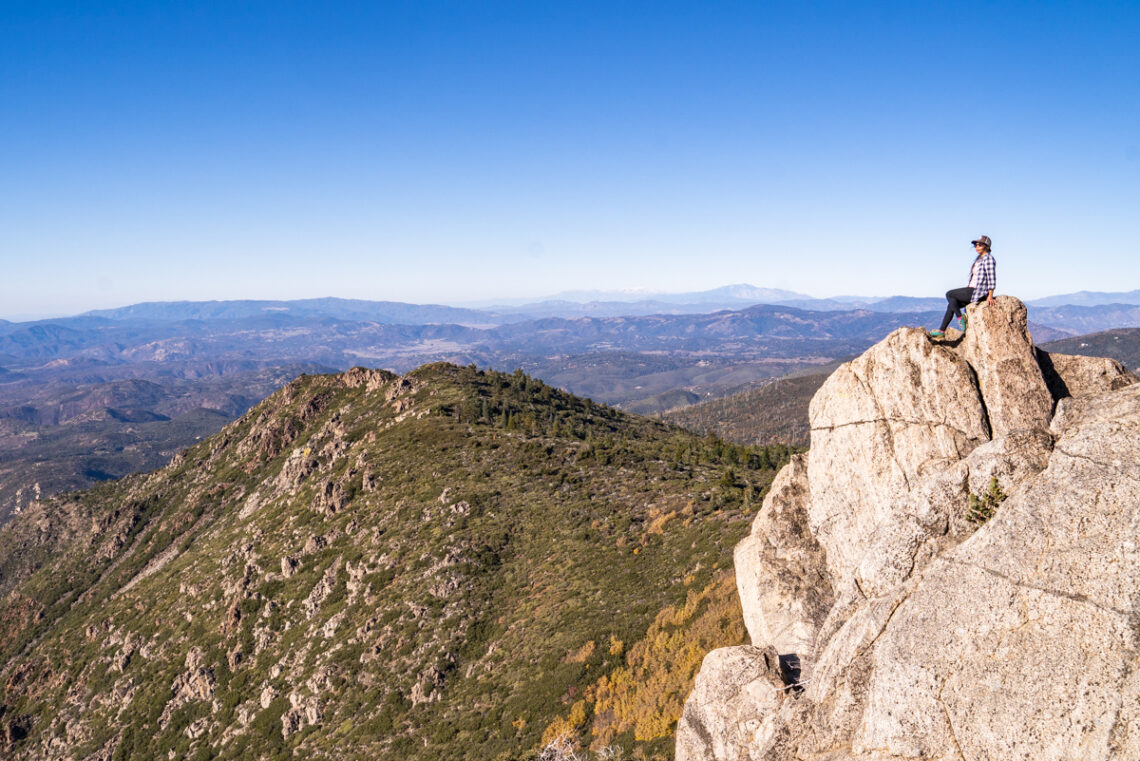
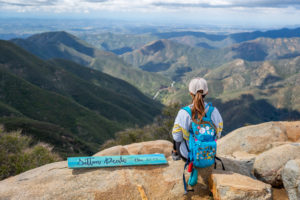
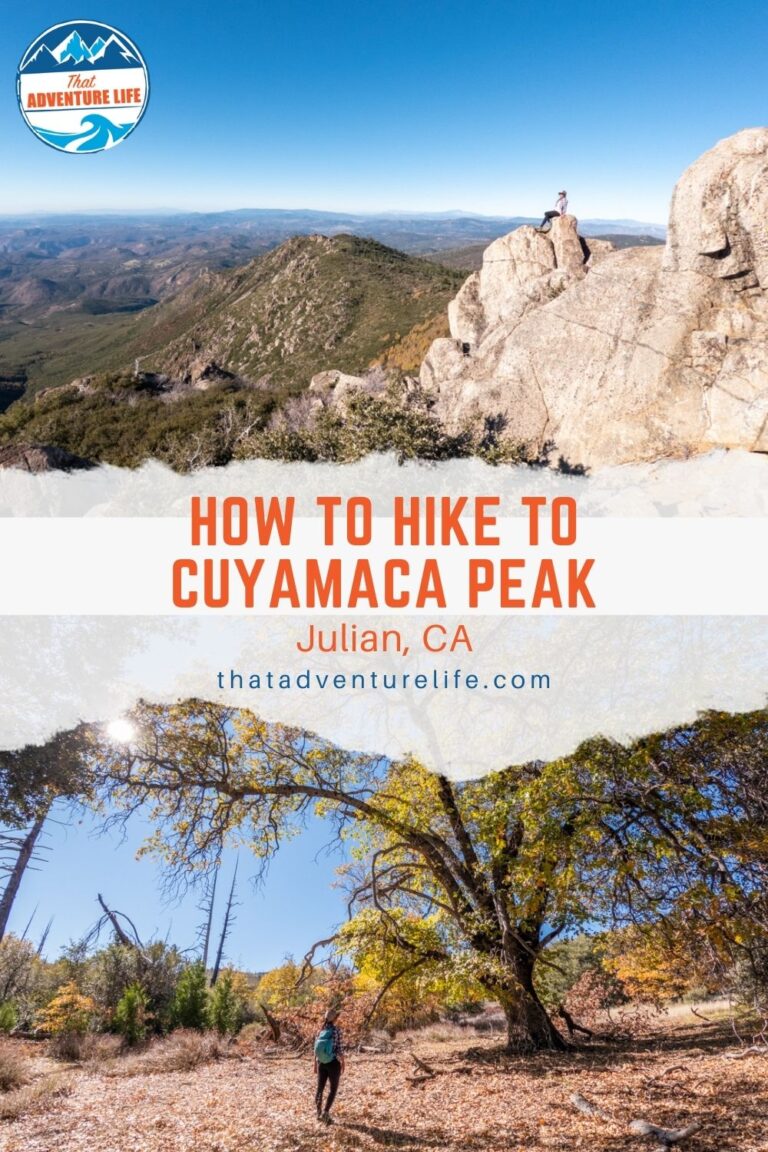
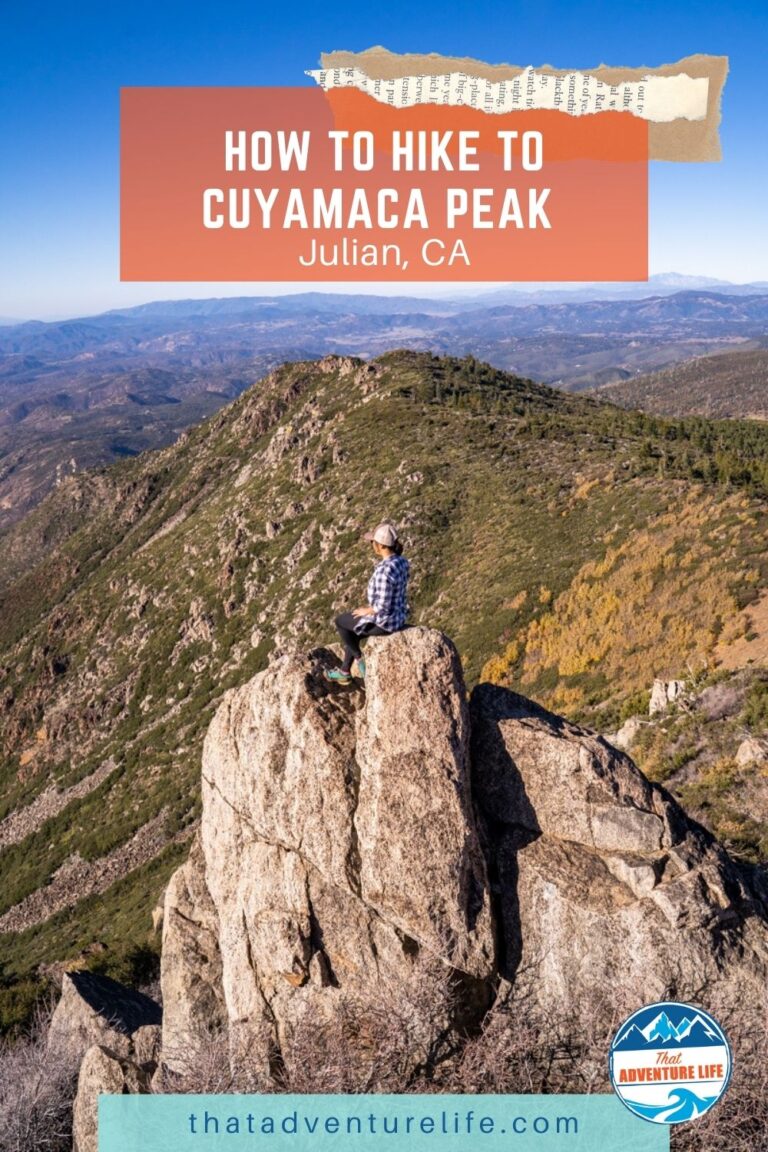
Cuyamaca Peak in Julian, CA is the second highest point in San Diego County, sitting at 6,512ft. It is aptly named since Cuyamaca is the native Kumeyaay word that means “place behind the clouds.” The views from the top are magnificent. On a clear day, you can see all the way to the ocean, even the Coronado Islands, and Table Top Mountain in Mexico as well as Anza Borrego. The hike to the peak is also very beautiful and quite doable, even for beginners. If you’re an ambitious hiker, you can actually do both Cuyamaca Peak and its sister hike Stonewall Peak on the same day.
Note: Please make sure to respect this beautiful place and the surrounding areas. Always practice LEAVE NO TRACE. This means no loud music, no graffiti, no taking artifacts or fossilized items, and pack out what you pack in! Please help us protect this place for generations to come!
Stats
Where
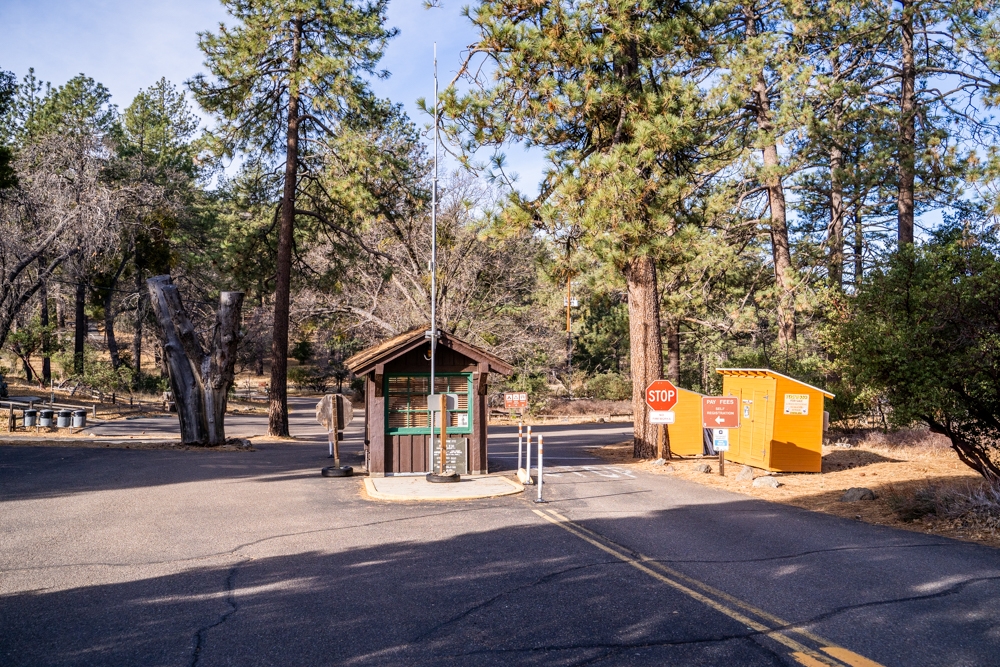
Cuyamaca Peak Trail is located inside Paso Picacho Campground, which is part of the Cuyamaca Rancho State Park in Julian, CA
Paso Picacho Campground
13652 CA-79, Julian, CA 92036
Trailhead Coordinates:
32.959358, -116.580511
Parking
Paved parking inside the campground. Parking along the road is NOT allowed.
Restroom
There are several restrooms around the campground.
Fee
Cuyamaca Rancho State Park charges a day-use fee per vehicle. You cannot use the Adventure Pass or the America the Beautiful Pass. It’s $10/car at the time we went.
Important Things
- The parking lot is large but it does get busy on weekends. If the lot is full, you can ask the entry attendant where to park.
- There are mountain lions frequenting here. We saw fresh paw prints on our hike. NEVER run from a mountain lion. Put your hands in the air to make yourself seem bigger and yell to scare the lion away.
Distance
7.7 miles
Elevation Gain
1,850 ft
Level
Moderate to strenuous if there are ice or snow.
Time:
3-5 hours
Pet-friendly
No pets are allowed on trails.
Ideal Time
You can hike this year-round, although, in the winter, there might be icy and snow on this trail. Falls and Springs are the best time to go. Cuyamaca Peak Trail via Azalea Glen Loop has beautiful showing of fall leaves and wildflowers.
Weather
Video
Getting to Cuyamaca Peak Trailhead
- From San Diego, take highway CA-79 off of Interstate 8, then go North toward Cuyamaca Lake.
- From Temecula, take highway CA-78 through Ramona and Julian until it connects with CA-79. From here, go south to Cuyamaca State Park.
- Once you’re on CA-79, look for Paso Picacho Campground. Once past the entrance, turn right to go to the day-use parking lot. Please note that there isn’t any parking available on the sides of the road.
- There is a day-use fee to park at the campground.
Route Options
There are 2 main, popular routes to hike to the top of Cuyamaca Peak.
- Via the Lookout Fire Road
This is 5.5 miles out and back trail. Even though it is shorter, this route is also steeper and less scenic. You’ll be hiking up a paved road the entire time. - Via the Azalea Glen Trail
This route is our favorite. It is a 7.7-mile loop that takes you through the gorgeous dense forests and rugged trails then finished off with hiking back down on the paved Lookout Fire Road. This trail is less steep and much more beautiful. You’ll also encounter wild animals such as deer and wild turkeys. We recommend hiking this loop counter-clockwise.
The Adventure
Getting to the Trailhead
We got to the Paso Picacho Campground super early in the morning because we wanted to hike both Stonewall Peak and Cuyamaca Peak. After getting back to the parking lot from Stonewall Peak, we still have so much daylight left to attempt Cuyamaca Peak. The weather was perfect. The air was brisk but with there was enough sunshine to keep us from being too cold. From the parking lot, we headed toward the campground through a small path where the RV pump-out station is. After passing this station, we saw a big sign for the trailhead on the right. This is the start of the Azalea Glen Loop Trail. We will be hiking a portion of Azalea Glen Loop Trail before connecting to the Conejos Trail and finally the paved fire road to reach the Cuyamaca Peak.
The Azalea Glen Trail
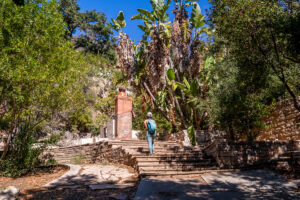
The Azalea Glen Trail starts out pretty flat. There are big tall trees lining the trail. It is especially beautiful in the falls as the leaves change their colors. At about 0.3 miles, we came to a split with the Paso Loop Trail. At this point, make sure to stay left on the Azalea Glen Trail. The Paso Loop Trail will eventually join back up with the Azalea Glen Trail. After a short distance, we came to a small wooden bridge. From this bridge, we could see the field of trees that were burned down by the fire. Not too far from the wooden bridge, you’ll come to another split where the other end of the Paso Loop Trail joins back up. Also, make sure to stay left here.
We continued to follow the Azalea Glen Trail, passing the junction for the Bike Trail. At this point, we came across a big tree full of beautiful yellow leaves. The whole area is also surrounded by fall leaves. It was super pretty. There is also a big meadow right after this. It was also where we saw fresh mountain lion paw prints, herds of deer, and wild turkeys. It was quite an eventful portion of the hike. By the way, don’t hike this trail alone. Although rare, there are mountain lions frequenting this mountain range.
Climbing Up to the Fire Road
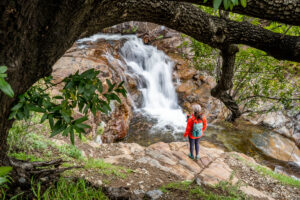
After the meadows, the trail starts to climb gently along a creek. When we went, we were the only people on this trail. It was quite incredible to be able to immerse ourselves in the sound of the babbling brooks and the chirping birds. As we climbed higher, we could see the Cuyamaca Peak, marked by the radio towers in the distance. We also got glimpses of Cuyamaca Lake in the distance. The trail also got a lot rockier.
The Azalea Spring Fire Road
Eventually, we reached the junction of Azalea Spring Fire Road. At this point, make a right to follow this fire road for about 0.4 miles. Make sure to keep an eye out for a small trail on the left-hand side. This is the trail you’ll want to take. There is a small sign at the entrance, marking the beginning of the Conejos Trail. You’ll be on the Conejos Trail for about 1.6 miles or so before reaching the Lookout Fire Road.
The Conejos Trail
At this point, the climbing starts. The trail also got a lot more rugged and very rocky. It also opens up a lot more viewpoints of the surrounding area. When we went in November, the trail was a mixture of ice and mud. It also got slippery in some parts. As we hiked along, we kept stepping on something crunchy. At first, we thought it was maybe dry mud, but then we noticed that somehow, there were icicles forming under the loose soil. It was really interesting.
The Lookout Fire Road
After climbing up multiple switchbacks and weaving through the tall pine forest and dazzling meadow, we reached the pave Lookout Fire Road. From here, we turned right to follow this paved road to Cuyamaca Peak. This paved road section is short, 0.5miles, but very steep. We had to take a couple of breaks to catch our breath. At the end of this paved road, past the radio tower is the clearing that is Cuyamaca Peak.
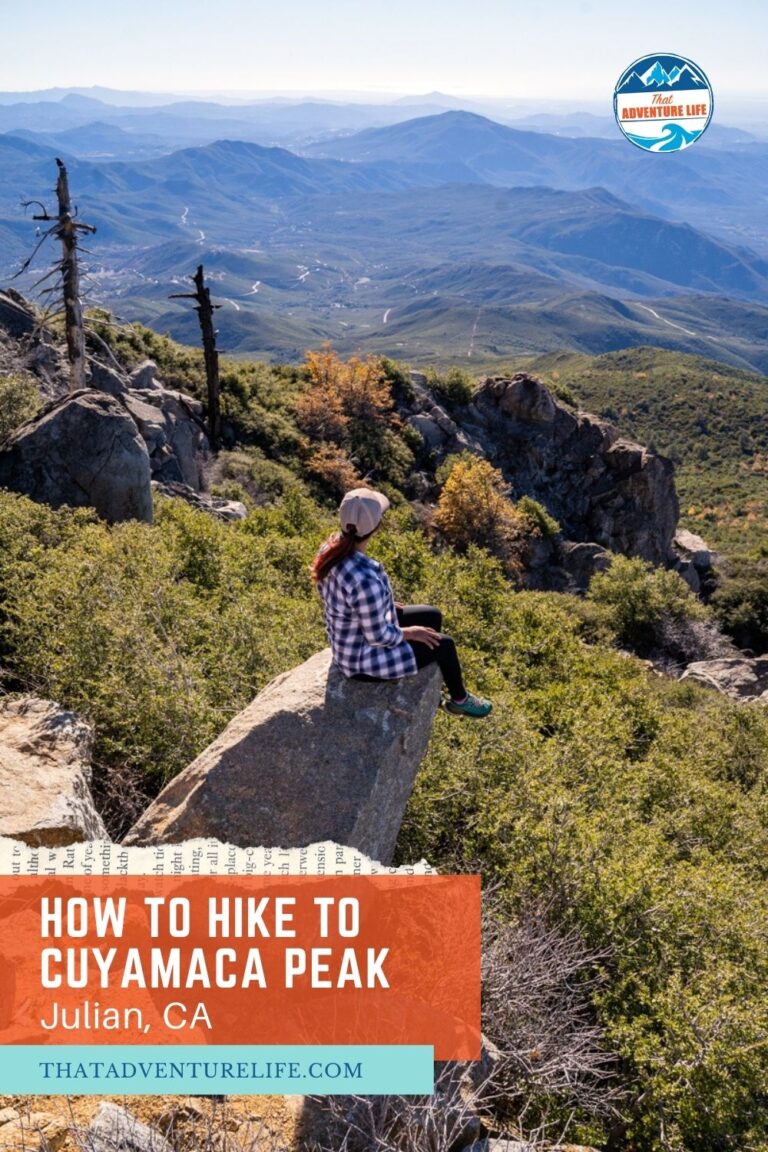
Cuyamaca Peak
The views at the top of Cuyamaca Peak are spectacular. It was a super clear day when we went so we could see all the way to Catalina Islands. Photos can’t really do justice to how magical this place is. Supposedly, there is a summit sign that you can pose with for photos. However, we couldn’t find it. It was also windy, and cold and we wanted to make it back to Julian in time for apple pie so we didn’t spend that much time looking for it.
The Way Back
Once we were done taking in the views, we headed back down the paved Lookout Fire Road. If you want the challenge, you can return the same way you came from, through the Conejos Trail. We opted to complete the loop by walking down the Lookout Fire Road. The hike down this road is very steep so it can be hard on your knees. Luckily, it is paved all the way so you don’t have to deal with stairs, rocks, or slippery areas.
The Lookout Fire Road is very straightforward. You’ll be staying straight on the main paved road almost all the way down. When you get closer to the cabins of the campgrounds, there is a small path for you to cut across the campground to a connector trail. There are also bathrooms here too. From the connector, go right to go downhill to the park entrance and the parking lot. We were distracted and missed this turn. So, we ended up hiking almost all the way down the paved road, then cutting through the employee area before getting to the parking lot. It wasn’t a big deal but the hike got just a bit longer.
Azalea Glen Loop to Cuyamaca Peak is a wonderful hike. It was super beautiful and a perfect adventure that was much needed. We can’t wait to go back in the Spring for the wildflowers. A few other hikes we love near Julian is Eagle Rock and 3 Sisters Falls. Do you know of any other beautiful hikes in Julian? Let us know in the comment!!
These are the gear that we personally use and find them helpful for this particular adventure. Don’t forget to check out our Recommended Gear section as well.
adventure gear
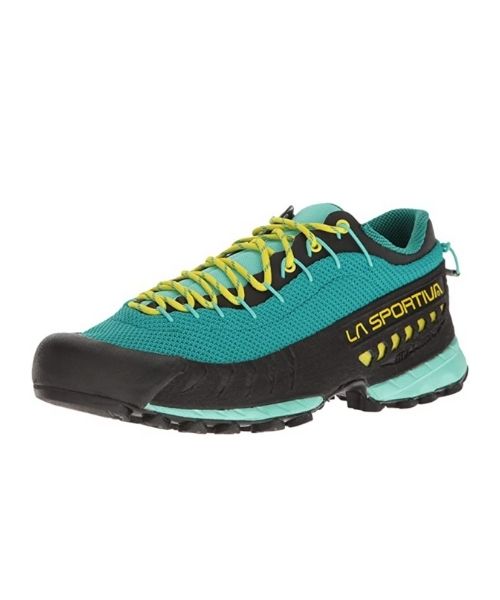
This is our favourite hiking shoes. We use them for canyoneering as well. Lots of traction. Vy’s version.

Dustin’s version for La Sportiva shoes

Make sure to use lots of sunscreens! We use eco-friendly, reef-safe sunscreen, Stream2Sea SPF 30.

Face sunscreen is also important. We love these tinted, organic All Good Organic Sunscreen Butter.

You should always bring plenty of water. Vy loves the Camelback L.U.X.E.
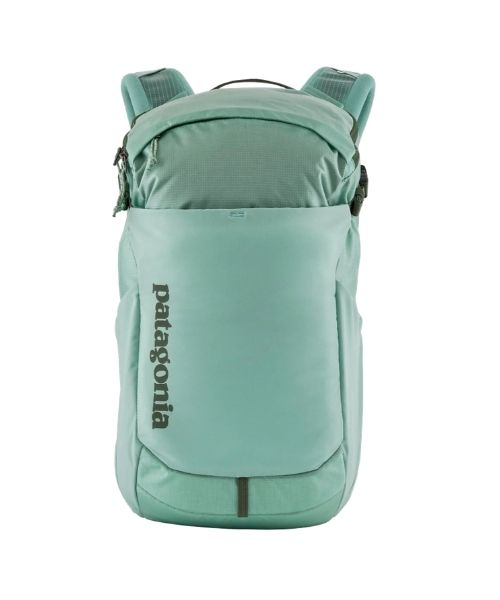
For shorter hikes, the Patagonia Women’s Nine Trails Pack 18L is perfect to hold water and your essentials.

If you want something lighter, we love the packable Patagonia Women’s Houdini® Jacket and Patagonia Men’s Houdini® Jacket
other things to bring
Always good to bring some snacks with you. For healthy and easy snacks, check out some of our recipes.
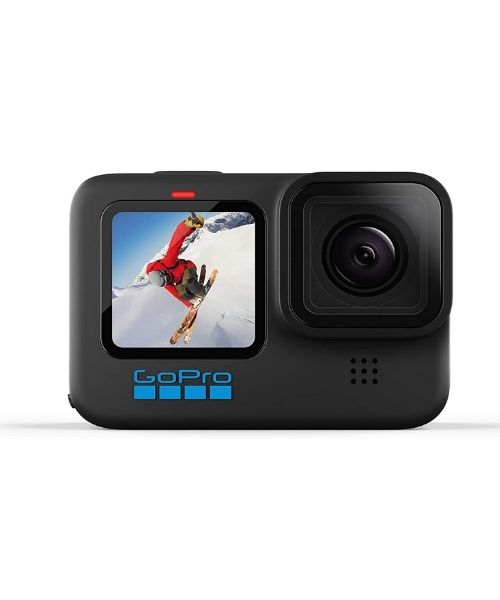
camera gear


Related Posts
Save your pins:


