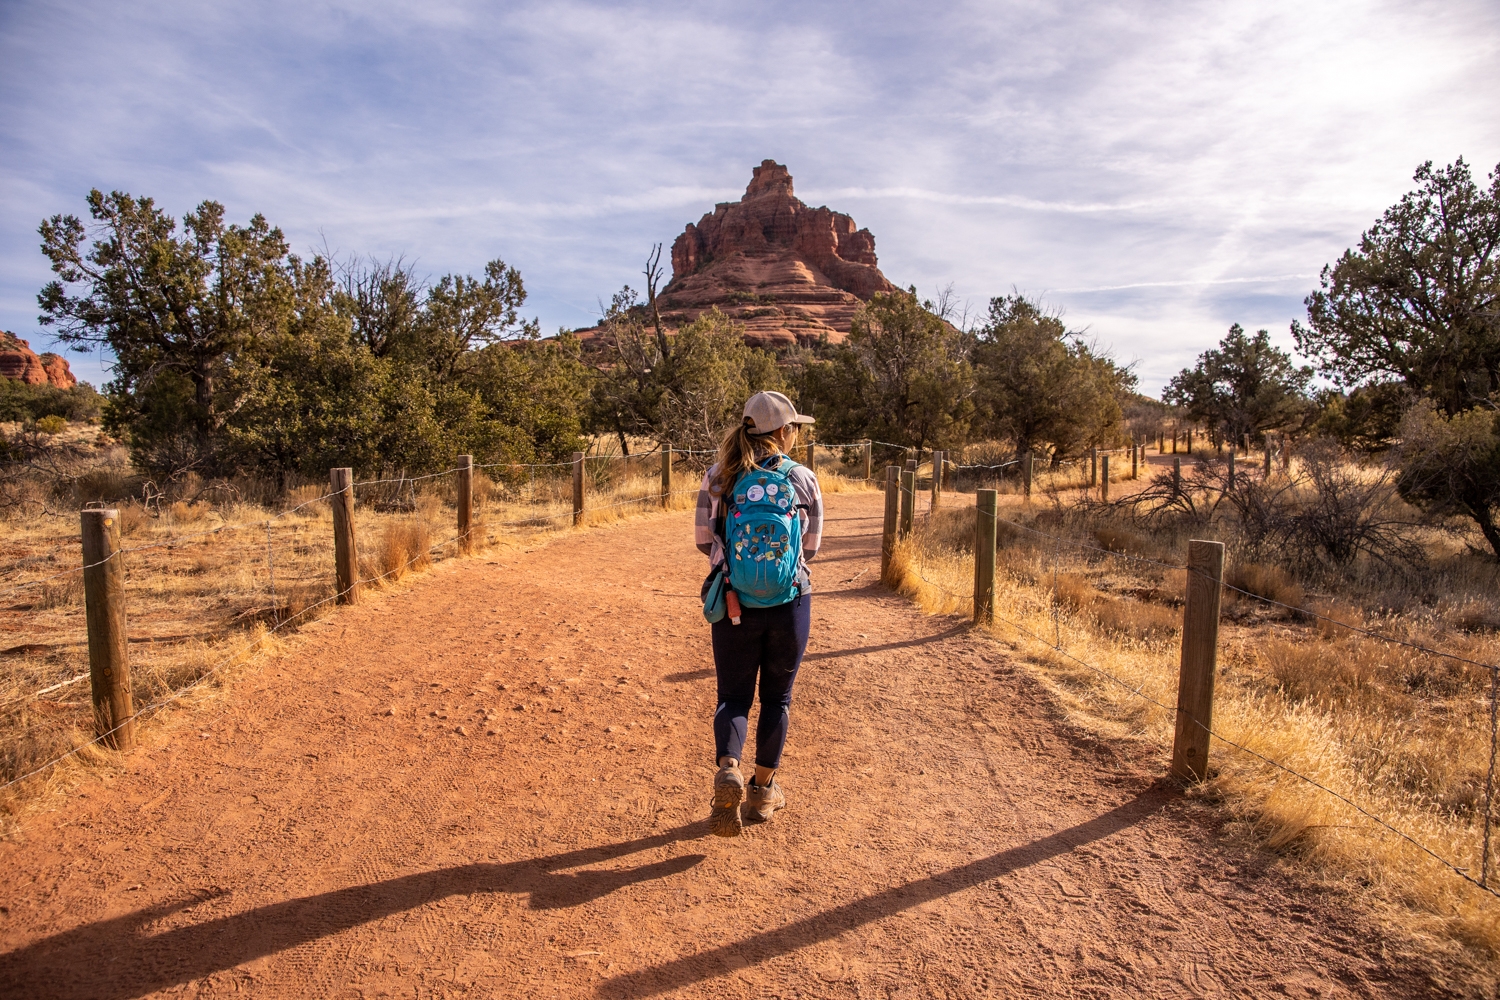
Bell Rock is a popular stop for many visitors in Sedona, Arizona. It is such a cool rock formation with many beautiful trails and places to explore. Since it is made from sticky sandstone, Bell Rock is a perfect playground for those who love to climb. At one of our visits, we climbed the official Bell Rock Climb, thinking that it would lead us all the way to the top. However, that route only took us to about ⅔ of the way. After finding the actual route, we got shut down twice. This was because we didn’t have the appropriate skills and enough daylight. To get all the way to the top of Bell Rock, you’ll need some technical climbing and downclimbing skills. So, third time’s a charm. This time around, we brought not only proper shoes and skills but also the adventure crew to help us conquer Bell Rock!
WARNING!!!!!!
The climb to the top of Bell Rock is VERY difficult, dangerous, and considered semi-technical. You will need climbing skills, especially the last part near the top of the Bell Rock. This part is fully exposed with a class 5 rating. While it is easy if you know how to climb, it is very dangerous for those who don’t. If you fall, it’s a long way down!! Also, if you go up, you have to climb back down. The downclimbing part is a lot more difficult than going up. DO NOT ATTEMPT THIS ADVENTURE IF YOU’RE NOT 100% SURE ABOUT YOUR ABILITY!! This is also an unofficial route so there won’t be any signages.
Both parking lots are paved with plenty of parking spaces.
Restroom
Restrooms are available at both parking lots.
Fee
Bell Rock trailhead is free if you have theAnnual National Parks – America the Beautiful or Red Rock pass. Otherwise, it will cost $5 to park. You can pay using an automated machine at the trailhead. It only accepts credit cards.
Weather
Distance
From Trailhead 1, it is about 2.5 miles R.T.
From Trailhead 2, it is about 0.7 miles R.T.
Actual Climb is 0.33 miles each way.
Elevation Gain
Climb Section is 467ft gain
Level
VERY STRENUOUS! This is a semi-technical route that requires some climbing and downclimbing skills.
Time:
1 – 3 hours
Pet-friendly
Please DO NOT bring your pets on this adventure!
Ideal Weather
Falls and Springs are the best seasons to go.
Ideal Time
Go at least 3 hours before sunset. You’ll want enough daylight for the climb back down. It is not a good idea to climb down in the dark!
Video
The Adventure
Getting to the Start of the Bell Rock Climb
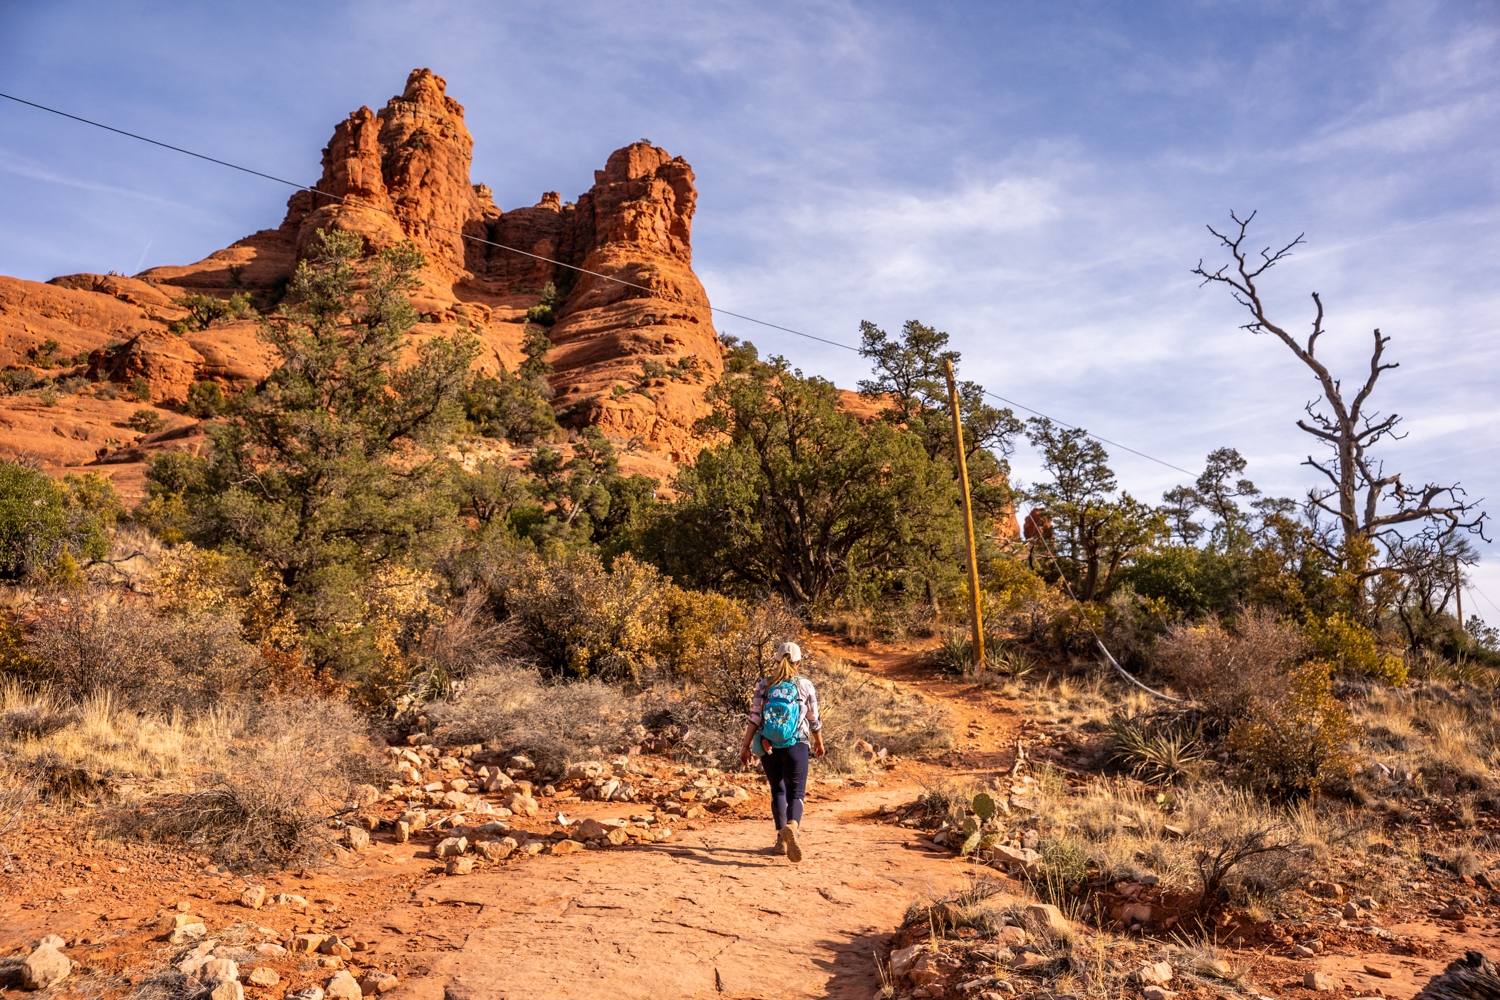
You can get to the start of the climb for the Bell Rock from either the Bell Rock Trail parking lot (Trailhead 1) or the Courthouse Vista parking lot (Trailhead 2). It is located on the western side of Bell Rock, facing the highway. After parking, take the Bell Rock Pathway Trail. If you’re hiking from the Bell Rock Trail parking lot, it is about 0.9 miles on the main trail before getting to the climb. If you’re leaving from the Courthouse Vista parking lot, it is about 0.2 miles.
Previous
Next
To the Chimney, the First Major Obstacle
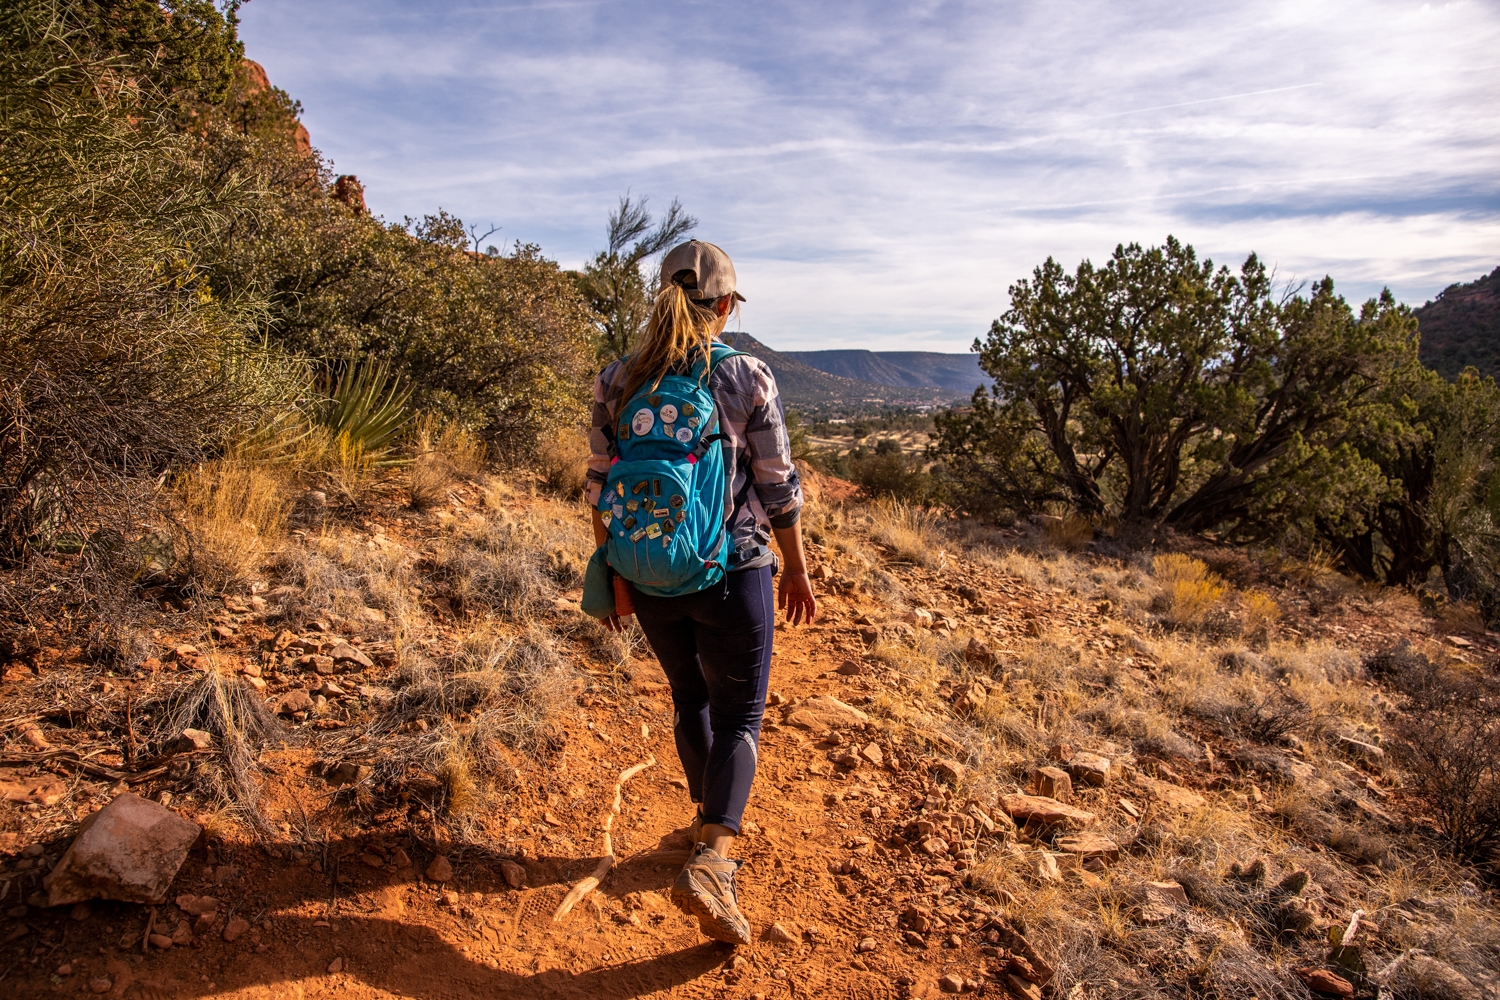
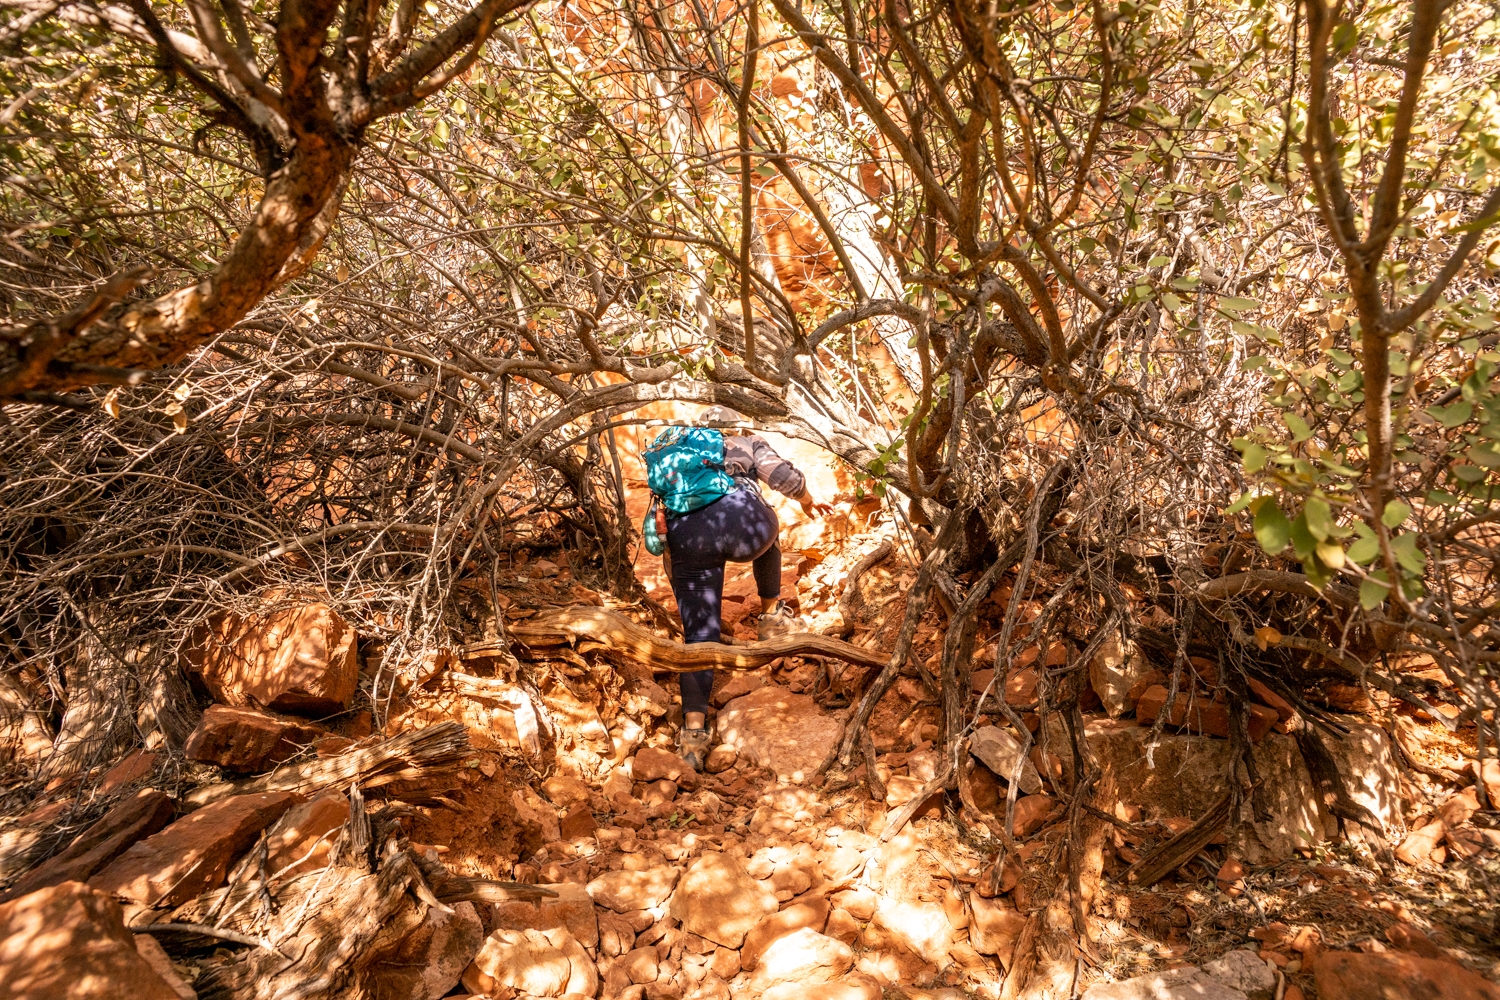
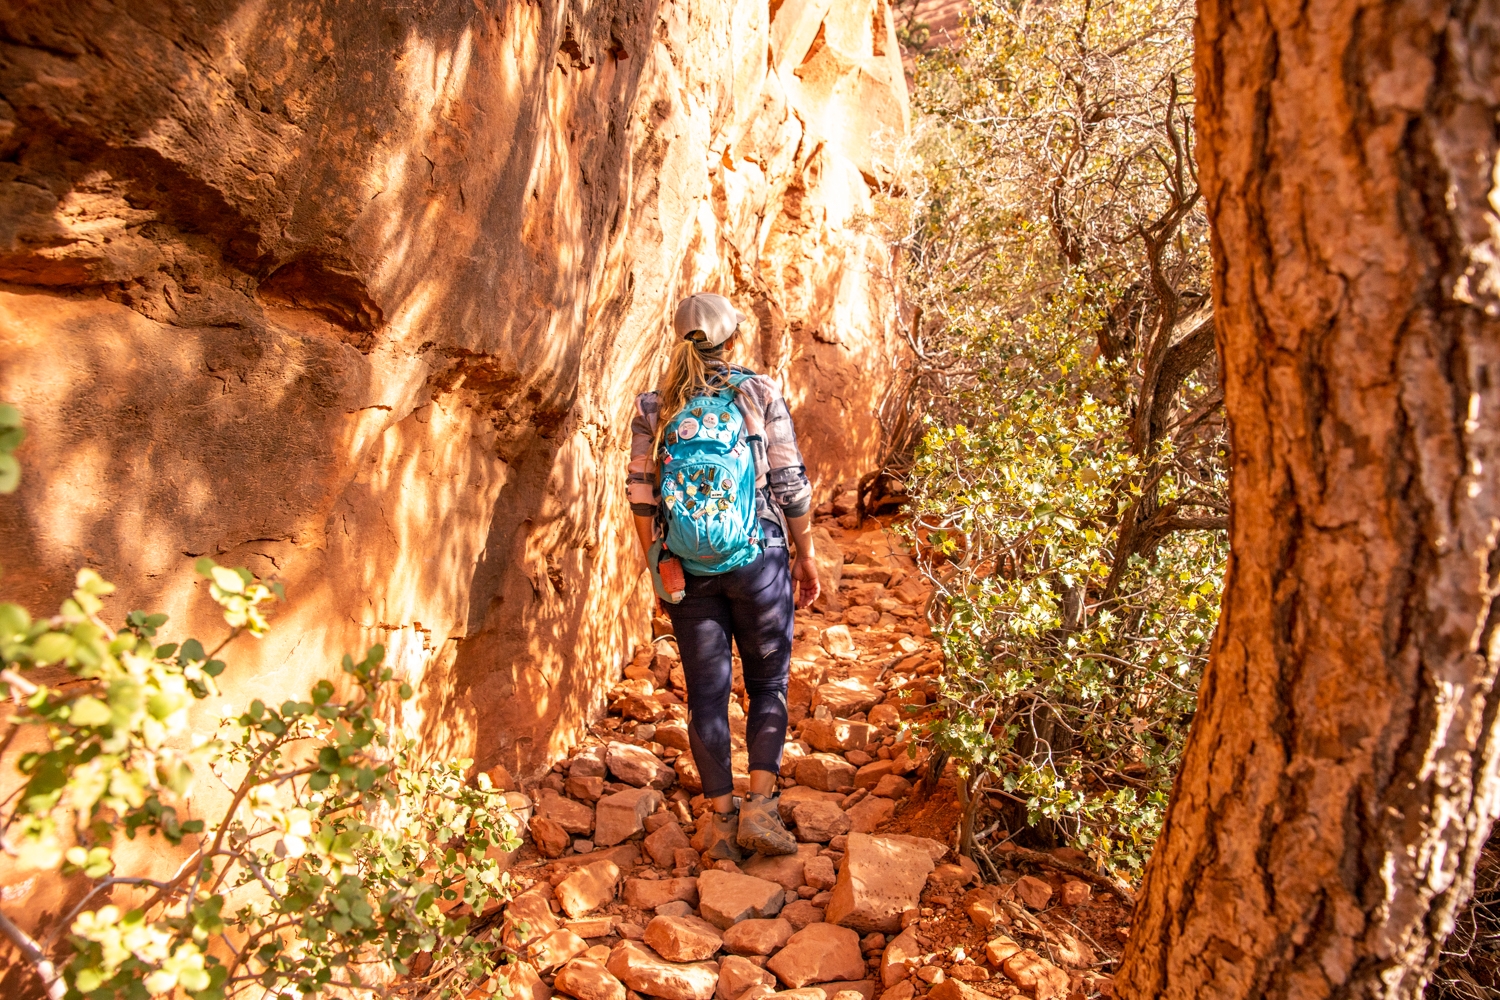
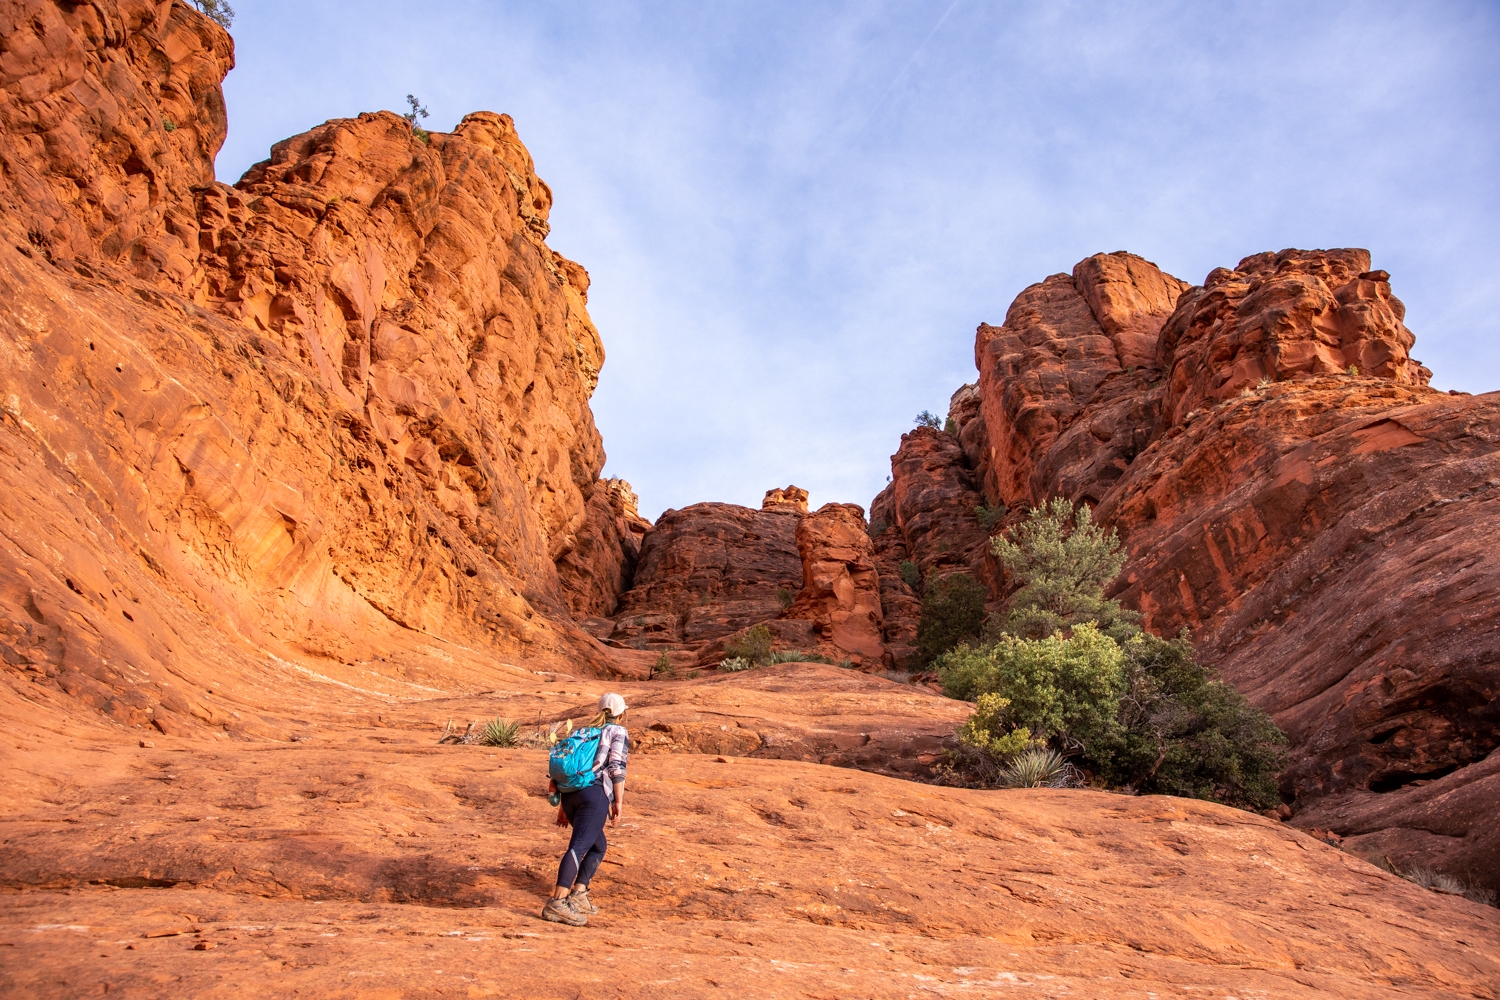
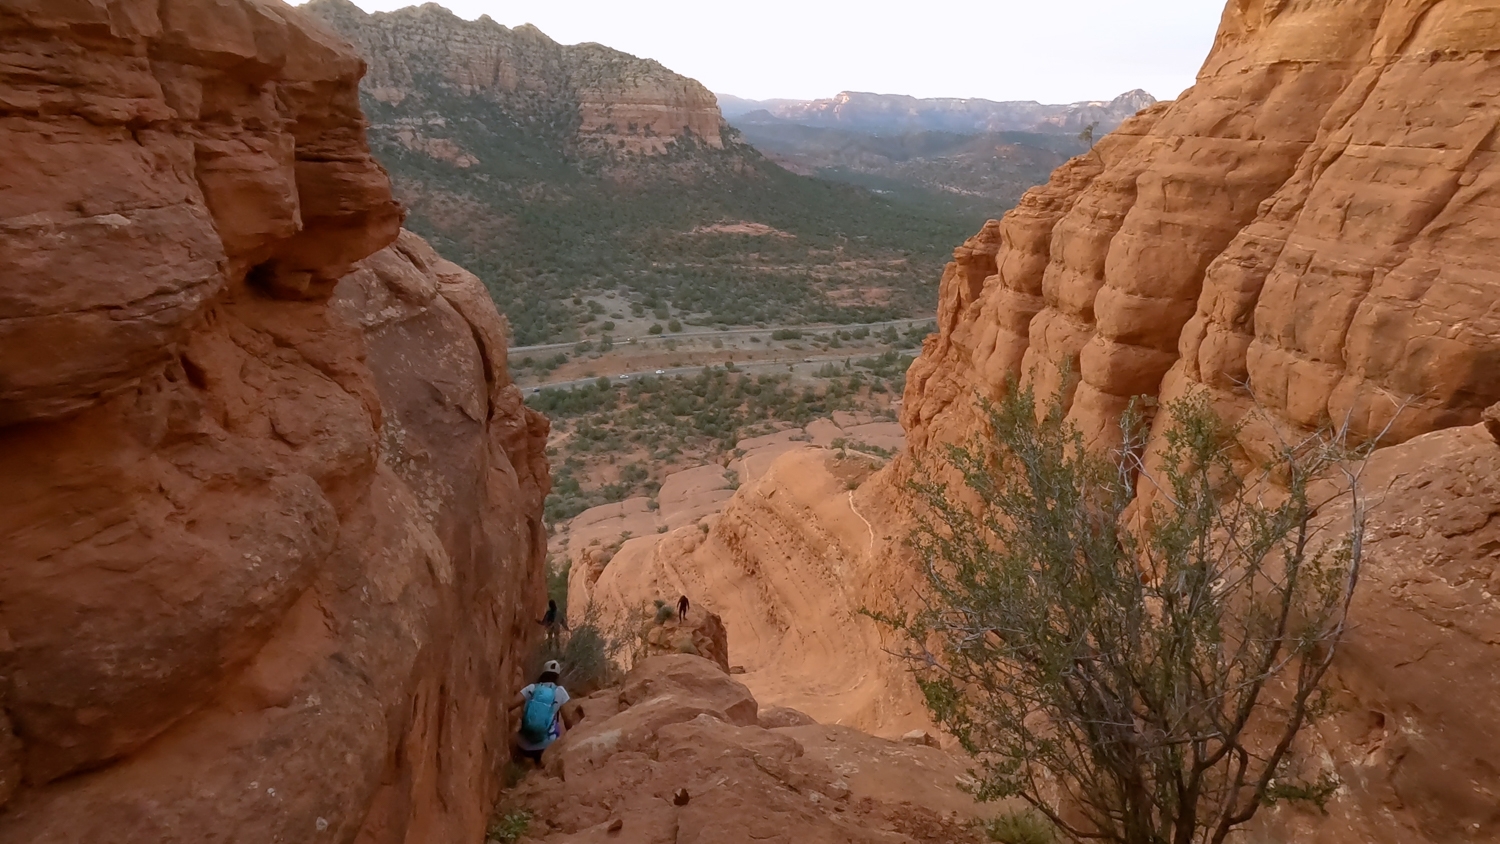
After departing from the main Bell Rock Trail, we followed a used path that weaves through the trees and led up the sandy rock ledges. The initial climb can be a bit confusing. However, as long as you aim for the gully on the west side of Bell Rock, facing the highway, you’ll be fine. Once we made our way up the ledges, we came to a tunnel formed by the trees and the side of the rock wall. This tunnel is very rocky, but it led us to up the gully. After scrambling up under the tree tunnel, the path opens up and took us to a short chimney.
Previous
Next
The Chimney Section
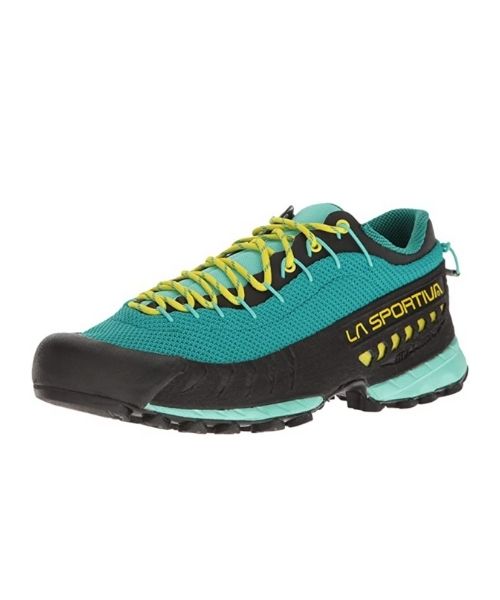
At this point, the climb up Bell Rock will increase in difficulty. This chimney climb is the first of many obstacles along the way. It is about 15ft, at a 60-degree angle. Luckily, the sandstone is quite sticky with many hands and footholds along the way. We also wore our La Sportiva, our canyoneering shoes this time so it was quite easy. The chimney got a bit tricky toward the top but there are good handholds on the backside of the boulders once you get there.
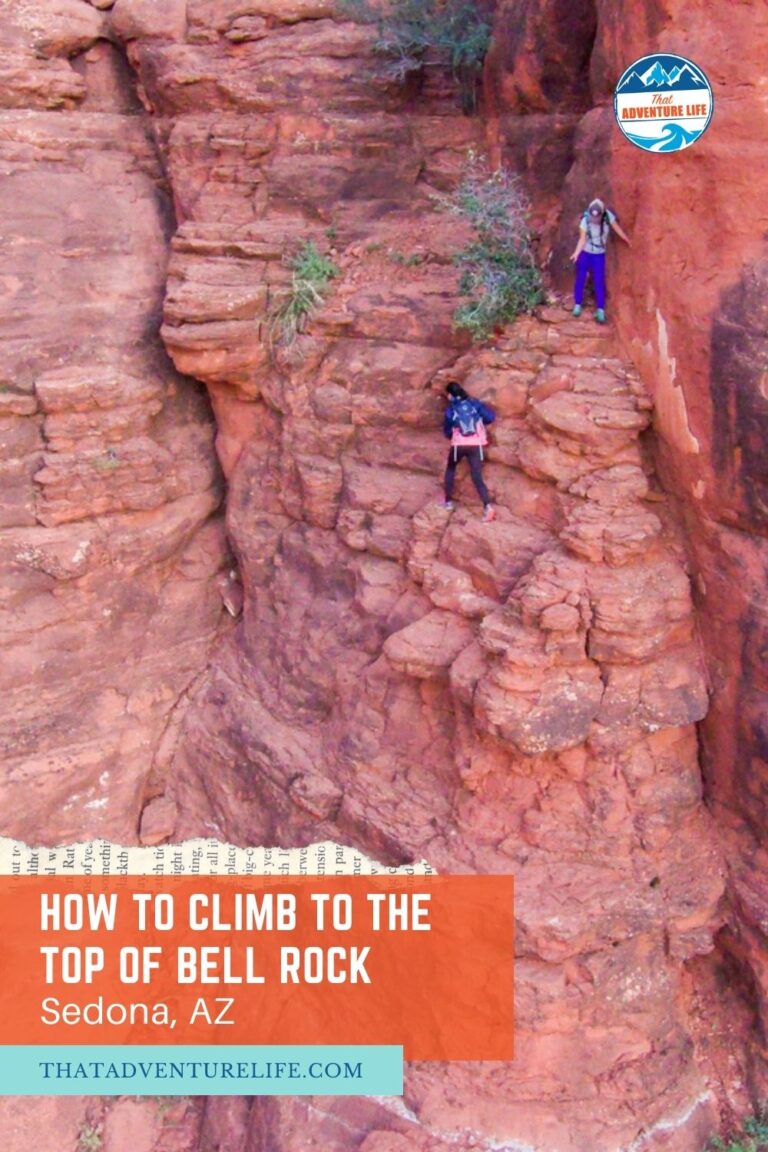
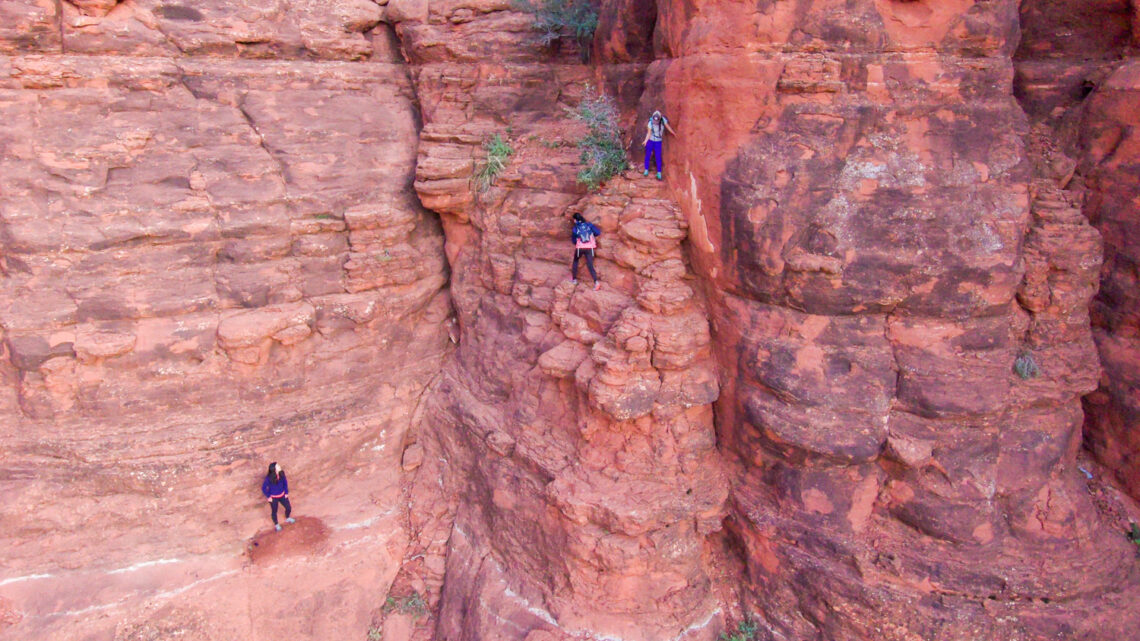
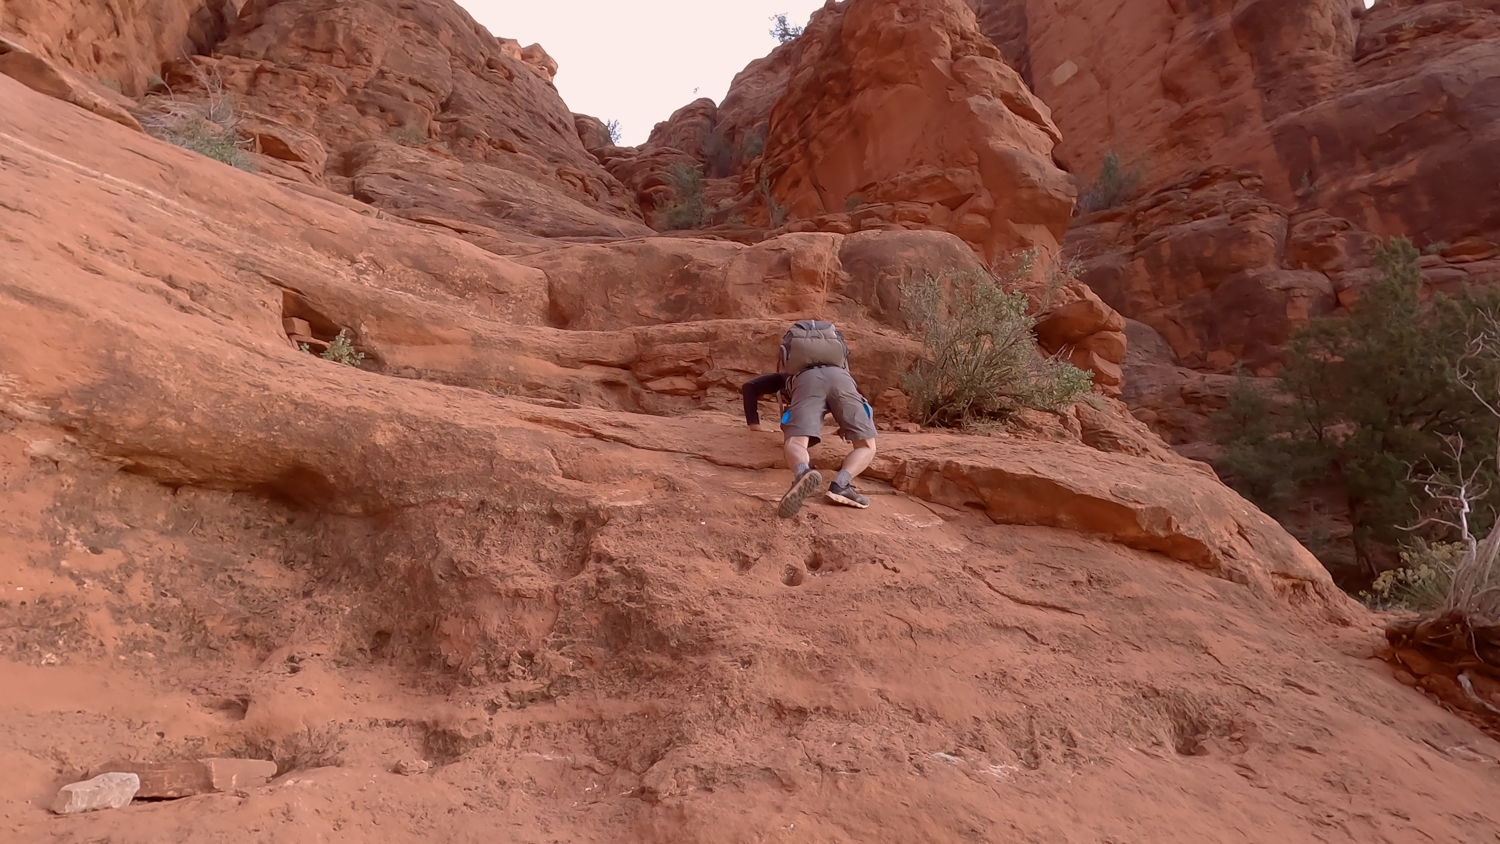
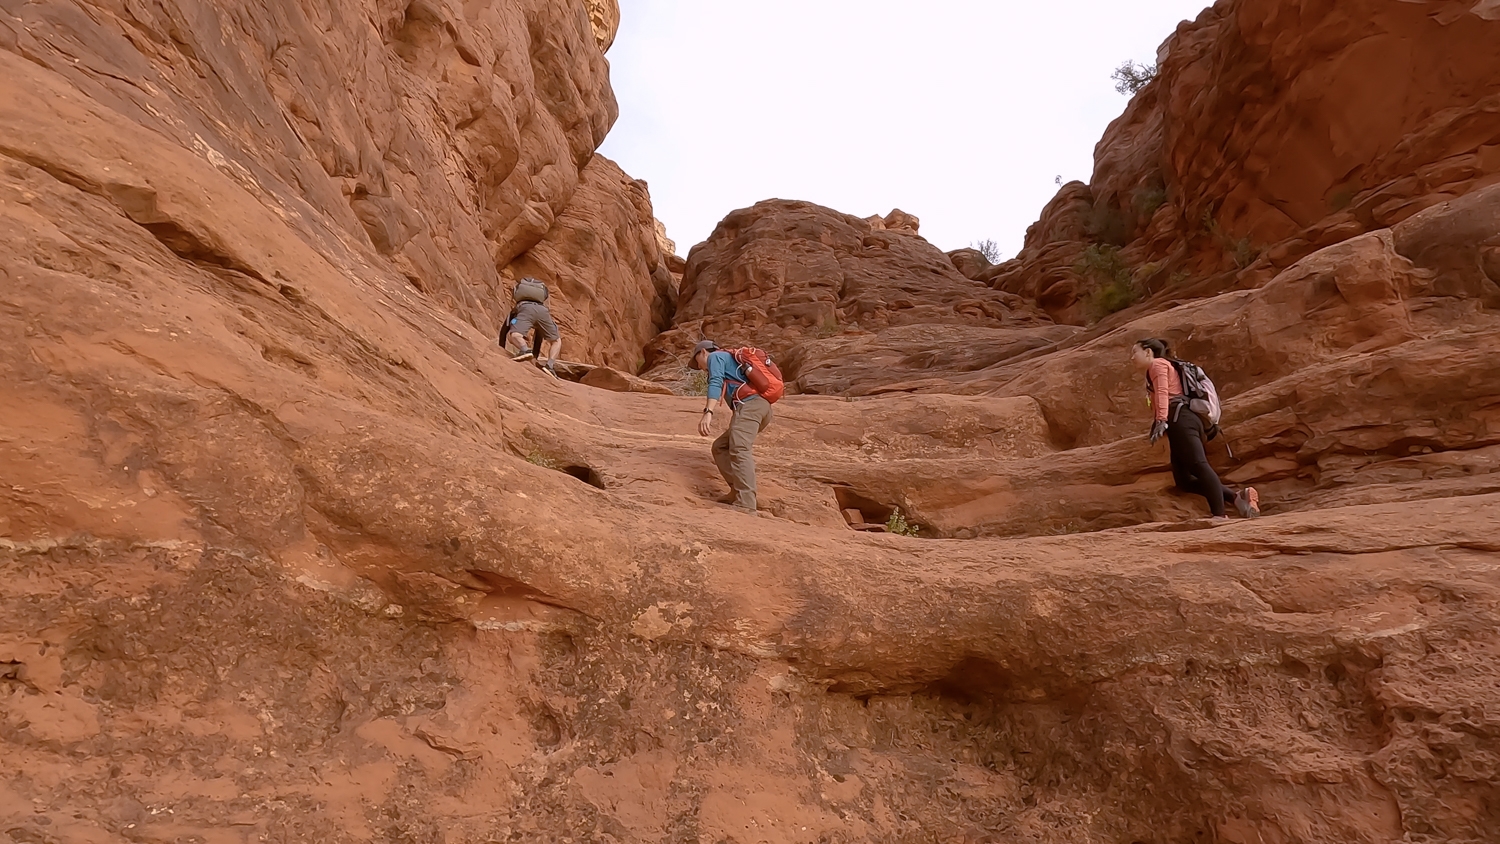
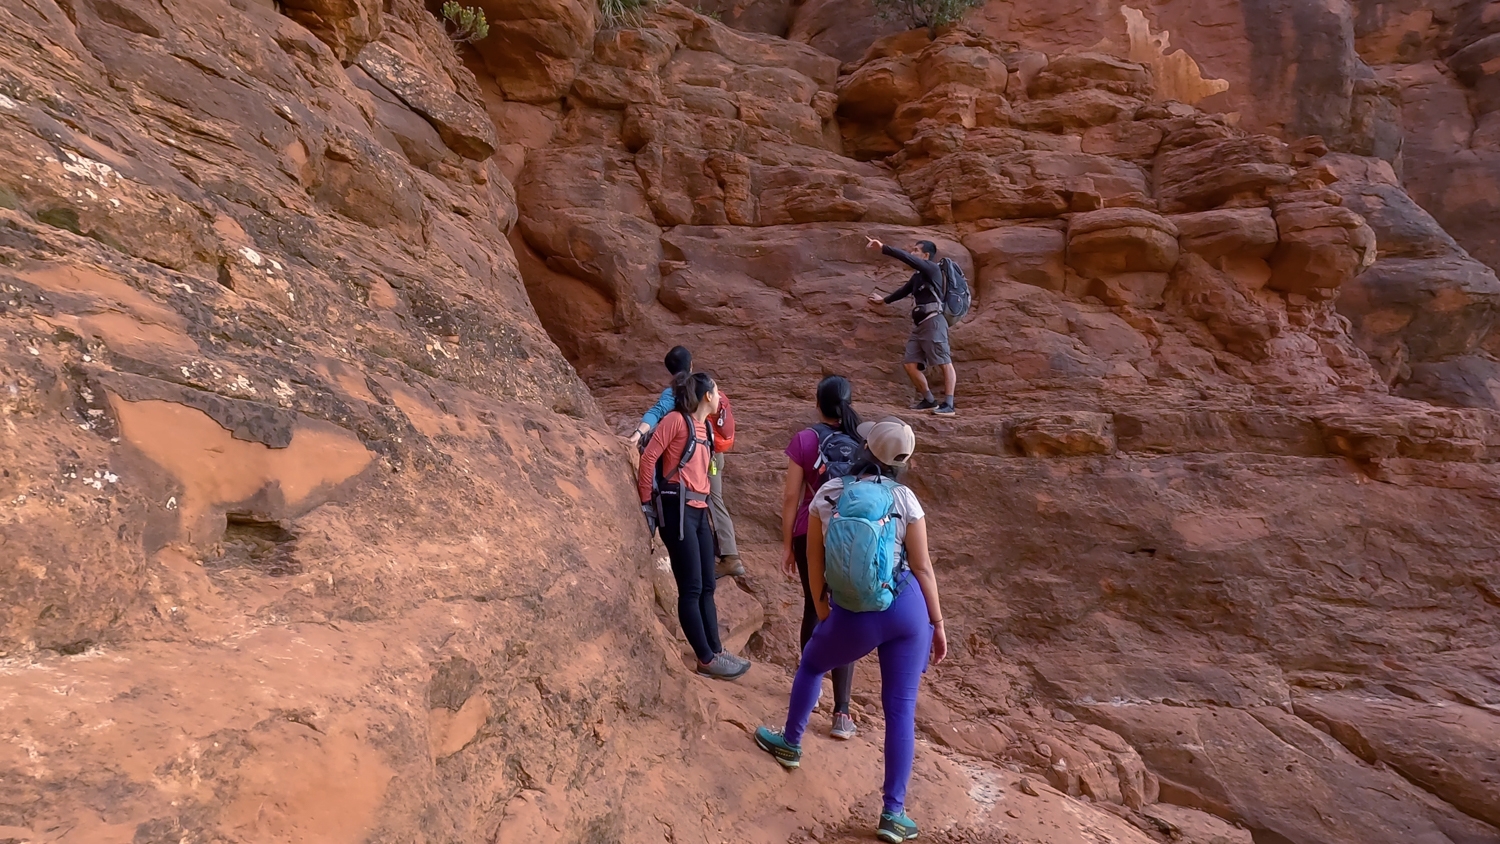
The Open Sandstone Slab Section
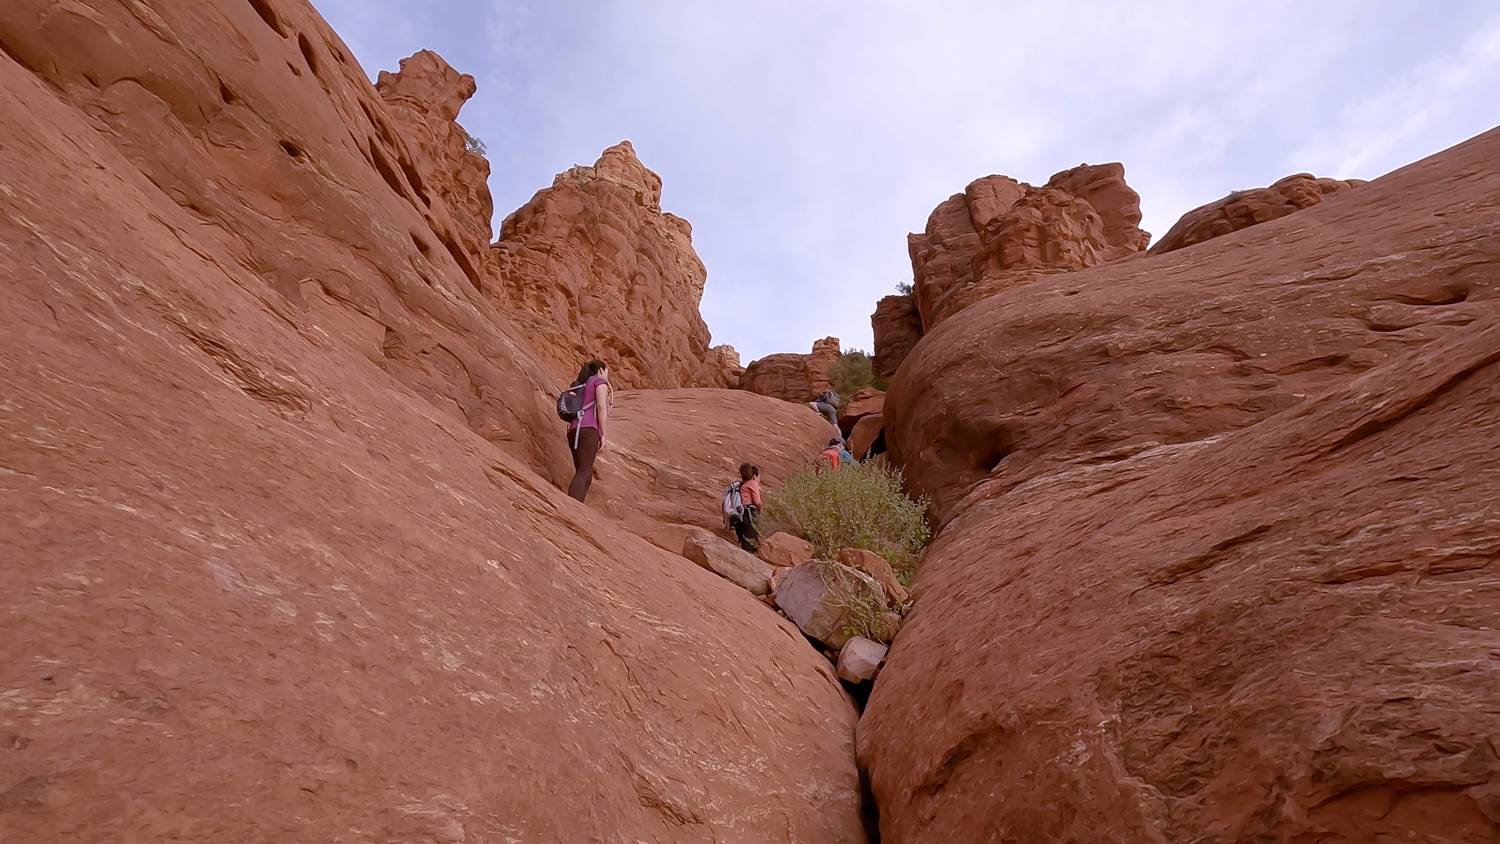
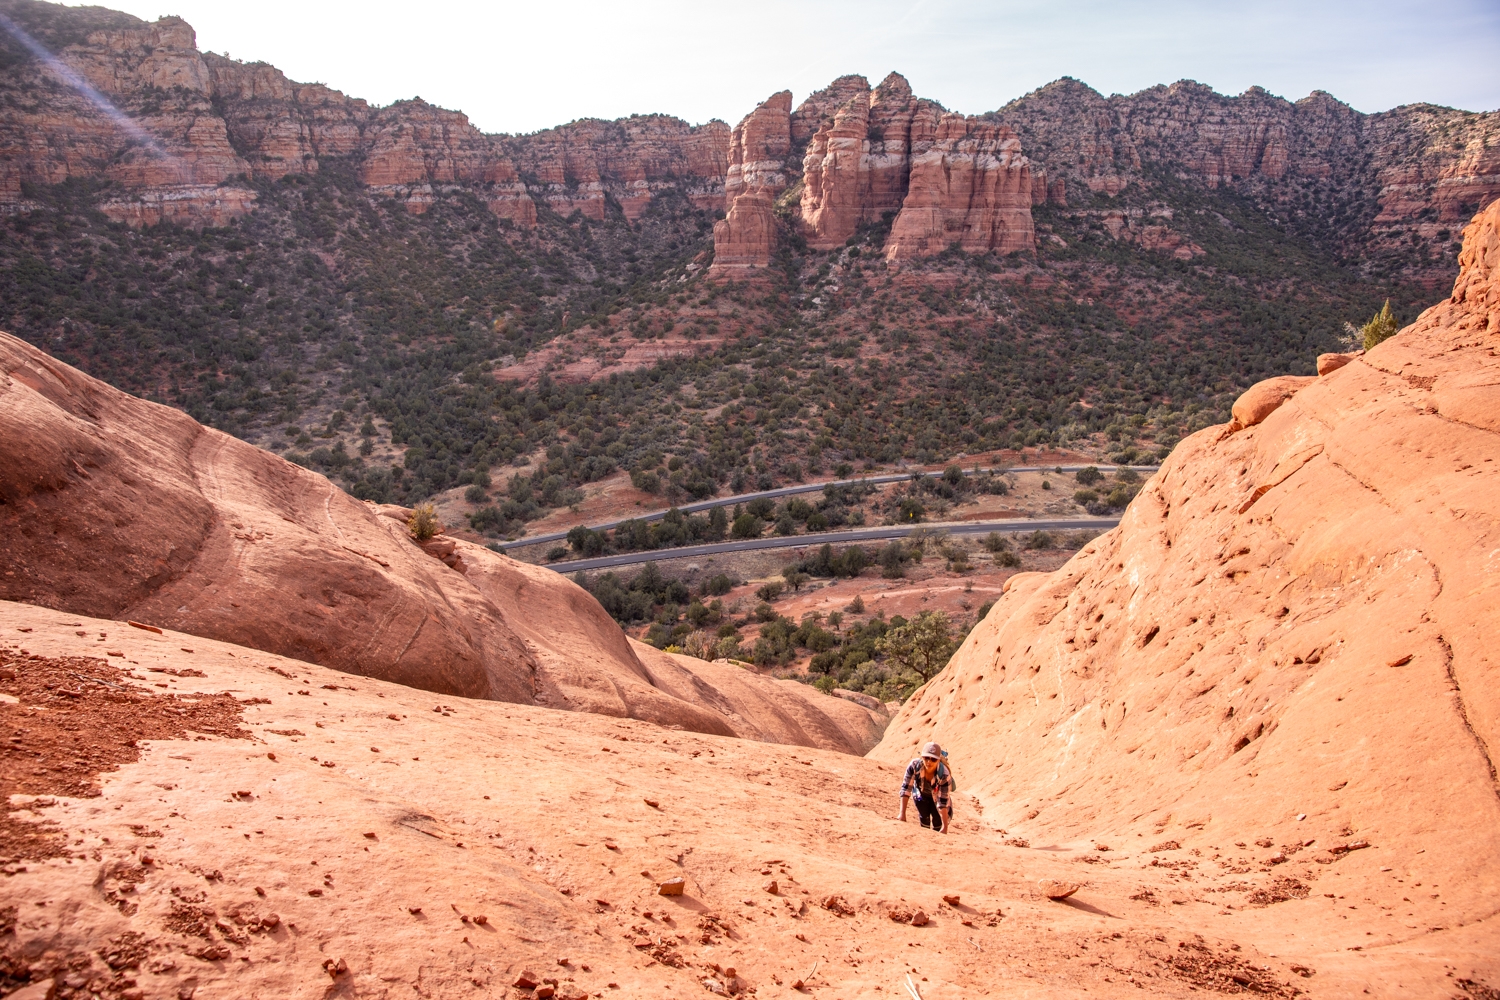
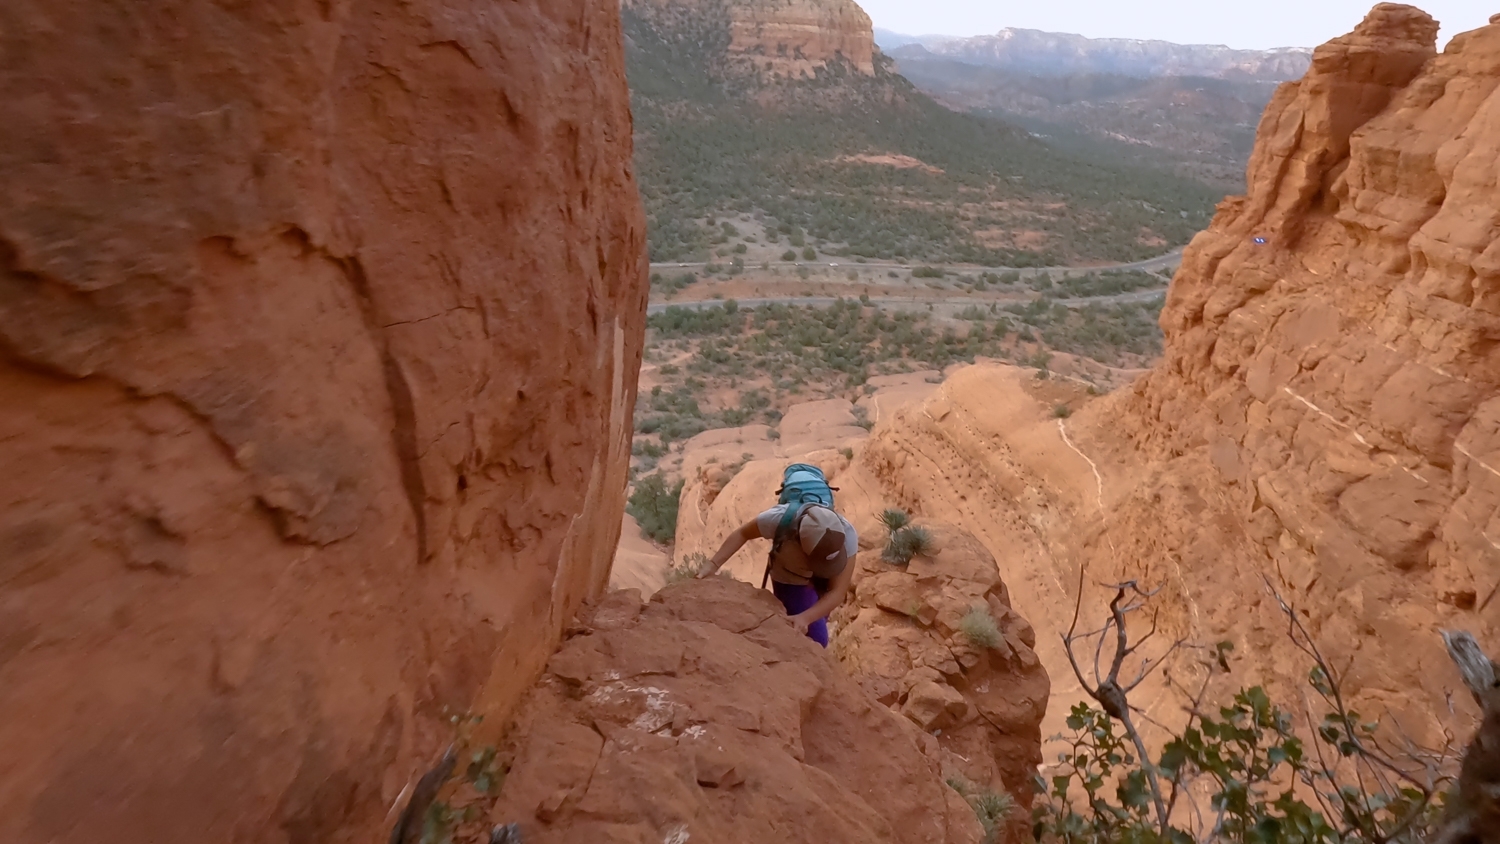
After the chimney, it was a series of walking up a fairly steep sandstone slope and climbing up 5-7 ft ish rocky ledges. It gets steeper as we climb higher. The view also became more beautiful. There are multiple spots where it felt quite sketchy. We wouldn’t have been able to do this if it wasn’t for sandstone. About ⅔ of the way, we finally made it to the bottom of the most dangerous part of this whole climb up Bell Rock.
Previous
Next
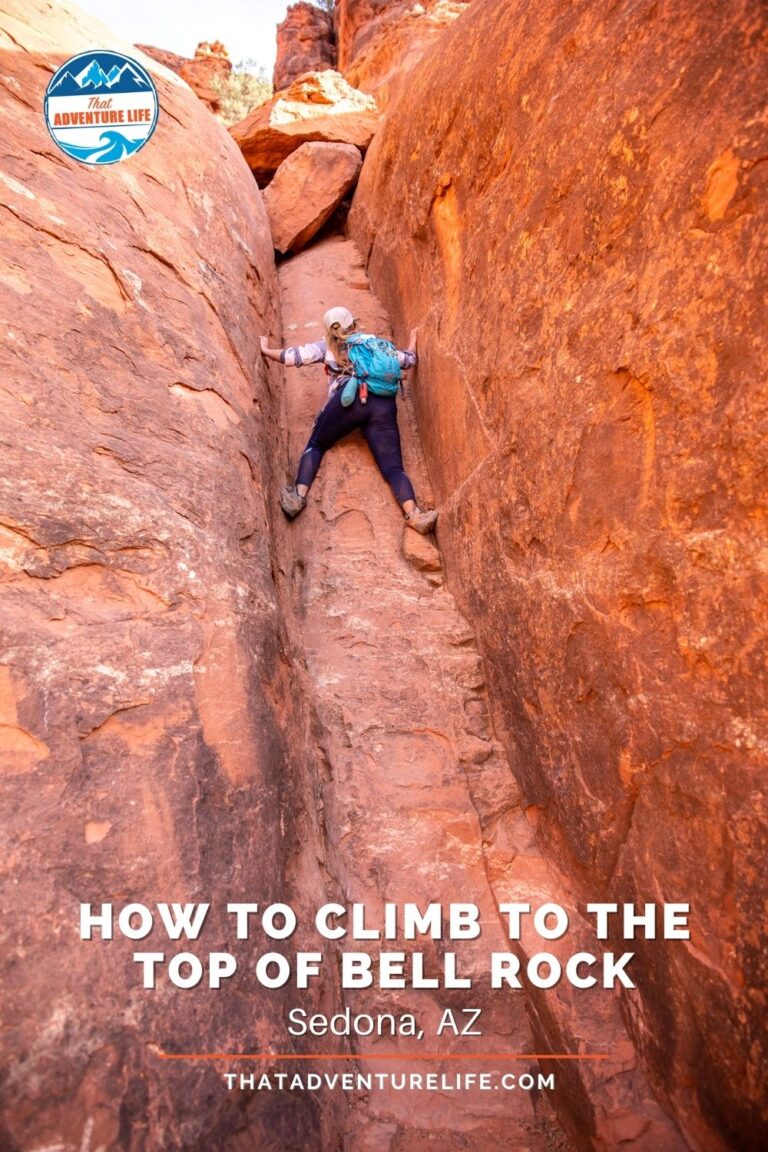
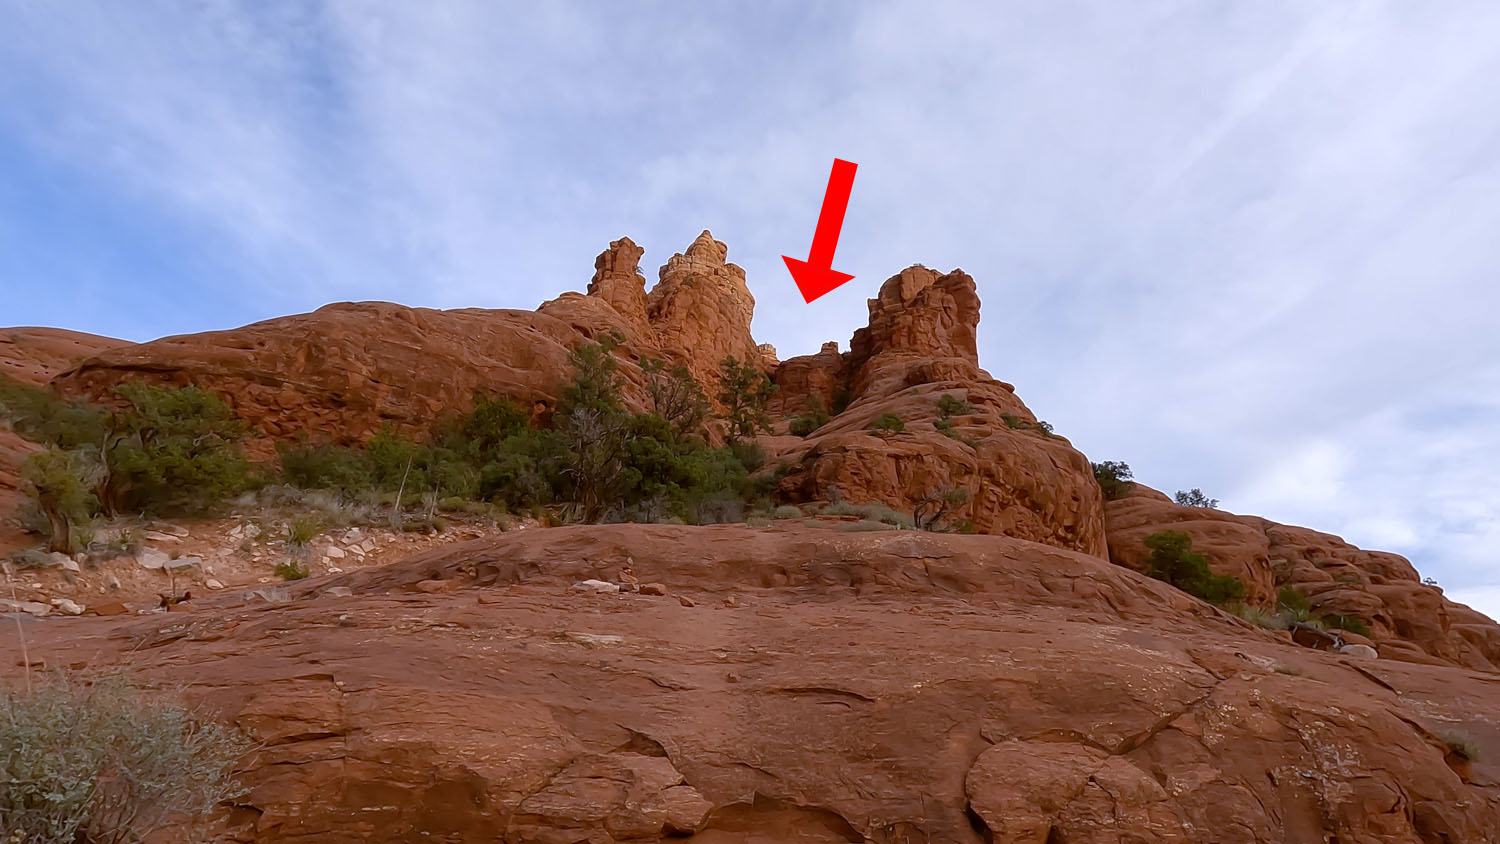
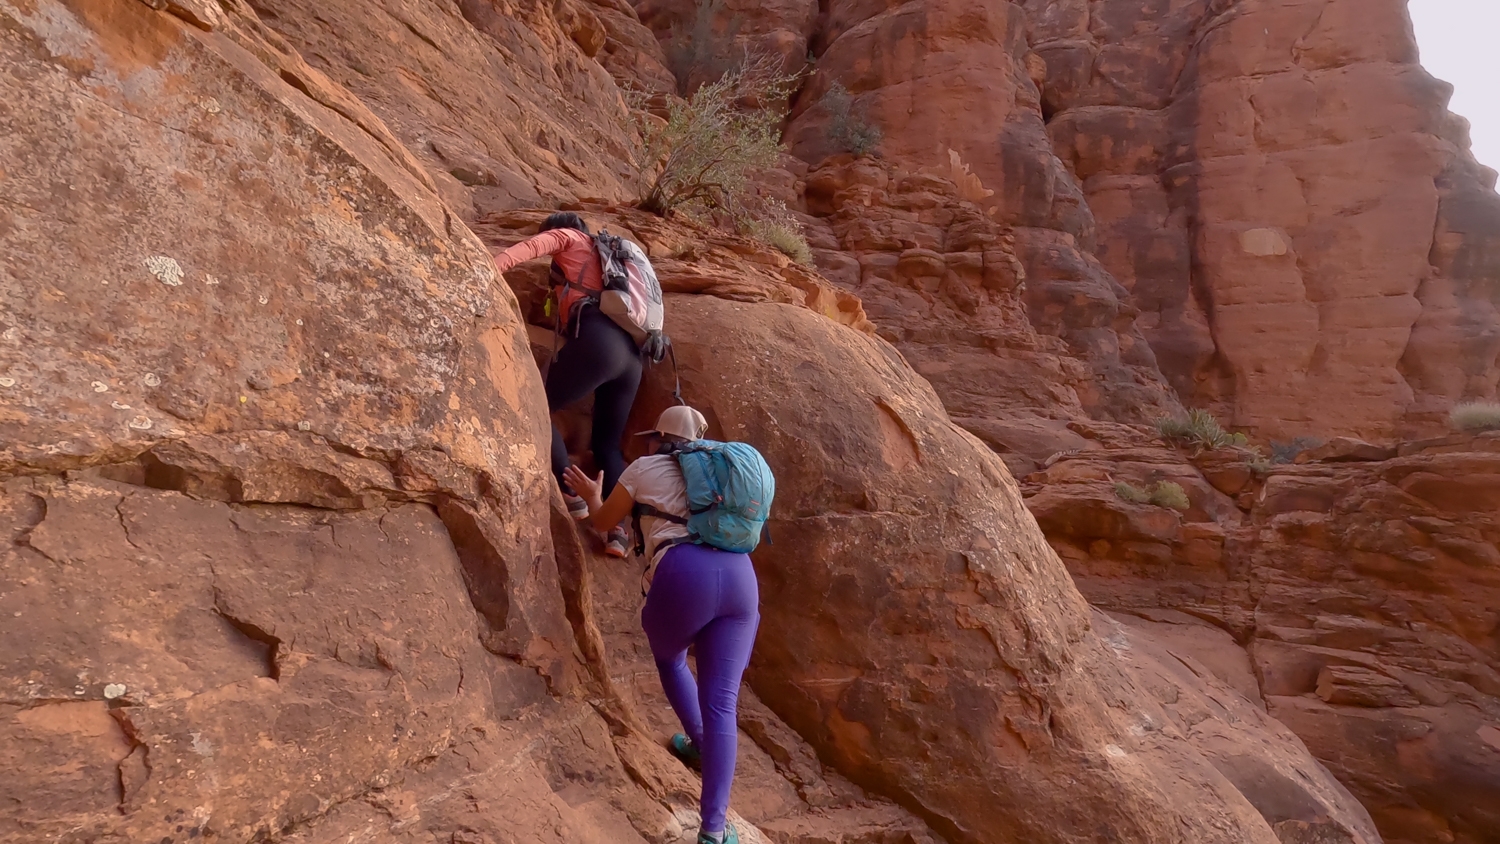
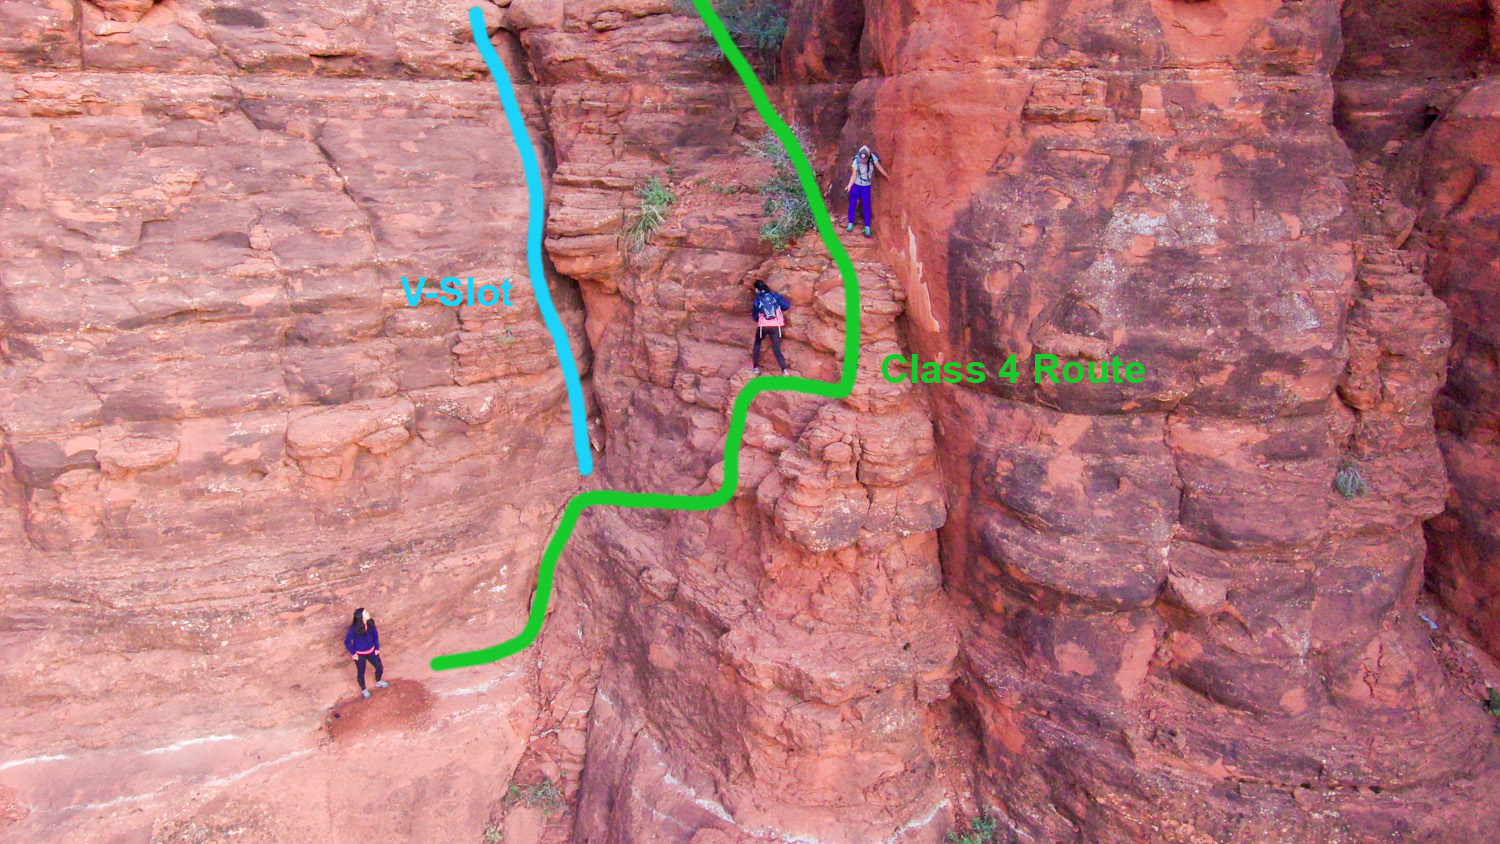
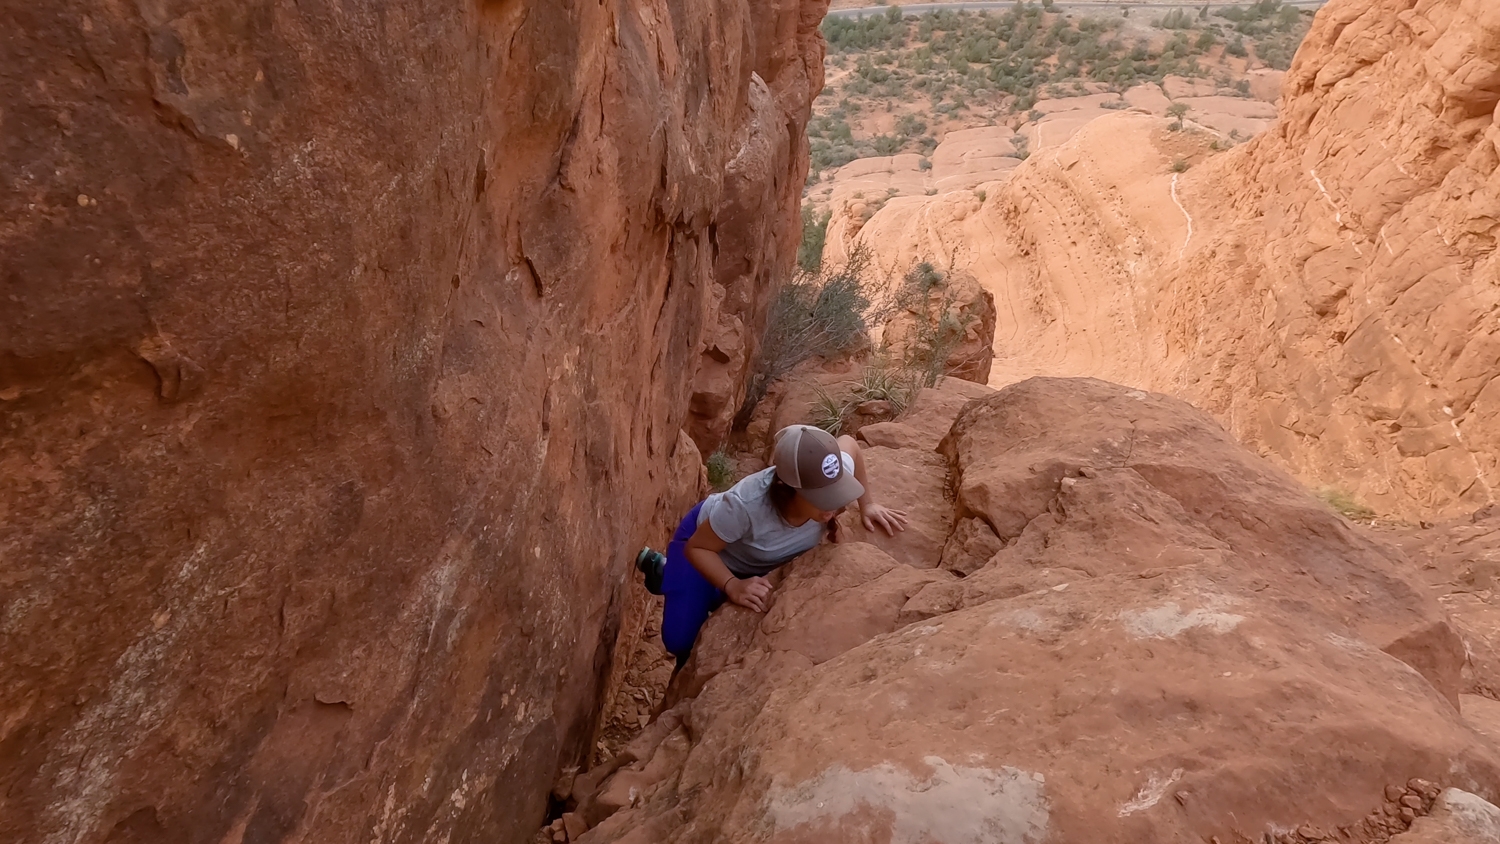
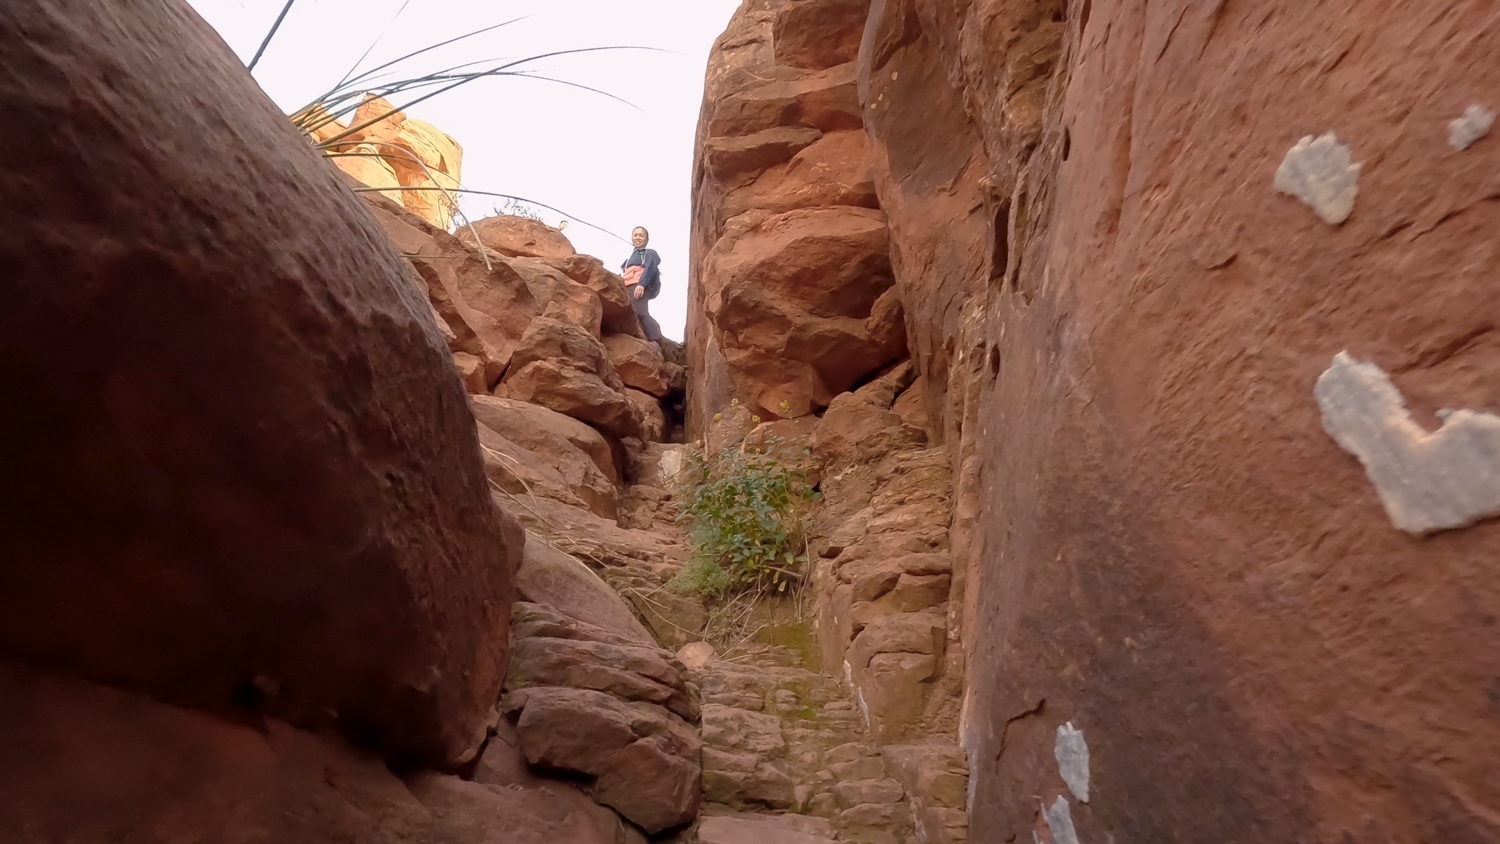
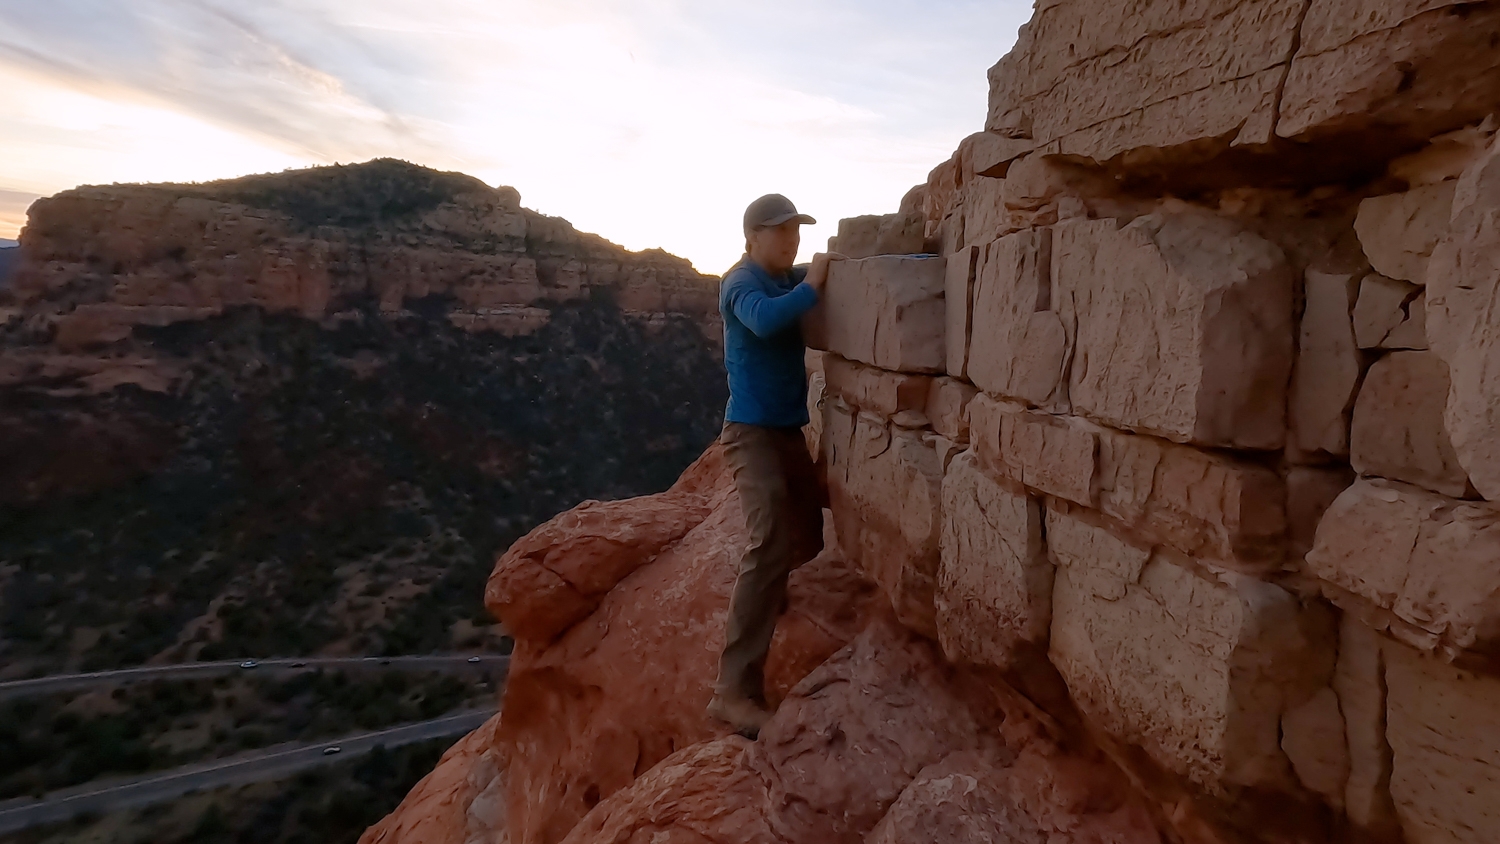
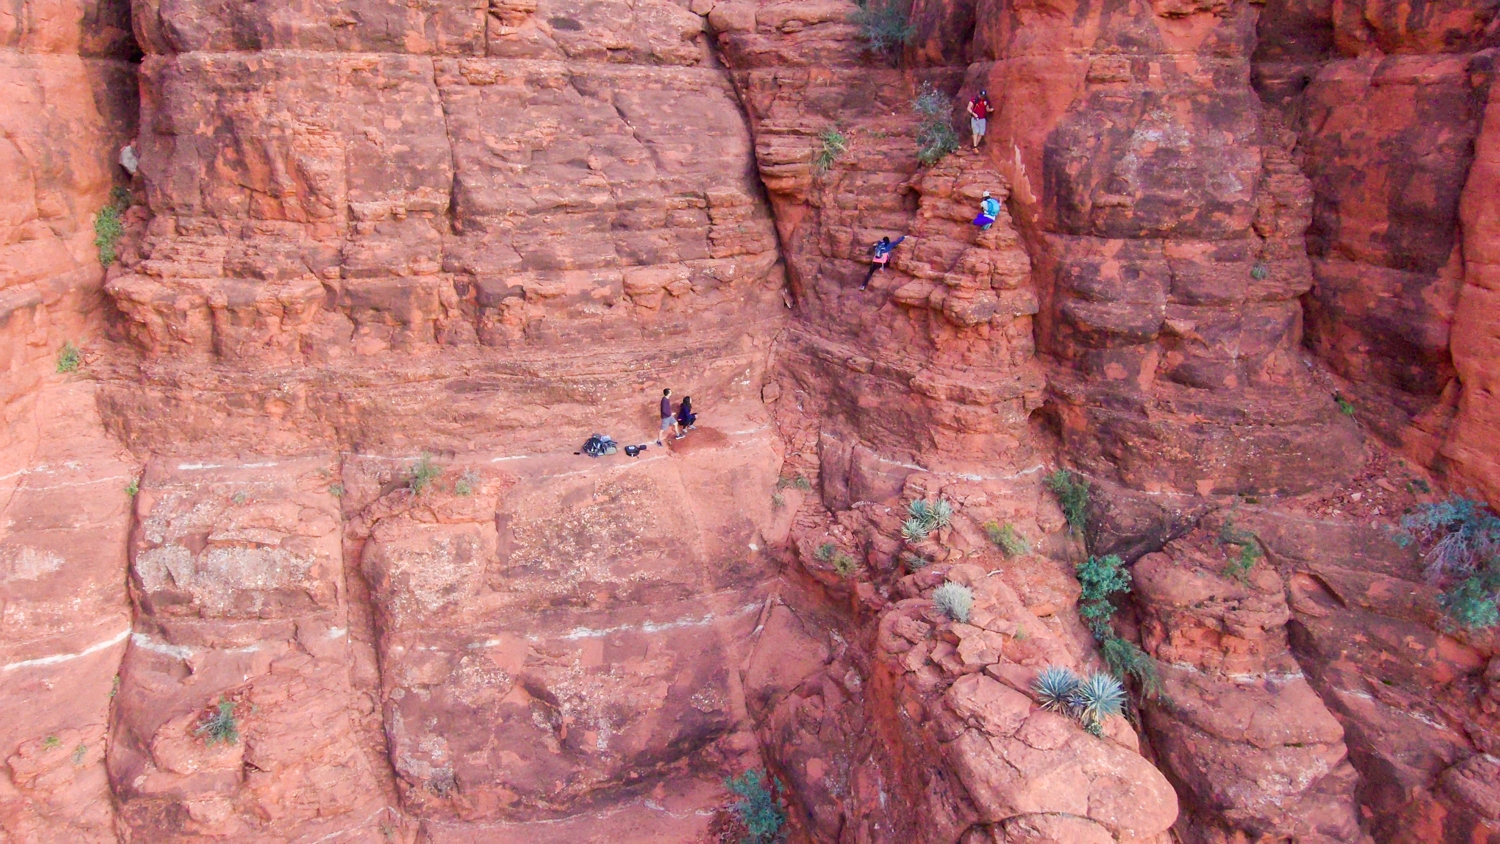
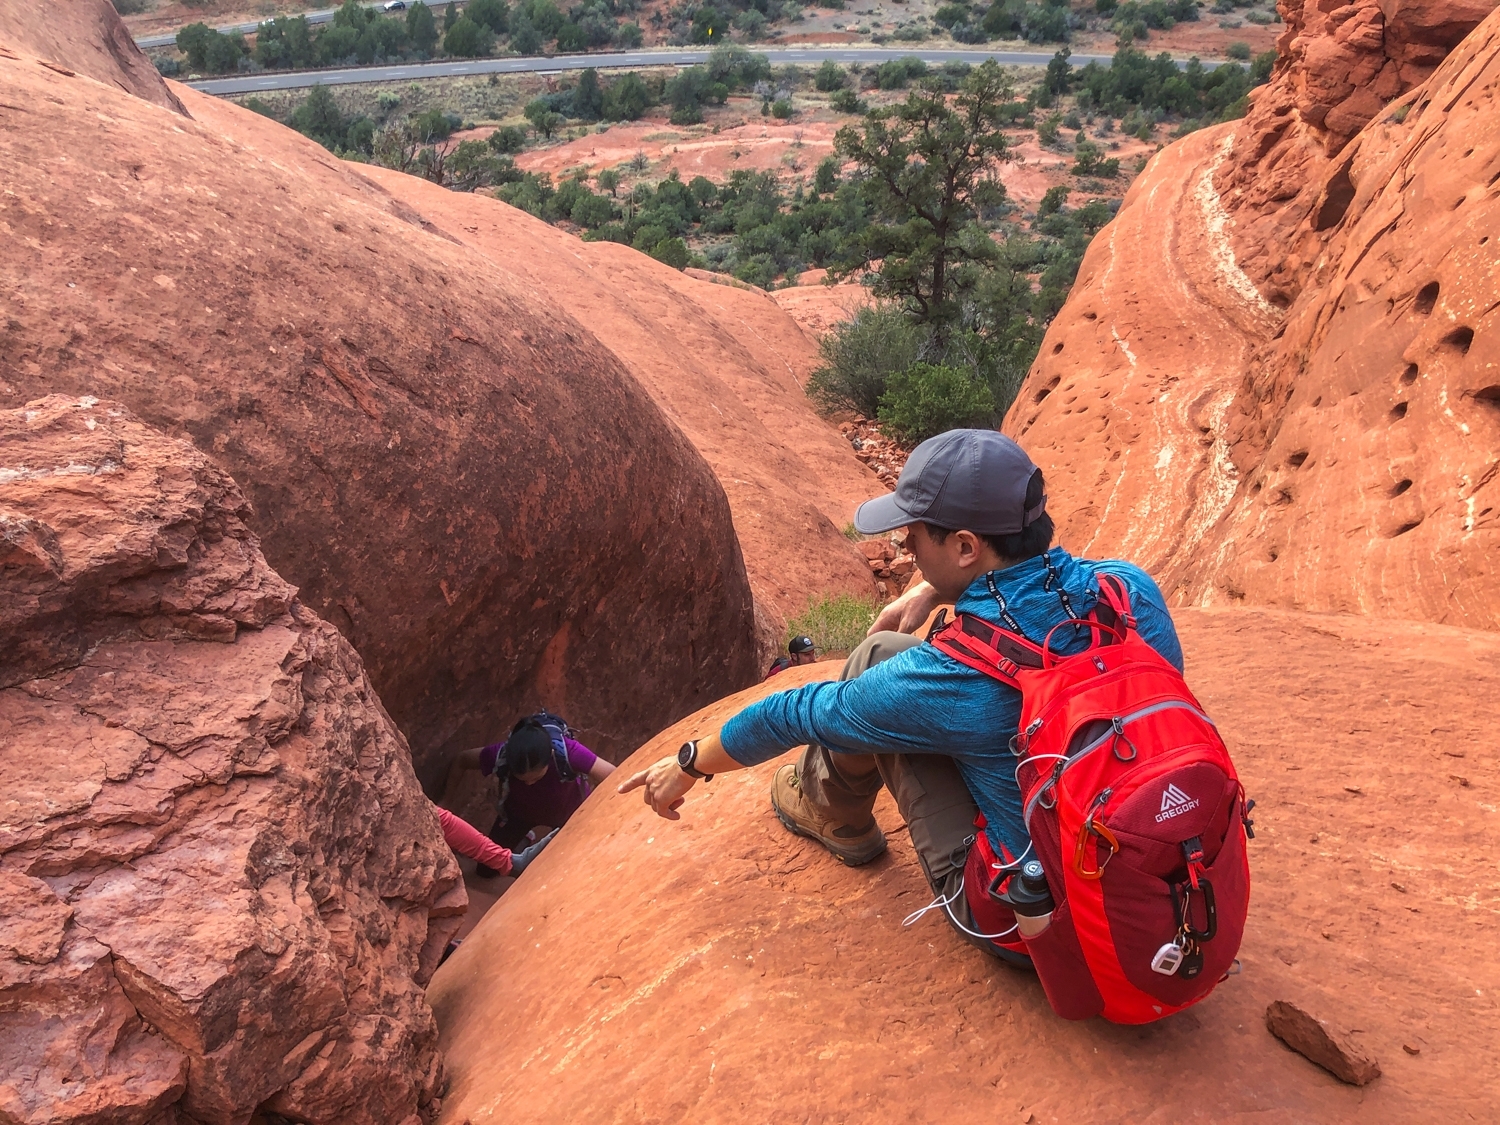
The Main Obstacle: the Sketchy Climb Section
From this point, the gully’s walls seemed to go straight up. If you’re facing the wall, there is a vertical narrow crevasse on the left side of the gully. It looked impossible so we decided to explore our options on the right side. On the right side of the gully, there are two options: a V-slot and a class 4 route right next to it with tons of handhold and footholds. The class 4 route is about 65-degree angle and very exposed for the first 20ft or so. After that, it was tucked against the wall and became quite easy. We opted to climb partially through the V-slot for that first 20ft and then proceeded for the rest of the way tucked inside the way. Anh actually climbed all the way up through the V-slot.
Previous
Next
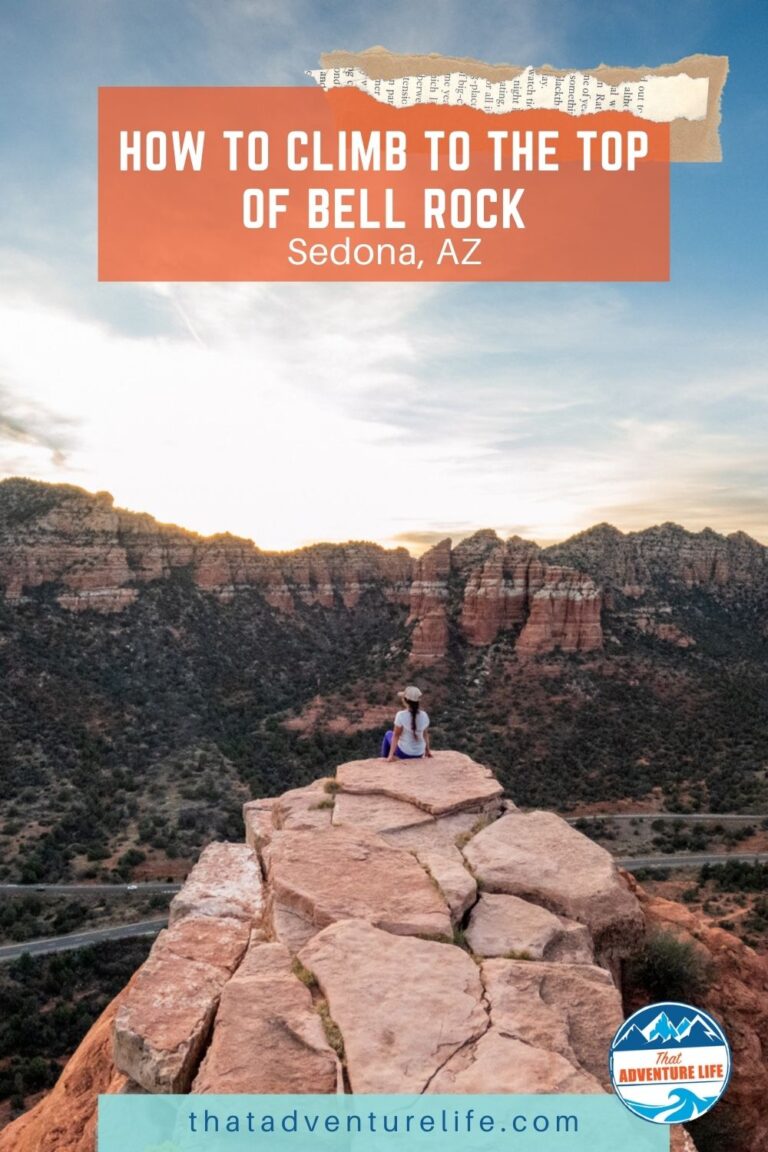
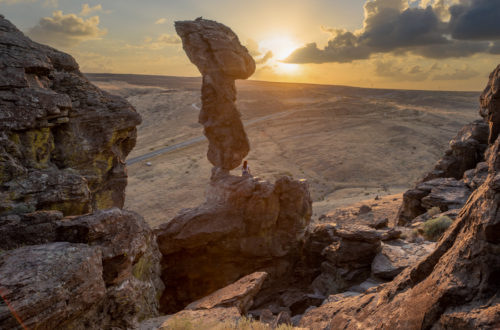
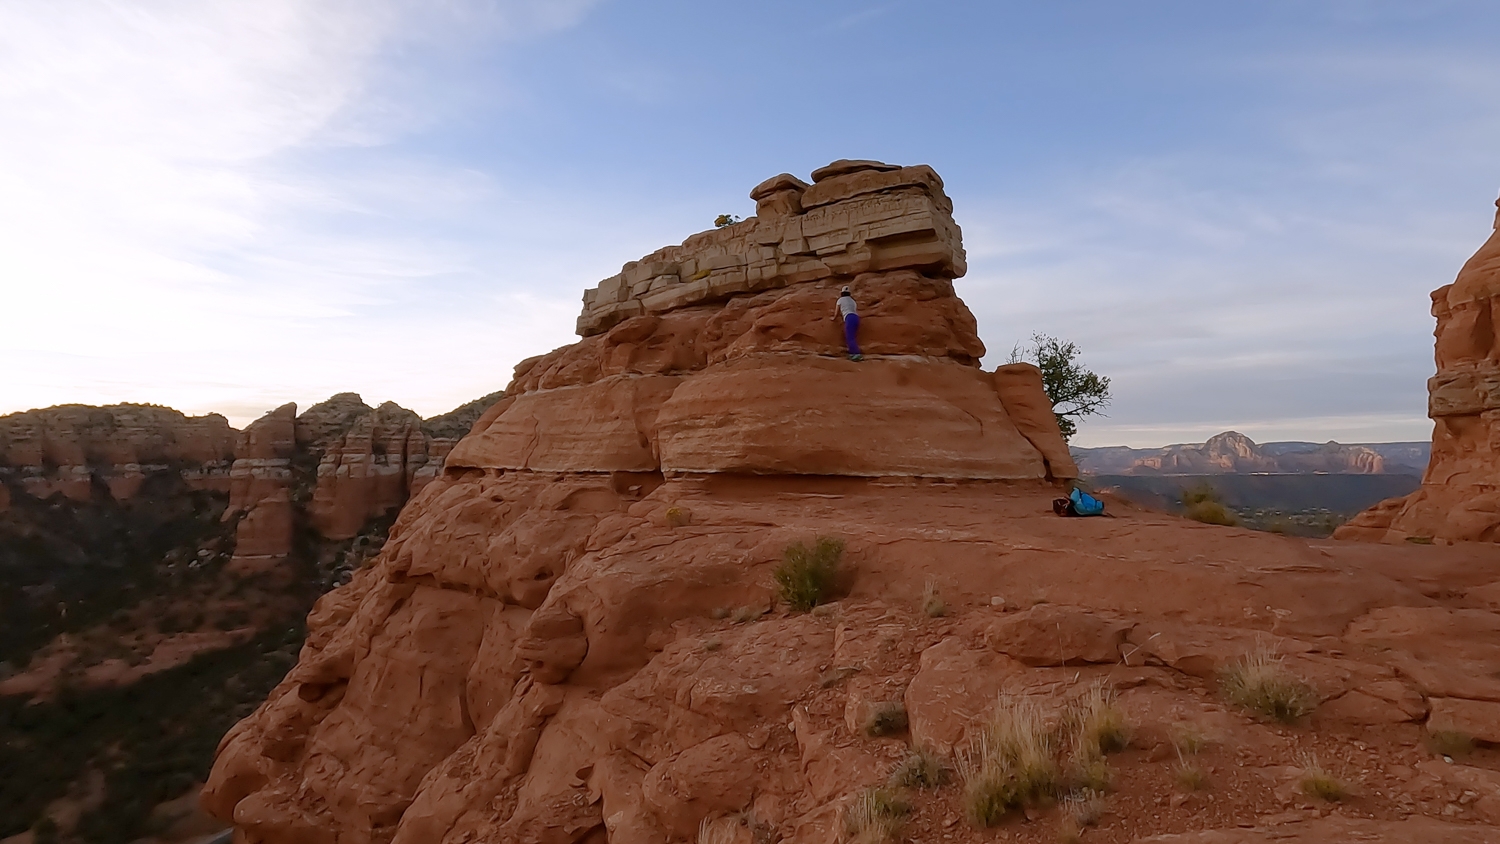
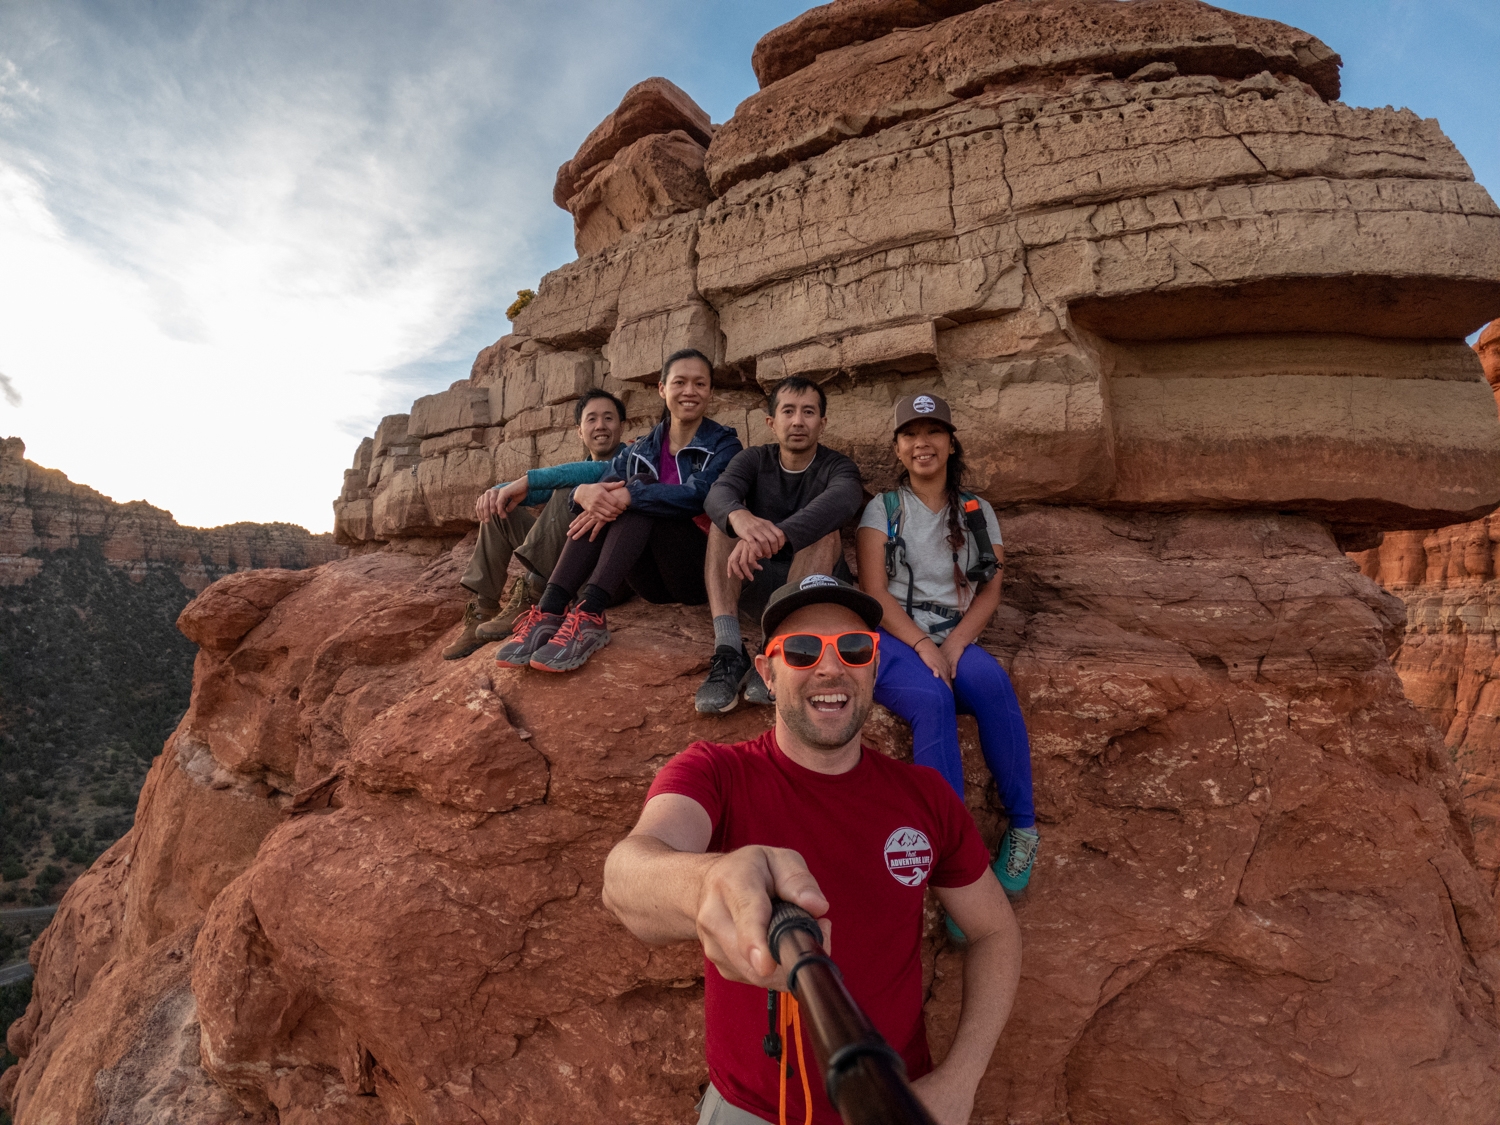
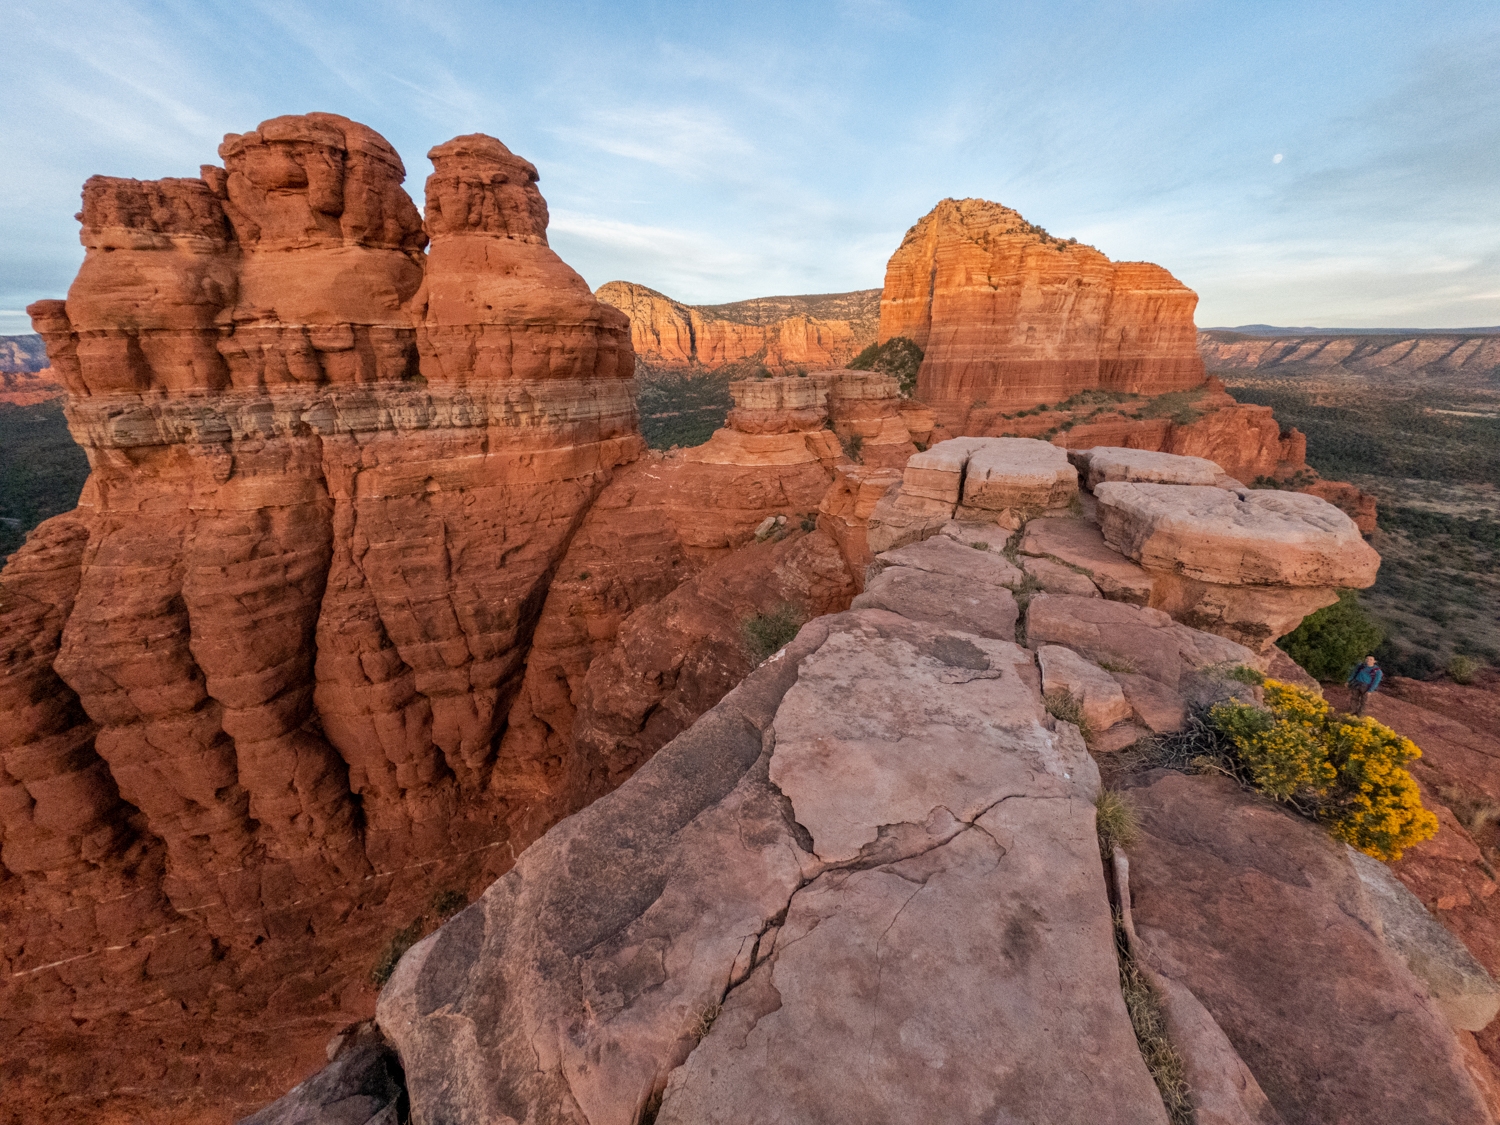
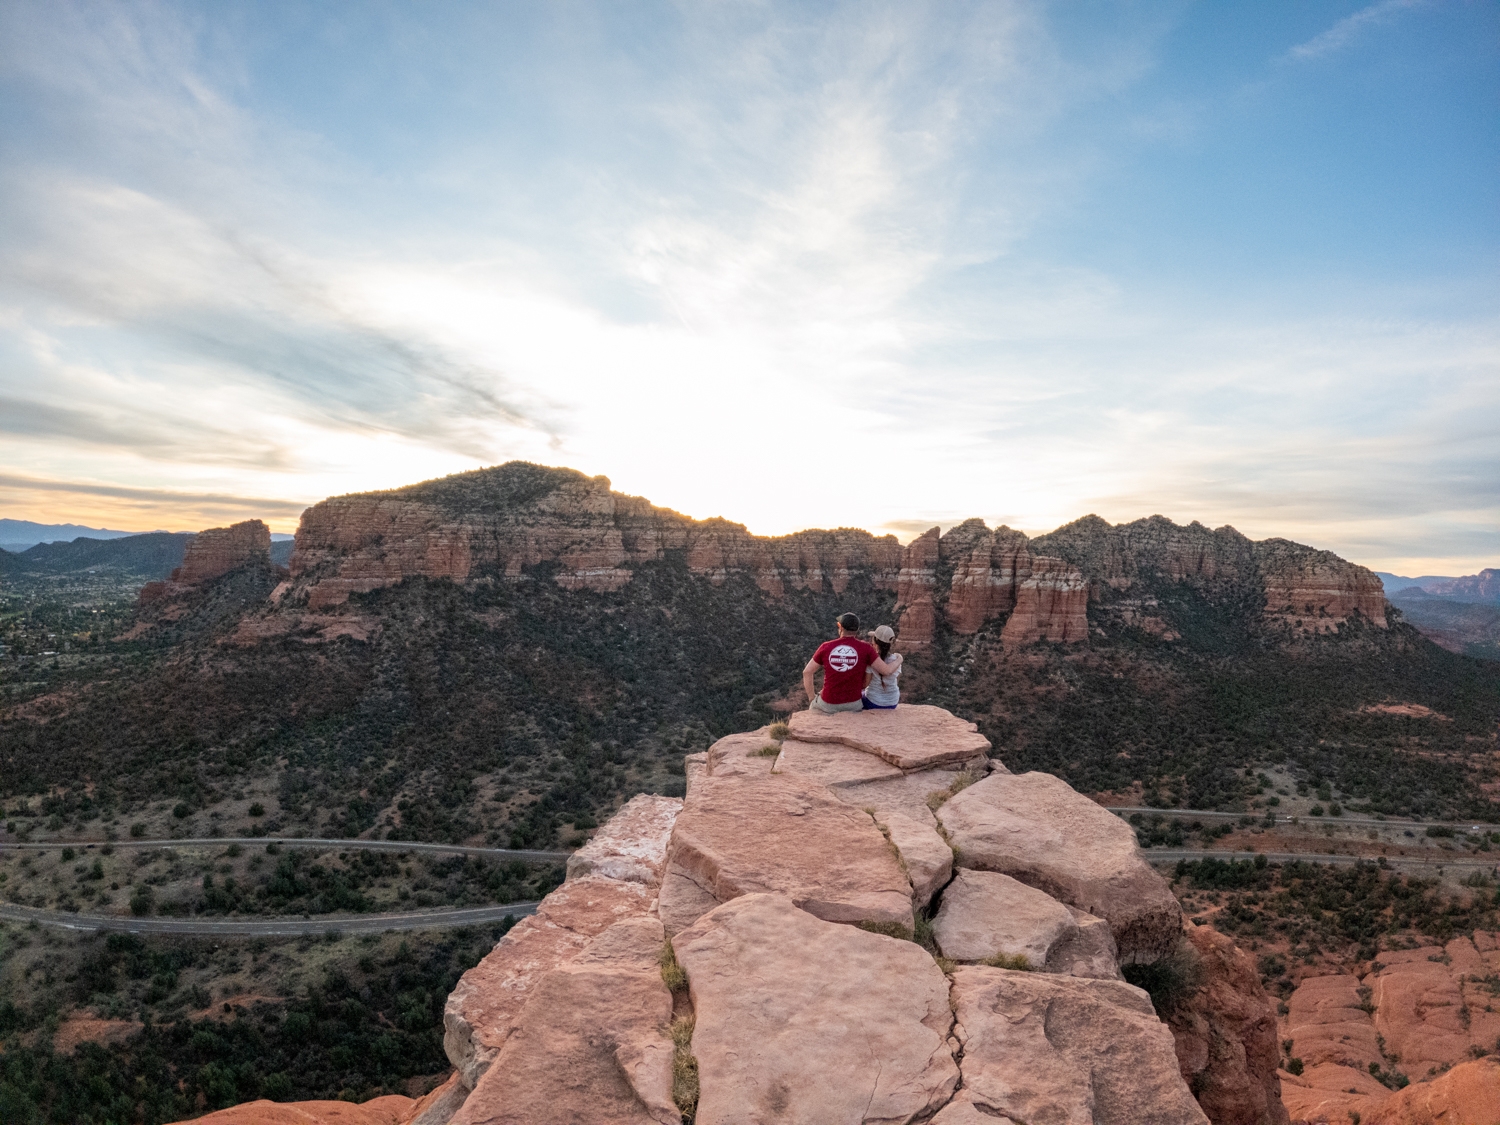
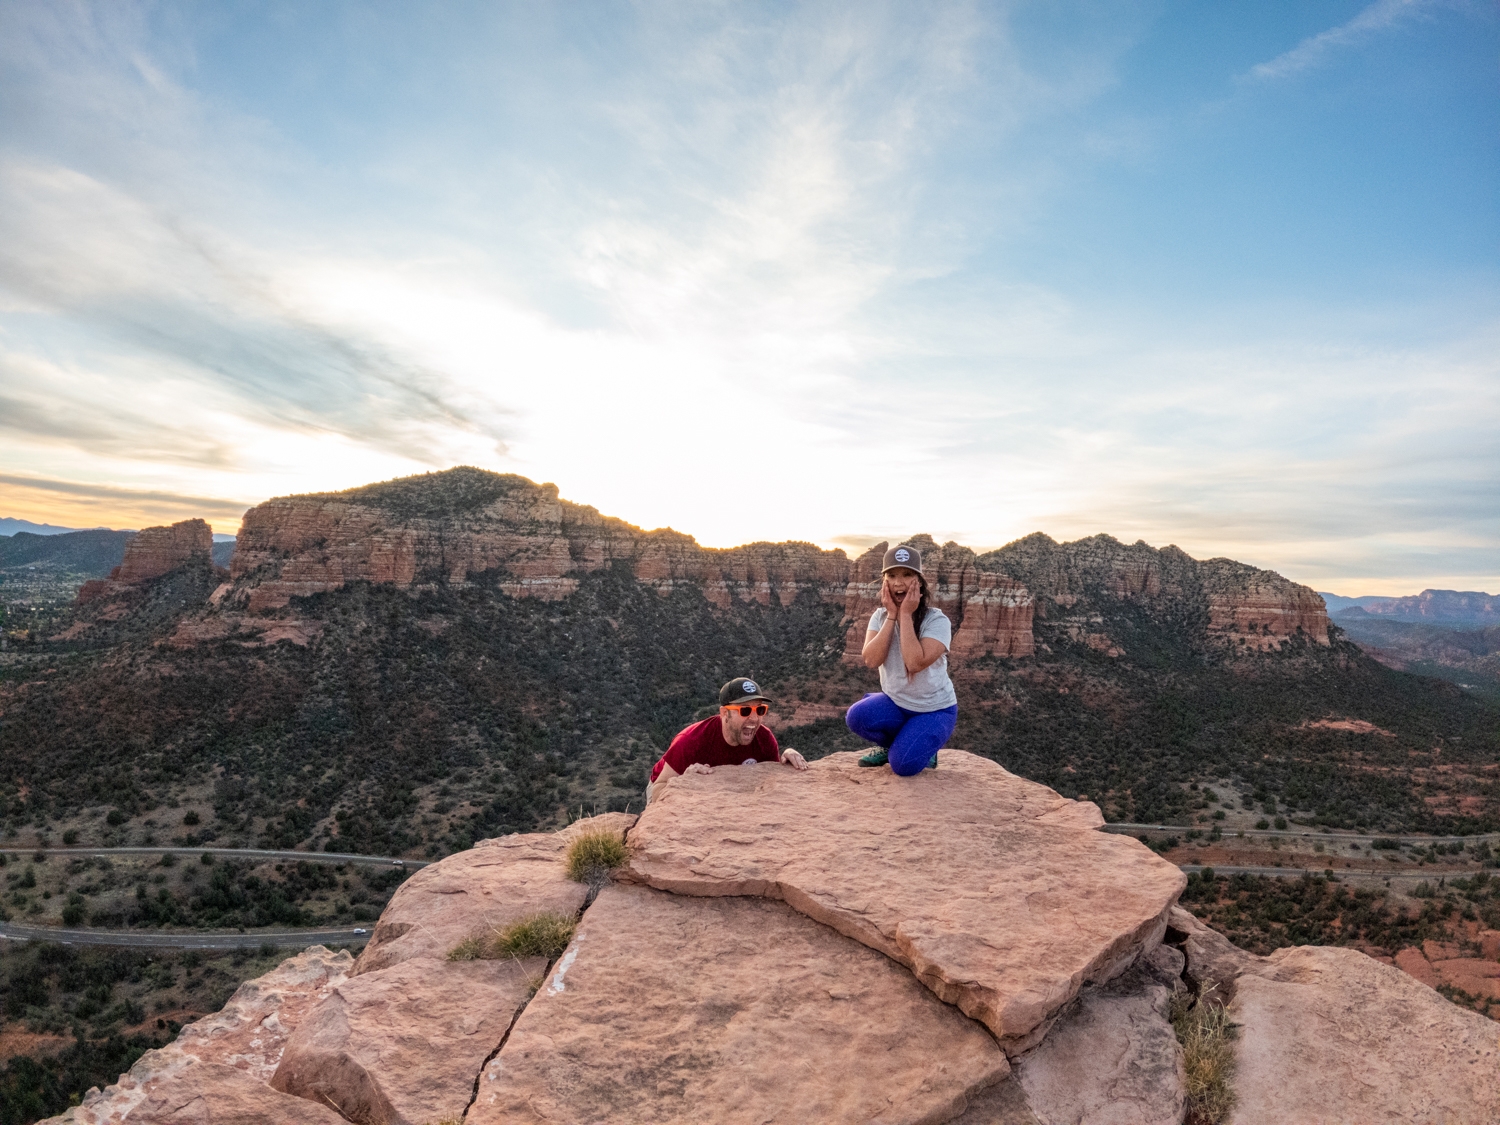
The Top of Bell Rock
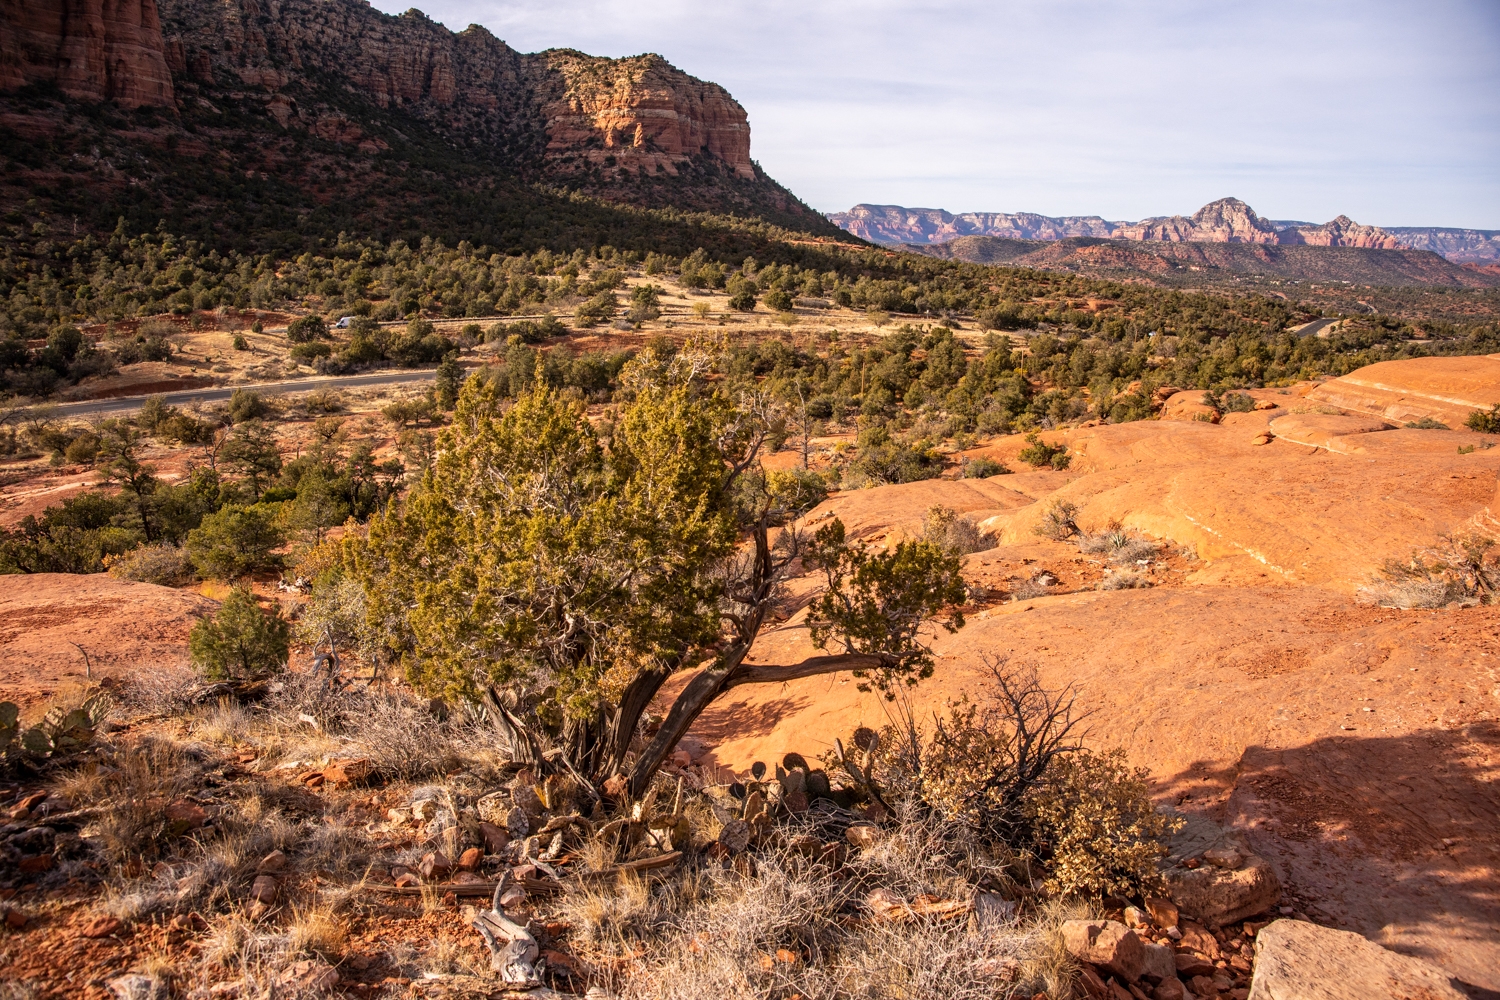
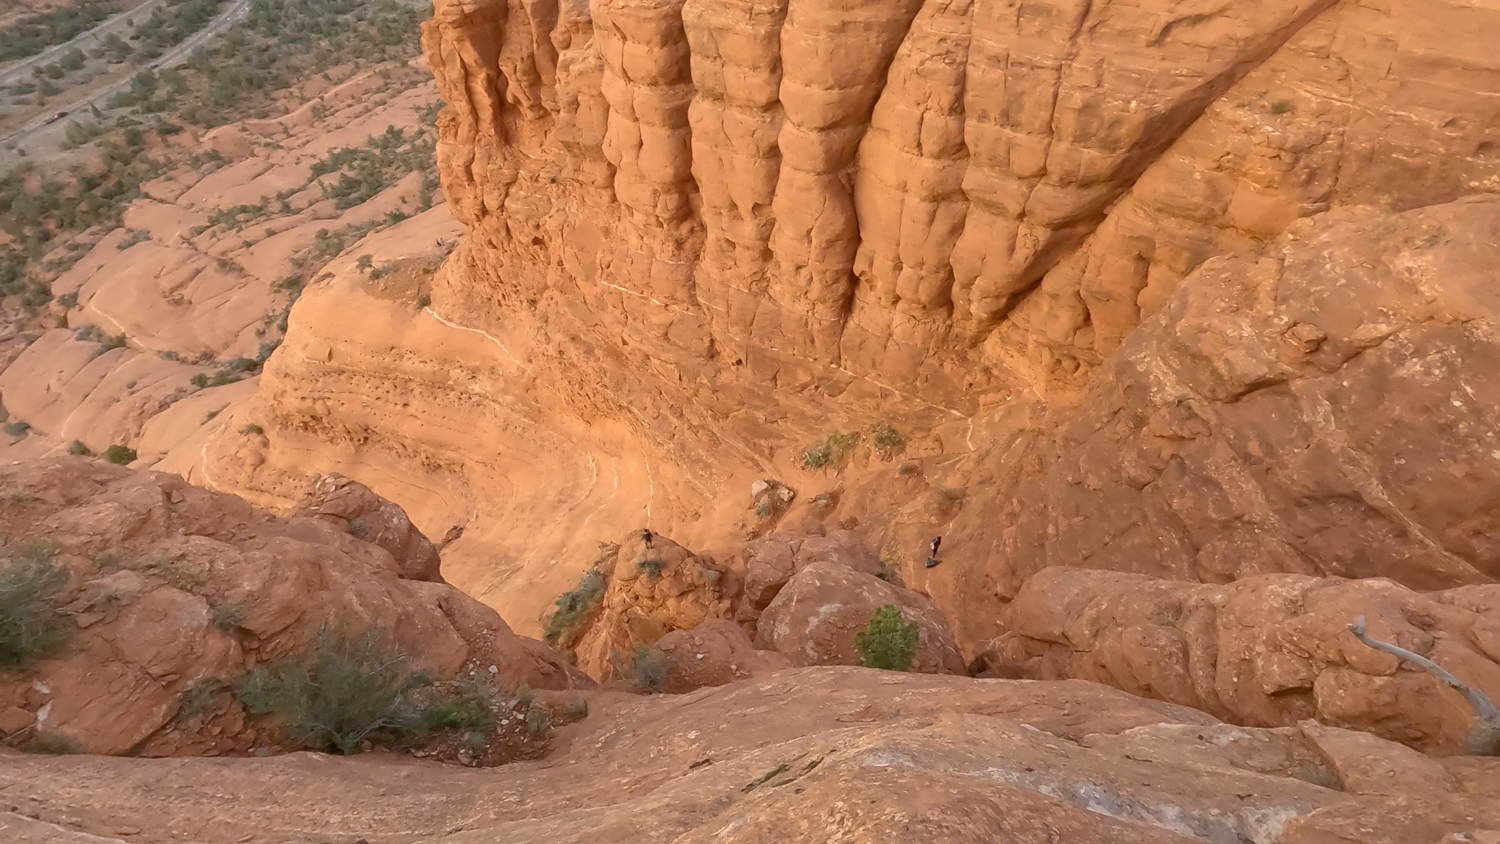
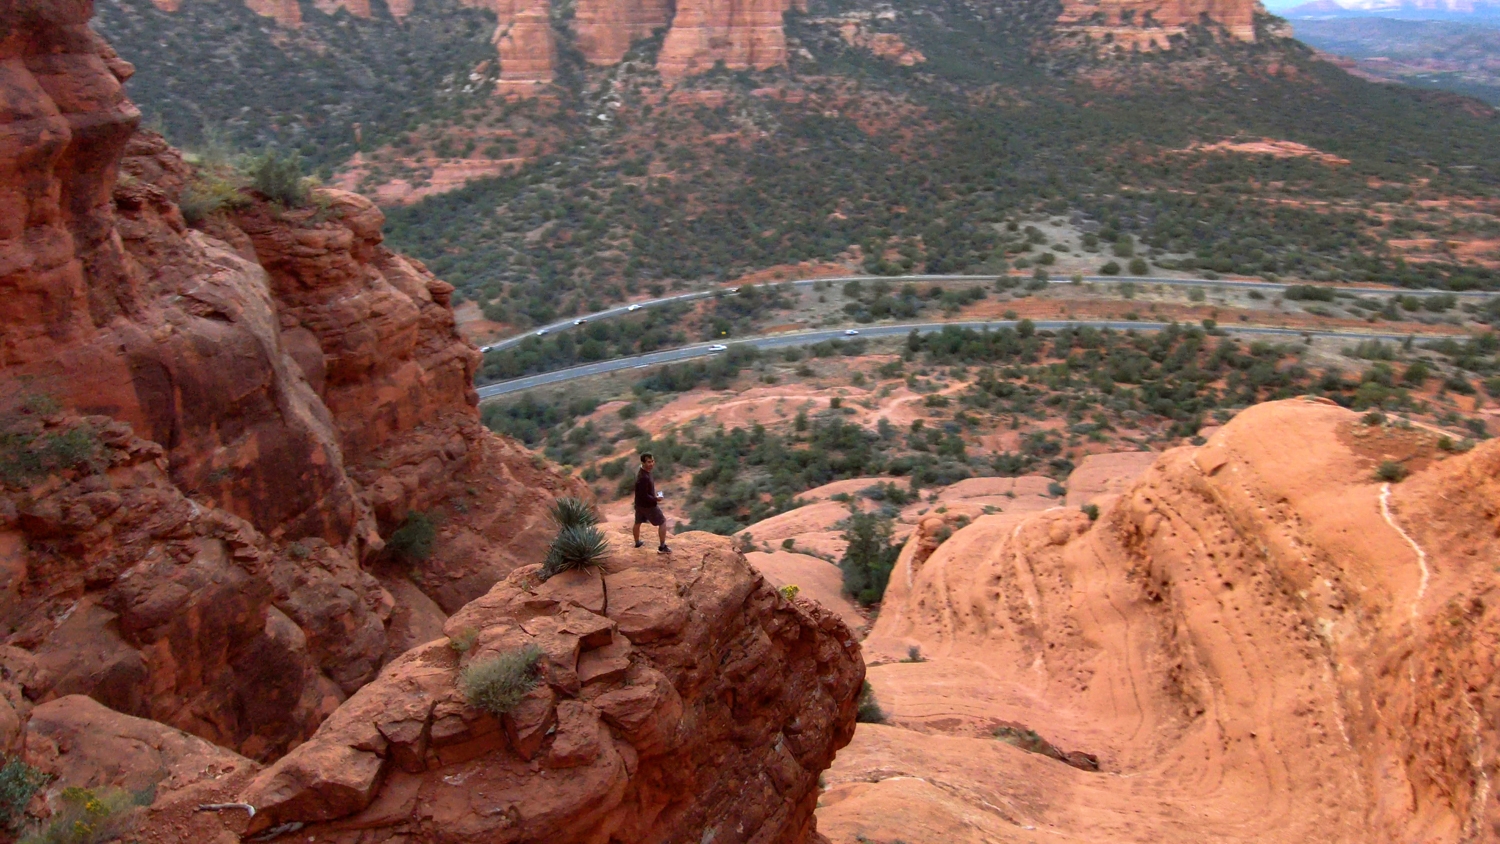
Finally! After 3 attempts, we made it to the top of Bell Rock!! The views up top were beautiful, more so because it was the sweet taste of victory. Once we got to the top of the ridge, there was quite a good amount of places to explore. Since we were short on daylight, we stayed around the area where we came up and climbed up the small hump there. It was a easy climb to the top of that small hump and the views were just breathtaking. We also got to see how steep that gully that we climb up was. It gave us quite a new perspective.
Previous
Next
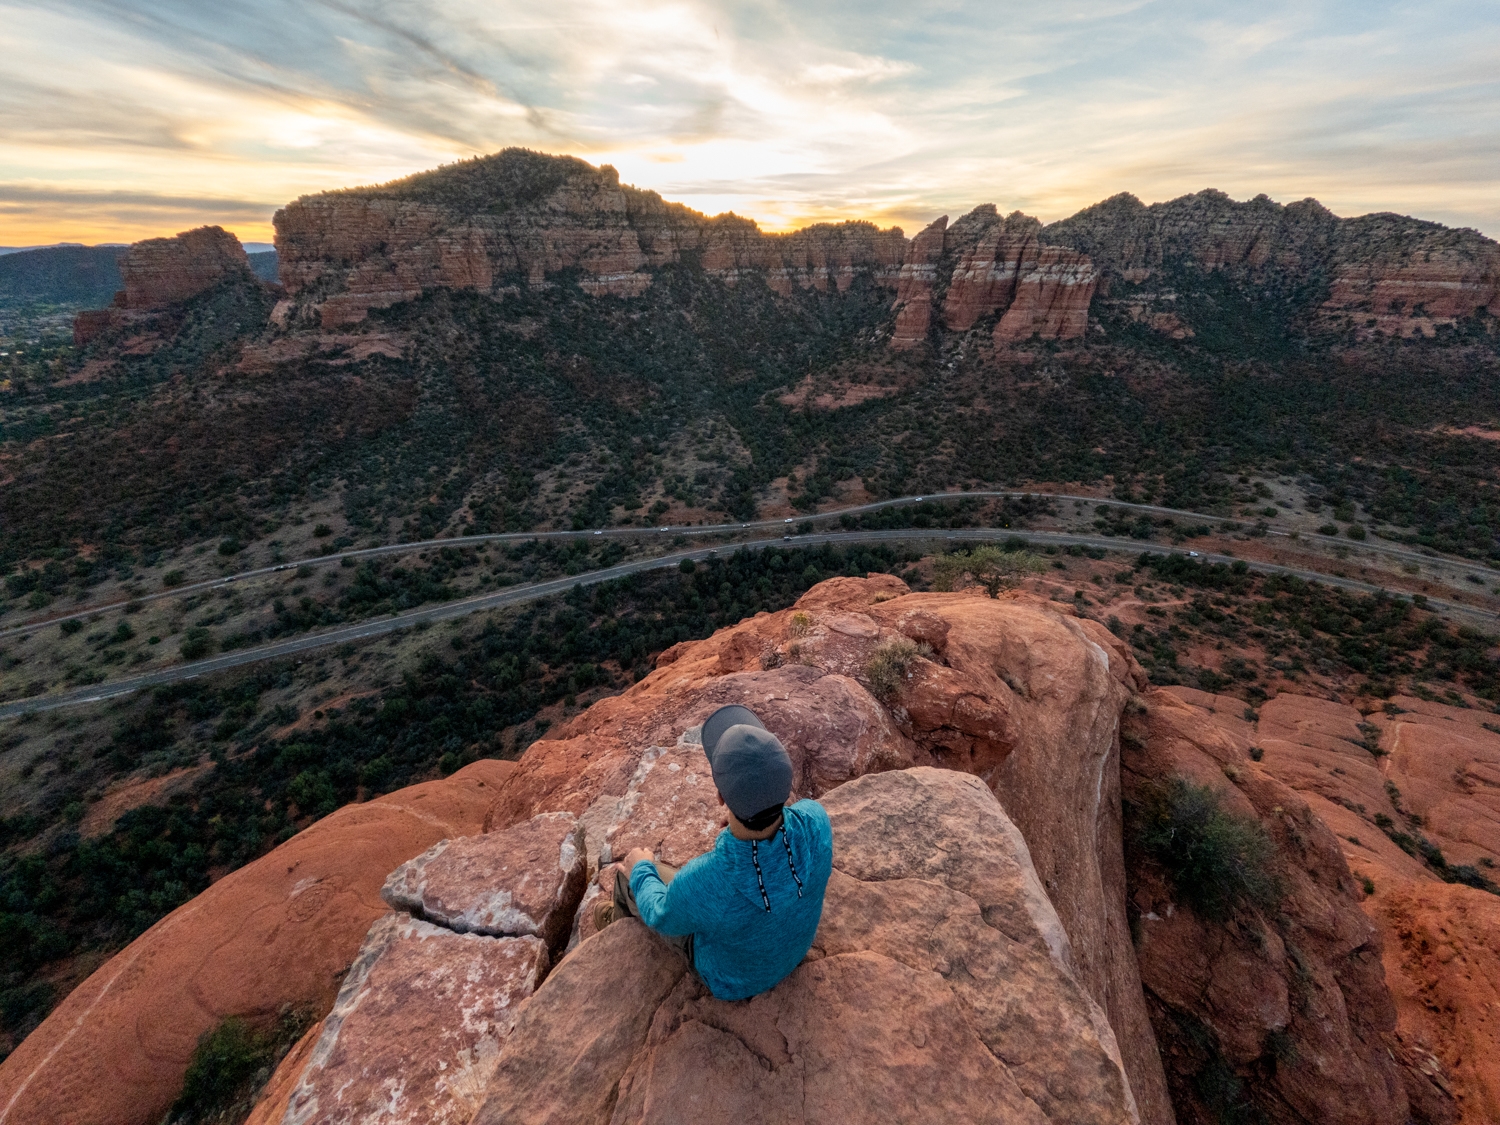
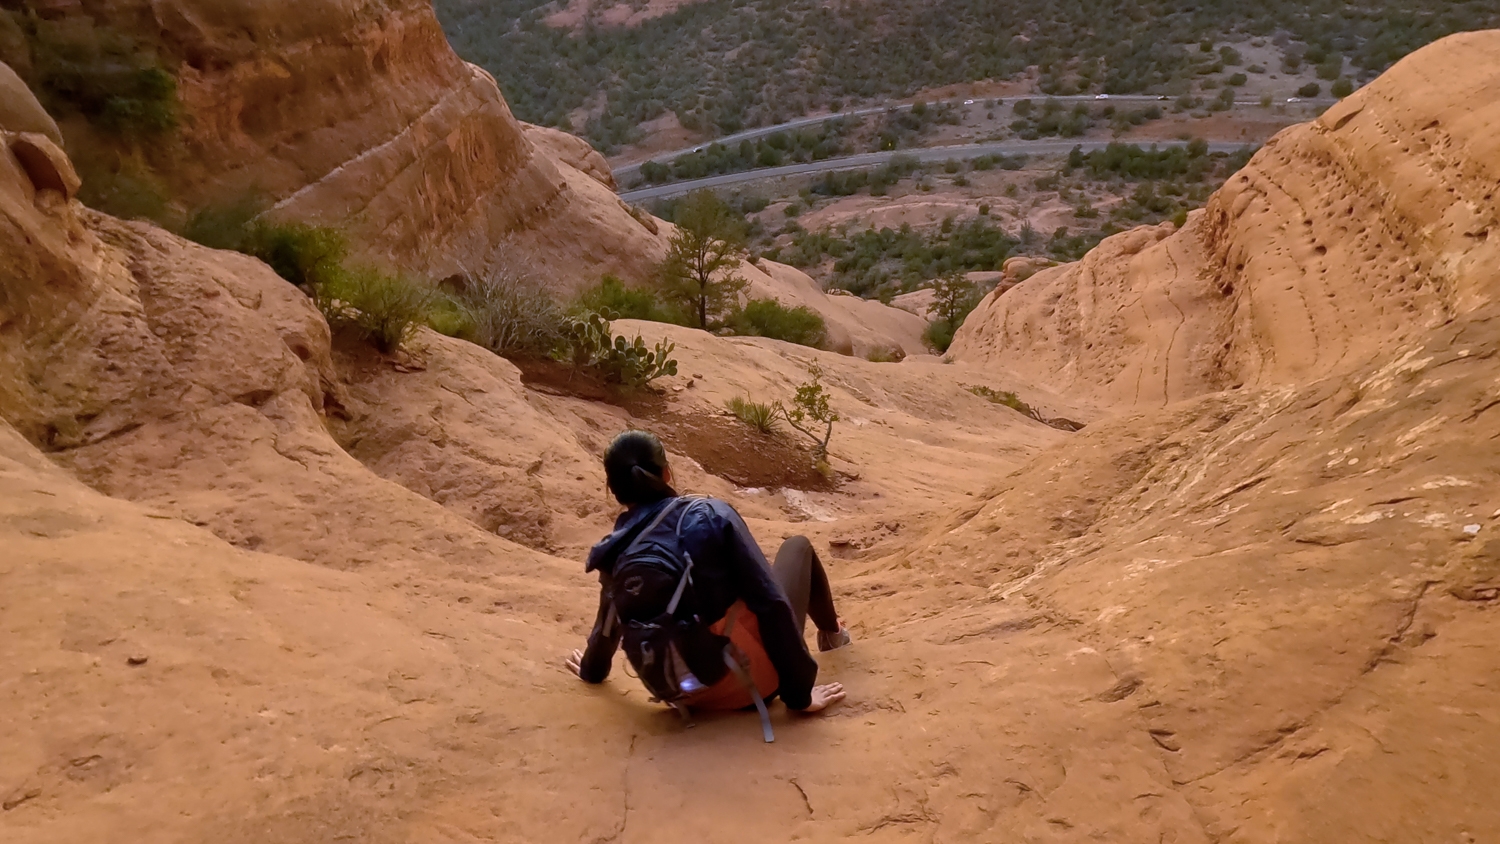
The Climb Down
Because we were losing sunlight, we wanted to make it back down to the main Bell Rock Trail before it gets dark. We definitely did not want to climb back down Bell Rock in the dark. Coming back down Bell Rock is more difficult. The 65-degree route is the best way to come down. There are multiple ways to climb down. Just make sure to look for good handholds and footholds and carefully plan your route. Even though it was an easy climb, it was very exposed. So we all were a bit nervous going back down. Fortunately, with group efforts, we all made it down safely.
The rest of the way down was a lot easier. There were times when I felt it was safer to sit on my butt and slide down. Also, there are multiple routes to go down so make sure to find the safest way for you. We made it down the main trail right before it got dark. It was perfect timing. We were so glad that we finally were able to climb all the way to the top of Bell Rock. It was an awesome experience. We wouldn’t have done it without the Adventure Crew. Big shout out to Anh, Vouy, Jvu, and Jessica. Thank you for joining us! Don’t forget to check out other cool hikes in Sedona. Check out our list of 9 amazing hikes in Sedona!
Previous
Next
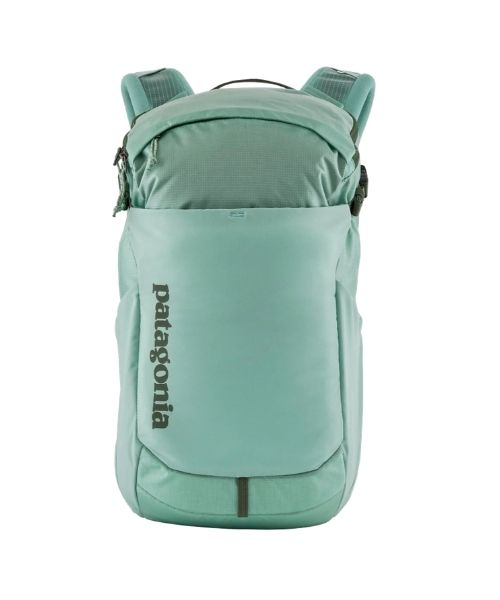
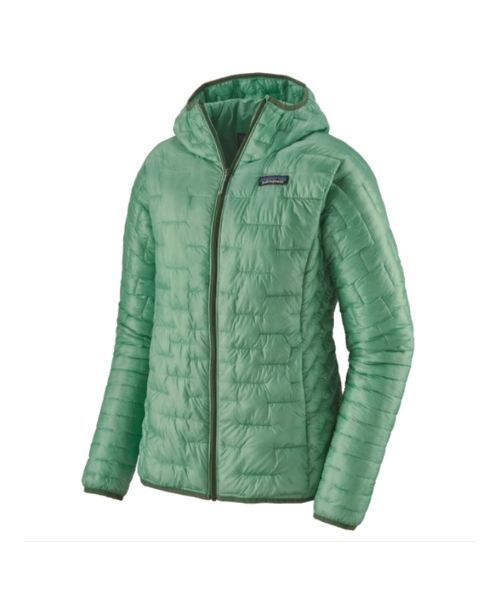
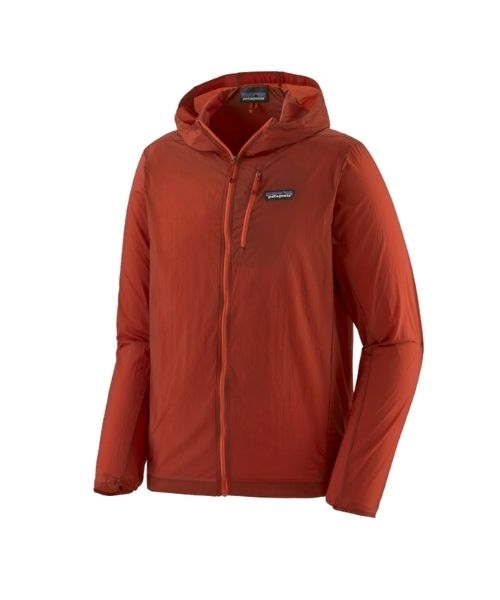
These are the gear that we personally use and find them helpful for this particular adventure. Don’t forget to check out our Recommended Gear section as well.
adventure gear
Shoes with good tractions are a MUST!! It makes it so much easier and safer to do this climb. We use La Sportiva Approach shoes for this. Vy’s version.
With the recent death on this scramble route you should really consider taking this information down. If people are capable of it, they will find the way up or they will find peter to guide them. It’s a low barrier of entry, either know/meet the right people, or know how to read rock. Either way, it’s not hard but it self selects for people who are capable.
This climb route is NOT exactly private and unknown. Many people are aware of it without our blog. It is also posted on other websites that don’t have any proper warnings. If someone actually read our blog in regarding to this route, they should know how dangerous this route is and not to attempt it without proper skills. We 100% emphasized on how treacherous it is. Just because something is dangerous for someone without proper skills doesn’t mean that we shouldn’t post them to guide those with the skillset to do it safely. This applies not only to this particular route but to canyoneering, via ferrata, difficult hikes and other dangerous adventures as well. We believe that our blog provide all the necessary info for those that want to attempt these dangerous adventures know exactly what they get themselves into and be better prepared to do them safely.


2 Comments
Mr. Sedont
With the recent death on this scramble route you should really consider taking this information down. If people are capable of it, they will find the way up or they will find peter to guide them. It’s a low barrier of entry, either know/meet the right people, or know how to read rock. Either way, it’s not hard but it self selects for people who are capable.
Vy
This climb route is NOT exactly private and unknown. Many people are aware of it without our blog. It is also posted on other websites that don’t have any proper warnings. If someone actually read our blog in regarding to this route, they should know how dangerous this route is and not to attempt it without proper skills. We 100% emphasized on how treacherous it is. Just because something is dangerous for someone without proper skills doesn’t mean that we shouldn’t post them to guide those with the skillset to do it safely. This applies not only to this particular route but to canyoneering, via ferrata, difficult hikes and other dangerous adventures as well. We believe that our blog provide all the necessary info for those that want to attempt these dangerous adventures know exactly what they get themselves into and be better prepared to do them safely.