Hiking Etiwanda Falls Trail, Complete Guide| Rancho Cucamonga, CA
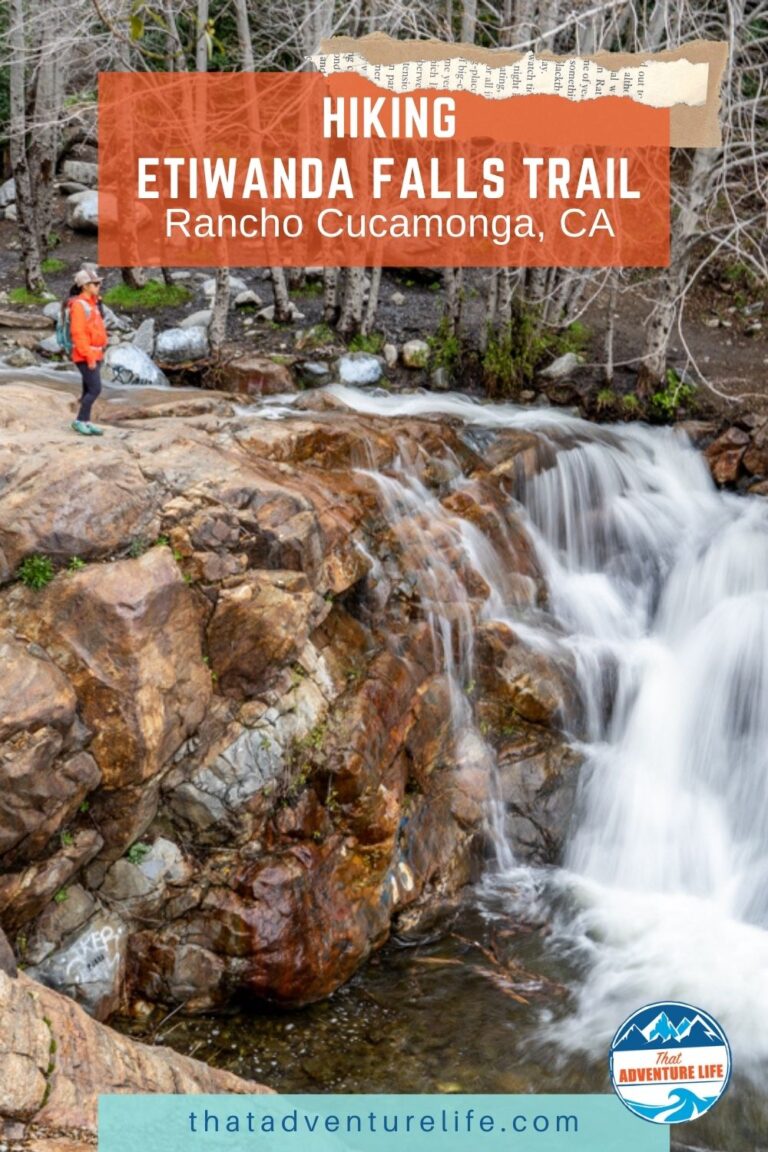
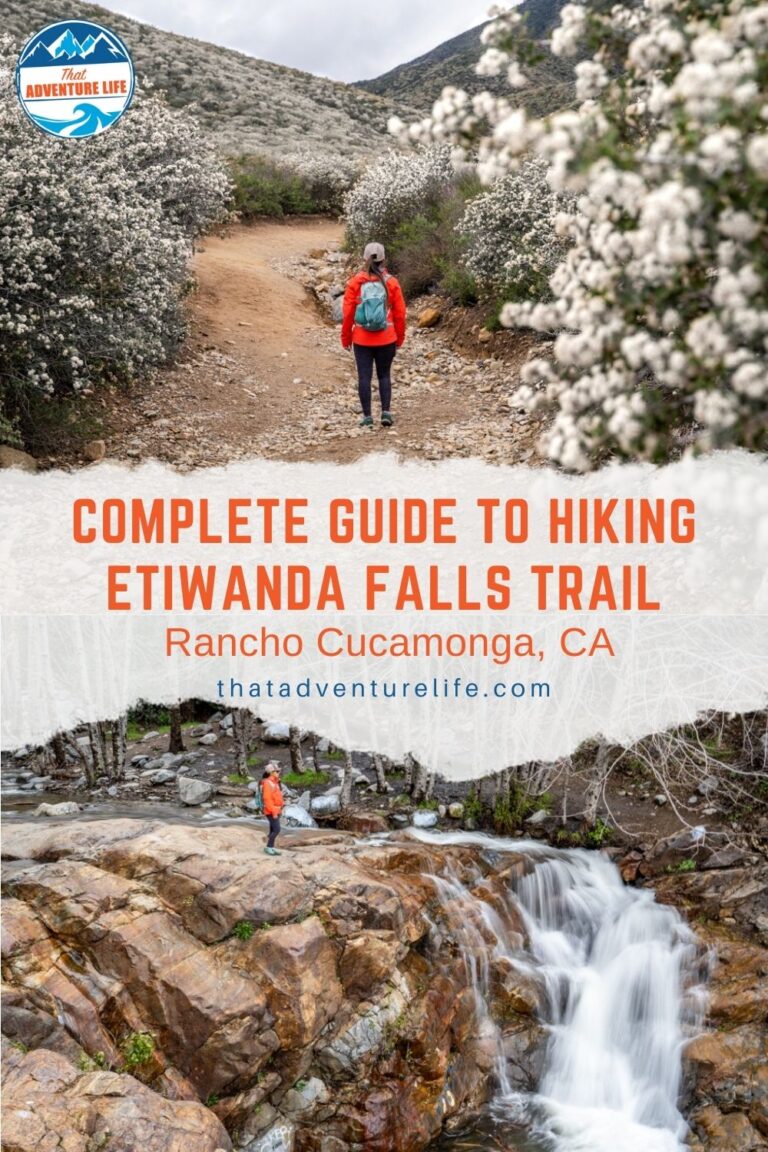
Despite its proximity to the city of Rancho Cucamonga, CA, Etiwanda Falls Trail gives you the feeling that you are miles away from civilization. As soon as you reach the waterfalls area, it’s like finding a secret paradise. Even though Etiwanda Falls is a popular trail, most of the time, you’ll be able to find a secluded spot along the creek for some peace and quietness. We love the Etiwanda Falls Trail because, besides the obvious waterfalls, you can also tailor the length of this trail if you want a bit more exercise. This trail is also especially spectacular after a big rainstorm and/or in the Spring when the wildflowers are blooming.
Note: Please make sure to respect this beautiful place and the surrounding areas. Always practice LEAVE NO TRACE. This means no loud music, no graffiti, no taking artifacts or fossilized items, and pack out what you pack in! Please help us protect this place for generations to come!
Two decent sized dirt lots at the trailhead. No street parking allowed
Restroom
There is no restroom
Fee
The hike is free but you’ll need to pay for parking. At the time we go, it is $3.25 for 4 hours. You can pay at the trailhead via your phone.
Important Things
Bring plenty of water and sunscreen – there is no shade, it can get very warm.
Check the Etiwanda reserve Facebook page for possible closures during periods of extreme weather (like after really heavy rains or triple-digit temperatures). The preserve might be closed
Expect big crowds on the weekends.
The gate closes at sunset so make sure to check the hours at the entrance so you don’t get locked inside the parking lot after they close the gate.
Distance
Out & Back Route: 3.4 mi R.T.
Small Loop: 4.5 mi Loop
Big Loop: 5 mi Loop
Elevation Gain
803 ft Out & Back
915 ft Loop
Level
Moderate
Time:
2-4 hours
Pet-friendly
You cannot bring your pets here.
Ideal Time
Winter and Spring are when the waterfall is at its fullest. It gets less impressive during the Summer. The summer can get very warm since the trail has no shade most of the way. Doesn’t matter when you go, get there early because it is a very popular hike.
Weather
Video
Etiwanda Falls Trail Route Options
There are 3 different route options that you can hike. The most popular and shortest route is the out and back which is about 3.4 miles. Basically, you follow the main trail to get to the waterfalls and then hike back the same way. The second option is what we call the Small Loop. This one turns your hike into a loop. It is longer, 4.5 miles, and will take you past the interesting Early Settlers Ruin. The last option is the Big Loop. The Big Loop shares a short section with the Small Loop, yet continue on and then loop back through the dirt road right before the gate for the main trailhead. It is about 5 miles.
Getting to the Trailhead
Etiwanda Falls Trail is located in the North Etiwanda Preserve in Rancho Cucamonga, CA. You should be able to find your way here using your GPS devices. We also put the address above. Even though there is plenty of parking here, the Etiwanda Falls Trail is very popular, especially on the weekends. Therefore, come early if you’re planning to hike this trail. Also, the only place you can park is in the parking lot. You will be ticketed or even towed if you park along the street. There is a small charge to park here. At the time we go, it is $3.25 for 4 hours (half day). You can pay online using the QR code that is posted all over the parking lot.
Previous
Next
The Adventure
The Start of the Etiwanda Falls Trail
After we parked and paid our due, we headed toward the trailhead. The most direct and shortest route to the waterfalls is to go straight forward through the gate. This is also the route that most people will be hiking. The route to the left is the Big Loop Route, which is at least 1.5 miles longer. We actually did the Small Loop this time around, so we went straight. As soon as we left the parking lot, we started our ascend on the Etiwanda Falls trail, headed toward the beautiful mountain range. This trail is quite straightforward, as long as you follow the main, wide trail.
Previous
Next
First Junction
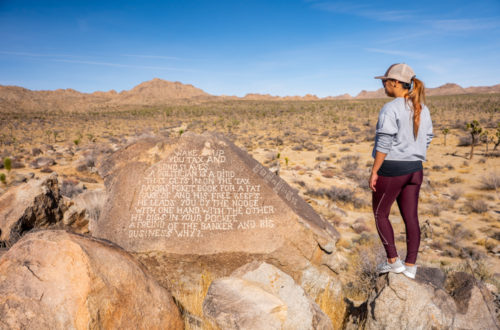
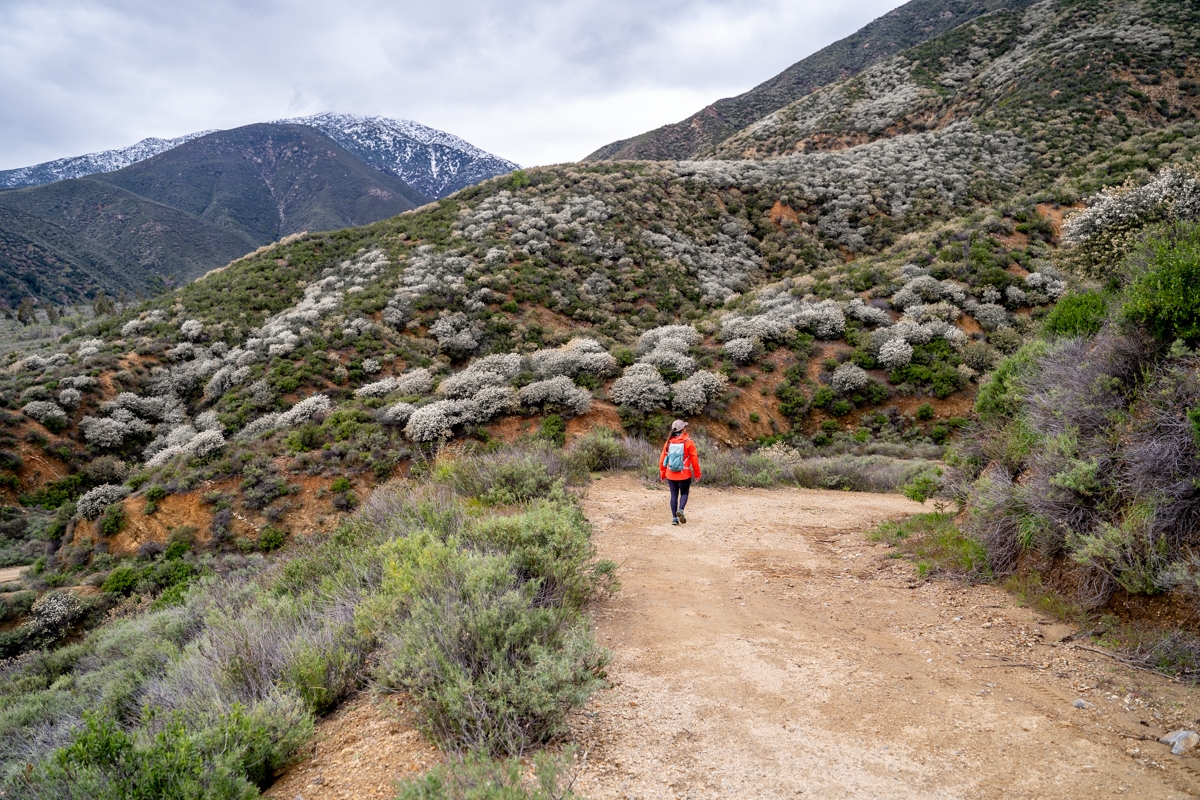
At about 0.57 miles, you’ll come to the first junction. Going left will start you on the Small Loop option while going right takes you to a small detour to a viewpoint and informational signs. We checked out the detour but it wasn’t anything exciting. You won’t miss anything if you decide to skip this detour. If you decide to go, it is only about 500ft to get there.
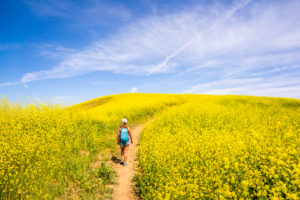
As the Etiwanda Falls trail climbs higher, it also gets rockier and the views also become even more spectacular. In addition, in the Spring, there were tons of these beautiful white wildflowers lining both sides of the trail. It was very beautiful. These flowers were also blooming all over the hillsides.
Previous
Next
Second Junction
At about 1 mile, there is another junction, marked by a tall metal sign. If you want to go to Etiwanda Falls, keep going straight. If you turn left here, you can either complete the Small Loop Option or continue on to the Big Loop. Once we passed this junction, it was a short distance until we reached a very interesting structure that looks like a strainer that strains the water. The echoing rustling sounds of the water rushing against the metal was very therapeutic. We couldn’t help to stop here to record the audio for our relaxing sound channel. If you haven’t checked it out yet, make sure you do. After this strainer, the trail immediately curves to the left with more climbing. Soon enough, we reached the end of the trail at the waterfalls. In fact, you could hear the waterfalls roaring through the canyon.
Previous
Next
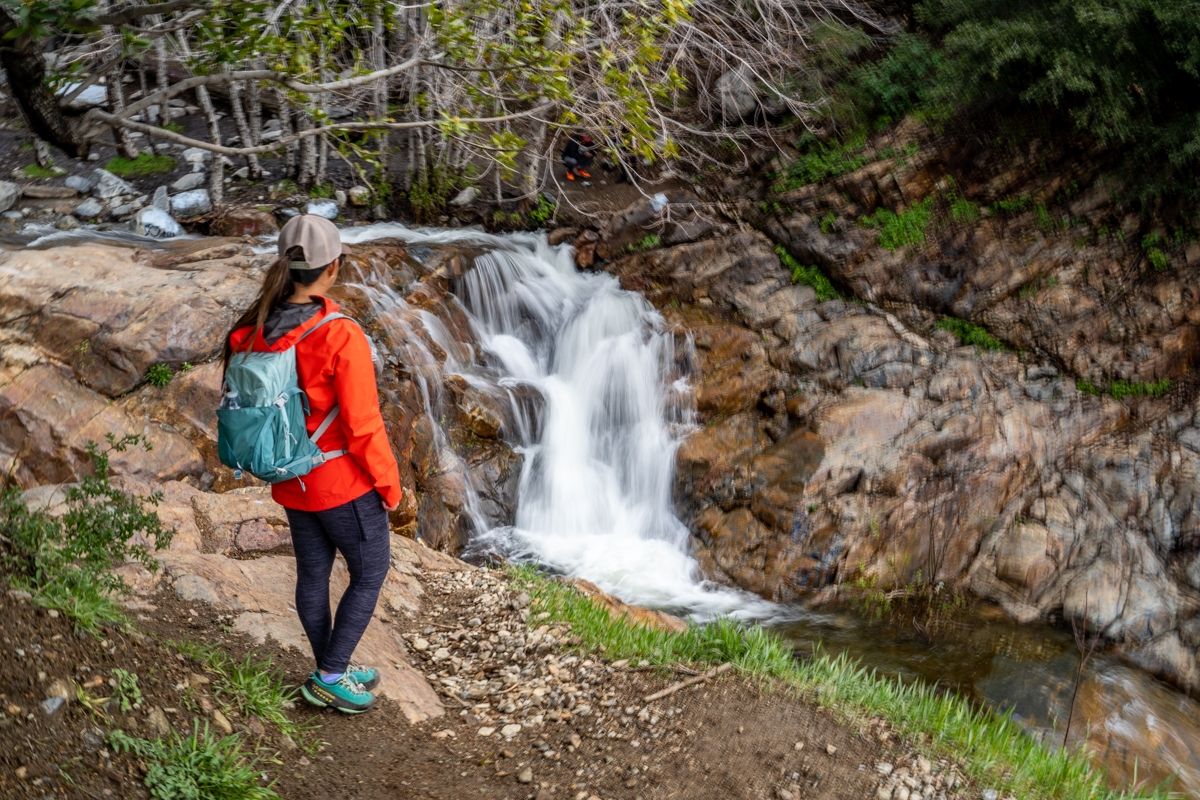
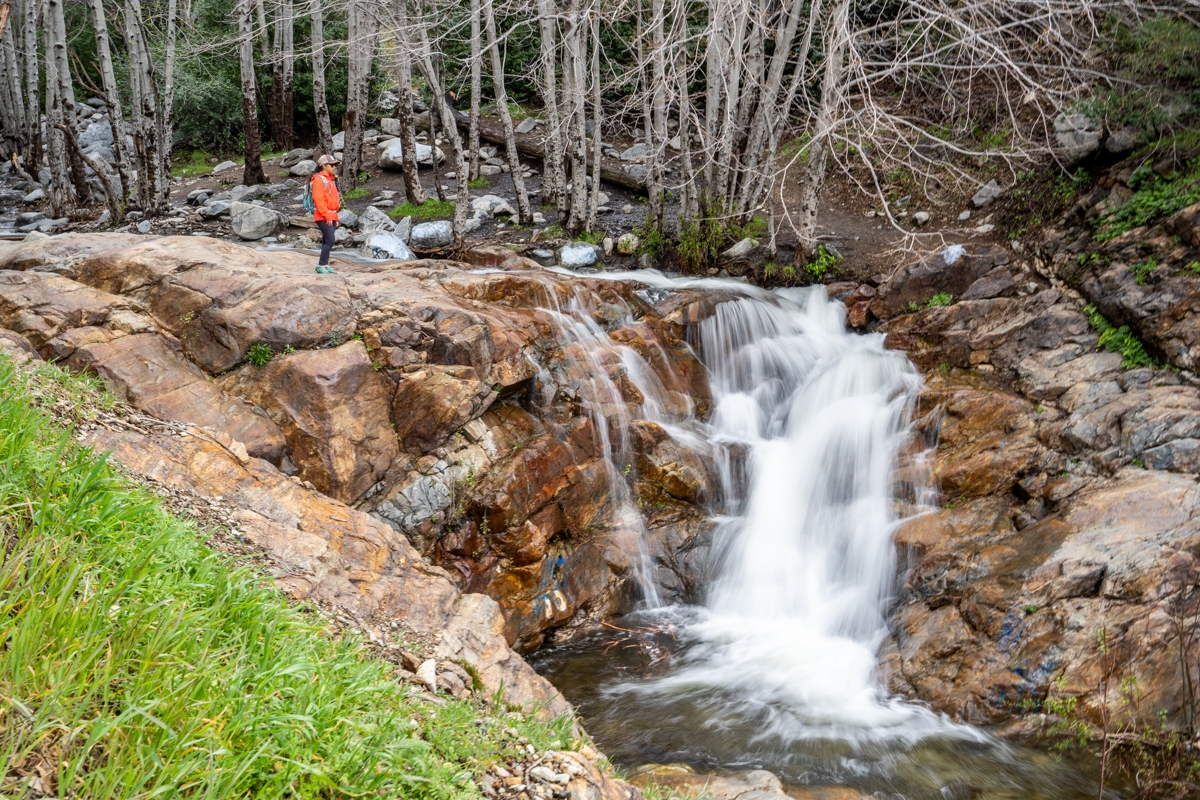
The Eitwanda Falls
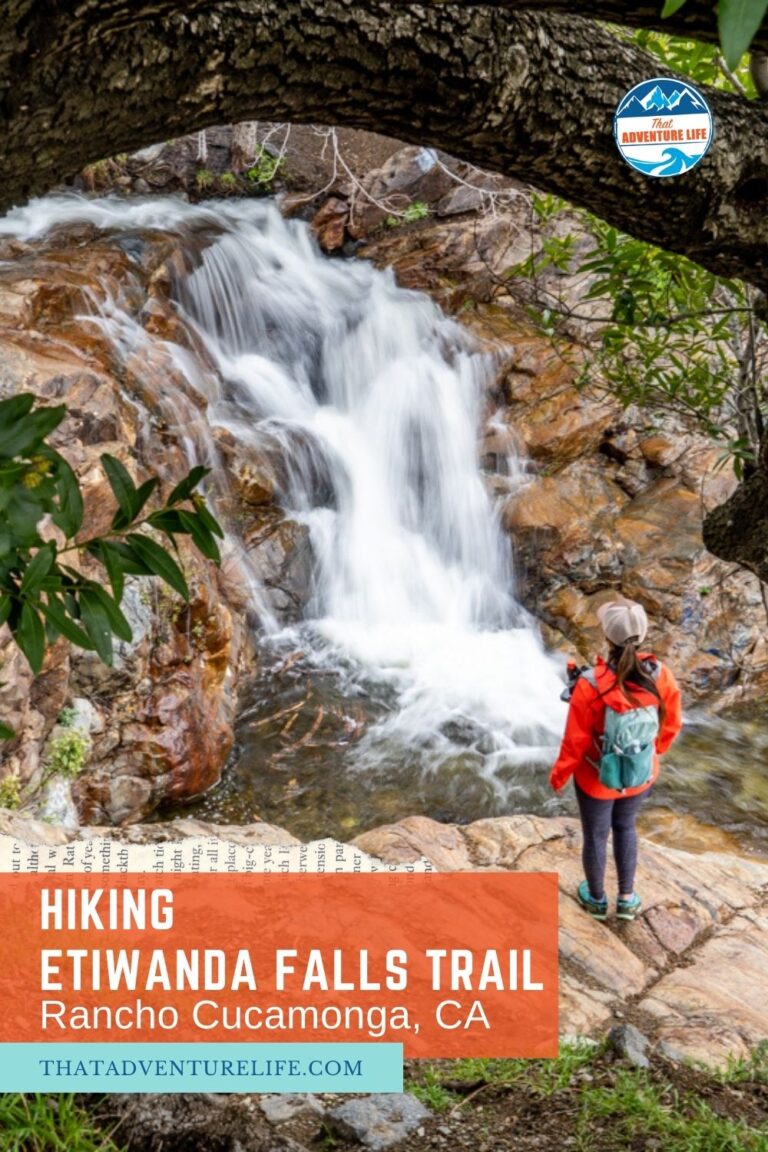
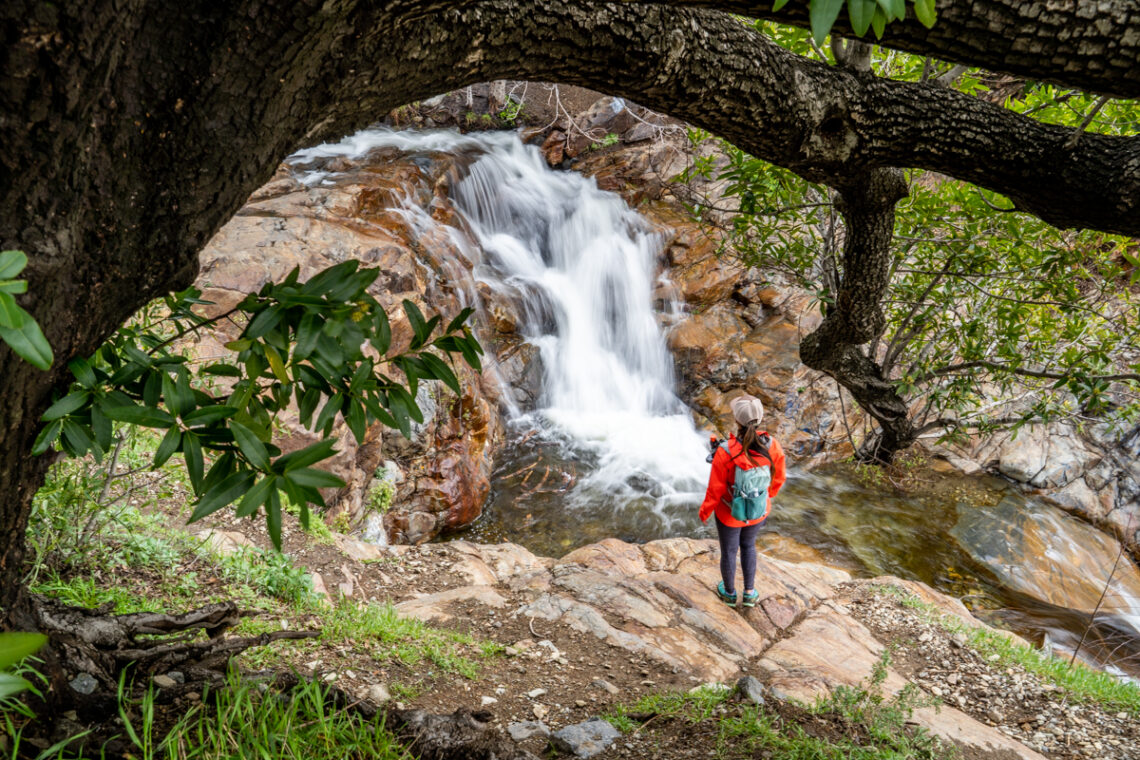
The waterfalls themselves are impressive, especially after a rainstorm. There are multiple big waterfalls cascading down. However, you could only safely see the first two. Please be careful when exploring on the rocks near the waterfalls. They are very slippery from all the water. Also, don’t try to climb down to the bottom. It is extremely dangerous.
Besides the main waterfalls, the creek and the side canyon is also worth exploring. There are many smaller cascades, scattering up and down the creek. They are quite beautiful as well. Of course, this is also depend on the the flow of water. Since it is a popular trail, there normally many people here, however, we usually always able to find a secluded spot to ourselves up the creek. If you don’t mind the freezing water, you can also play in it.
Previous
Next
The Start of the Small Loop
Once we were done taking tons of photos, we headed back the same way we came from. Although this time, we decided to complete our hike through the Small Loop Option. If you want less crowd, the loop options are the way to you. At the second junction (the closest one to the waterfalls), we turn right (on the way back) and continue our way. The trail for the Small Loop immediately starts ascending. And here we thought we were done with the climb.
After a short climb, we reached a fork. This is where you need to turn right and follows the trail downhill. The trail then switches back and forth before reaching another fork with a big stone trail marker. From here, if you go straight, you’ll continue to the Big Loop. If you go left here, you’ll continue on the Small Loop, meets back up with the main trail and then follow the main trail back to the parking lot. We turned left here.
Previous
Next
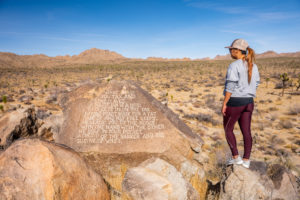
To the Early Settler Ruin
About 0.4 miles after turning, we reached a short detour to the ruin of the Early Settlers. It is an interesting metal structure, protecting what left of the old ruin, the stone fireplace and foundation. We definitely recommend check this out. It was very intriguing. After the ruin, it is about 0.5 miles before we reached the junction that meet back up to the main trail. Once here, turns left to follow the trail downhill, back to the parking lot.
We love Etiwanda Falls Trail. Not only we get to see the beautiful waterfalls and wildflowers, we also get to adjust the length of the hike due to our mood. If you love waterfalls, check out 3 Sister Falls. Some of our other favorite Southern California hikes are Cuyamaca Peak, Stonewall Peak, Eagle Rock Trail and Potato Chip Trail.
Previous
Next
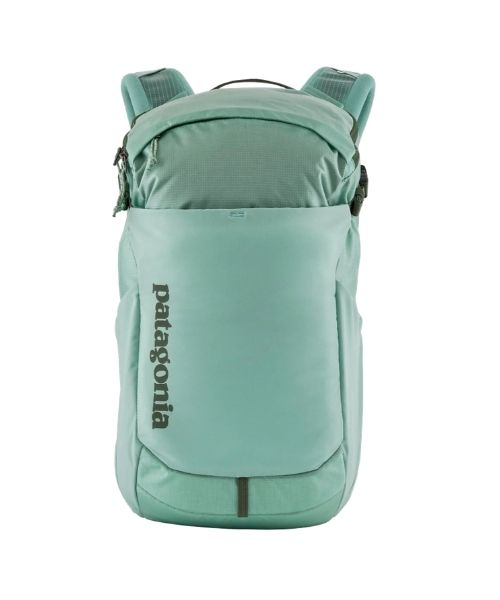
These are the gear that we personally use and find them helpful for this particular adventure. Don’t forget to check out our Recommended Gear section as well.
adventure gear
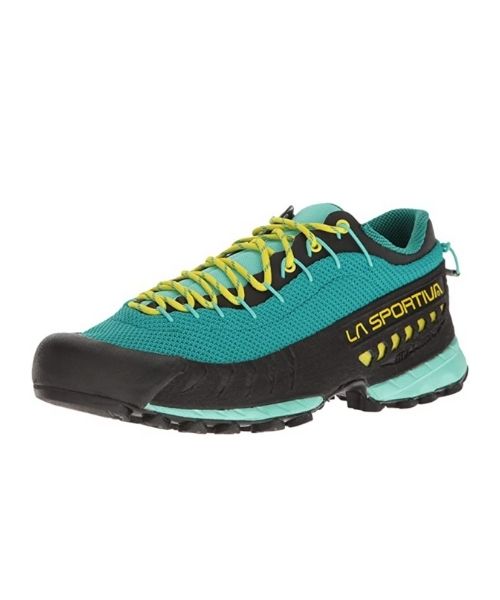
Make sure to bring good hiking shoes, preferable high top for the ankle protection against the rolling rocks. We use the La Sportiva shoes. Vy’s version.


