Quick Guide on Canyoneering S’mores Canyon (Frye Creek Canyon) | AZ
S’mores Canyon a.k.a Frye Creek Canyon near Thatcher, Arizona has been on our canyoneering to-do list for a few years. It is a super fun swift water canyon with a big payoff for a very easy approach. S’mores Canyon (Frye Creek Canyon) has over 10 rappels, many waterslides, and a fixed rope traverse, all packed into less than a mile of polished granite. That said, this canyon is more suitable for intermediate canyoneers due to the slick pour-offs, sloped canyon walls, and dicey anchor locations. It also can be dangerous during high water flow. The water flow at around 1cfs is perfect for a fun day. When the flow increases to 1.5cfs and higher, the canyon can get aggressive in certain spots. If that’s the case, it should only be approached for canyoneers that are experienced with running heavier Class-C canyons.
Disclaimer:Please respect the area and minimize the impact on the environment while canyoneering. Canyoneering is a dangerous activity. Please only attempt this if you’re either very experienced, go with an experienced group or a guided tour. The conditions of the canyons are ever-changing depending, you will need to adapt or adjust your route accordingly. Even though we try to be as accurate as possible, there is no warranty as to the accuracy, timeliness, or completeness of the information provided on this site. Please use the information on here solely at your own risk.
There is a dirt lot next to the Reservoir where you can park your car. Shuttle parking lot is up the road before the metal gate.
Restroom
There isn’t any restrooms here
Important Info
Because the water flow levels can get very dangerous in this canyon, always check the water level before going. If it’s around 1.5 cfs or lower, it should be a good, fun day. When the flow increases over 1.5 cfs, the canyon can get pushy in certain areas.
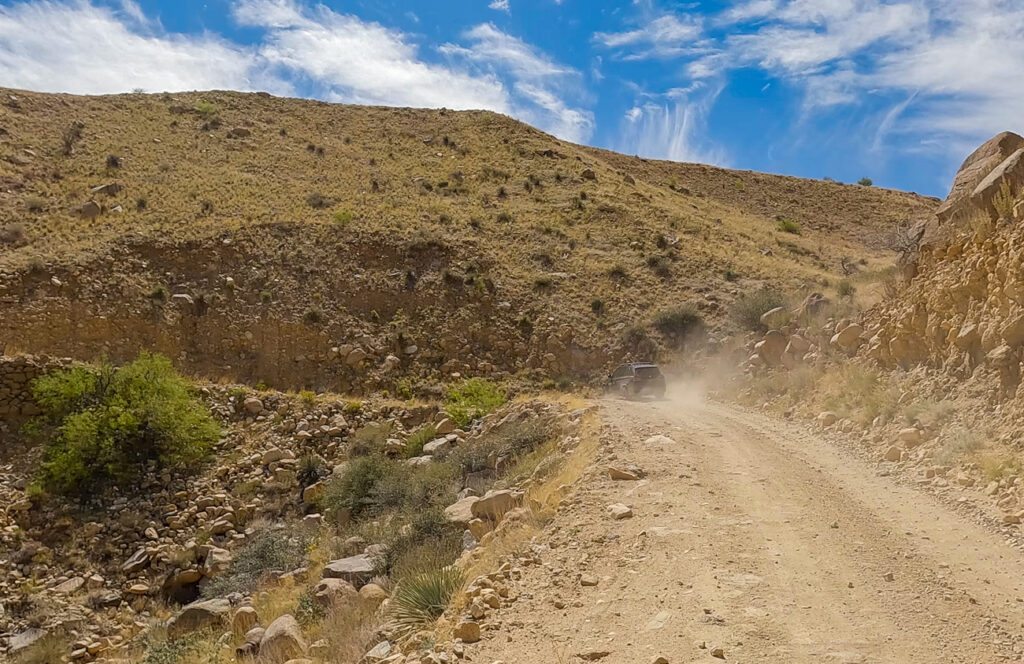
To get to the start of the S’mores Canyon (Frye Creek Canyon) is quite straightforward. You should be able to get driving directions to “Frye Mesa Reservoir” for your parking location. You should be able to get to Frye Mesa Reservoir on a standard car, however, high clearance is recommended. Once you get there, there are 2 options for the approach.
Option 1
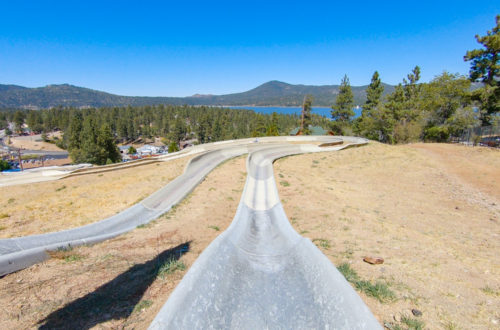
Option 1 is to park downhill at the reservoir and hike up the dirt road that you just came in then go left up the 4WDs road for about 1 mile until you reach a small parking area right before the metal gate. At this 4WD parking area, you can get a glimpse of the canyon below. This is also where you can make any emergency exit if the flow is too much for your group.
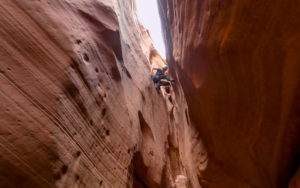
Once you pass this metal gate, hike a bit further until you see a worn switchback trail cut off to the left. Take this trail up, around, and down to the watercourse. Once down the watercourse, go left for a short distance until you reach an open slick rock area. This is where you can suit up to start S’mores Canyon (Frye Creek Canyon). Don’t forget, since the whole canyon is polished granite, it is extremely slick so make sure to be careful.
Previous
Next
Option 2
If you have high clearance 4WDs, you can always set up a shuttle to save that 1-mile walk uphill. The 4WD parking area is right before the metal gate
Technical Section:
The technical section of S’mores Canyon (Frye Creek Canyon) is divided into 2 sections, upper and lower. The end of Upper Section ends at a shallow pool directly beneath the 4WD parking. This is a great spot for an emergency exit if you need one.
Upper Technical Section
Rappel 1
The anchor for the first rappel is located RDC on the rock wall, after a short series of small pools on the slick rock area. There is also an anchor on the tree near the beginning of the slick rock area. This tree anchor is used when it is super high flow. We also use this to set a safety line to get to the first anchor. It is not necessary but helpful if you have beginners with you.
Be careful not to slide right into the pool right before the pour-off without setting up your rappel first. It’s hard to get out if you’re not on rope. As long as the rappel is set up, you can rappel from the pothole. The first rappel of S’mores Canyon (Frye Creek Canyon) is about 60 feet (or 30 feet starting at the pothole).
Previous
Next
Rappel 2
Rappel 2 is about 40 ft and immediately after rappel 1. Its anchor is RDC. Getting to this anchor is not that bad, however, the polished granite can make things a bit difficult so make sure to be careful. At the bottom of rappel 2 is a shallow pool, This is where we found the cutest little frogs. They blend in pretty well with the rocks so we didn’t notice them at first.
Previous
Next
Rappel 3
Between Rappel 2 and Rappel 3 is a fun little slide into a pool that leads to a big pour-off. The anchor for Rappel 3 is right above this pool, RDC, on a slippery and sketchy slope so make sure to clip in. Jessica was a trooper and volunteered to go up to set up the rappel. Rappel 3 for S’mores Canyon (Frye Creek Canyon) is 2 stages, about 80ft. The first stage drops into a deep pool. At first, we didn’t realize that this was a 2-stage rappel so when we sent Chris down first to explore, we had to lengthen the rope.
Once the rappel is set, Anh and Mary Lou, our canyon leaders, also set up a safety rope to get the rest of our group up to the anchor safely. Since we have some weaker swimmers, we also had Dustin stay in the pool at the bottom of the first stage to make sure everyone was able to get over the ledge of the pool.
Previous
Next
Rappel 4
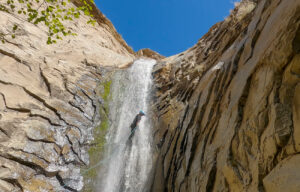
The anchor for Rappel 4 is LDC, immediately after rappel 3. It is about 70ft down a heavy waterfall, into a deep pool. We learned that wearing sunglasses (or goggles), and a hat under your helmet help keep the water off your face. If you’re not experienced, you can always send your bag down first before rappelling. This will help you from tipping upside down.
Previous
Next
After Rappel 4
After Rappel 4, there are a series of pools before leading to a short slide. We set up a handline so everyone can get down the short slide easier. After this short slide, there are a few more tiered pools and small but fun slides before we got to the fixed rope traverse section.
Previous
Next
Fixed Rope Traverse
This fixed rope traverse on S’mores Canyon (Frye Creek Canyon) is on the high LDC. This section is quite sketchy because of how slippery the polished granite is, so make sure to clip in as you make your way around it. At the other side of the sideway rope, there is a rebar where you can set up your rappel if you prefer. Otherwise, you can go past the rebar and make your way down below.
If you’re up for sliding, instead of the fixed rope traverse, you can actually slide down the 2 stages, a 50ft slide. We had no idea that you can do this until our buddies Kelly and Ashley told us about it way after. Ashley said this was her favorite slide in the whole canyon. If you decide to do the slide, make sure that it is safe before doing so. Also, there is recirculating hydraulic before the lip if there’s high flow.
At the bottom of the traverse of S’mores Canyon (Frye Creek Canyon) is the optional bailout point via a use trail on the left. This will lead you back to the 4WDs parking area. If the flow is too high or if you get too cold, this is a good emergency exit. It is because the lower section of the canyon is a lot narrower with little sunlight and all the rappels are directly in the water flow so you will get very cold.
Previous
Next
Upper Technical Section
After the fixed rope traverse, we made out way walking down the creek. It is about 30-60 minutes or so of walking before we get to our next rappel, rappel 5. Along the way, there are some very fun slides, including a big slide that has a provided handline for a controlled slide. This big slide gets faster the closer you get to the bottom. The handline is not quite long enough so make sure you hold on tight near the end so you don’t get hurled over the ledge. After this big slide, there are some more creek crossings before we get to Rappel 5.
Previous
Next
Rappel 5
The anchor for rappel 5 is located LDC. It is a short two-stage, about 25ft. If you want to avoid water, stay on the canyon left. After rappel 5, there are a few more pools and slides before we got to Rappel 6.
Previous
Next
Rappel 6
Rappel 6 of S’mores Canyon (Frye Creek Canyon) is about 20 ft into a shallow pool. The anchor is RDC.
Previous
Next
Rappel 7
It is short, about 20ft but a little awkward. You’ll get wet as well!
Previous
Next
Rappel 8
This rappel is about 80ft with two stages, with a pool at the bottom of each stage. The anchor is bolted LDC. It can be tricky. First, you need to stem your way over a chockstone then rappel down the first stage into the first pool. Then, you’ll need to let more rope through your rappelling device as you swim over to the other side. After that, try to climb back up to the lip so you can rappel down the second stage.
Previous
Next
Rappel 9
Rappel 9 is about 50ft with anchor bolted LDC. It is an interesting rappel because it starts with a slide that turns into an overhang. The flow here is heavy, yet drops into a shallow pool at the bottom. There are a few more pools before getting to rappel 10. If you have a bigger group, the wait to get on rappel 10 can feel very long. You mostly have to stand in the water, waiting for your turn. It could get very very cold. We were all freezing at this point
Rappel 10
This rappel is about 50ft. Getting to the anchor for this rappel is a bit sketchy so be careful, especially if you’re tired at this point. If you hug the LDC, you could stay out of the water. We were all thankful for that!! It was getting dark as we rappel down this last one so we couldn’t wait to get back to the car
Exit
Finally!! You’re done with S’mores Canyon (Frye Creek Canyon). The exit is very easy. After the final rappel, make your way down the watercourse for a short distance, hugging the left side. You should soon find a worn trail to follow along the reservoir that leads to the parking area.
These are the gear that we personally use and find them helpful for this particular adventure. Don’t forget to check out our Recommended Gear section as well.
adventure gear
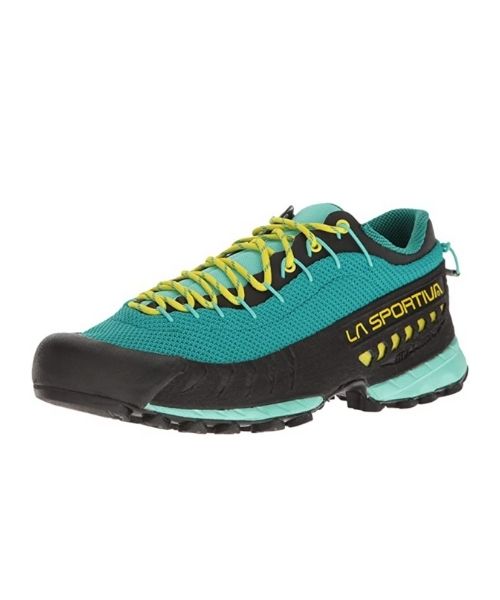
We love these La Sportiva TX3 approach shoes! They have pretty good traction on wet rocks and muddy areas. They also drain well, especially when you have to wade through water.
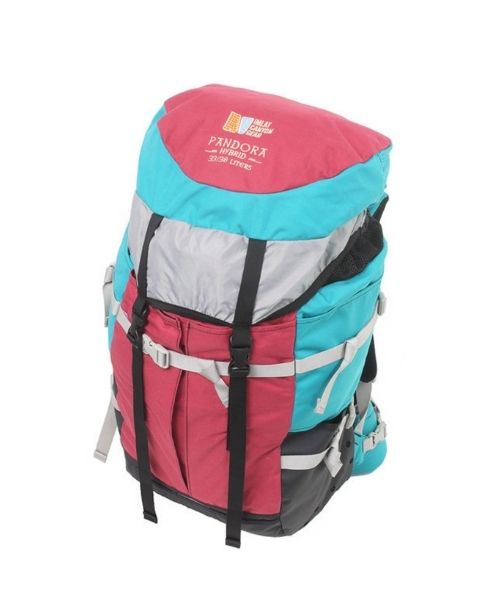
Canyoneering bags are essential, especially for wet canyon. This Imlay Pandora Bag not only has tons of drainage holes, it’s also very well-made. It’s also perfect for shorter people like Vy with heigh range from 5ft – 5ft 4
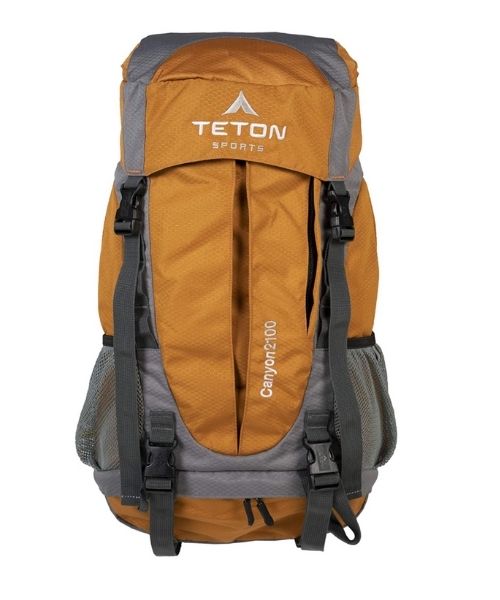
Teton Sport makes a pretty decent beginner canyoneering bag. It has a few drainage holes that will be useful for wet canyons. What we love about this bag is the price and the amount of pockets it has!
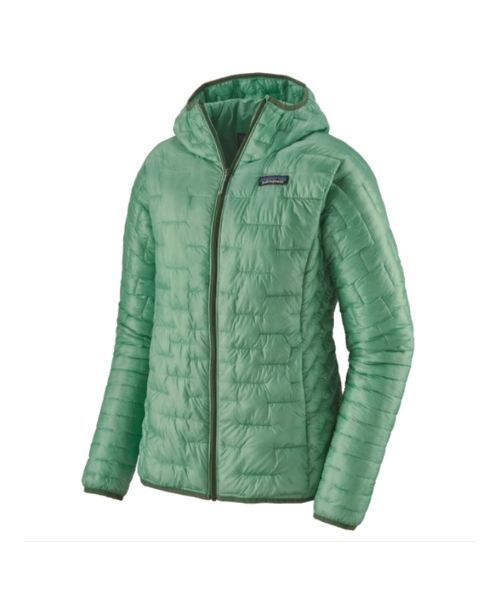
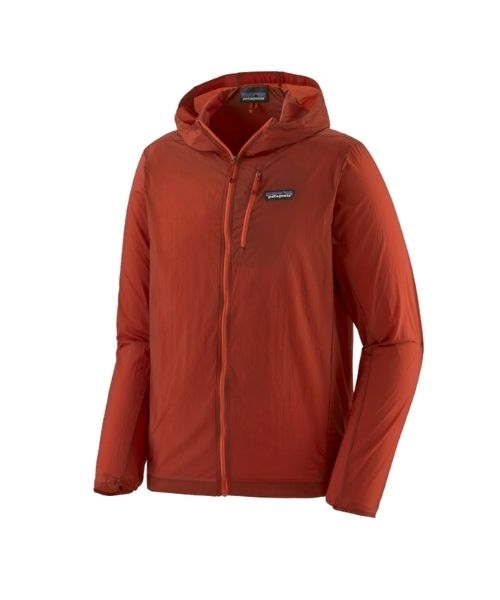
It can get cold when. you’re deep in the canyon or later in the day. We love our packable Patagonia Puff Jackets! You can get Vy’s version here, and Dustin’s version here.


