Hiking Angels Palace Trail in Kodachrome Basin, A Photographer’s Paradise
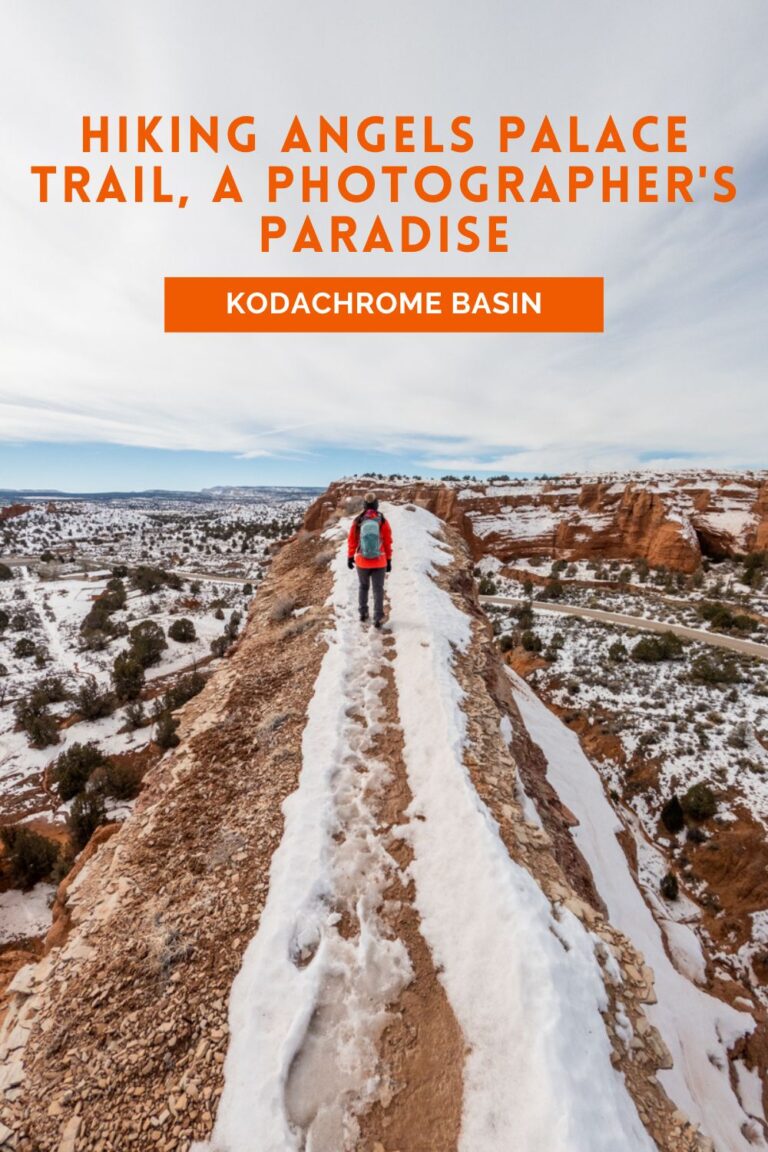
For our first time visiting the Kodachrome Basin State Park in Utah, we wanted to hike some of the best trails here. The one recommendation that we kept hearing is the Angels Palace Trail. It is a short and easy hike, yet, the Angels Palace Trail is full of beautiful overlooks, unexpected ridgelines, and geological wonders. This trail has tons of photo ops and is known as a paradise for photographers. It is beautiful year-round but especially beautiful in the winter, under the sparkling snow. So of course, we had to make Angels Palace our first adventure here.
Note: Please make sure to respect this beautiful place and the surrounding areas. Always practice LEAVE NO TRACE. This means no loud music, no graffiti, no taking artifacts or fossilized items, and pack out what you pack in! Please help us protect this place for generations to come!
There are restrooms at the Oasis Group Campground, where the parking is.
Fee
There is a fee to enter the Kodachrome Basin State Park. For day-use, it is $10 per vehicle (max. 8 people per vehicle). This might change.
Important Things
Kodachrome Basin State Park opens from 6am – 10pm.
Distance
1.5 miles R.T.
Elevation Gain
226 ft
Level
Easy/Moderate
Time:
45 minutes – 2 hours
Pet-friendly
You can bring your pet, but they have to be on leashed.
Ideal Time
Springs and Falls are the best time to visit. Winter can be very beautiful but the snow might make the condition challenging.
Weather
Video
Getting There
The Angels Palace Trail is located inside the Kodachrome Basin State Park in Cannonville, Utah. It is only a short drive from the beautiful Bryce Canyon National Park and Capitol Reef National Park. You should be able to plug in “Kodachrome Basin State Park” on your GPS device for directions. Once you pass the visitor center, it is about 1 mile on the main road to the Angels Palace Trail trailhead. This trail is across the street from the Oasis Group Campground and also the parking lot, where you can park before starting your adventure.
The Adventure
The Start of the Angels Palace Trail
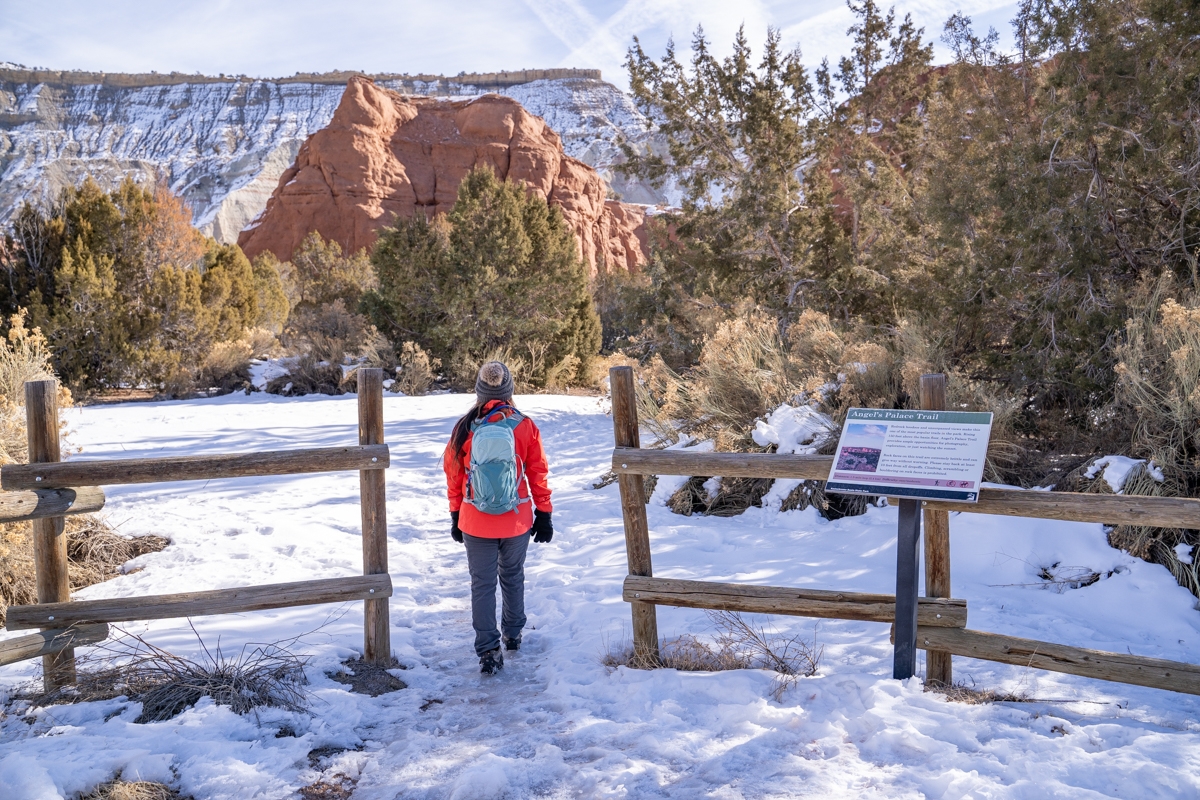
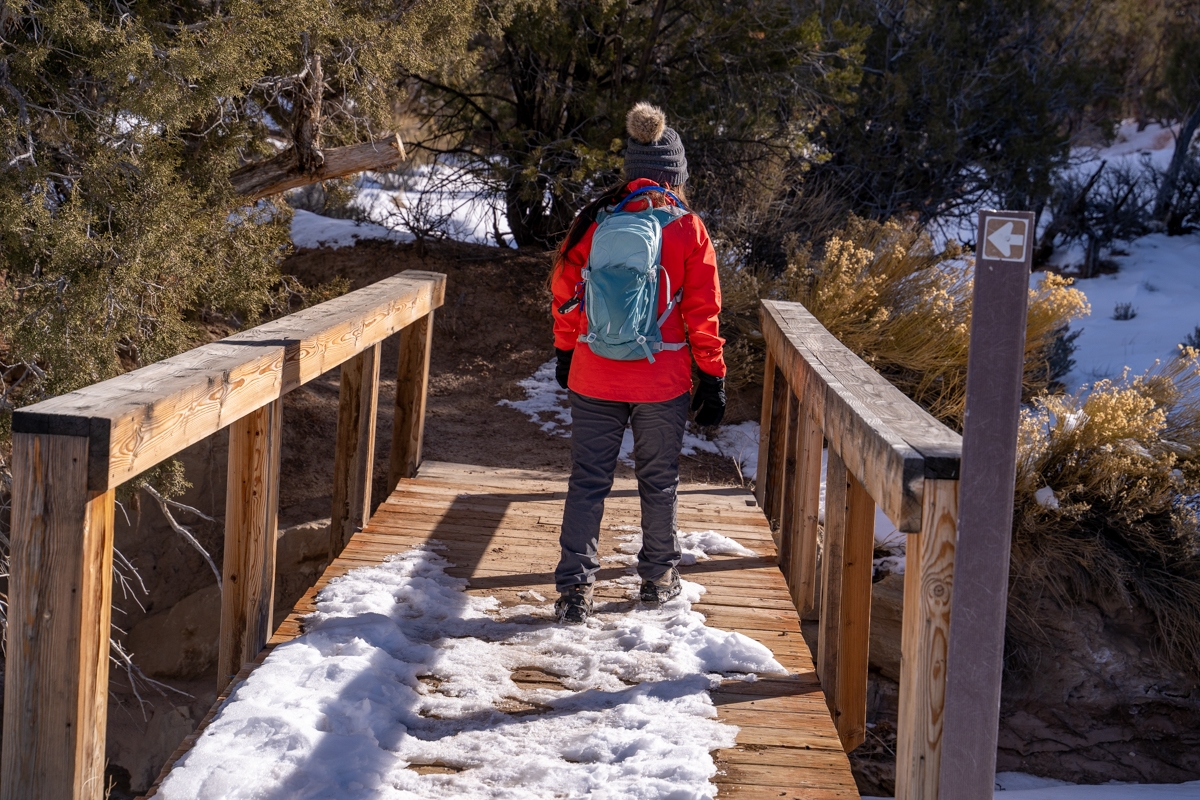
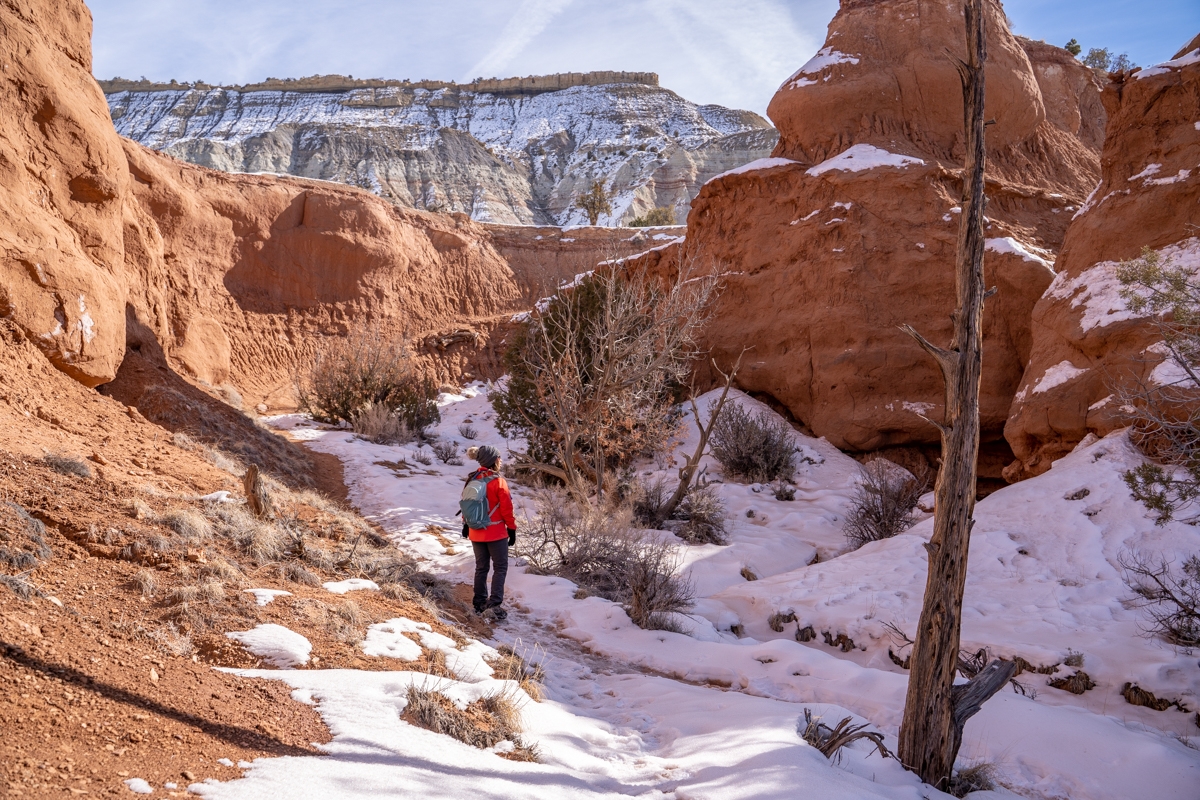
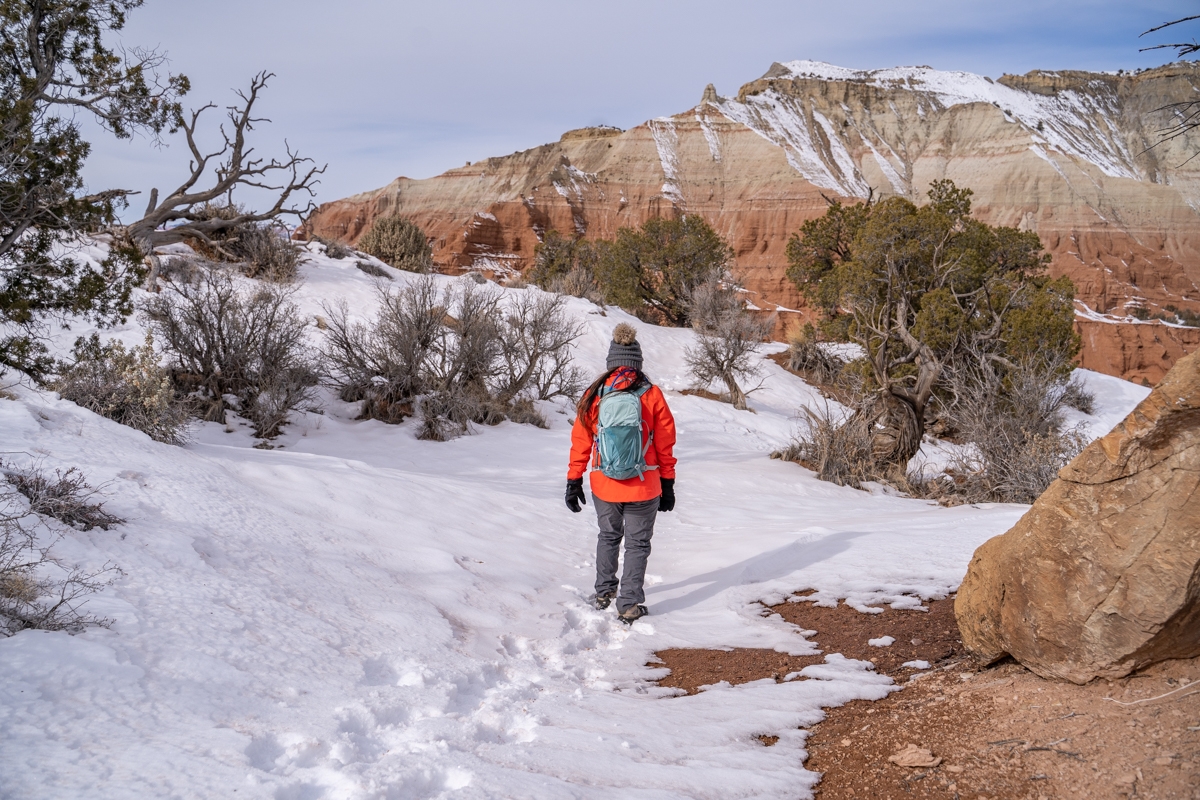
After parking, we crossed the street toward the start of the Angels Palace Trail. There is an informational sign in front of it so you’ll know you’re at the right place. At the opening, we excitedly crossed over it to follow the packed down path leading toward the canyon. Soon after, the trail crosses over a wooden bridge before entering the canyon. Since we did this hike in the winter, the trail was icy and slushy in some spots. If you’re hiking this trail in the winter, we recommend wearing crampons or micro-spikes. It will give you that added traction and keep you from slipping.
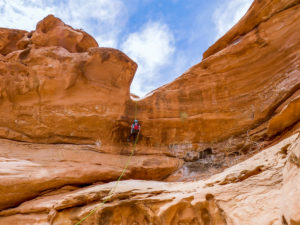
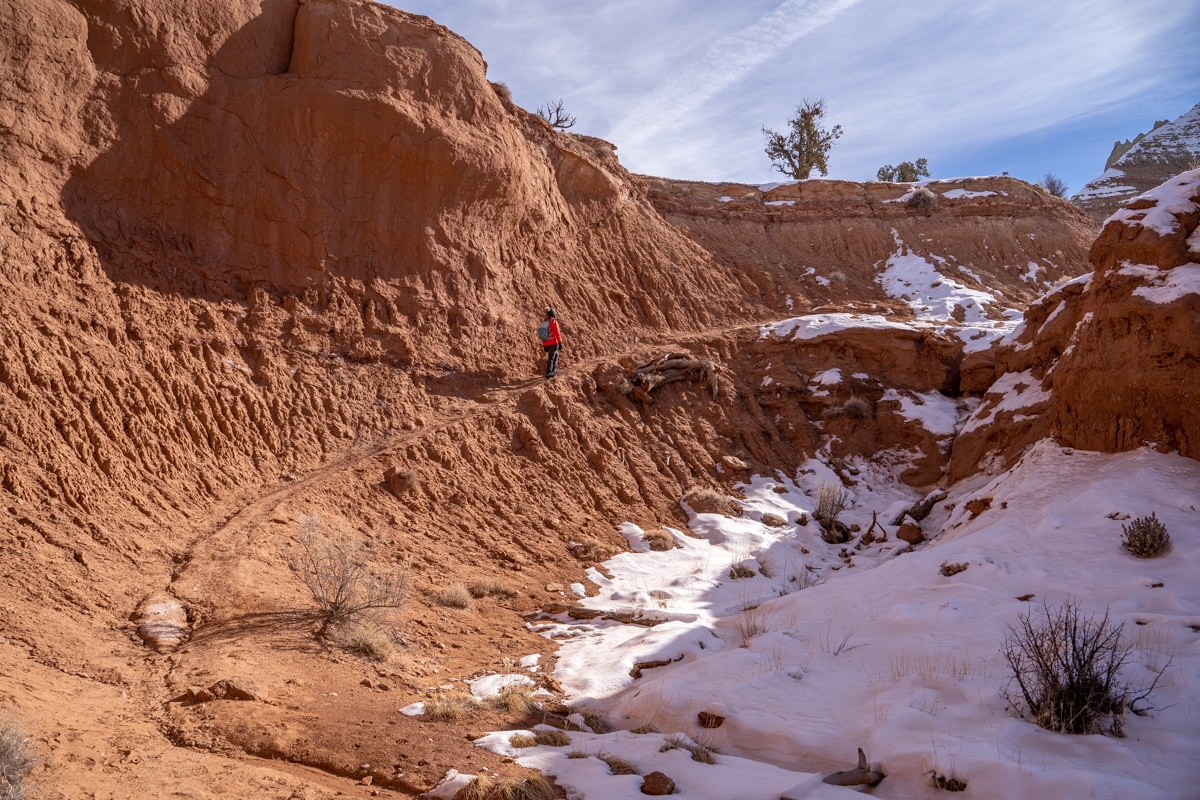
The trail weaves through the canyon floor for a short distance. Soon, we came upon a narrow ledge on the left side of the canyon that climbs up the hill. This ledge can be a bit challenging for some hikers, especially on the way back down. There is a reasonably steep drop-off on one side. The climb continues to the top of the hill. This part right here was extra icy when we went, so be careful.
Previous
Next
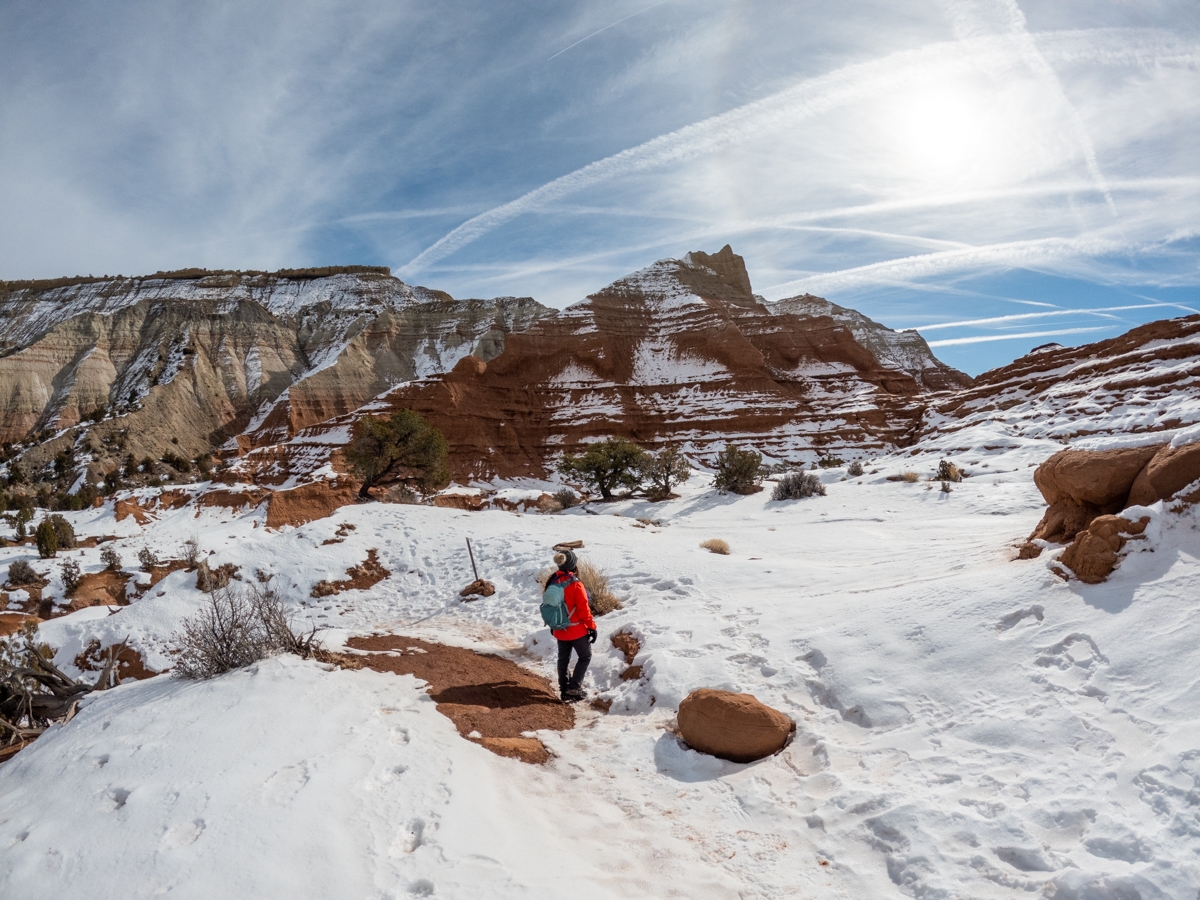
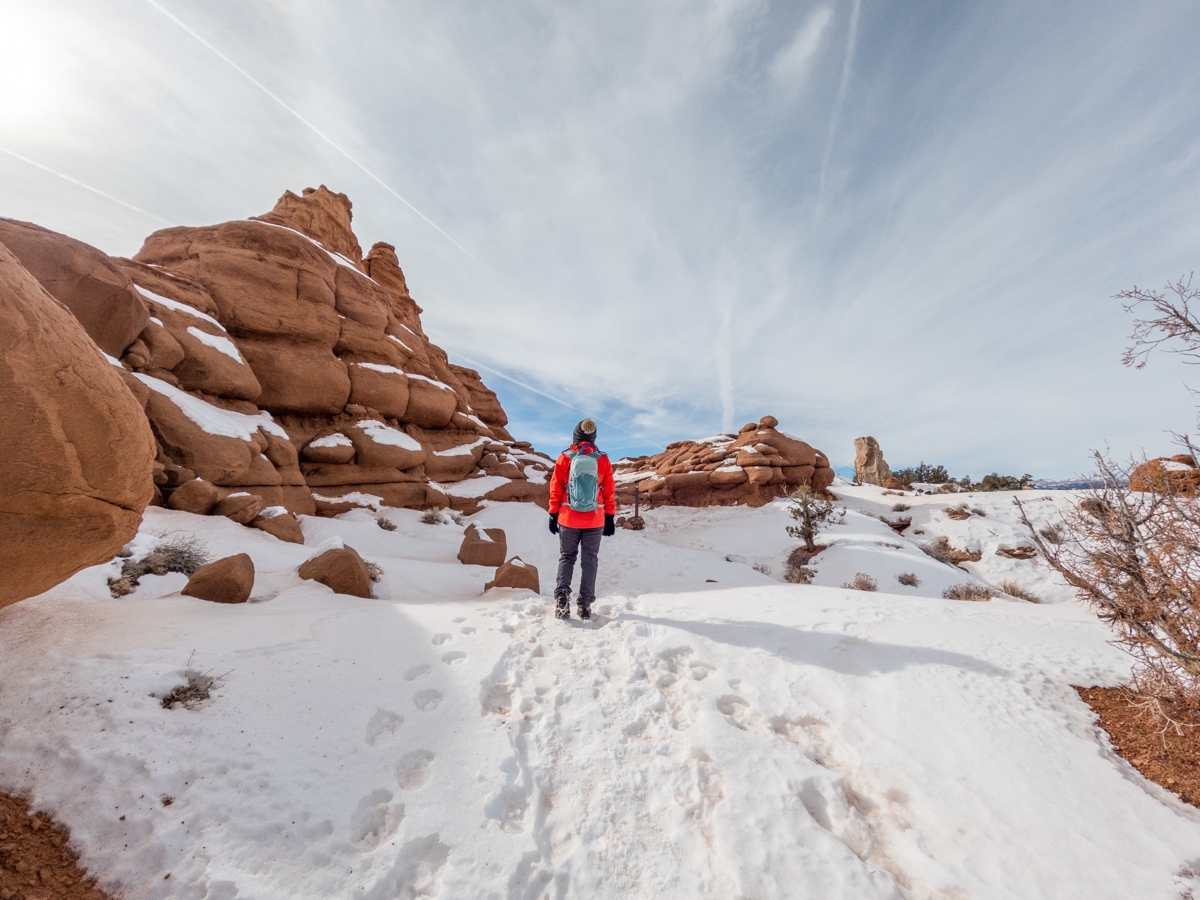
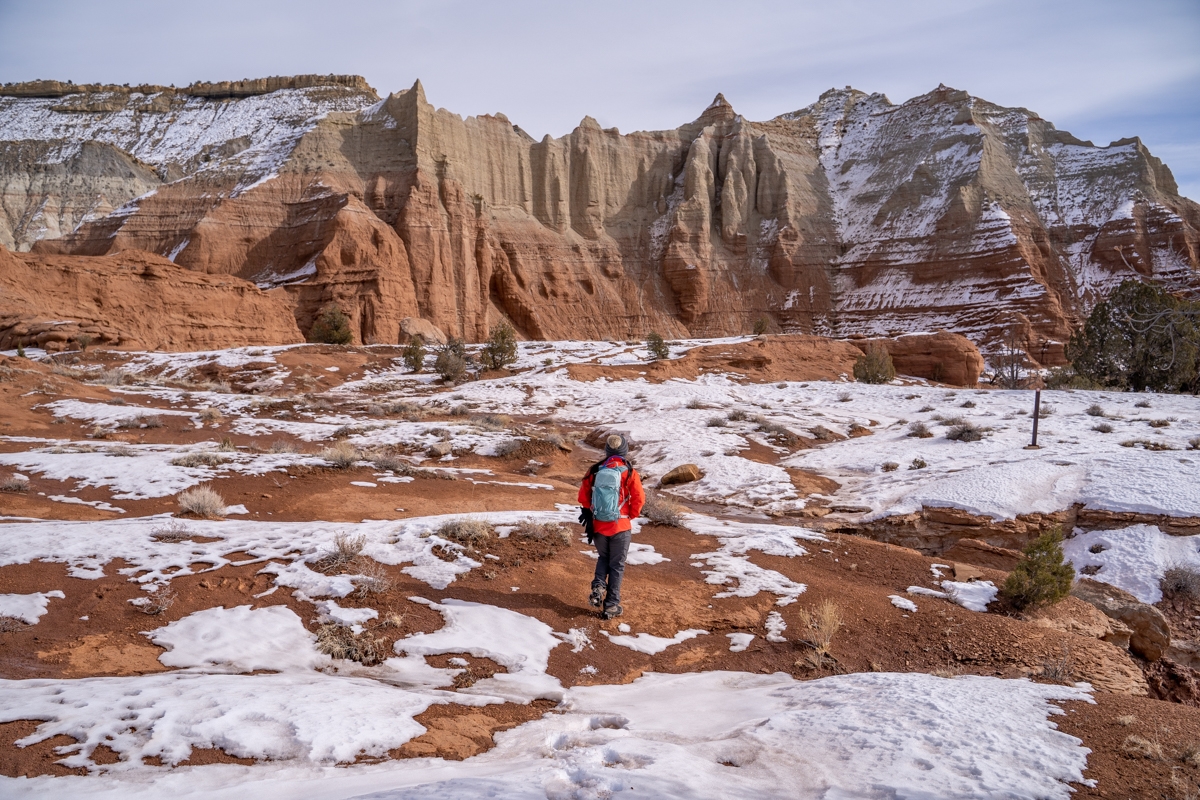
The Slickrock Area
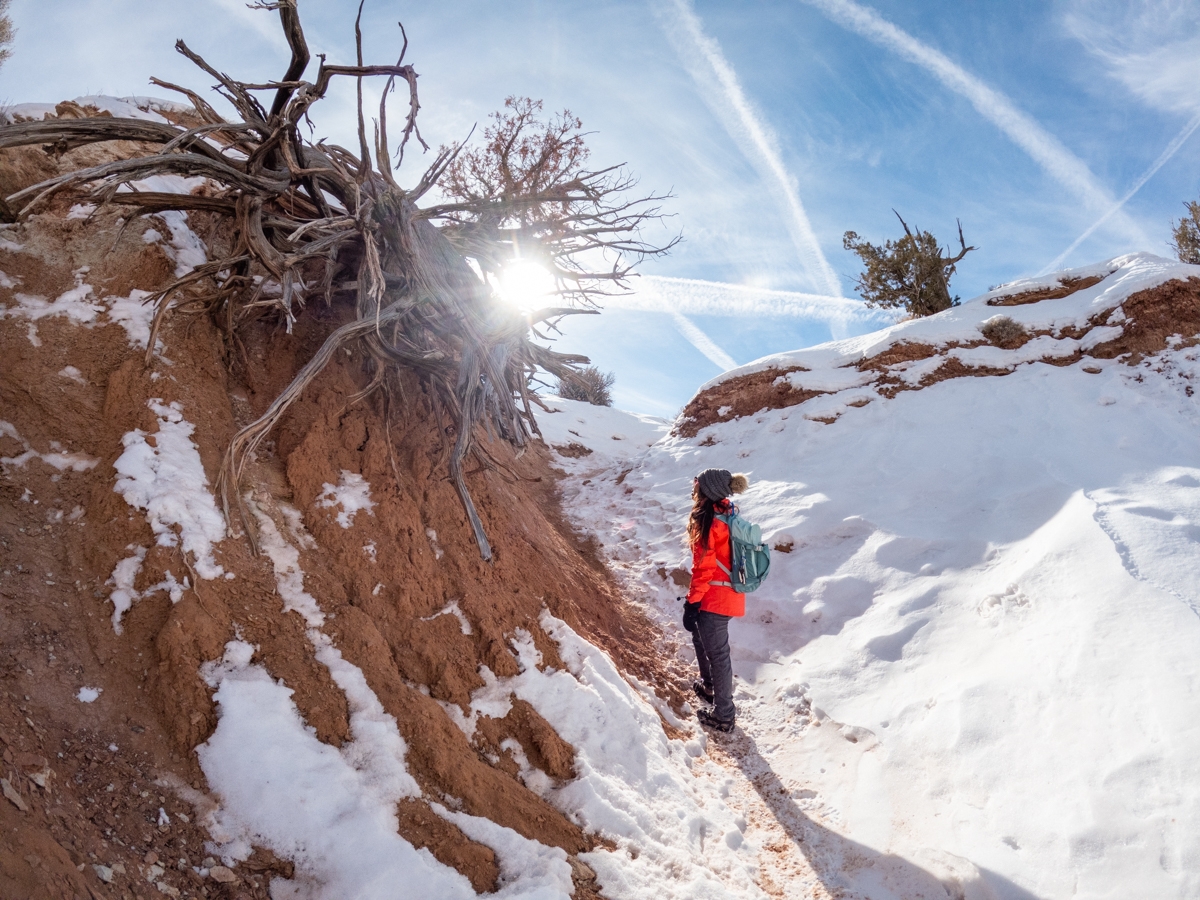
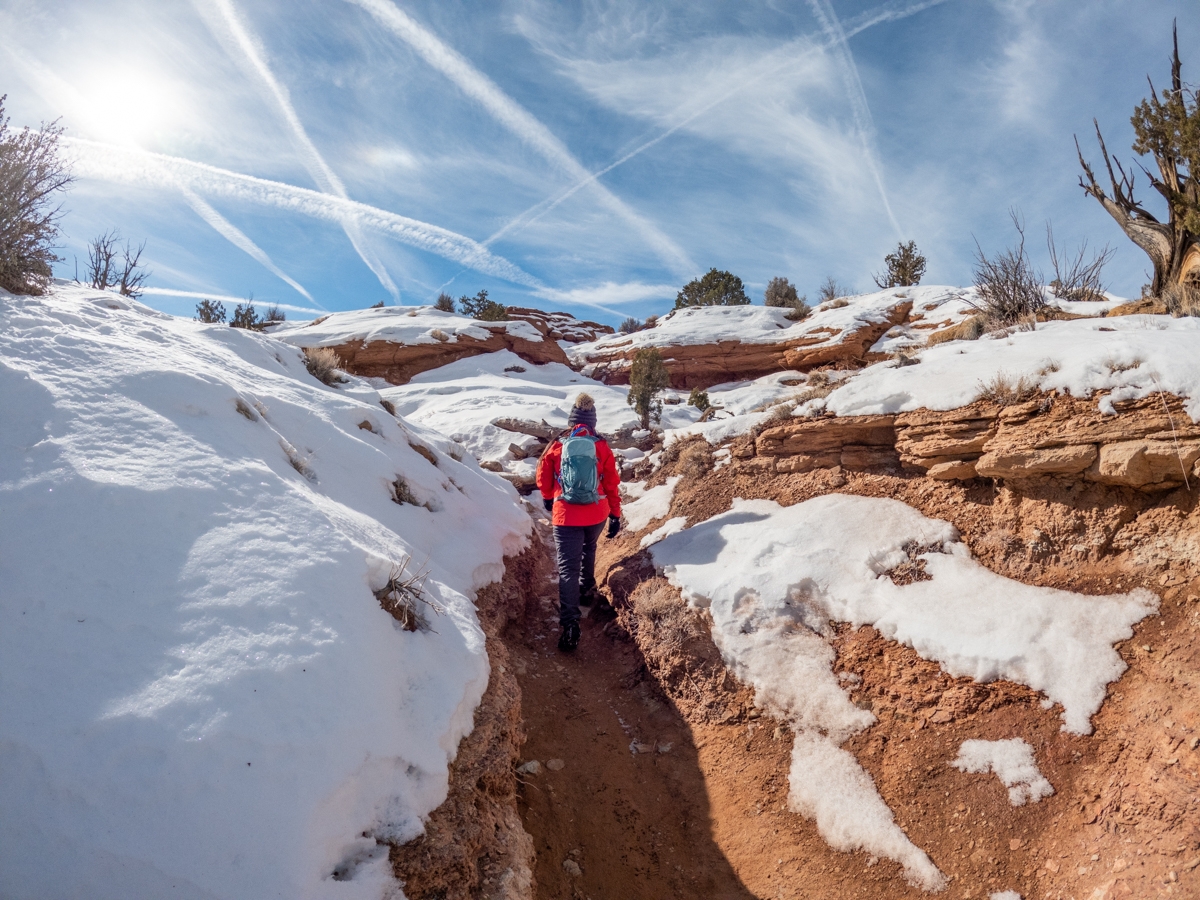
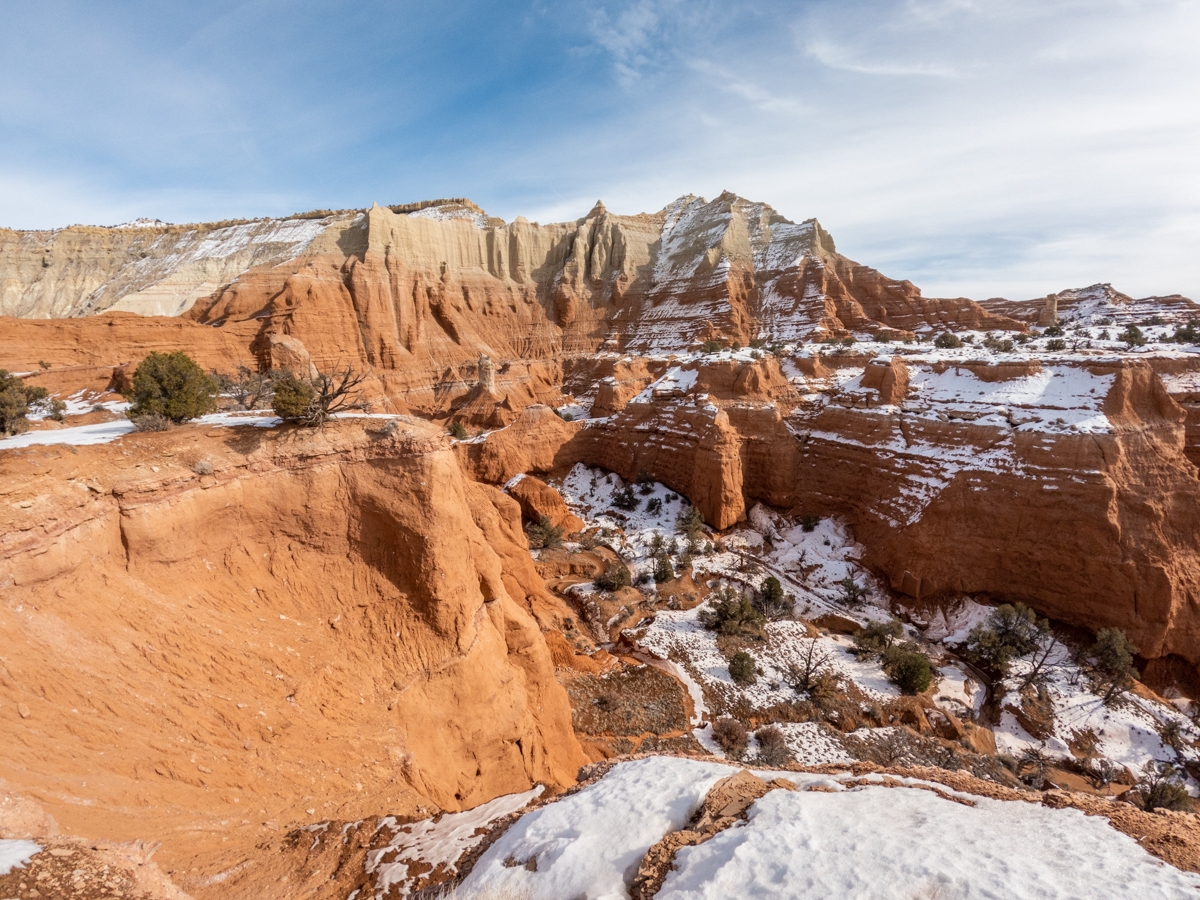
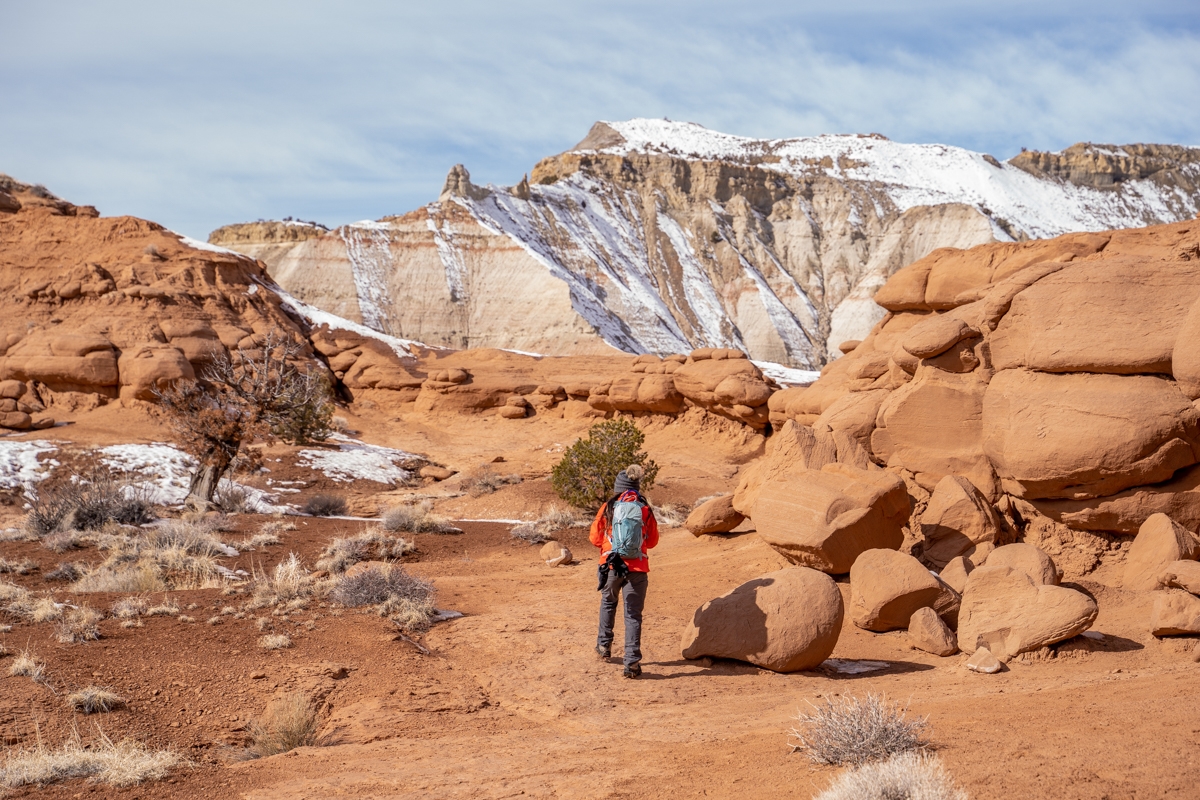
Once we made it to the top of this hill, the trail opened up to a slickrock area, surrounded by tall mountains on one side and giant boulders that look like toadstools. We had to stop here and took tons of photos. This spot is very photogenic, especially with the snow. The red rocks really “pop” against the snow. After we were done with the photos, we follow the trail directional sign continue the trail. In some parts, because of the snow melt that turned into ice, the short climbs became a bit trickier to climb up, and especially worse on the way down. We were very glad we wore our crampons that day.
Eventually, the Angels Palace Trail becomes a bit confusing, even more so in the snow. There are two loops that you can hike before turning back. The trail isn’t very well marked beside the small orange directional arrows. Therefore, it would be helpful if you remember where you start or run a tracking app such as Alltrails, Strava, or Inreach. That being said, it is easy to find where you start the loops so you can’t really get lost.
Previous
Next
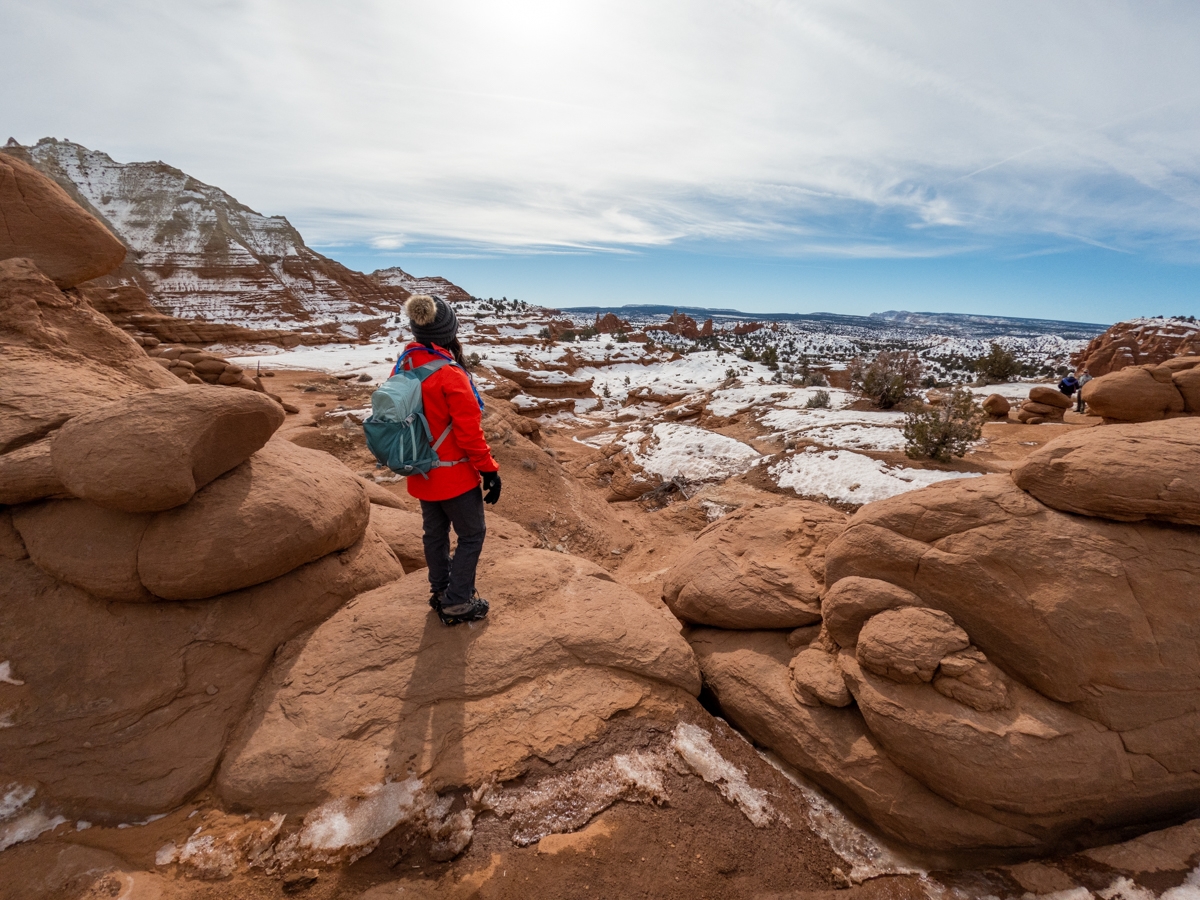
The First Loop
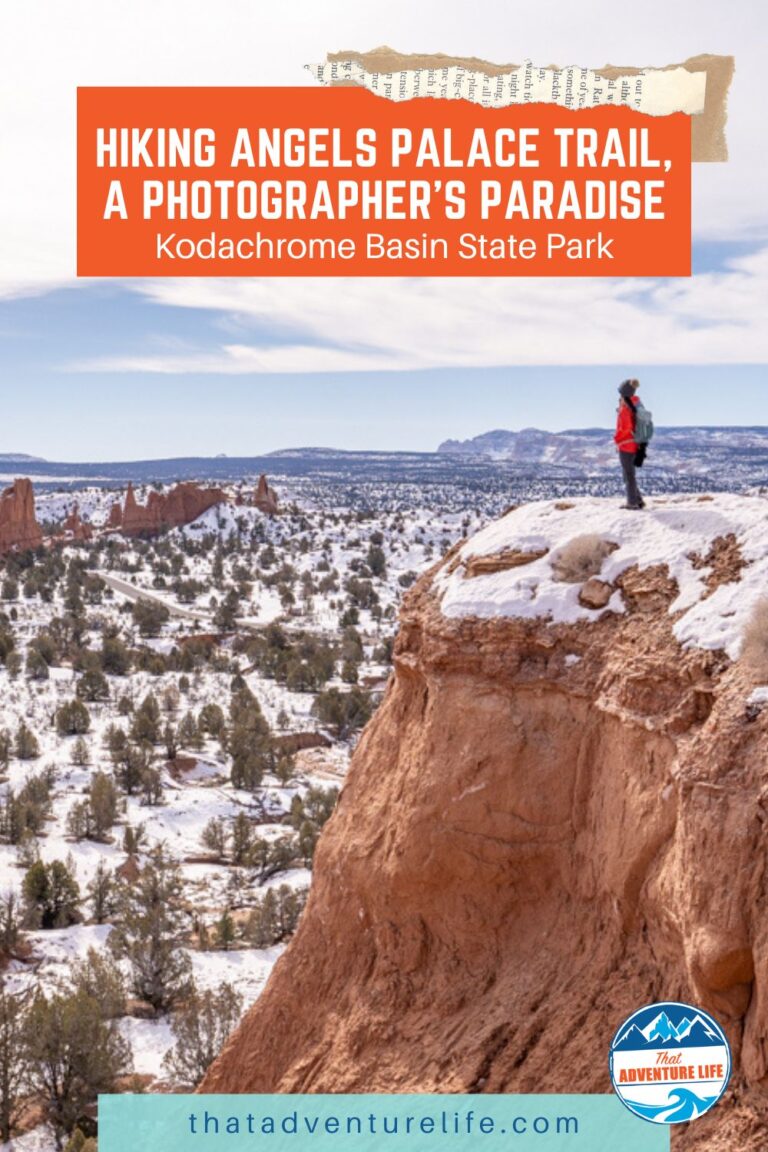
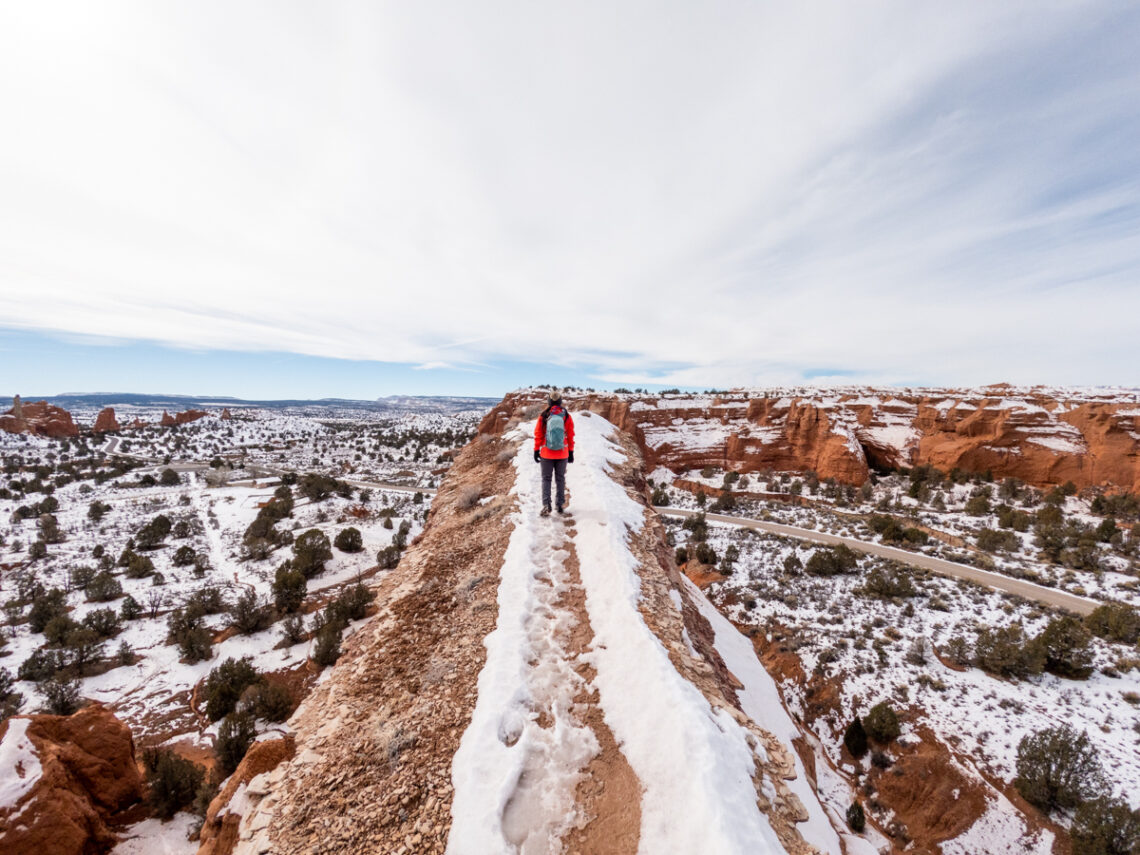
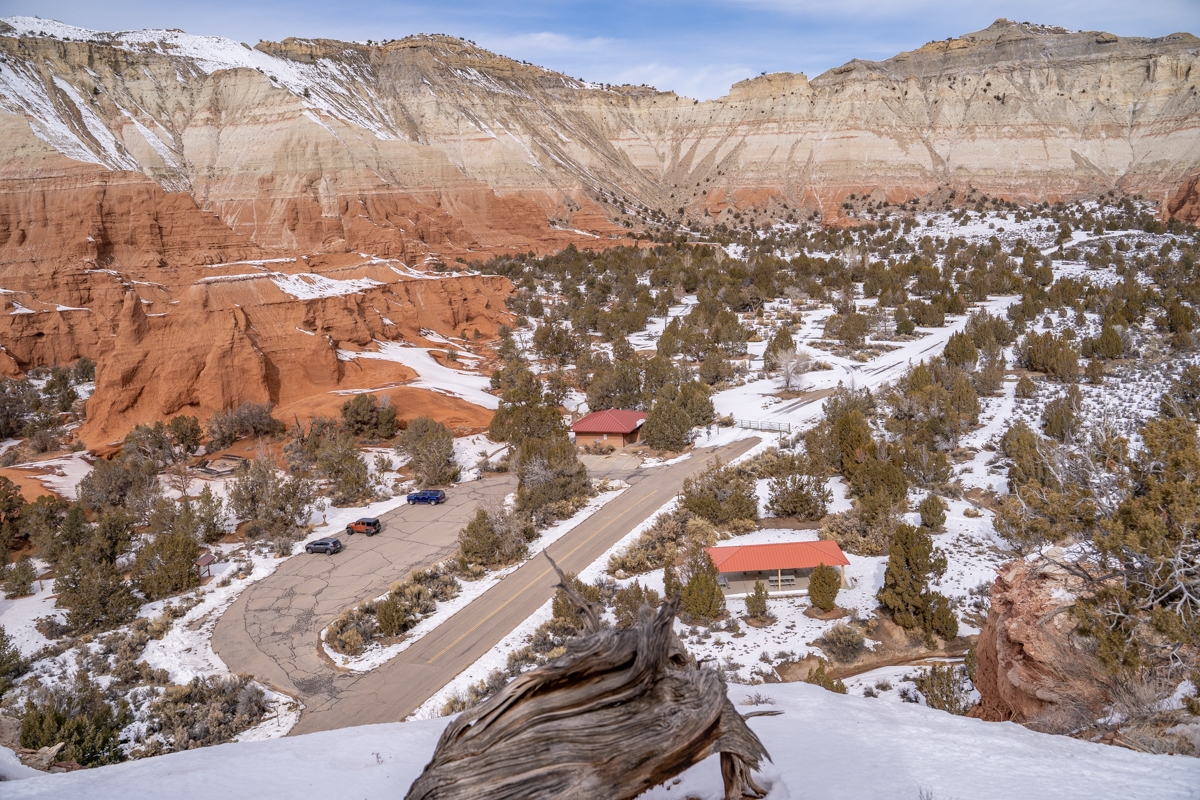
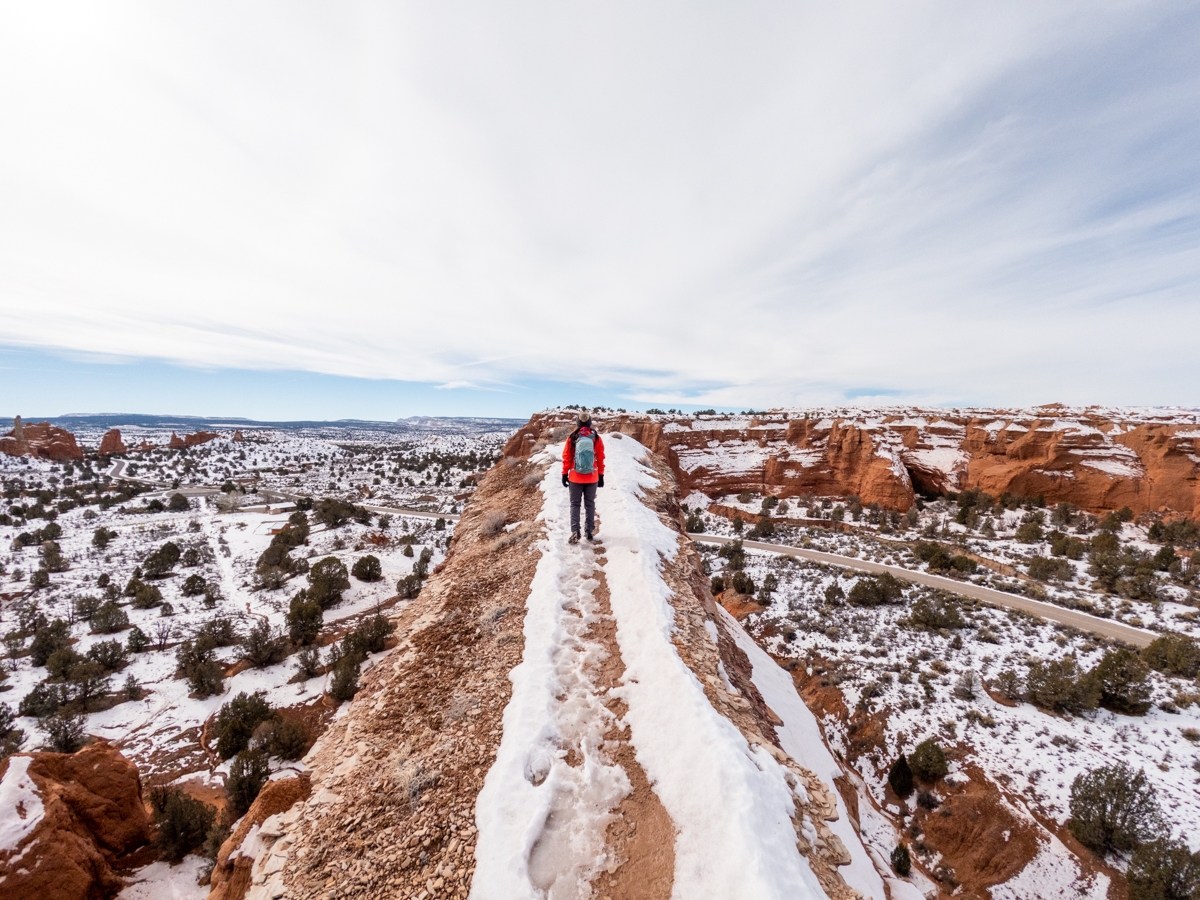
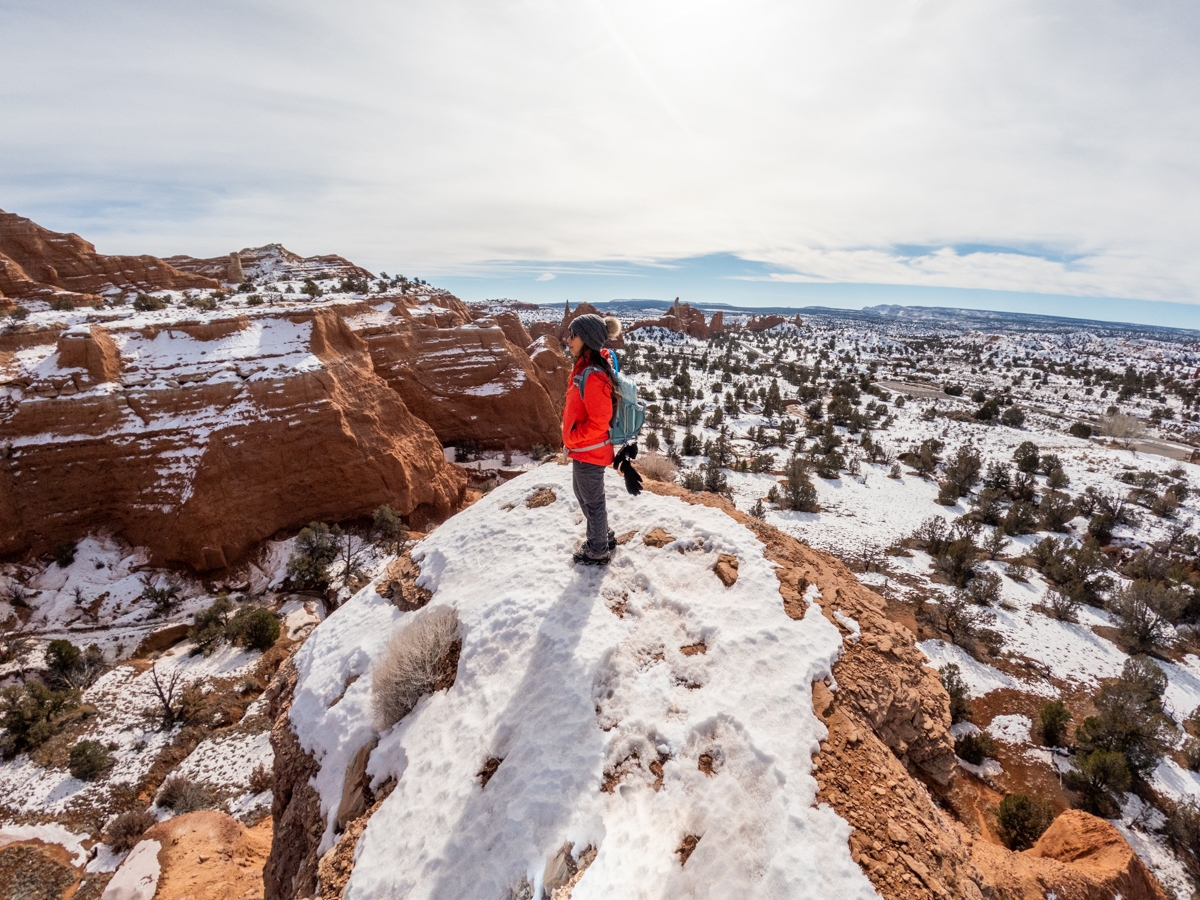
We decided to go right and hiked the smaller upper loop first. This short loop took us to the first viewpoint. This viewpoint overlooks the west side of the park and the Basin Campground. We could also see our Jeep below. After promising our Jeep that we’ll see her soon, we continued along the loop to come upon a spur trail that took us on a ridgeline to another overlook. This particular overlook is beautiful but the ridgeline is very narrow with big and steep drop-offs on both sides. If you’re afraid of heights or with younger children, this might not be a good idea to walk out. It was also icy on our visit so we had to be extra cautious. Even so, it was worth that short walkout.
Previous
Next
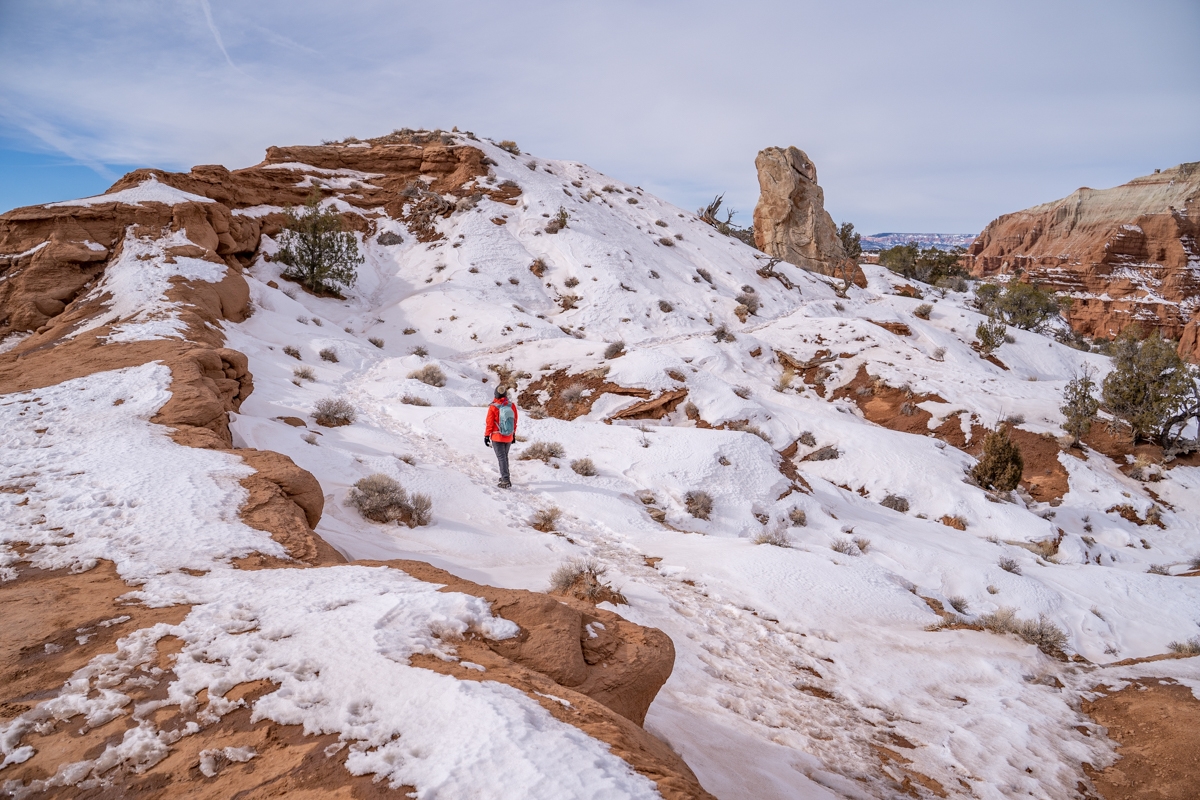
The Second Loop
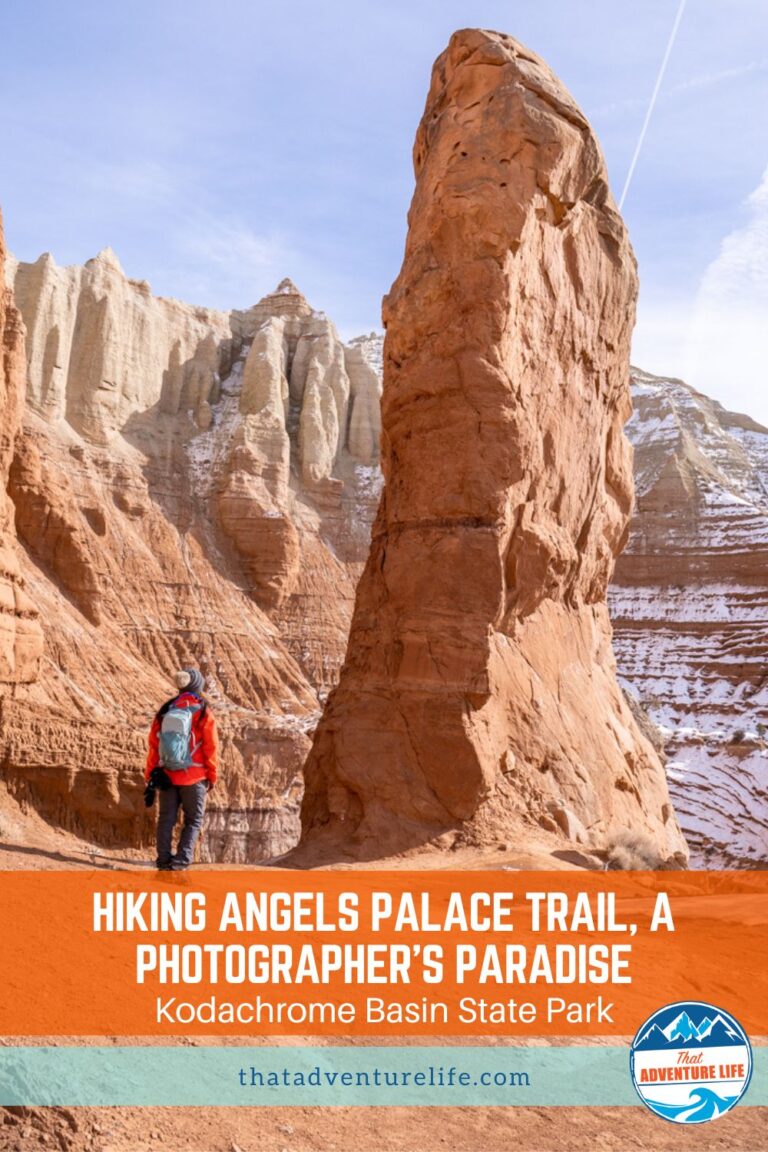
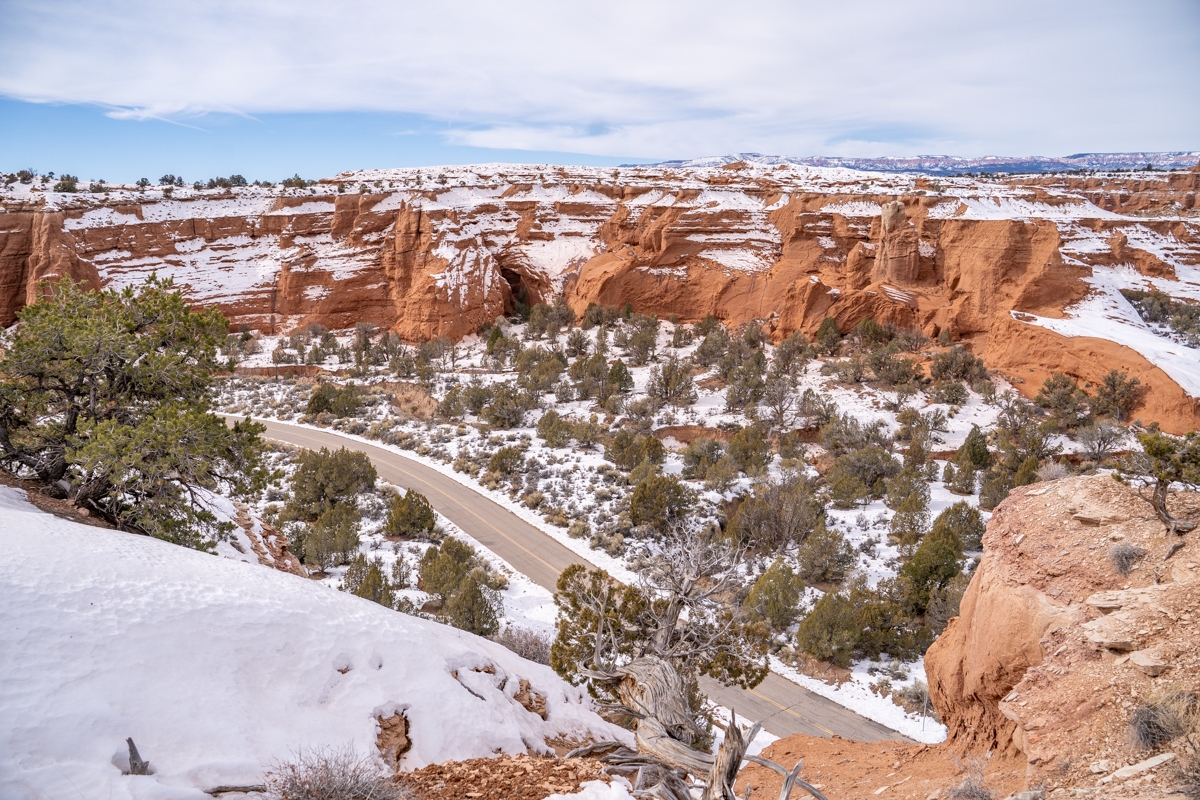
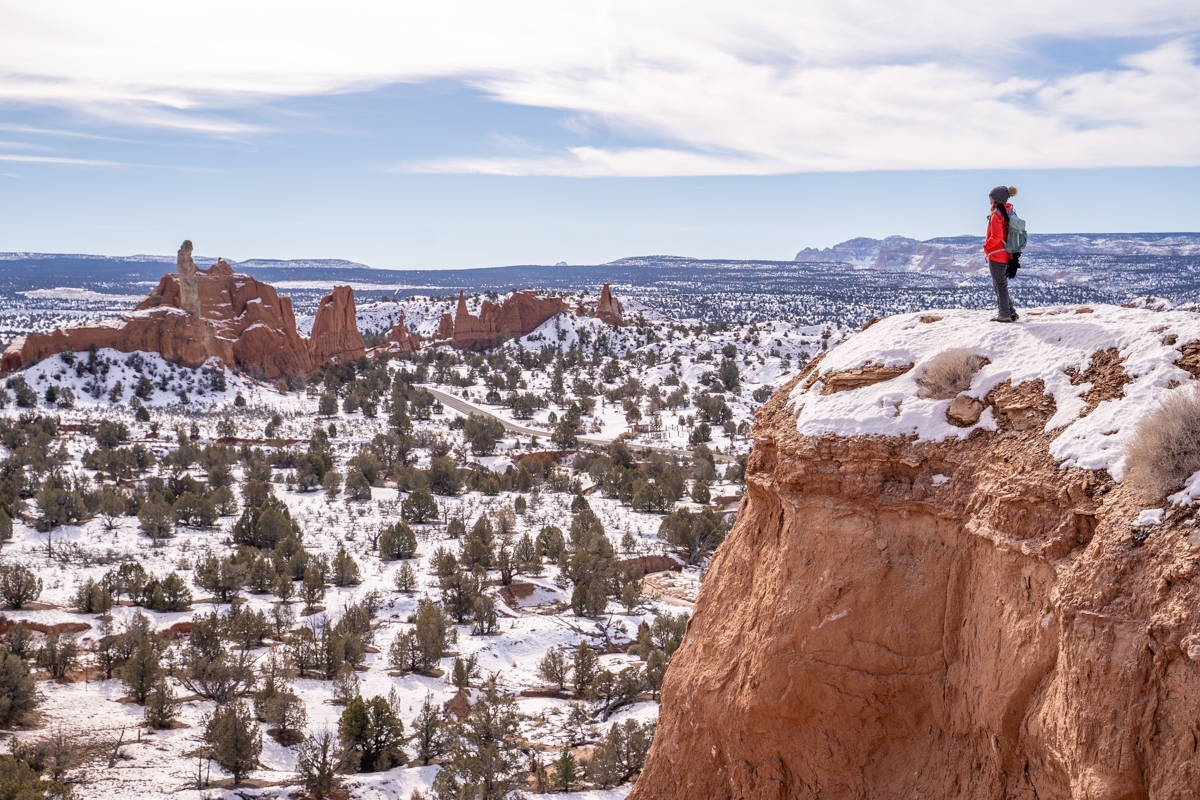
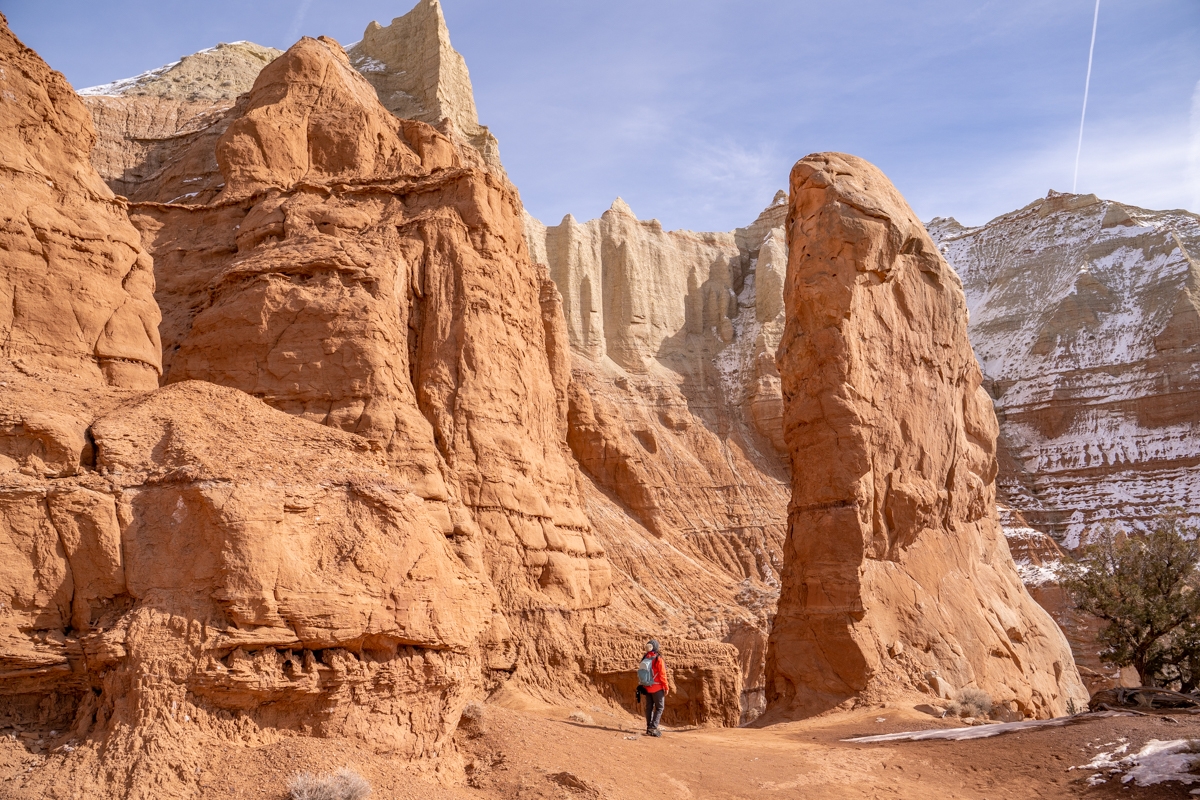
After getting back from the ridgeline, we headed back toward the beginning of the first loop on Angels Palace trail to start our second loop. The second loop is longer that the first one and leads behind the area where the toadstools-looking boulders are. The area before the loop started was very beautiful. It looks somewhat out of this world, like something you would see on Mars. The second loop trail took us out to more ridgelines and viewpoints. These viewpoints overlook the Grand Parade Trail below. You can also see one of the huge spires in the park. The views from these viewpoints are very beautiful. The trail then continues to wrap around and lead back to the start of the loop. From here, we returned back the same way we came from.
So, we highly recommend checking out the Angels Palace Trail. This hike is not only short but also beautiful the entire way. It is considered an easy hike, however, if you’re visiting in the winter, it can be more challenging. If you’re looking for more things to do around here, check out Bryce Canyon. That place is beautiful, especially in the winter.
Previous
Next
These are the gear that we personally use and find them helpful for this particular adventure. Don’t forget to check out our Recommended Gear section as well.
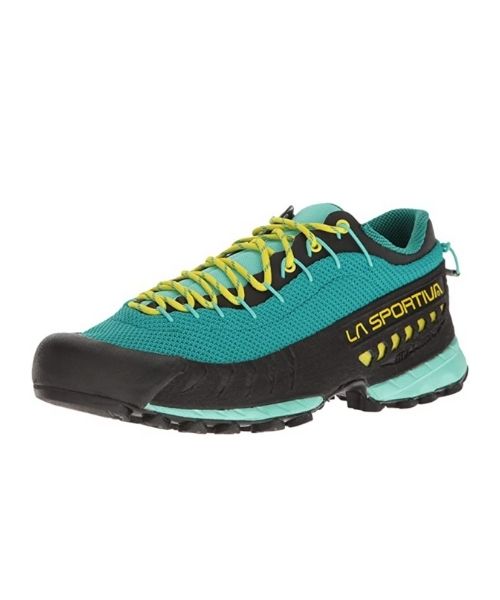
adventure gear
This is our favourite hiking shoes. We use them for canyoneering as well. Lots of traction. Vy’s version.
If you’re visiting in the winter, we also recommend:
Micro-spike or crampons: in the winter, the trails and even the parking lot can by icy. Make sure to bring micro-spike or crampon for added traction. You don’t need anything fancy. Just the simple one like this one would work.
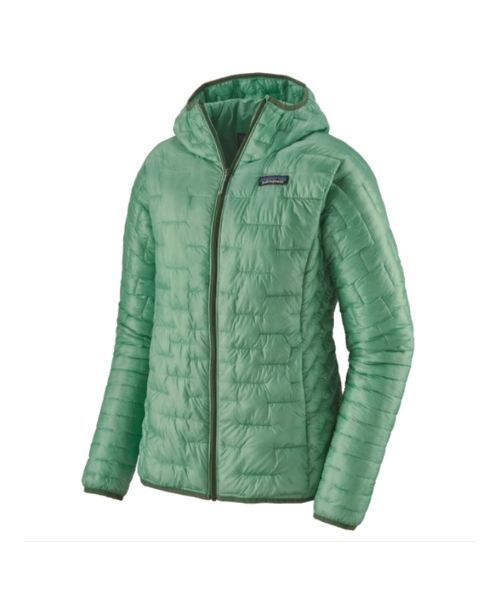
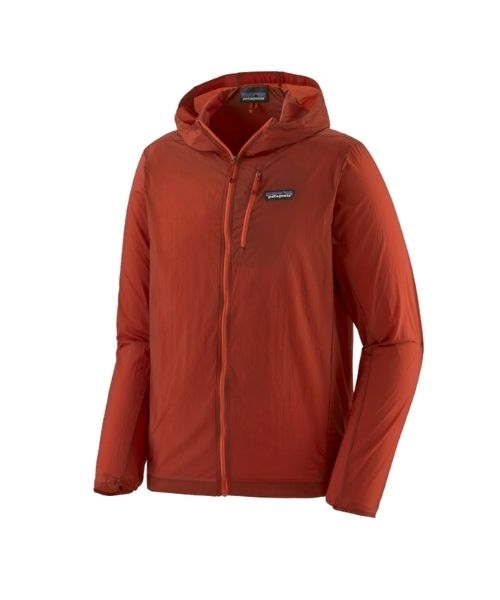
Warm waterproof jacket, pants and shoes, gloves: Vy actual use this jacket from R.E.I and she loves it. It’s lightweight, waterproof and perfect for layering.
Neck gaiter – depending on the weather, it can be very cold, especially if there’s wind. We love these Smartwool Neck gaiter.
Layering your clothes! This way, you can take them off or put them on as the temperature changes. We love our Smartwool baselayer. For pants, this is Vy’s version, and this is Dustin’s version. For top, here’s Vy’s and here’s Dustin’s.
Always good to bring some snacks with you. For healthy and easy snacks, check out some of our recipes.


