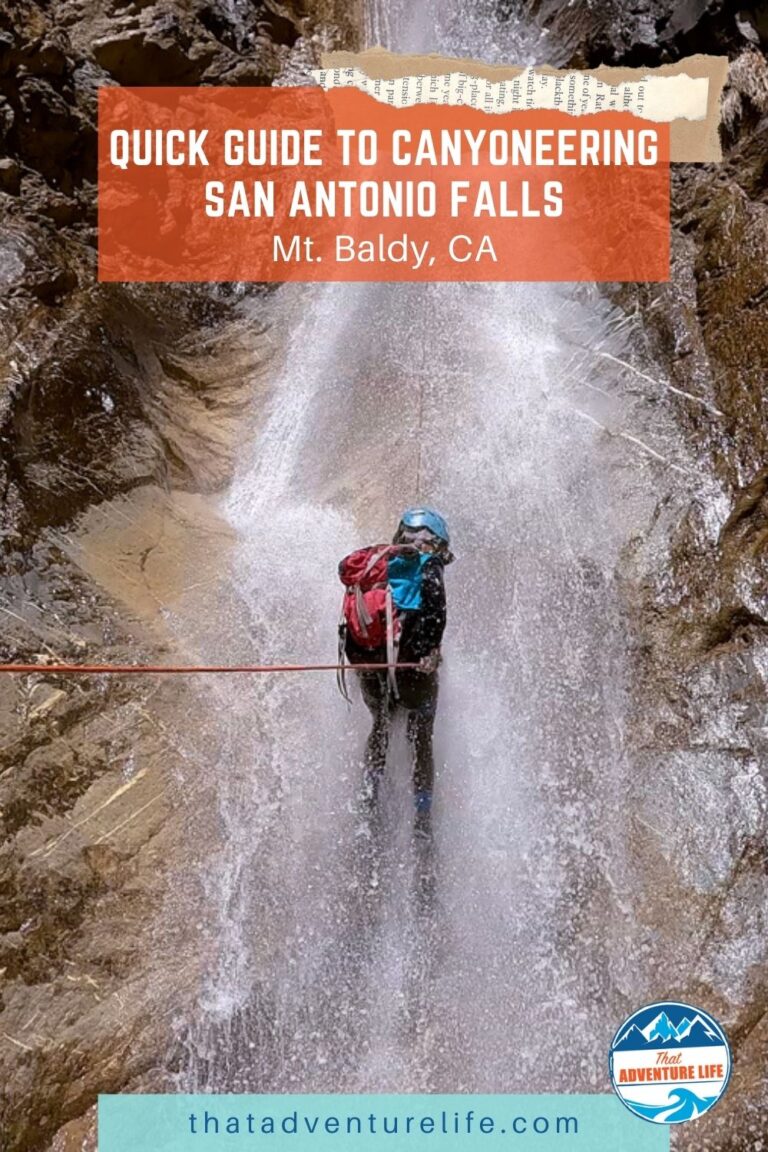
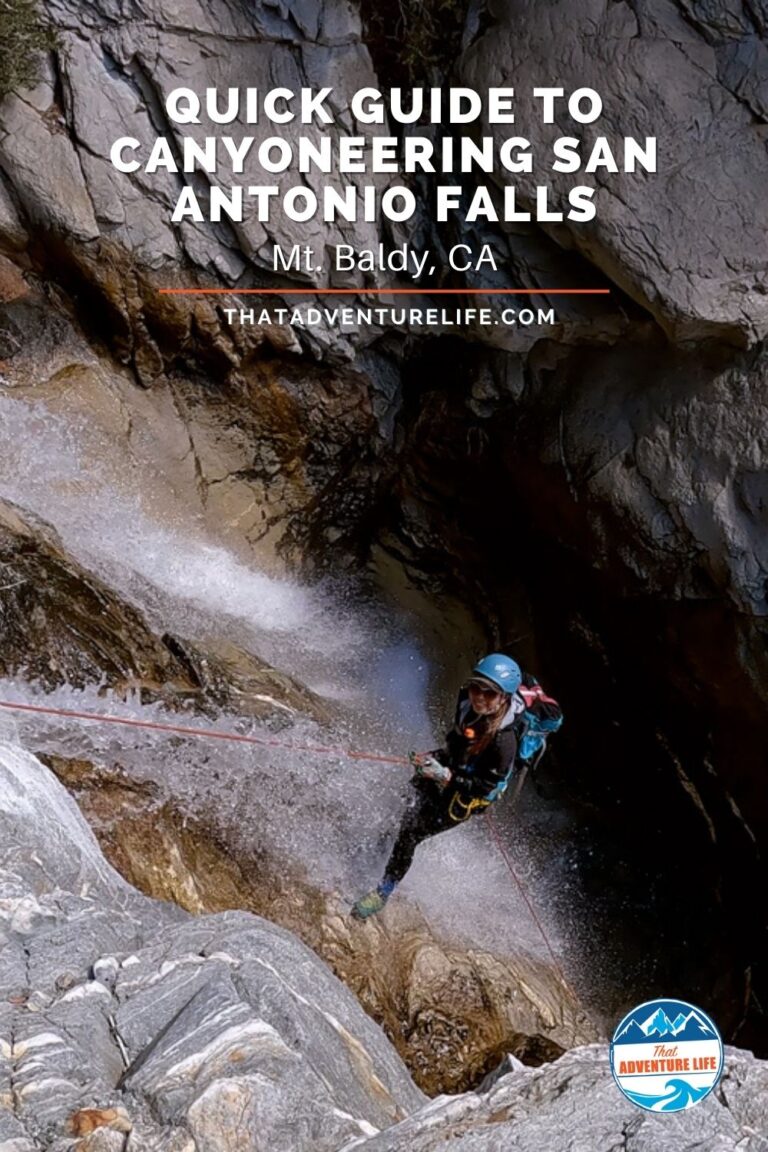
Quick Guide to Canyoneering San Antonio Falls | Mt. Baldy, CA
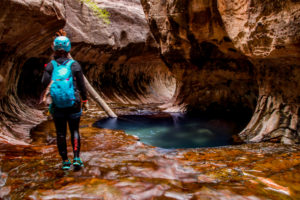
San Antonio Falls (also known as San Antonio Creek) in Mt. Baldy, California was one of our first “waterfalls” canyons. Rappelling down flowing waterfalls is a lot different than rappelling down a dry cliff. Therefore, we practiced at San Antonio Falls before attempting to canyoneer more difficult canyons. Due to its short and easy approach/exit, and well-established anchors with year-round water flow, San Antonio Falls is a wonderful training ground for Socal canyoneers, especially during warm summer months. Even for experienced canyoneers, San Antonio Falls is still a super fun canyon full of beautiful views and water-soaked rappels, perfect if you only have a few hours. In this guide, we will go over the sneak route.
Stats
Where
Mt. Baldy Trailhead 901-993 Falls Rd, Mt Baldy, CA 91759
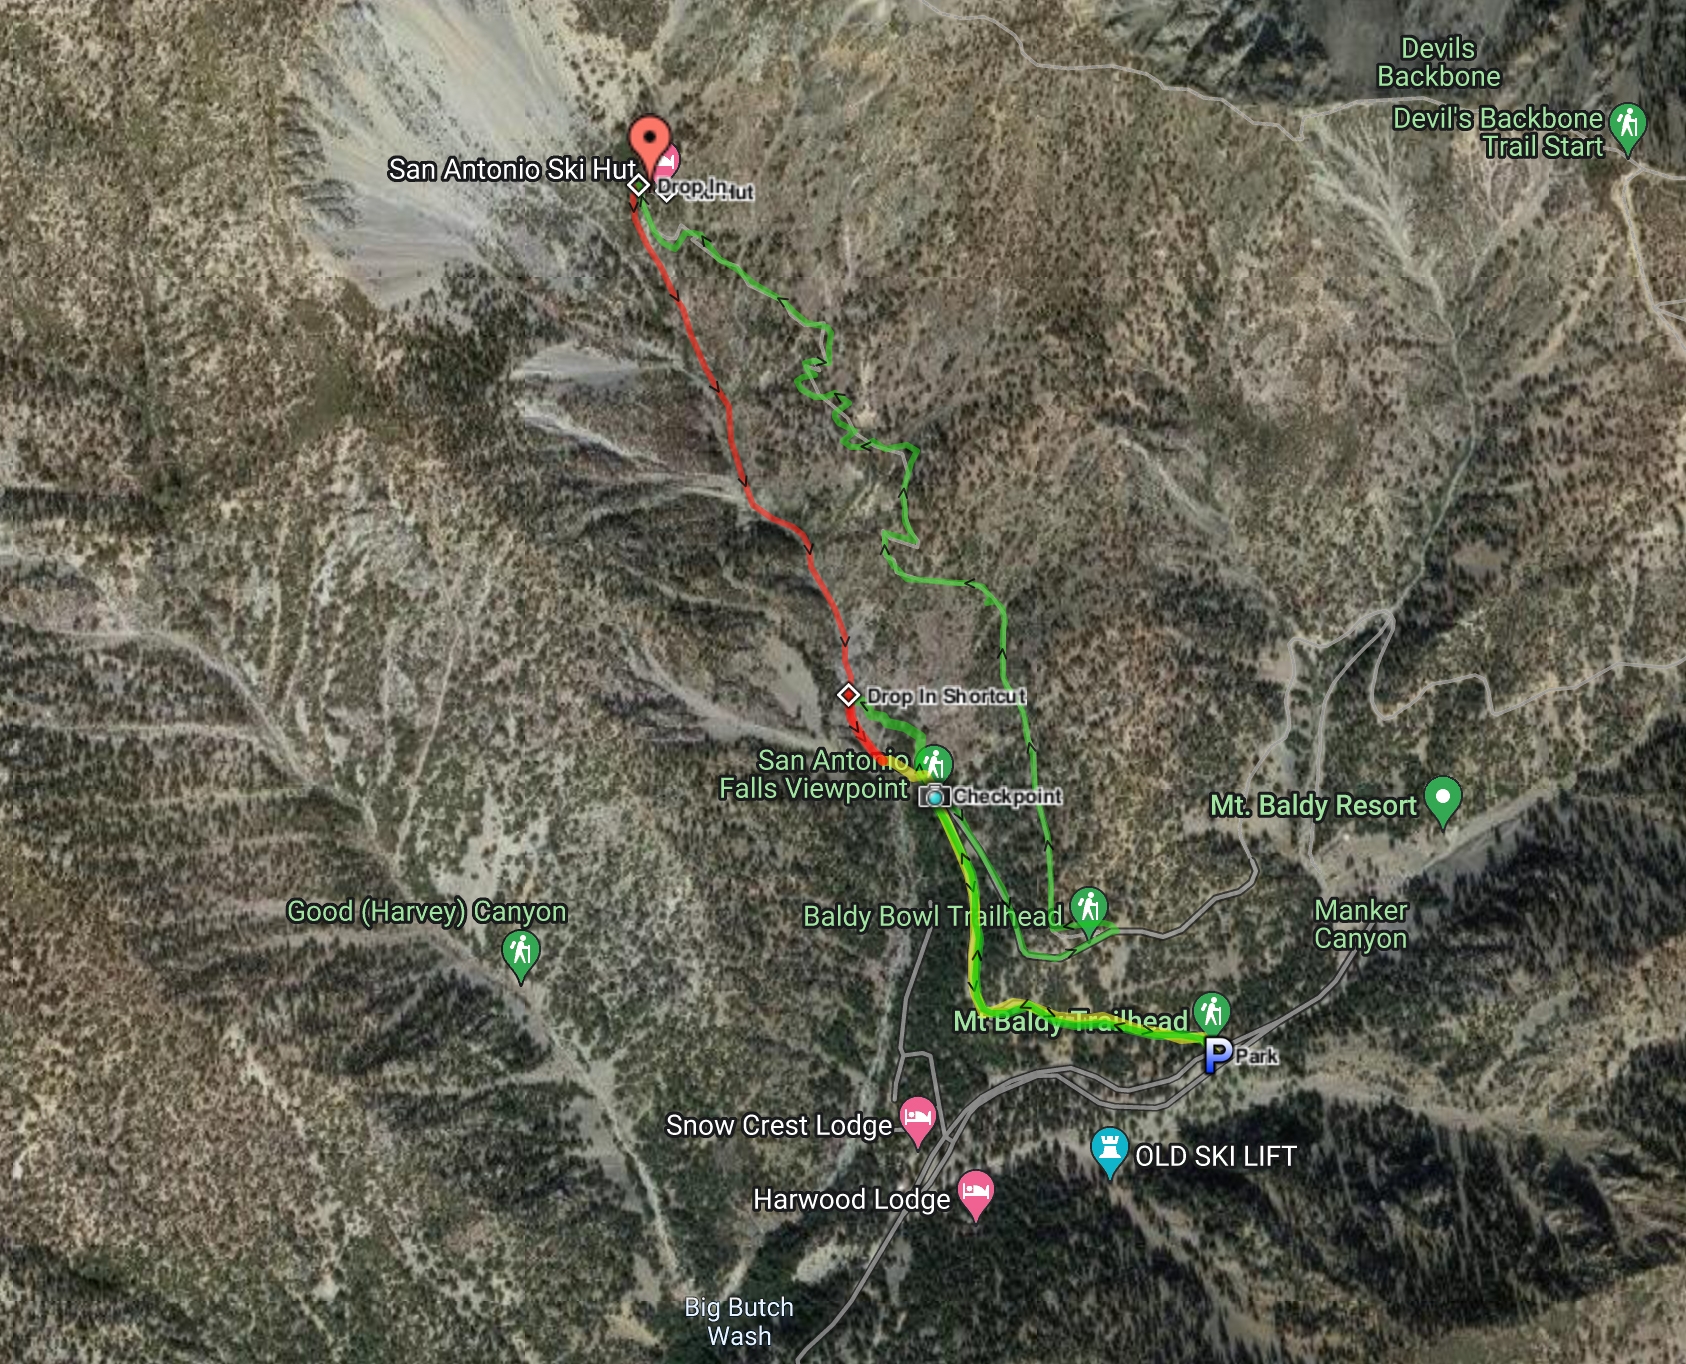
Coordinates: Trailhead: 34.266172, -117.62684 Depart from the main trail:34.271143, -117.633121 Drop-in for the sneak route:34.27249, -117.63464 (Rappel 1)
Parking
Parking are available on the both sides of the road.
Restroom
Pit toilet at the trailhead
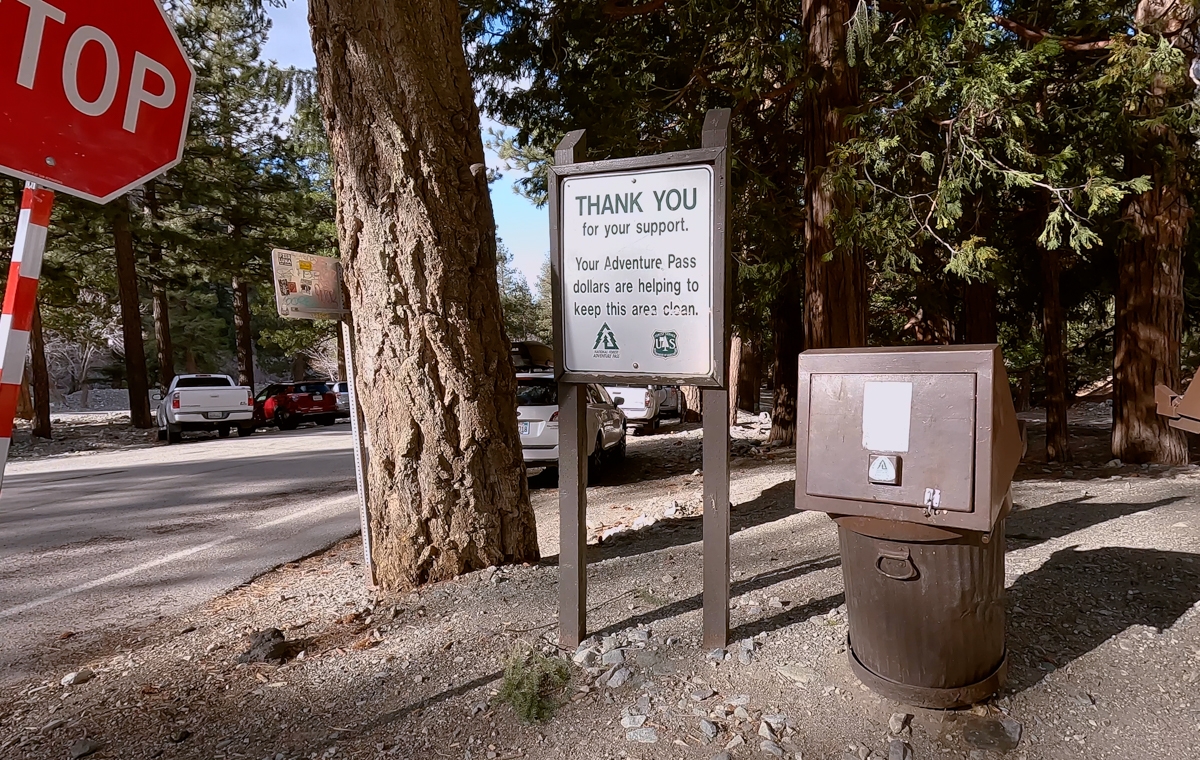
Permit
None. However, you’ll need an adventure pass for parking. You can also use the America the Beautiful pass.
Best Season
Since San Antonio Creek is spring fed, and runs essentially year around, you can run San Antonio Falls any time. The warmer days of July and August are ideal because the temperature of Mt. Baldy are usually around 5-10 degrees cooler.
Gear Required
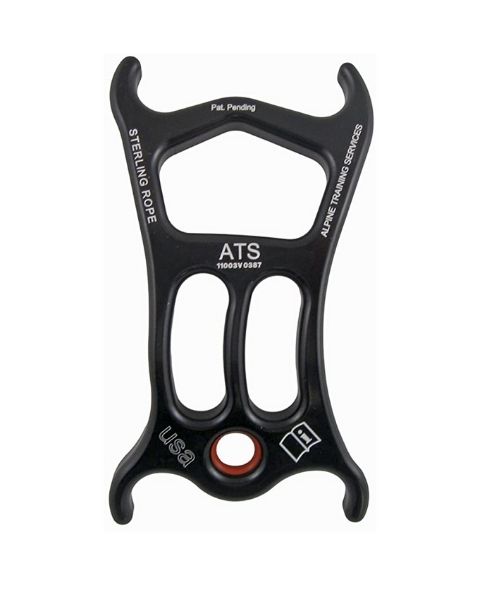
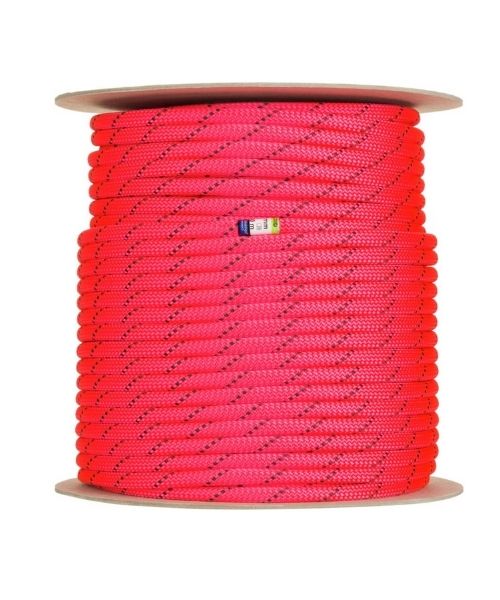
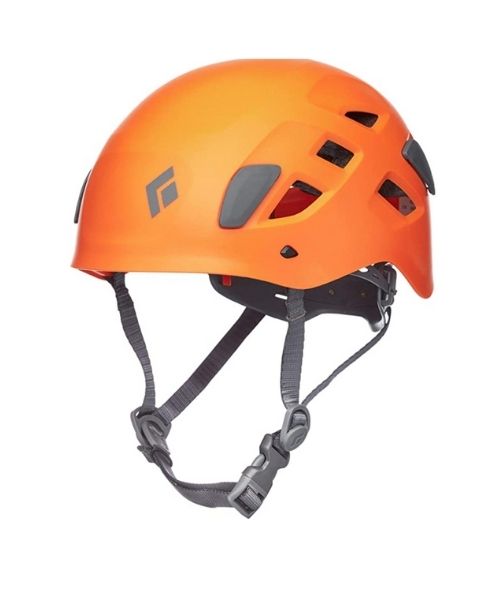
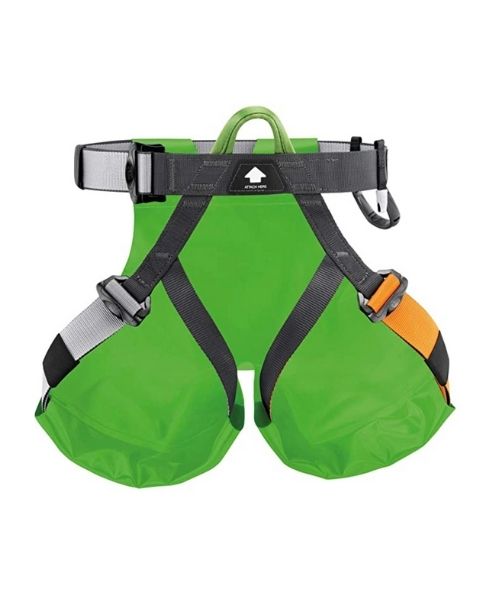
Standard canyoneering gear kit.
On hotter day of over 80°F, you won’t need a wetsuits. However, on cooler days, winter months or when the water flowing heavily, wetsuits are highly recommended or required.
Bring extra webbing and quick links. They tend to get stolen from the top of Rap 5 because there is a scrambling route that people use to get up from the bottom of the falls.
Rating
Sneak Route (recommended):3BII Full Route from the Ski Hut: 3BIII Click here to learn more about canyoneering ratings.
Distance
Sneak Route: About 20 min. hike on a paved road, up a gully with a small but obvious trail.
Full Route: 5 miles total—with 2.5 mi. steady up hill slog to the ski hut.
Time
Sneak Route: 1-3 hrs Full Route: 4-6 hrs
Rappels
Sneak Route: 5 rappels Full Route: 6 rappels – the first one starts at the top near the ski hut. Longest Rappel – 90 ft.
Shuttle Required
None
Vehicle
Passenger
Water
This Class B canyon can turn into a C if you catch it on the right day such as in early spring or during/after a heavy downpour). Please make sure to check the weather conditions before you go.
Weather
Video
Route Options
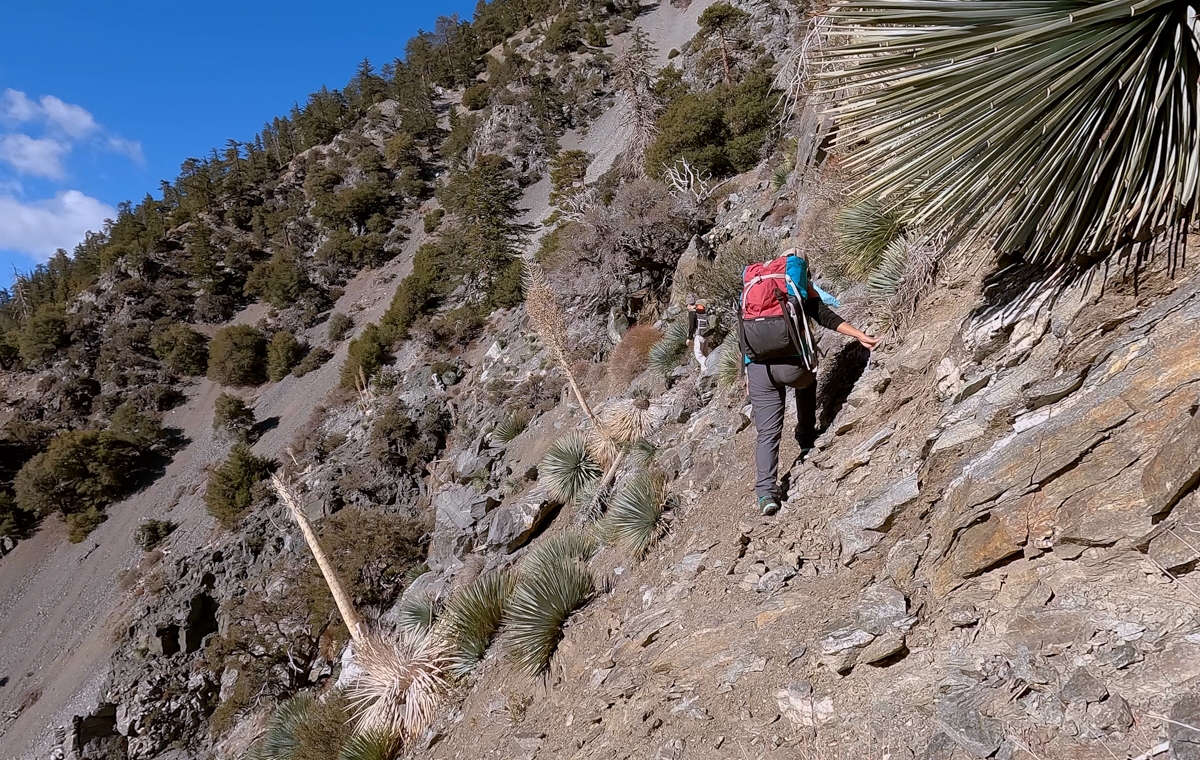
There are two different routes for canyoneering San Antonio Falls, the full route and the sneak route. Most people prefer the sneak route. We also recommend doing the sneak route unless you’re into torturing yourself with a little pay-off, by all means, do the full.
The full route starts at the ski hut. It has 6 rappels with the first rappel near the top and 5 rappels back-to-back- at the bottom of the route, while the sneak route drops you directly on top of the first of those 5 back-to-back rappels. For the full route, there are several hours of downclimbing boulders through the stream in between the first rappel and the other five. Because of this, even with an early start, you’ll still be stuck doing most of the watercourse in the shade. It can get very cold here when the sun goes down, especially in the winter.
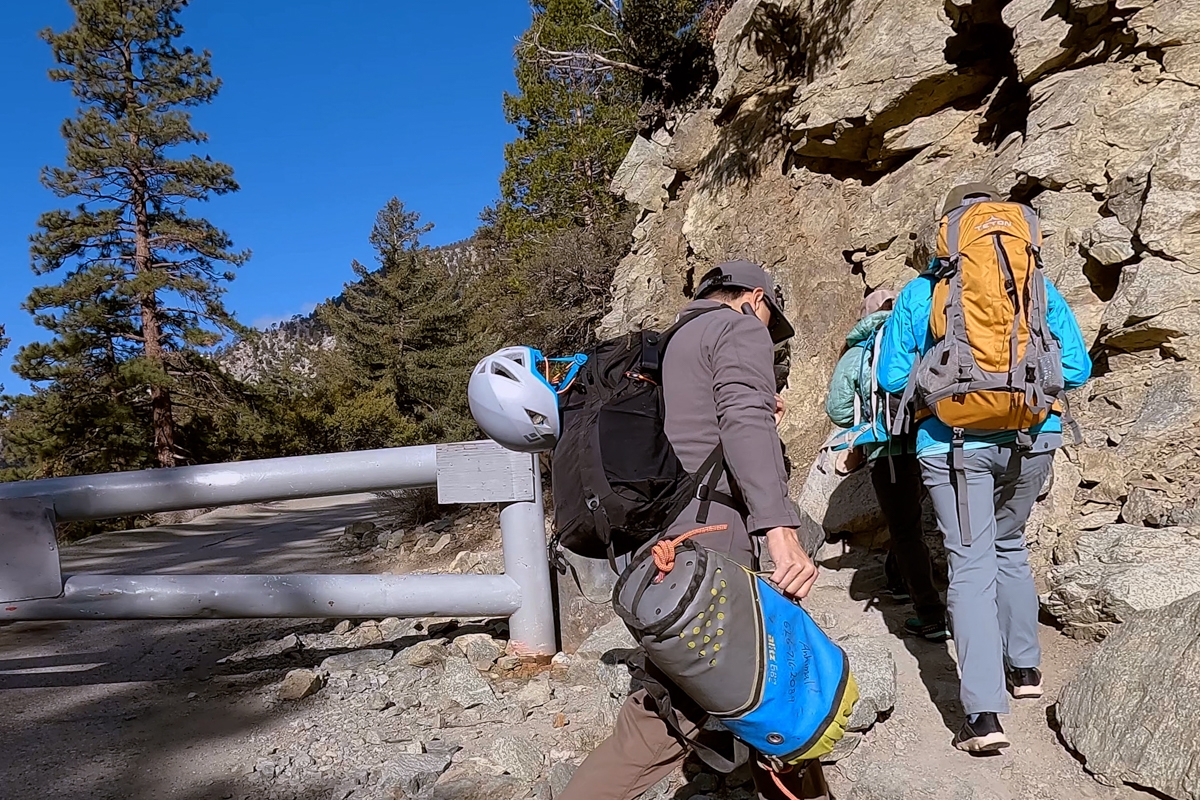
The Approach
Getting to the San Antonio Falls Trailhead
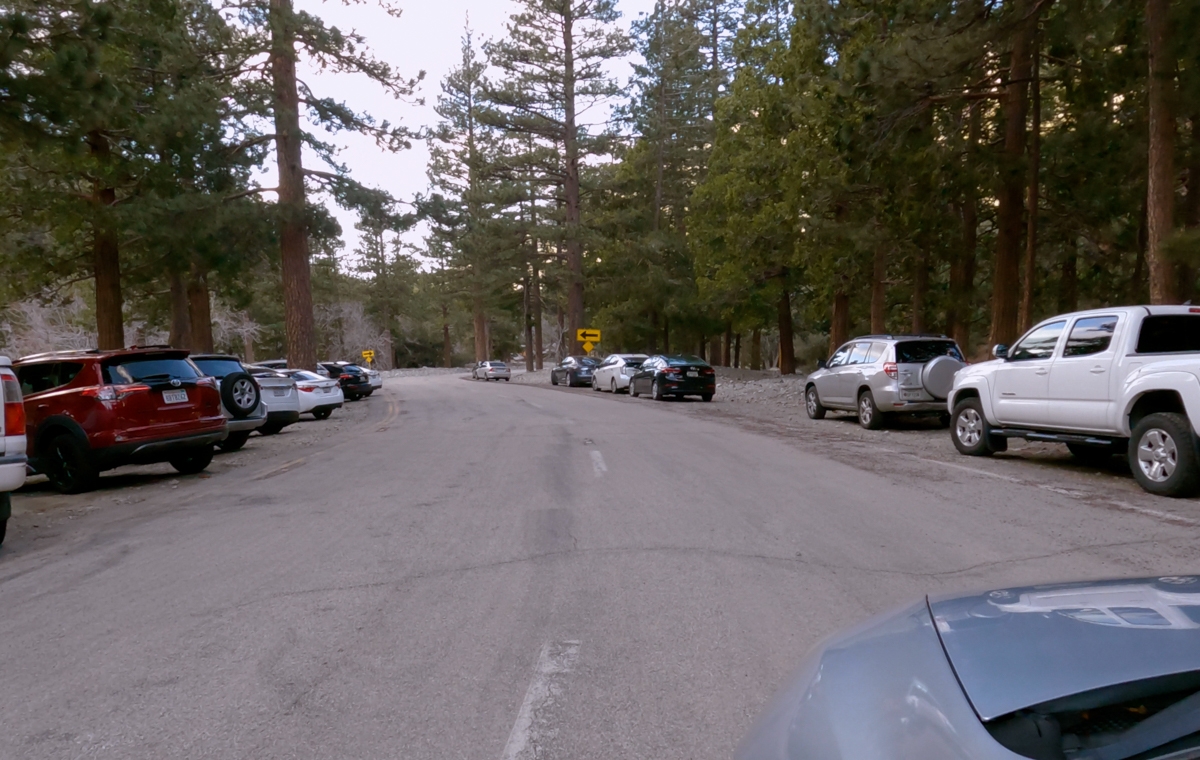
The trailhead for San Antonio Falls is easy to find. You can just look up “Mt. Baldy Trailhead” in your GPS app and you should be able to find it. The parking for this trail is located near the Manker Flats Campground. Once you’re on Mount Baldy Road, drive past Manker Flats Campground for another hundred yards or so to the bottom of Falls Road on the left. If you see the Mt. Baldy Ski Resort, you’ve gone a bit too far. You can park along Mount Baldy Road. Make sure to display your adventure pass or America the Beautiful Pass.
Previous
Next
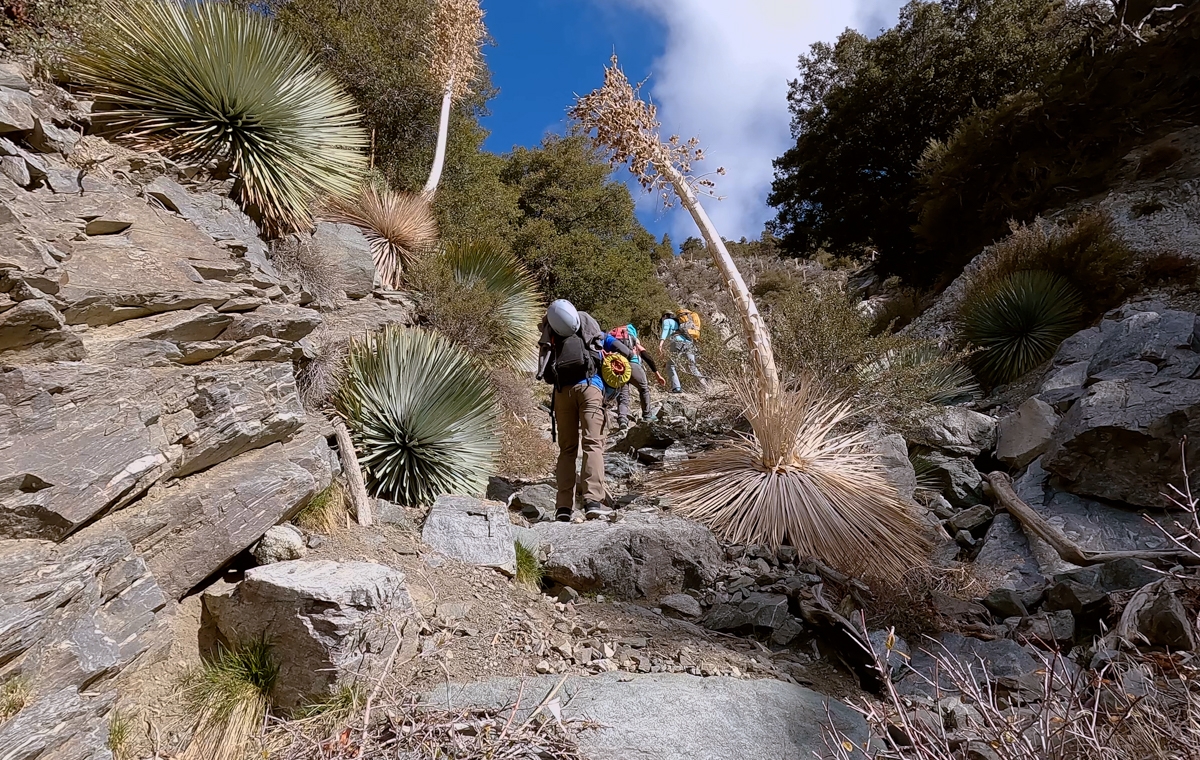
The Approach
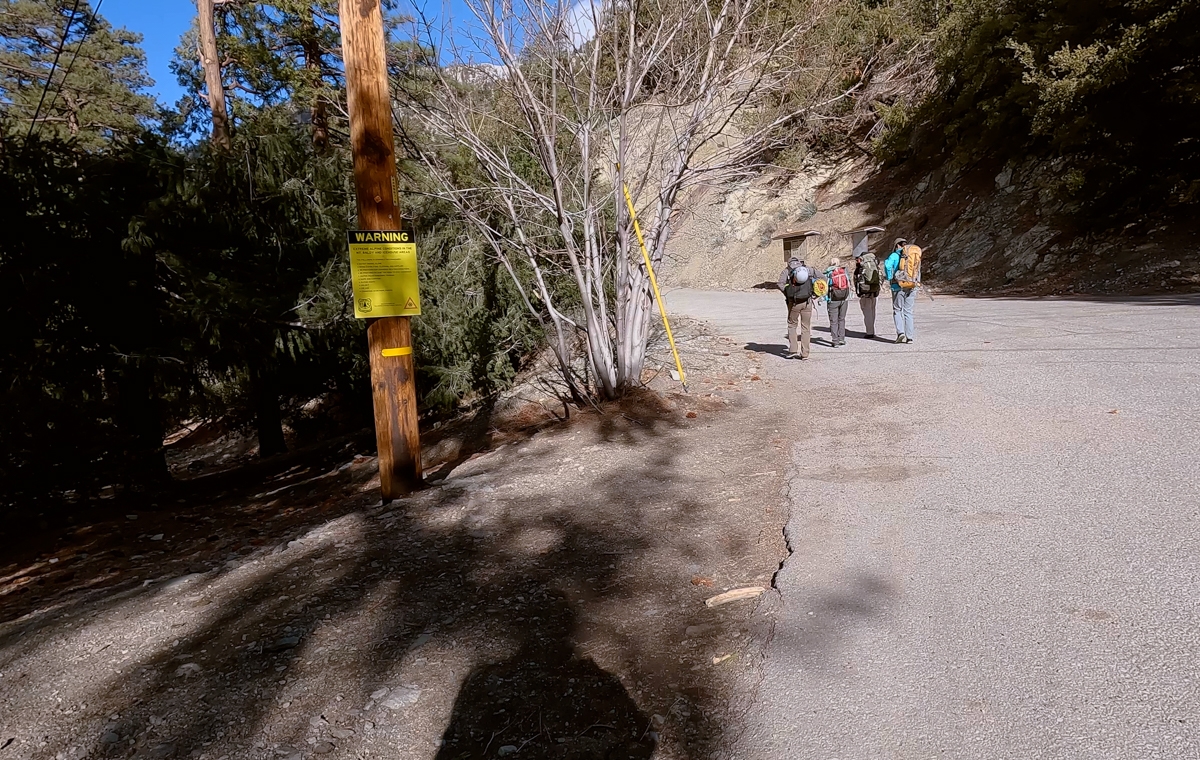
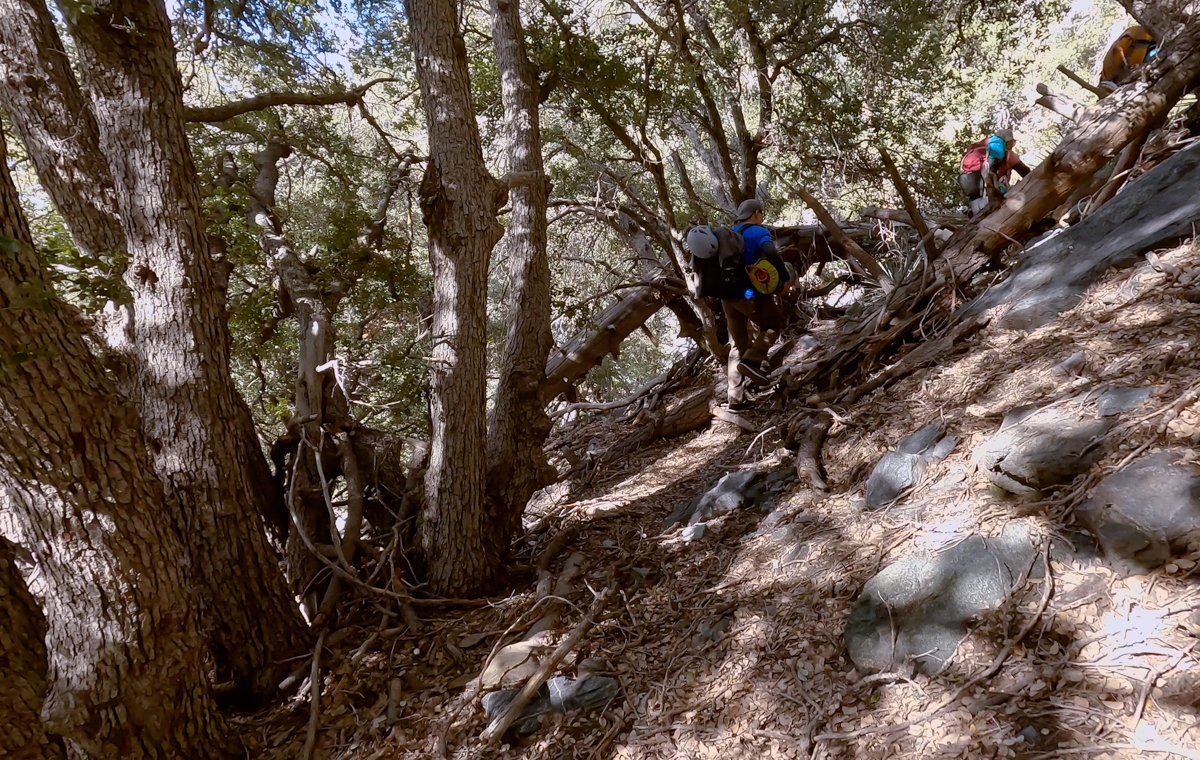
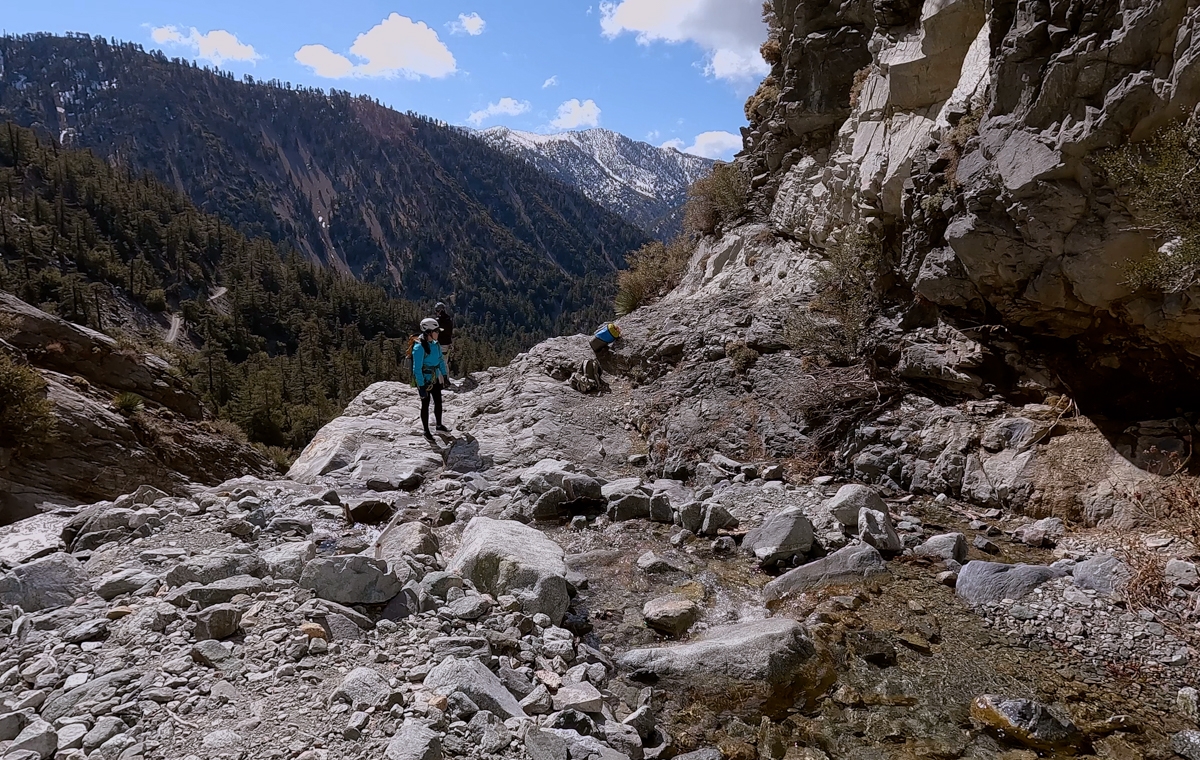
The approach for both routes is easy as far as canyoneering approaches go. After parking, follow the paved road (Falls Road) toward the San Antonio Falls. For the full route, keep going past the viewpoint to follow the Baldy Bowl Trail to the very obvious ski hut. From here, you’ll see the creek, marking the start of the technical section of the route.
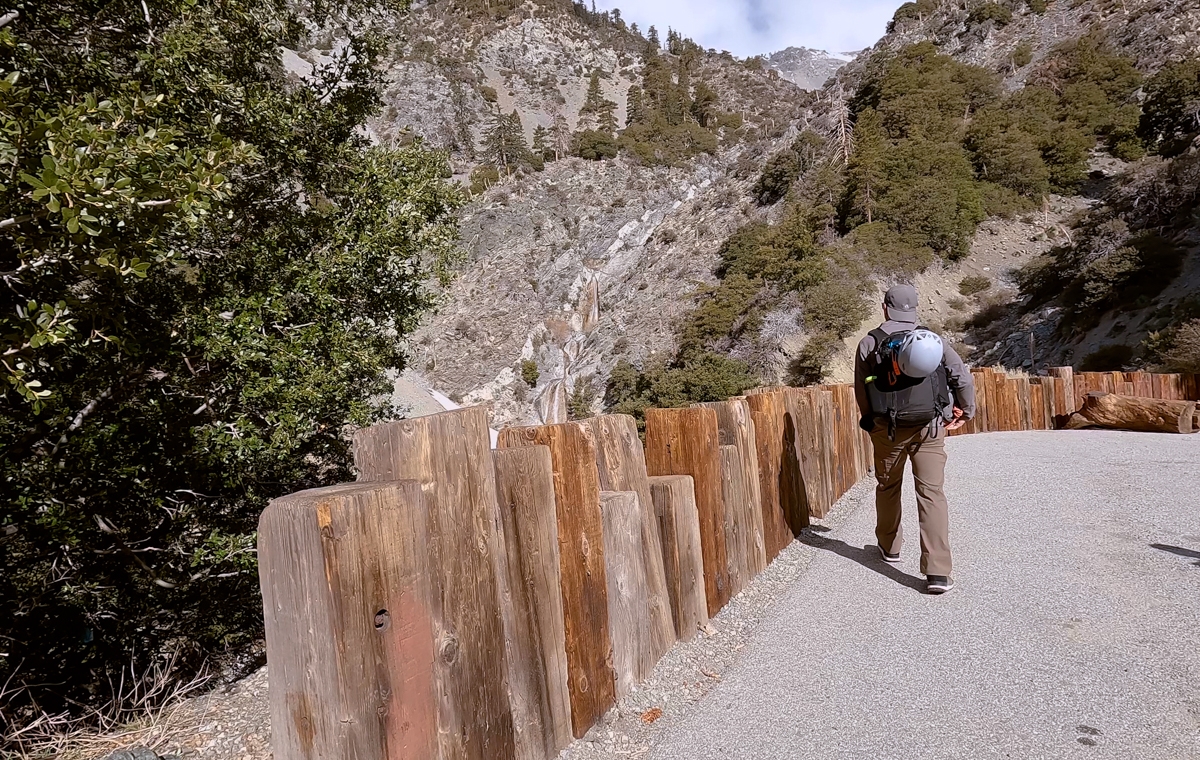
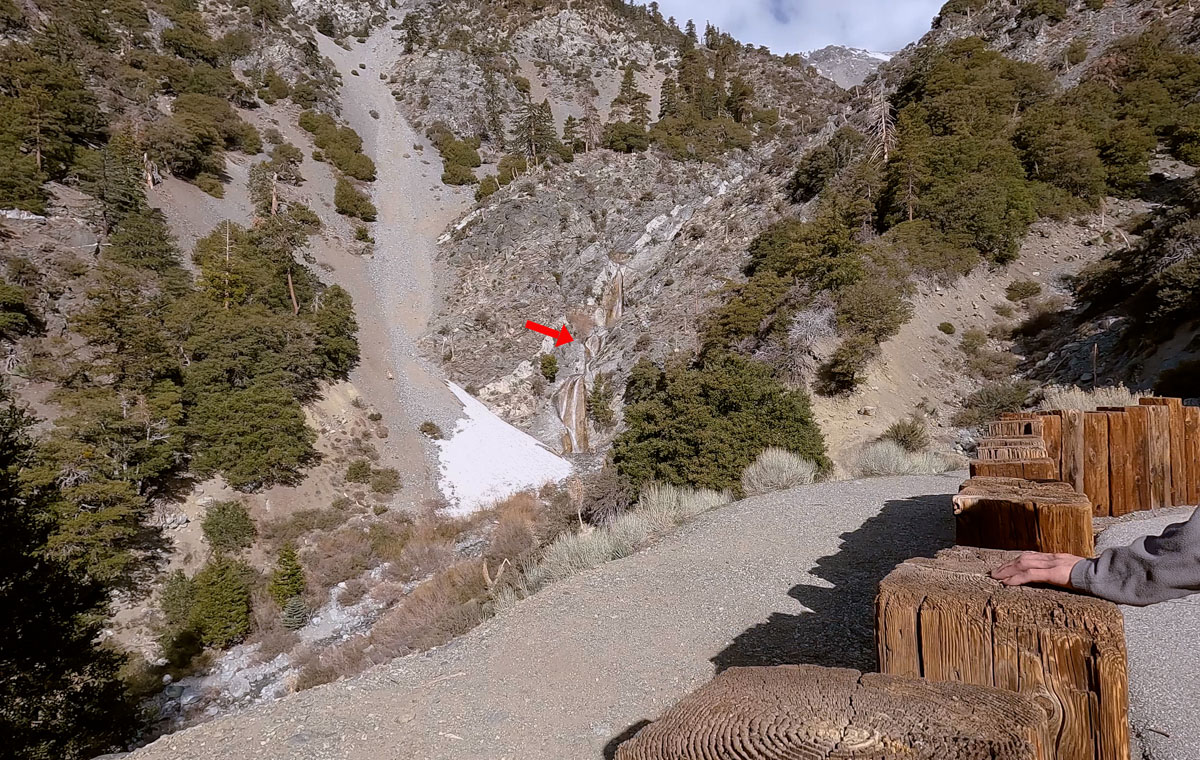
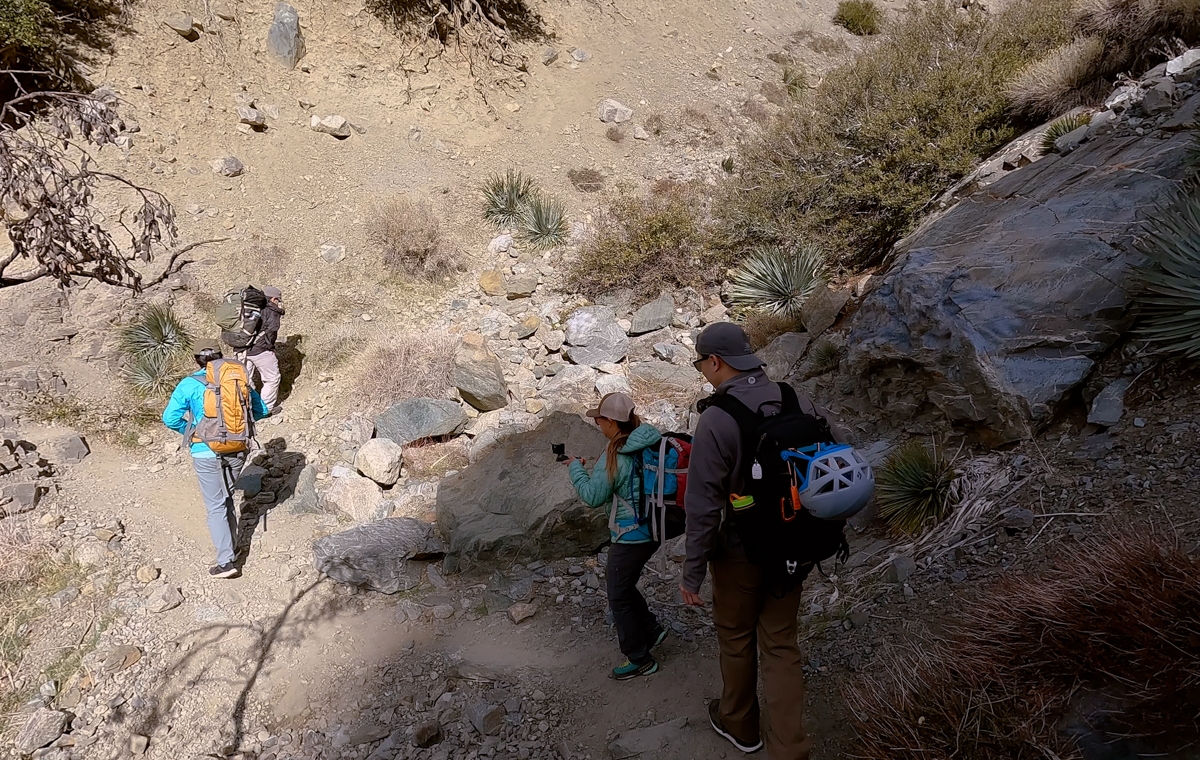
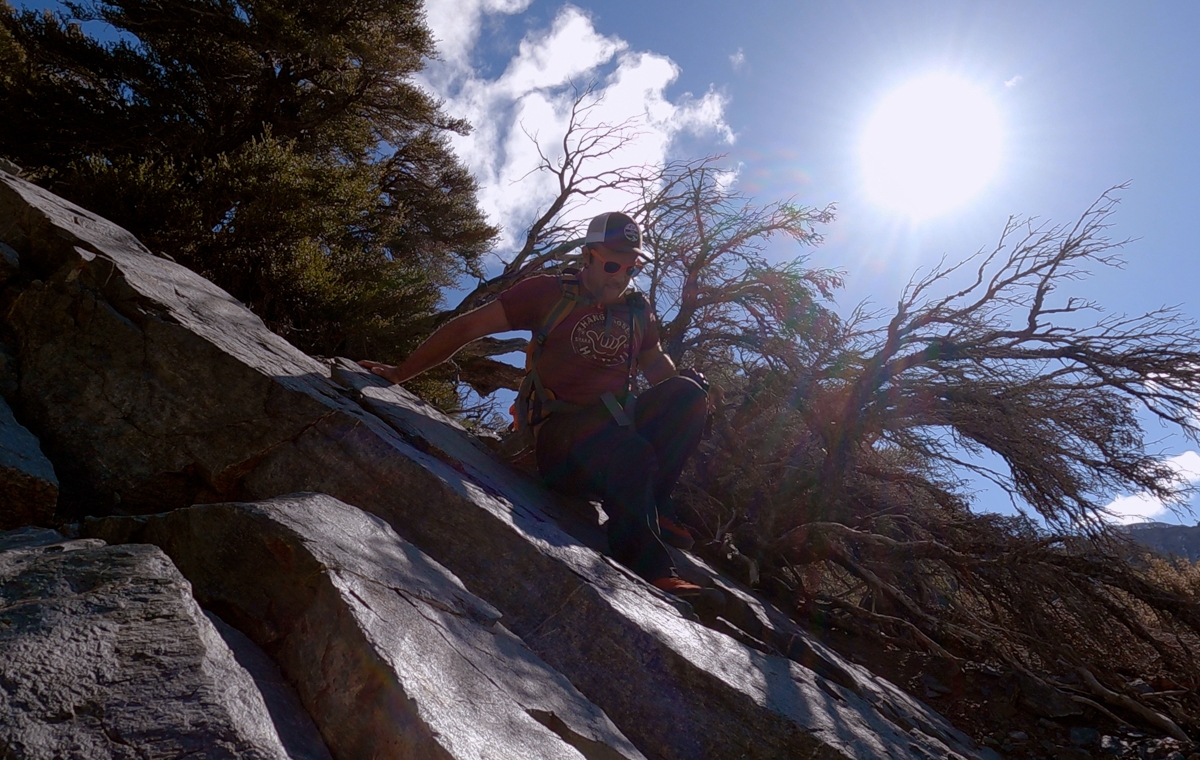
For the sneak route, you’ll also start on the paved Falls Road. After a short distance, you’ll come to a big curve on the road with wooden posts forming a wall. From here, you can see the view of the canyon and the first glimpse of your last rappel. At this point, follow the small trail that leads down to the base of the waterfalls. About 100ft in, turn right to go up the obvious gully. Keep hiking up the gully until you’ll see a worn path on the left. This worn path weaves through the trees and then crosses over some steep and slippery hillside. After crossing over the slippery ground, make a sharp right turn to go up higher and then finally drop in above the first rappel. This is where you’ll want to gear up.
Previous
Next
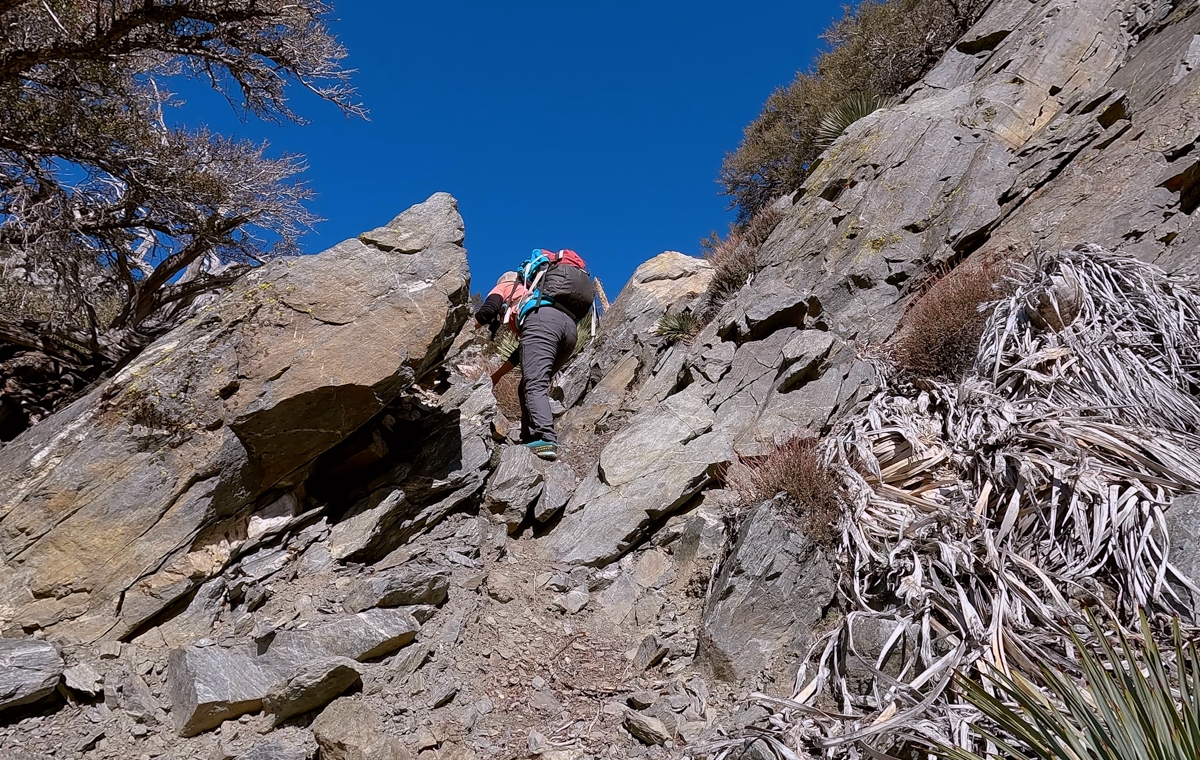
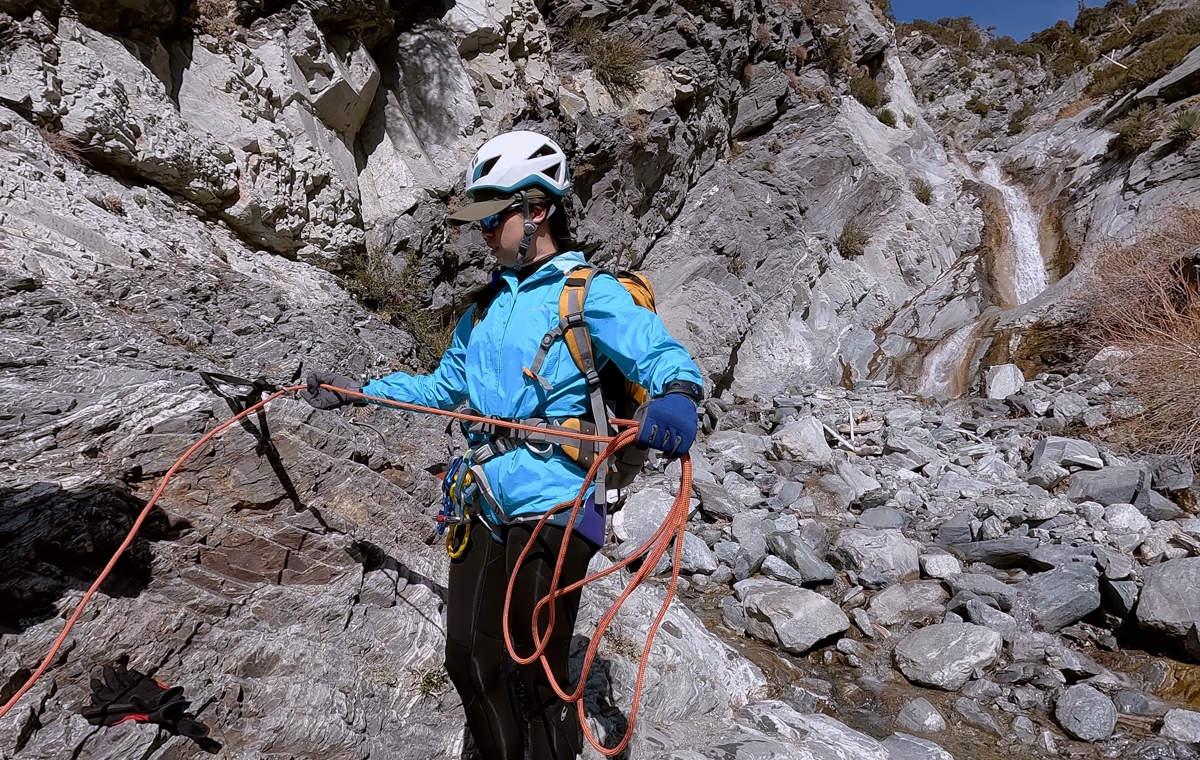
Technical Section:
Note: The conditions of San Antonio Falls are ever-changing depending on the seasons or how much water it has. You will need to adapt or adjust your route accordingly.
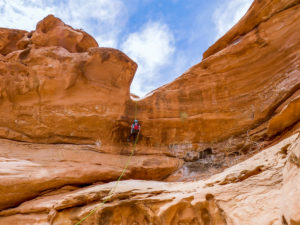
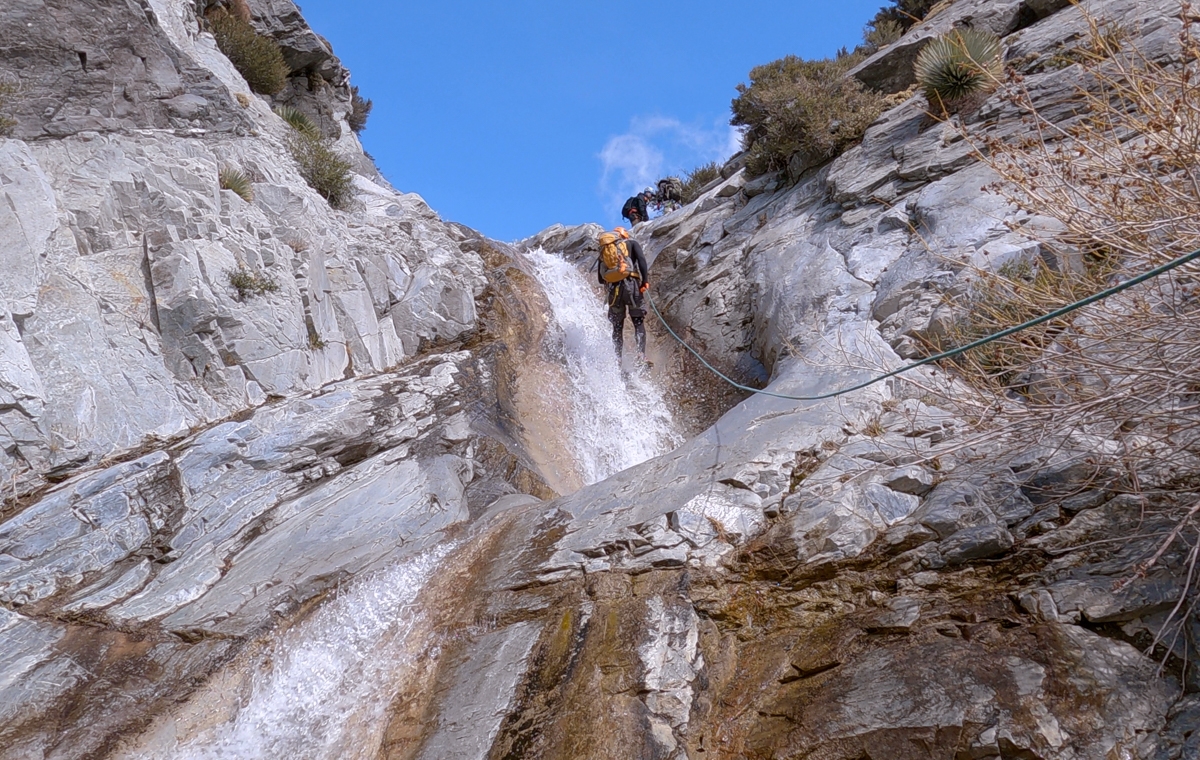
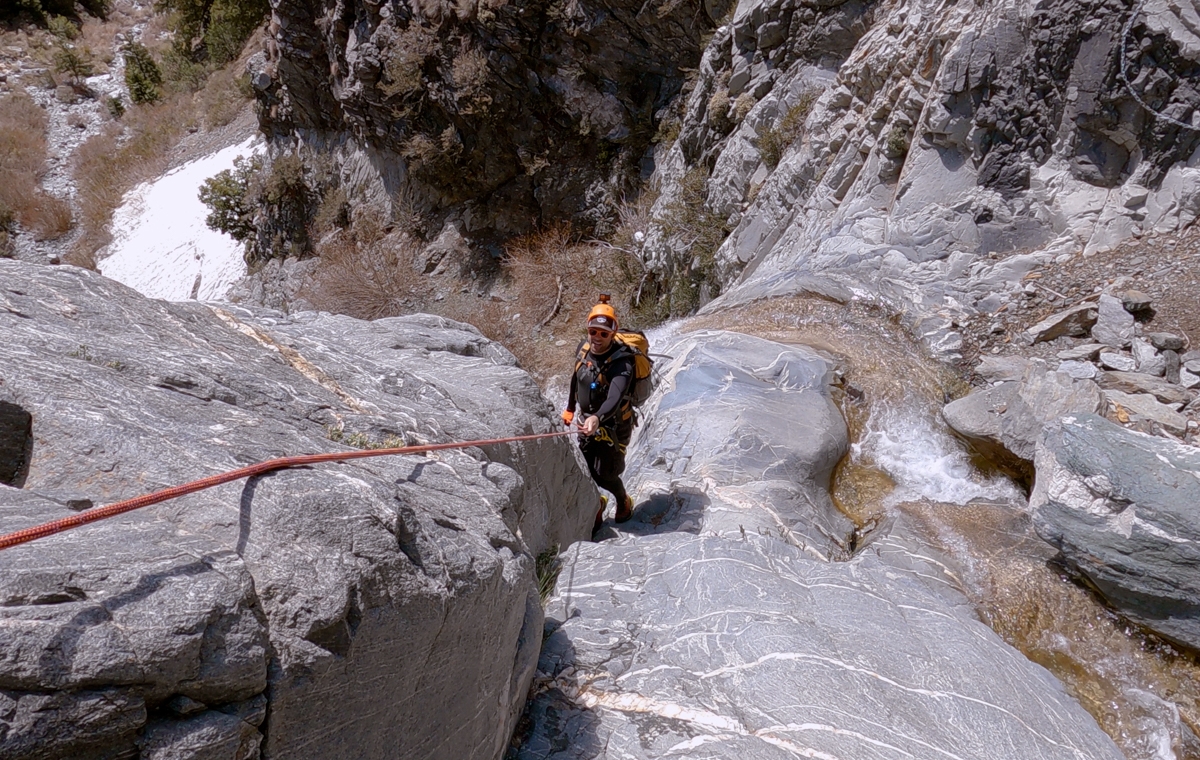
Rappel 1
Apparently there are two anchor options here, one LDC (left, down canyon) and one RDC (right, down canyon). The one on the right is further in so you’ll need more rope. It is about 77ft from bolts RDC and 67ft LDC. We used the anchors LDC. The waterfalls themselves are about 40-50ft.
Previous
Next
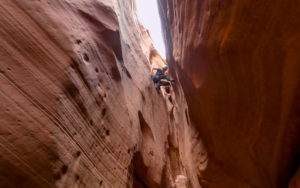
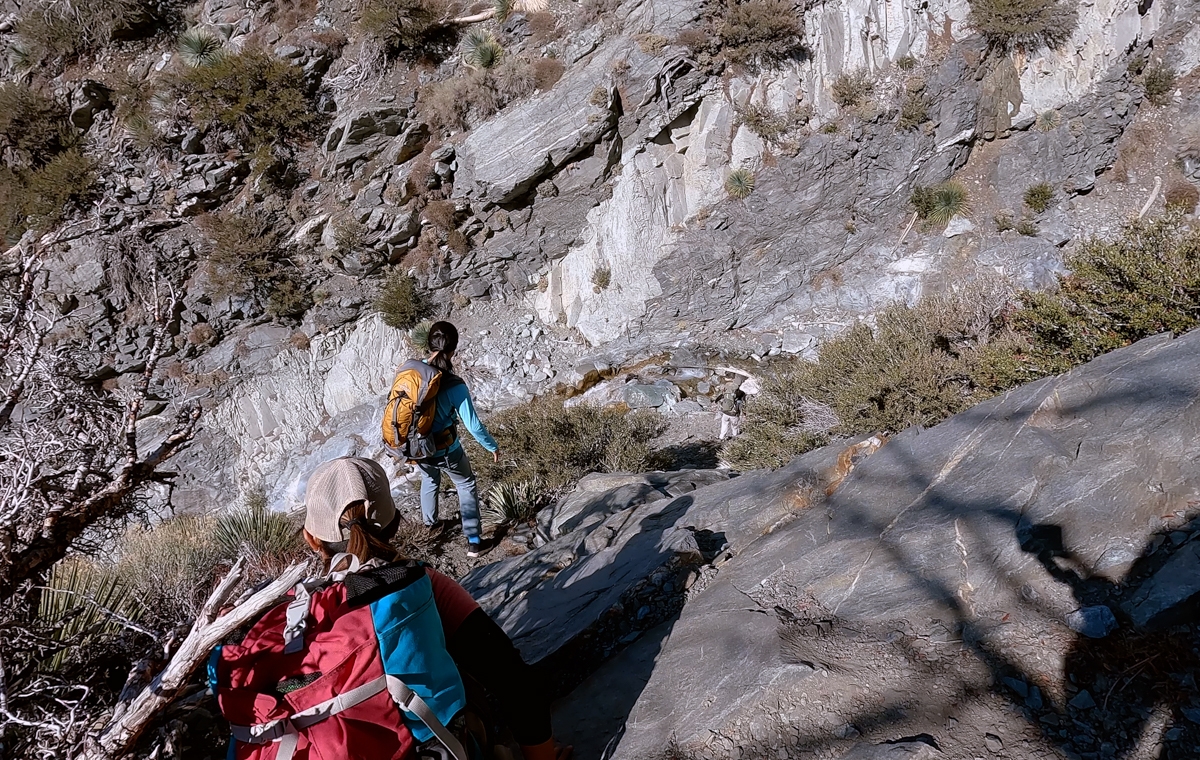
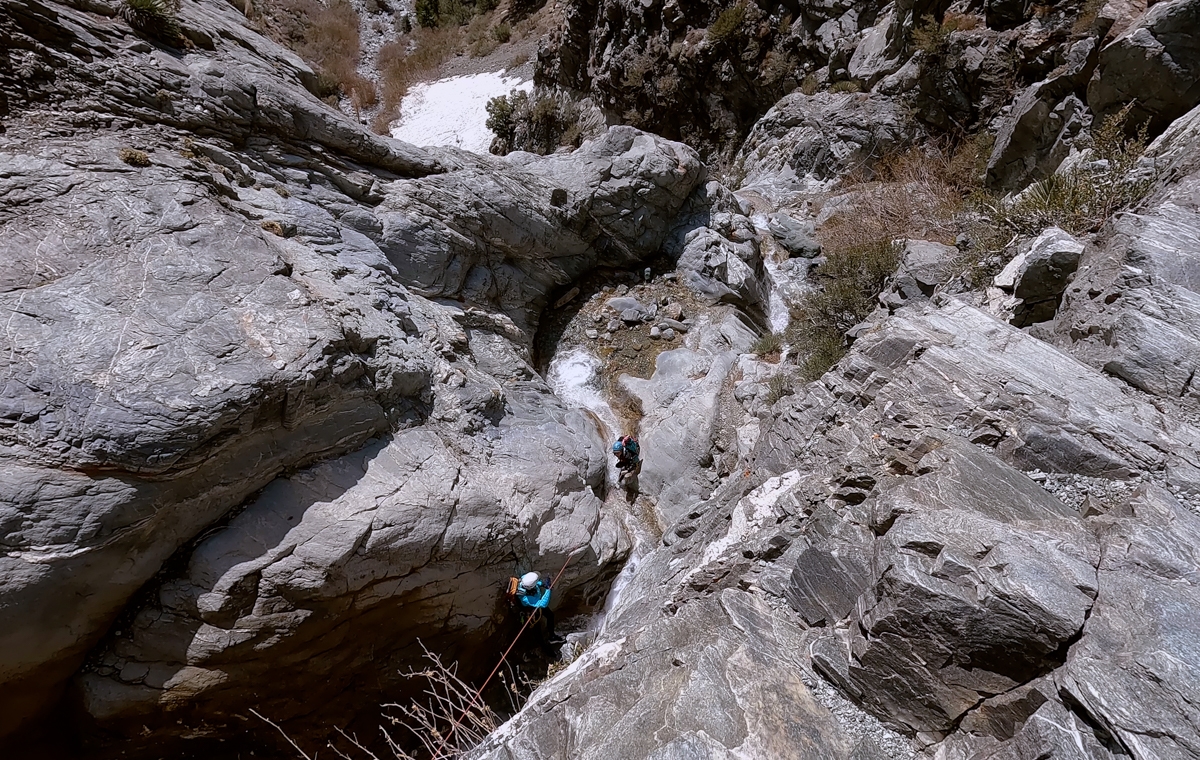
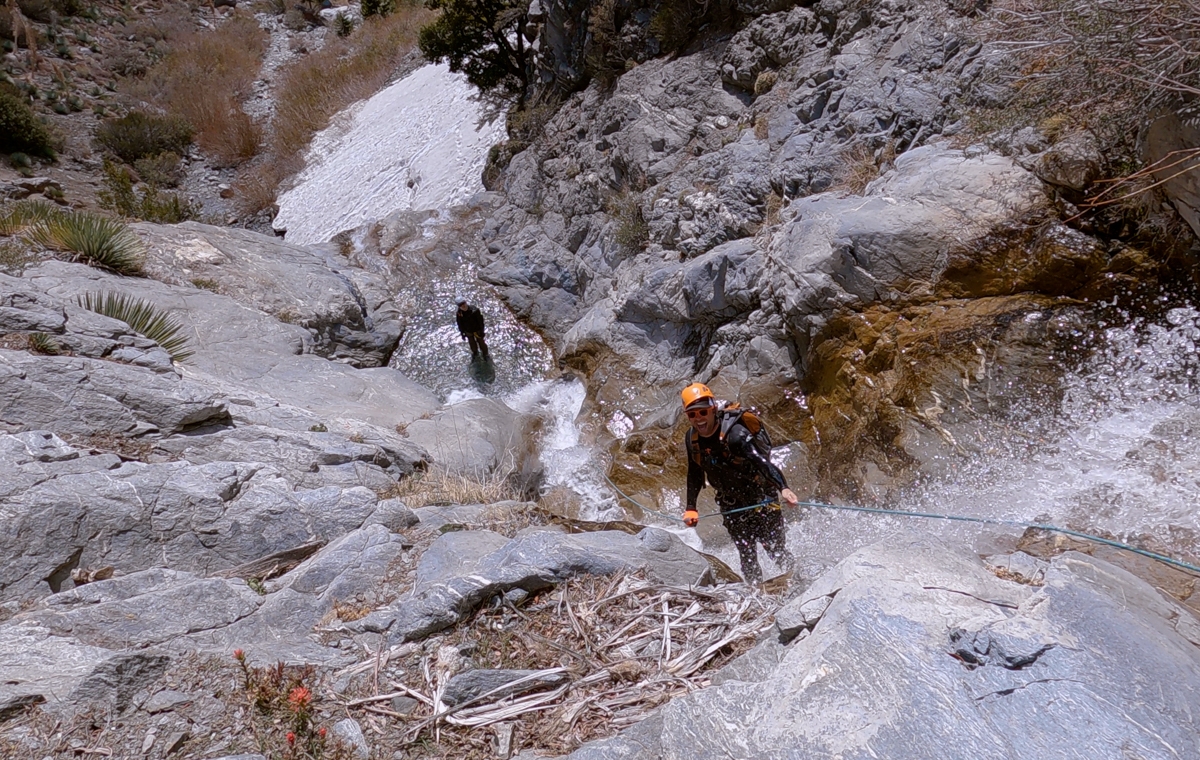
Rappel 2
A short distance downstream from the first rappel, there is a natural rock platform with a view of the remaining four waterfalls. From this platform, we could also see the bottom of the canyon. To the left side, there are two water spouts of 40ft waterfalls cascading down the stepped pool into a cauldron then spit out to the right. This creates a watery whirlpool that can be dangerous if you’re not careful. From this stepped pool, the falls continue down an angled slab to the bottom of this waterfall.
There are multiple anchor options here. We used the anchors RDC closer to the waterfalls. It is because while most of our group wanted to practice rappeling down the waterfalls, our leader, Anh, decided to stay dry. This anchor drops us over the platform wall and directly into the 2 water spouts and down the stepped pool. We actually sent our more experience canyoneer, Jvu down first to wait at the stepped pool to make sure that the rest of us didn’t get stuck in the whirlpool. After everyone made it to the bottom, Anh use the same rope to rappel down the wall on the side of the waterfalls. We use about 80ft of rope for this rappel.
Previous
Next
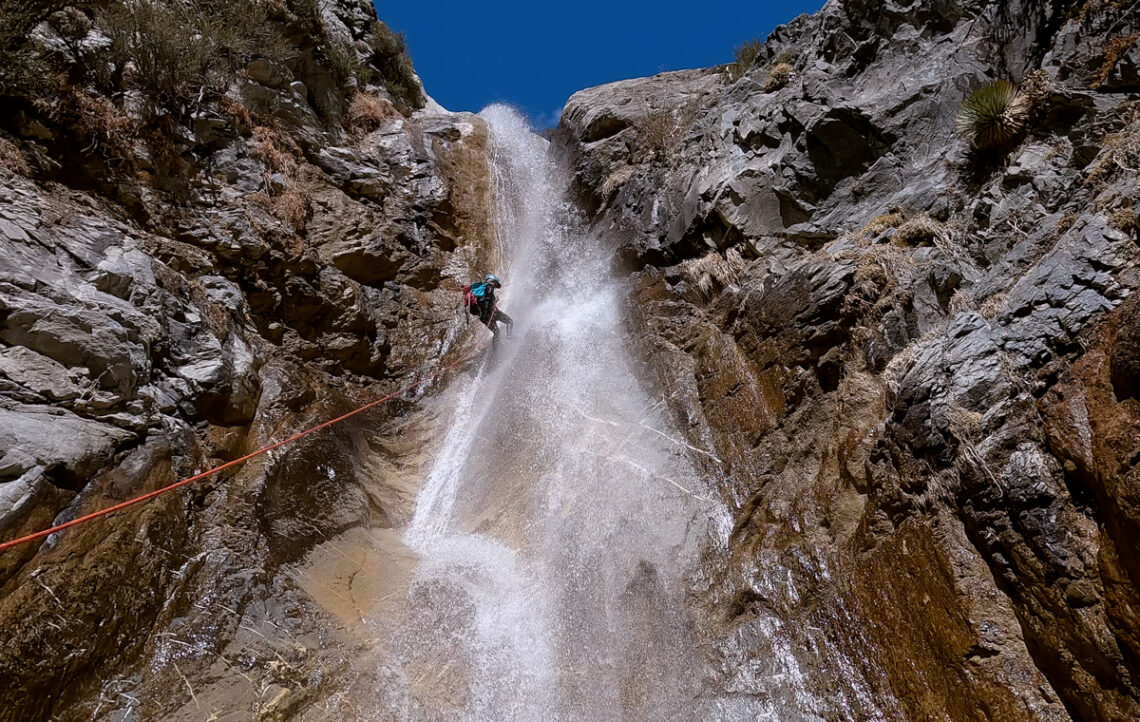
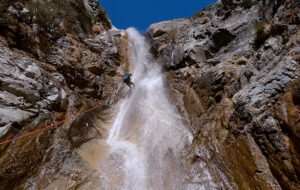
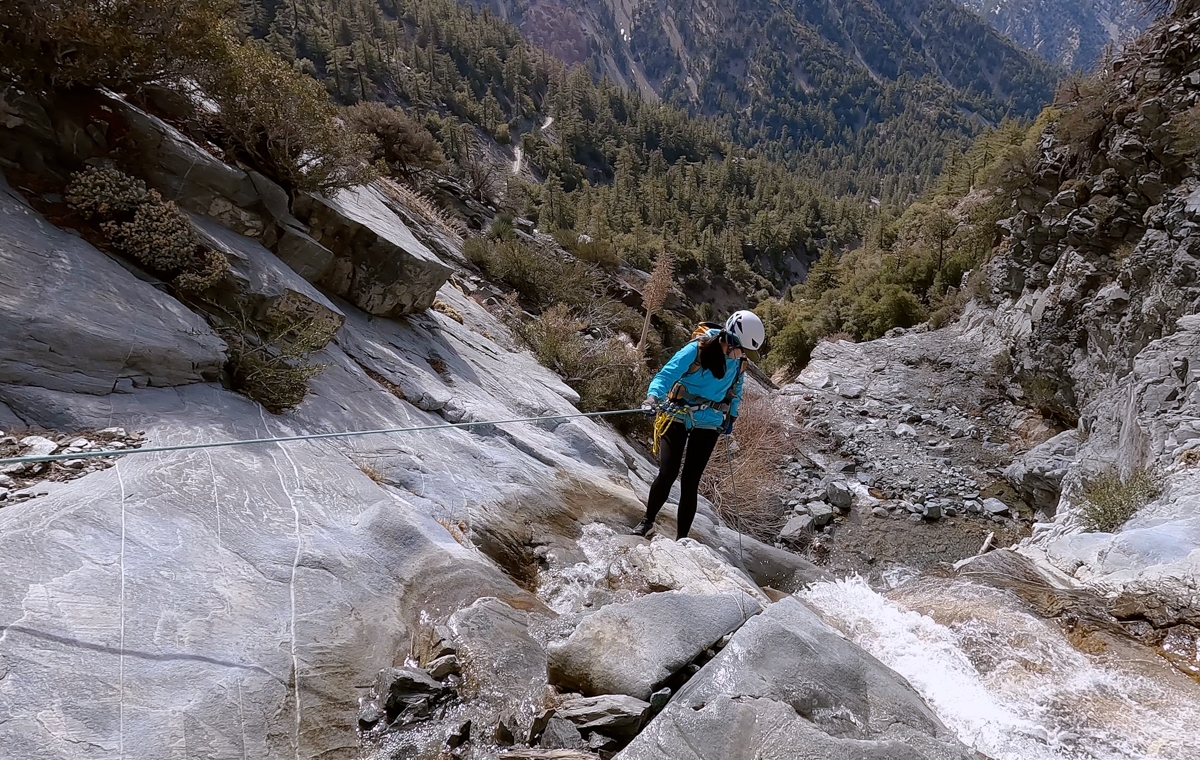
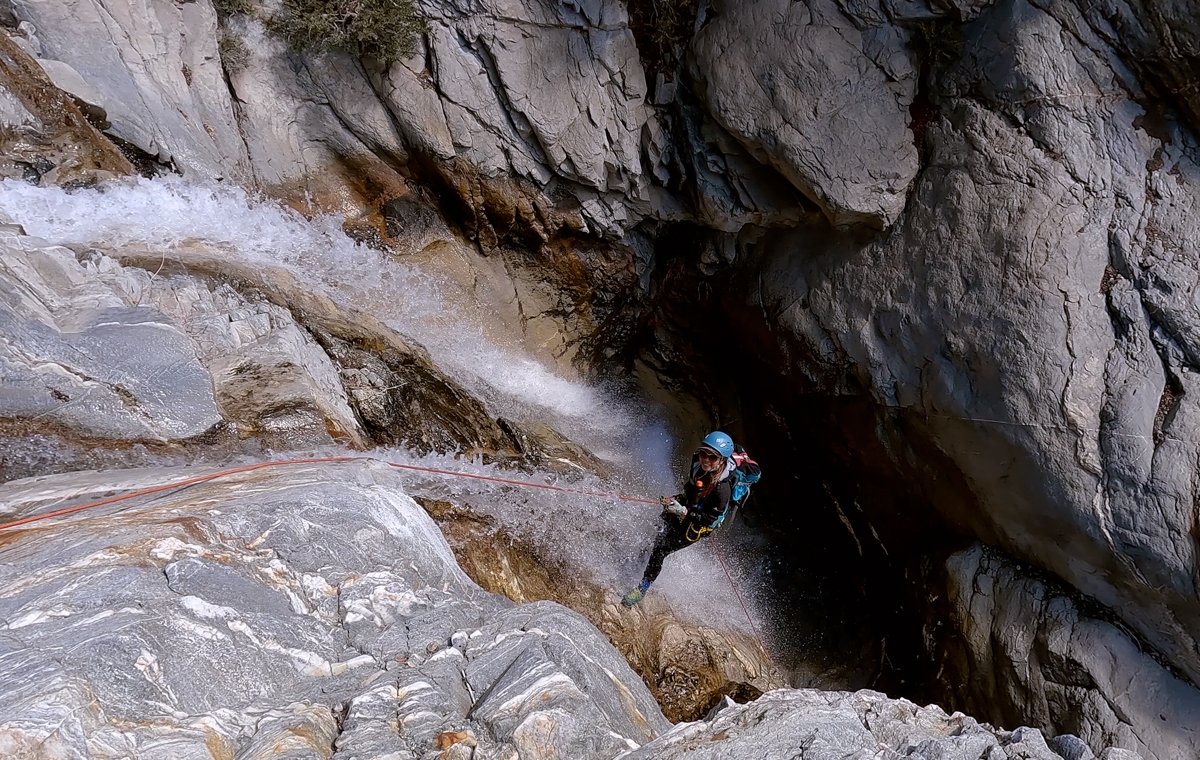
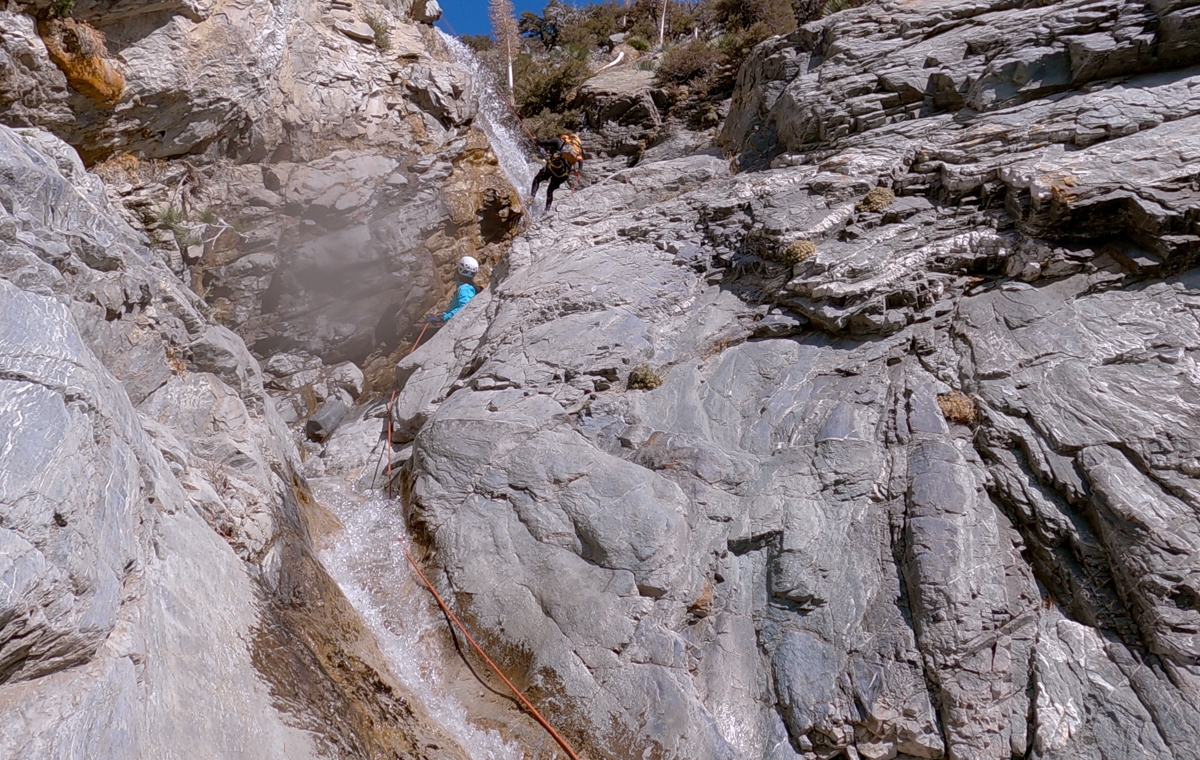
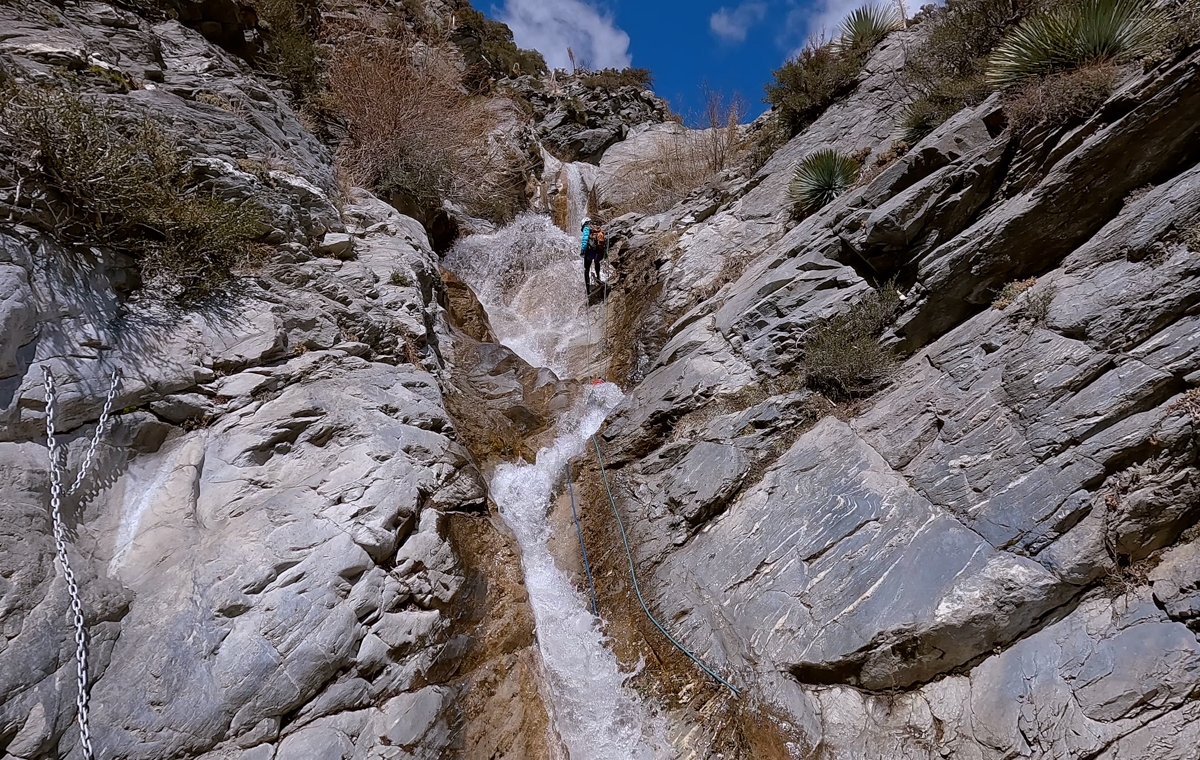
Rappel 3
This third waterfall is the biggest challenge of San Antonio Falls canyon. The falls are about 80ft high with a narrow V slot that causes the water to hammer down pretty hard as you rappel. The anchor is LDC. You’ll need about 95ft of rope. Most of the way, you’ll be hammered with heavy water flow. With our hats under our helmets and sunglasses, we were able to keep the water off our faces, as long as we ducked down. Of course, Anh somehow found another anchor LDC and rappel off the side of the waterfalls, missing all the freezing water fun!
Previous
Next
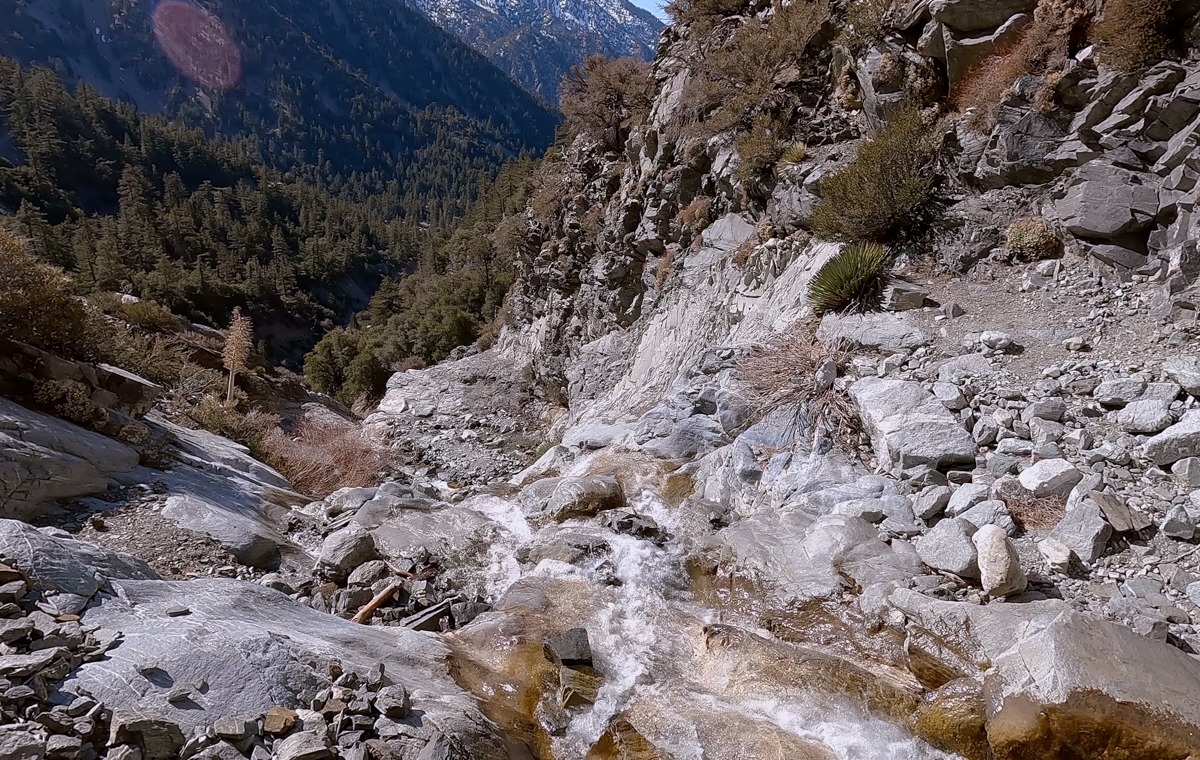
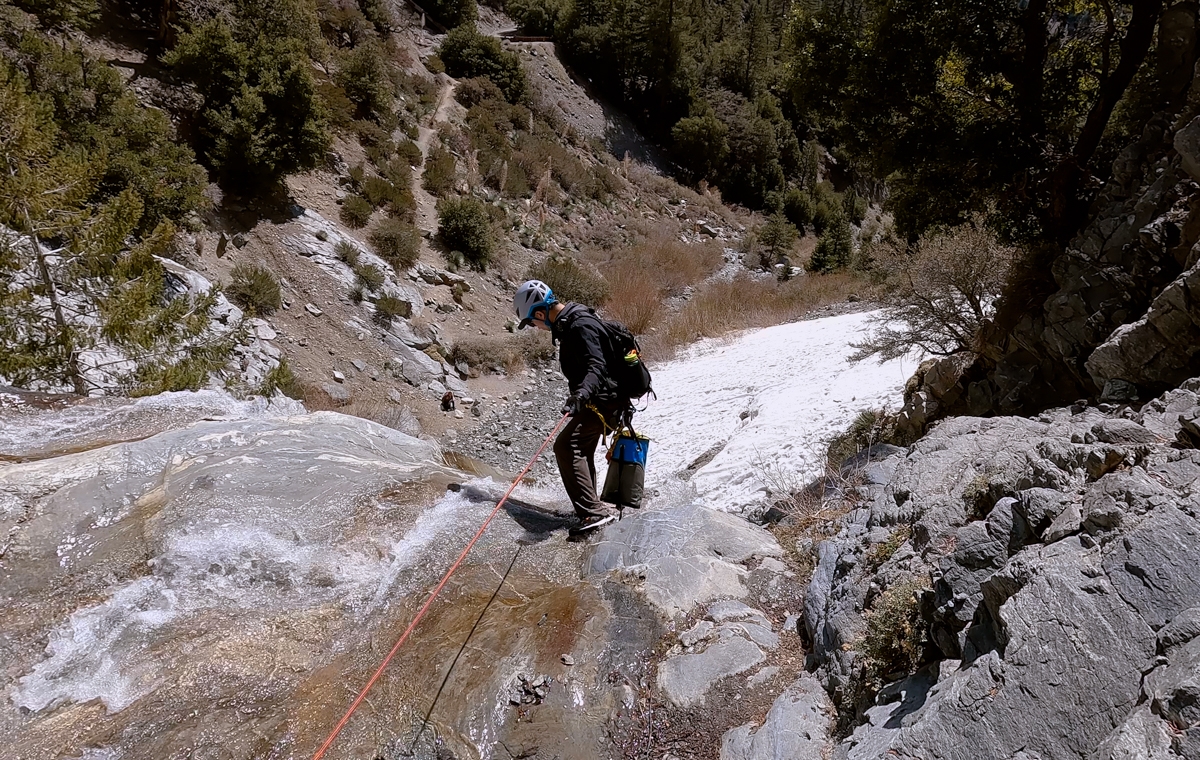
Rappel 4
Immediately after the third rappel is the 4th waterfalls. This one is about 50ft. We found the anchor LDC, bolted to a boulder. This rappel is pretty straightforward, although can be a bit slippery.
Previous
Next
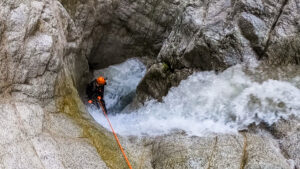
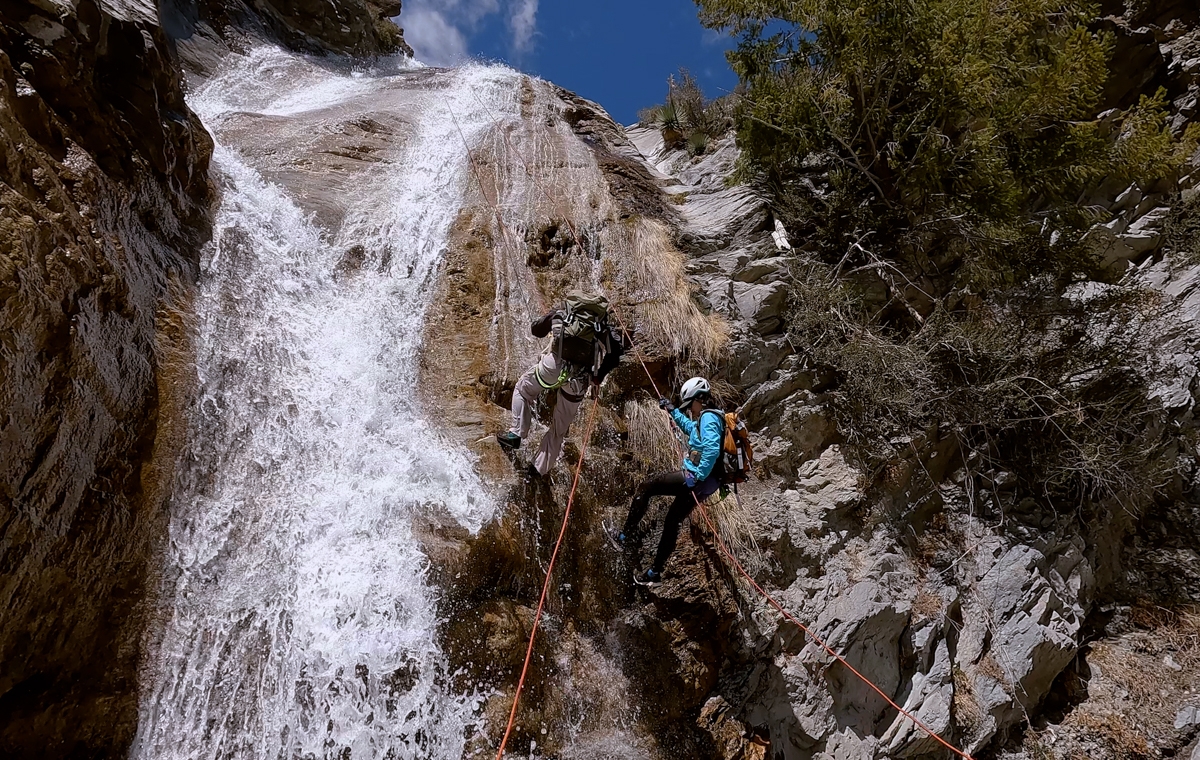
Rappel 5
After rappel 4, it is time for the last and final rappel. This rappel drops you down the 80ft waterfalls. If you prefer to downclimb, there is a scrambling trail RDC that many people use to climb up here. However, this is a popular hiking spot so there will be audiences at the bottom of this falls. Therefore, you should rappel down this rap in style! Also, don’t throw your rope/rope bags unless you’re absolutely sure that there is no one underneath. We recommend carrying your rope bags down with you instead.
There is a large boulder with an anchor in the middle of the stream that dropped us directly on top of the watercourse. When we went, the water flow is toward moderate. The first half of the rappel is straightforward. Toward the bottom of the rappel, part of the waterfalls twisted and spray out to LDC. Therefore, just be careful when you get closer to this part. You can always via left and stay away from that spray.
Previous
Next
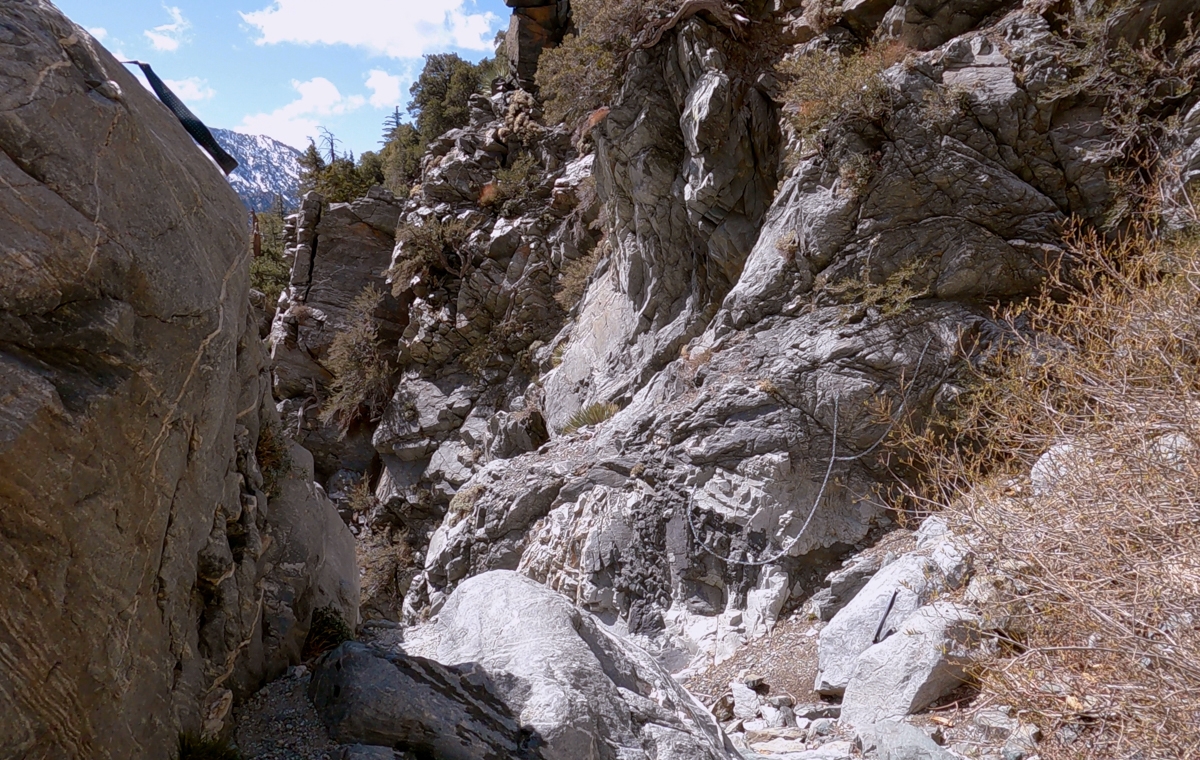
Exit
Besides its easy approach, the exit for San Antonio Falls is even easier. We were actually very happy about that because that water was beyond freezing. I meant there was snow all over the banks! At the bottom of the waterfalls, we followed the small worn trail that led up the hill toward the main paved trail. From there, it is an easy and quick walk to the car.
San Antonio is such a fun canyon. We definitely come back, maybe when it is a bit warmer! Don’t forget to check out our other canyoneering adventures such as Water Canyon, Slideanine or Mystery.
Previous
Next
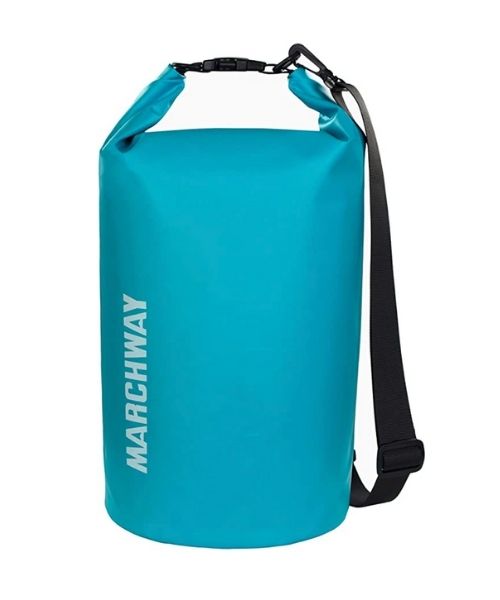
These are the gear that we personally use and find them helpful for this particular adventure. Don’t forget to check out our Recommended Gear section as well.
adventure gear
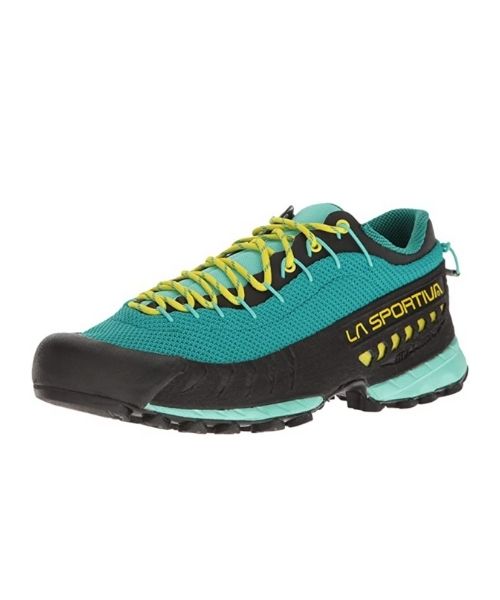
We love these La Sportiva TX3 approach shoes! They have pretty good traction on wet rocks and muddy areas. They also drain well, especially when you have to wade through water.
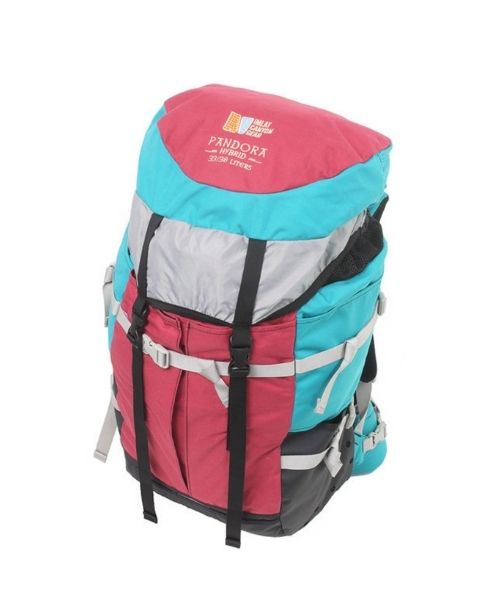
Canyoneering bags are essential, especially for wet canyon. This Imlay Pandora Bag not only has tons of drainage holes, it’s also very well-made. It’s also perfect for shorter people like Vy with heigh range from 5ft – 5ft 4
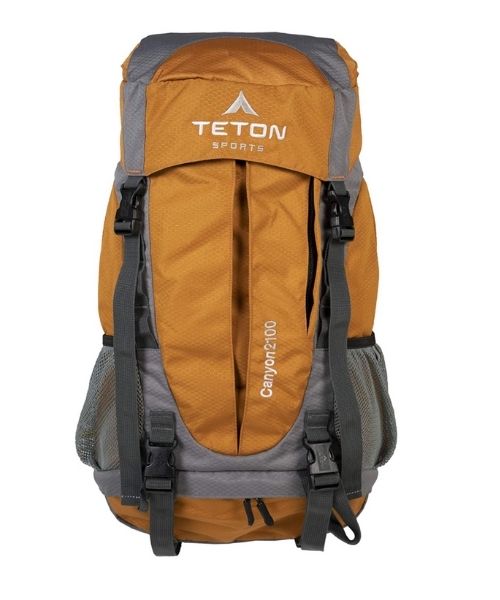
Teton Sport makes a pretty decent beginner canyoneering bag. It has a few drainage holes that will be useful for wet canyons. What we love about this bag is the price and the amount of pockets it has!
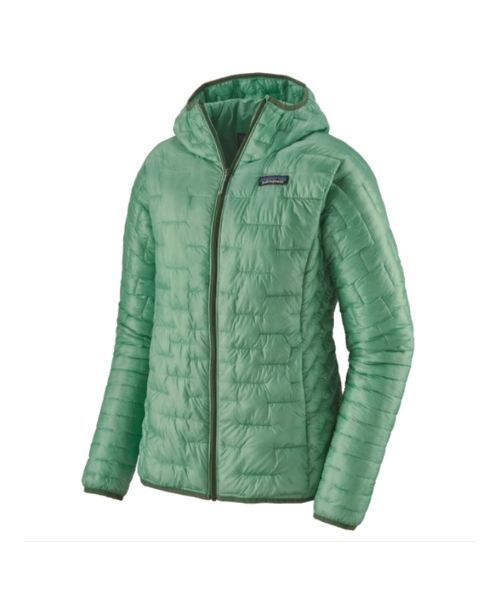
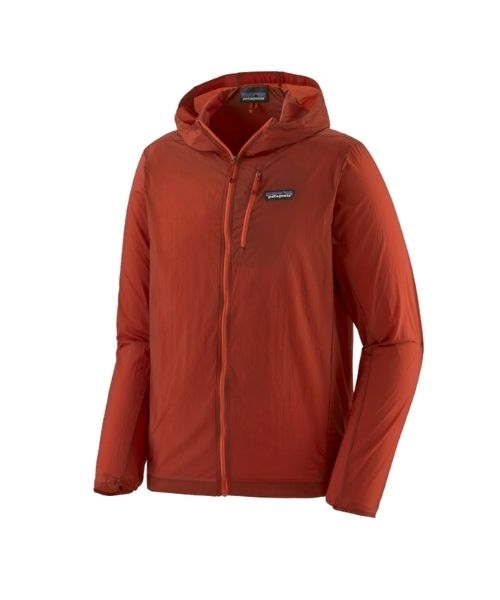
It can get cold when. you’re deep in the canyon or later in the day. We love our packable Patagonia Puff Jackets! You can get Vy’s version here, and Dustin’s version here.


