
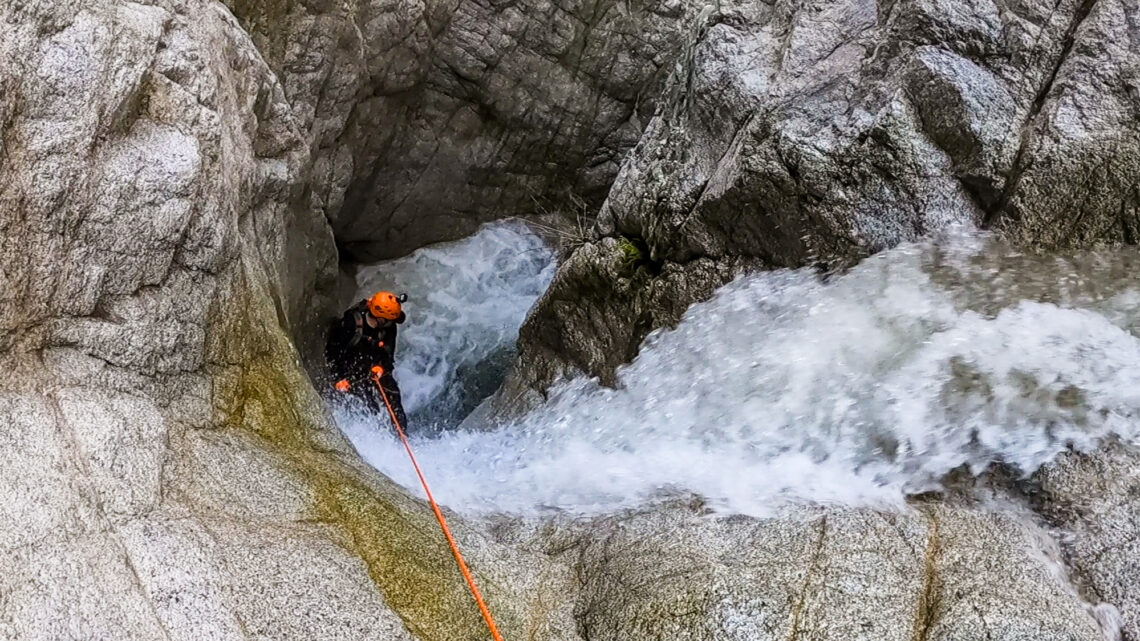
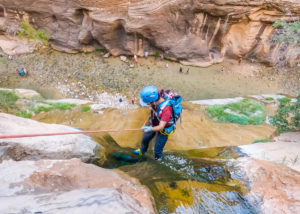
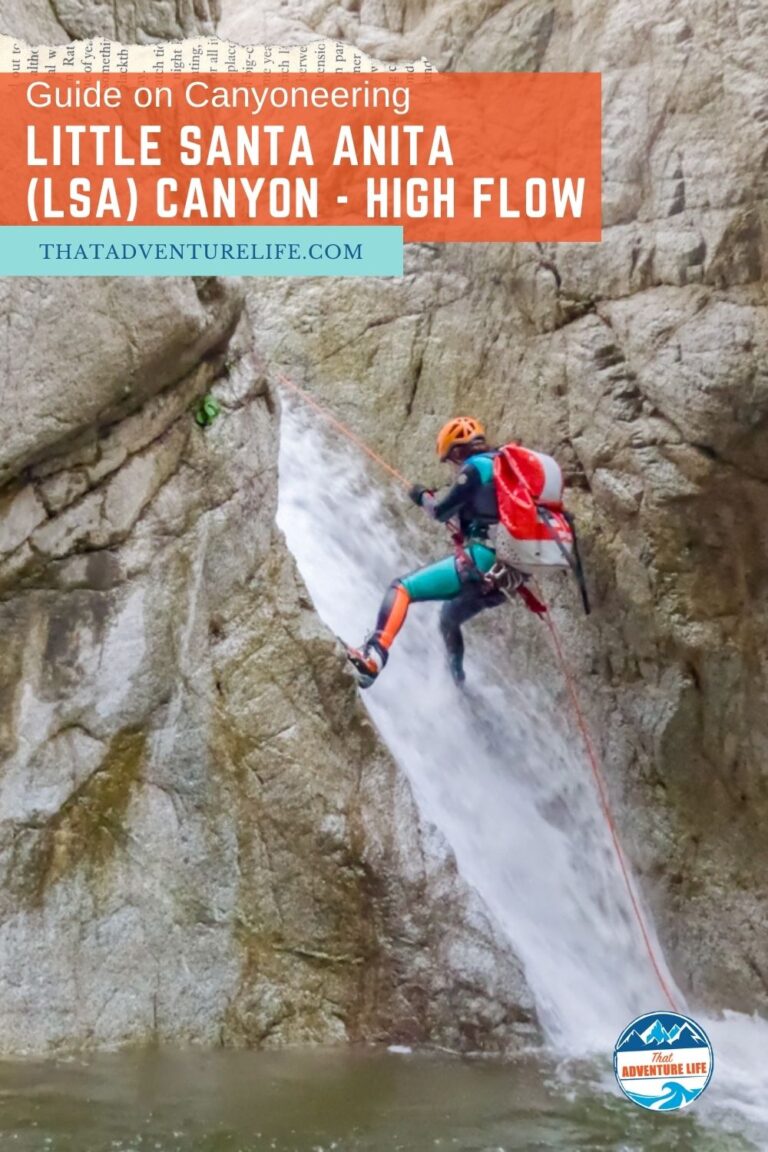
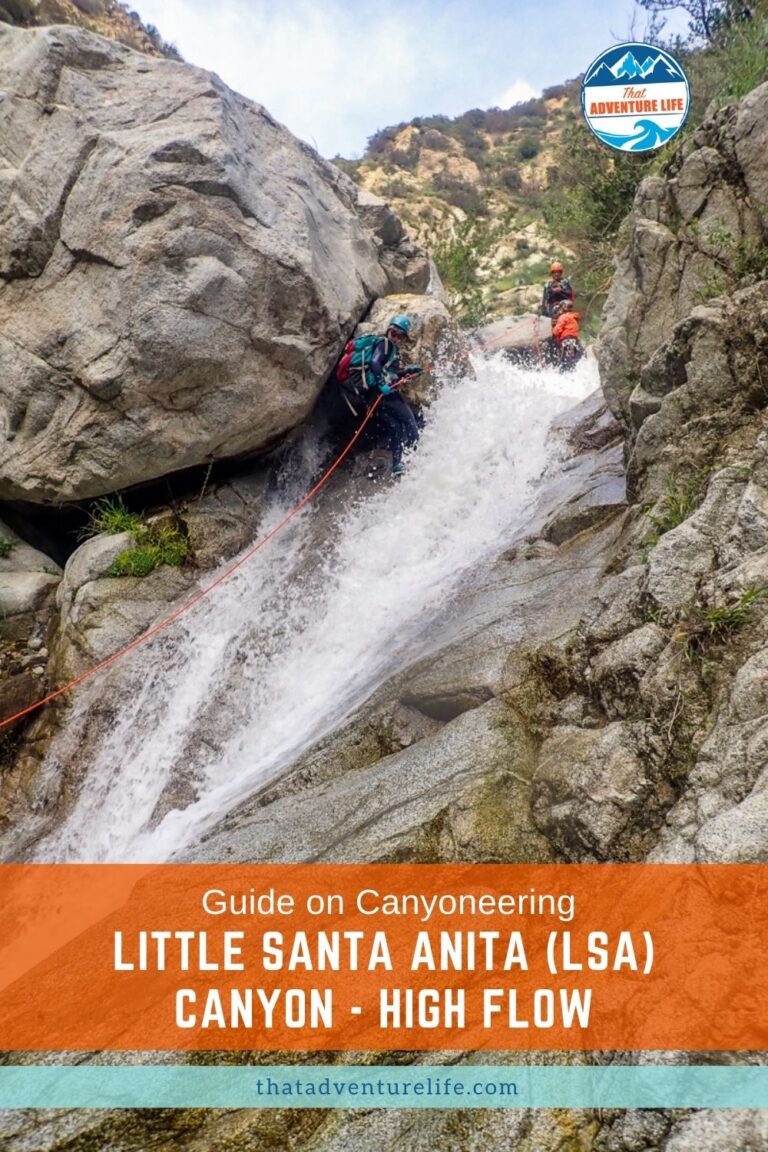
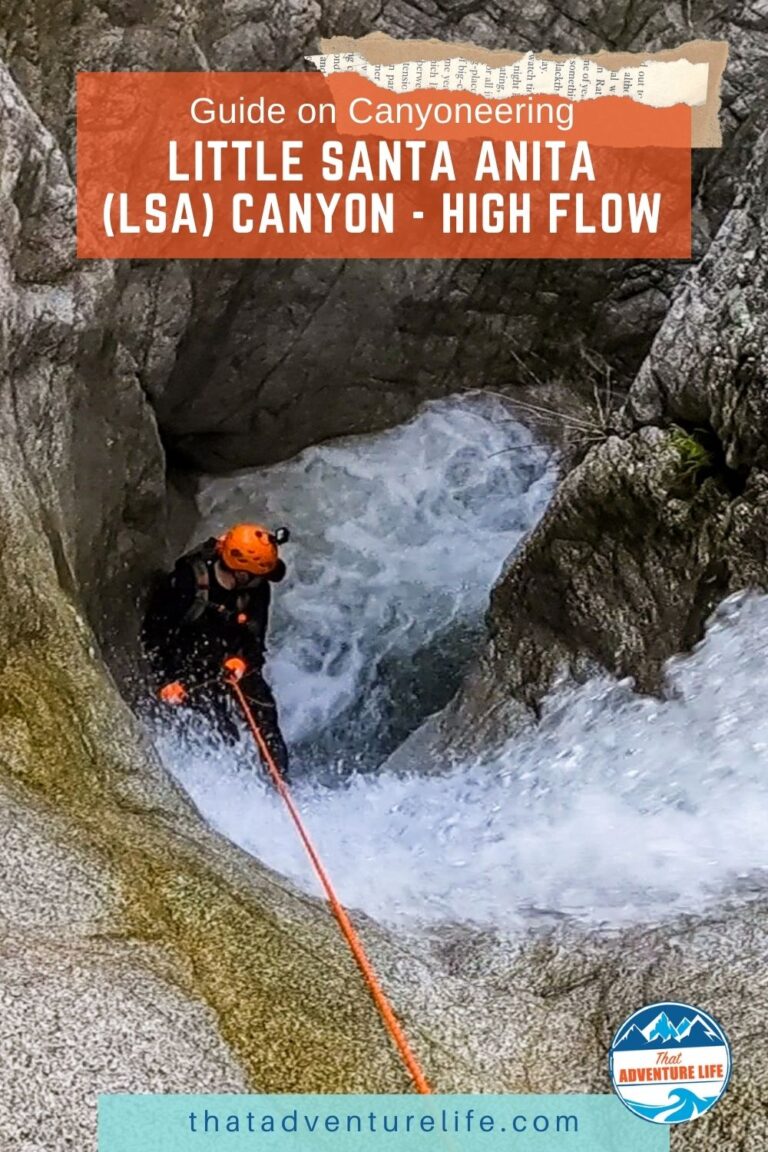
Little Santa Anita a.k.a LSA Canyon is a perfect beginner canyon located in Sierra Madre, CA. It has an easy and straightforward approach, tons of rappels yet none of them are too high so it’s perfect for beginners to practice. Usually, Little Santa Anita (LSA) is an easy class B Canyon. However, after a torrential downpour or a heavy rainy season, this canyon easily turns into a class C canyon with very swift waters, heavy waterfalls, and hydraulics. Even though all the anchors are still in the same places, the beta is a bit different if you’re attempting this during high flow. But if you are experienced, this canyon is super fun during high flow. We had so much fun running this after the crazy rainstorms. Our beta below is for the high flow for Little Santa Anita (LSA) Canyon.
Stats
Where
Trailhead:
Mount Wilson Trail Park
189 E Mira Monte Ave, Sierra Madre, CA 91024
34.170735, -118.048736
Parking
There is street parking along Mira Monte Ave. Parking can be hard to find during the weekend. Make sure to curb your wheels when parking to avoid a ticket.
Restroom
Restrooms at Mount Wilson Trail Park.
Weather
Rating
3B III (v3a2 III)
unless after a heavy rain or rainy season.
Click here to learn more about canyoneering ratings.
Distance
Total: 3.2 miles
Technical: 0.9 miles
Elevation Range
1060 ft
Time
3-6 hours (could be longer if it’s during heavy rain season)
(We had 6 people and took 8 hours during a very high-flow run)
Permit
None
Rappels
15 rappels, max ↨50ft
Shuttle Required
None
Vehicle
Passenger
Need to Know
There is a potential keeper pothole near the end of the canyon; be prepared with escape techniques if requires.
Video
The Approach
Getting to the Trailhead
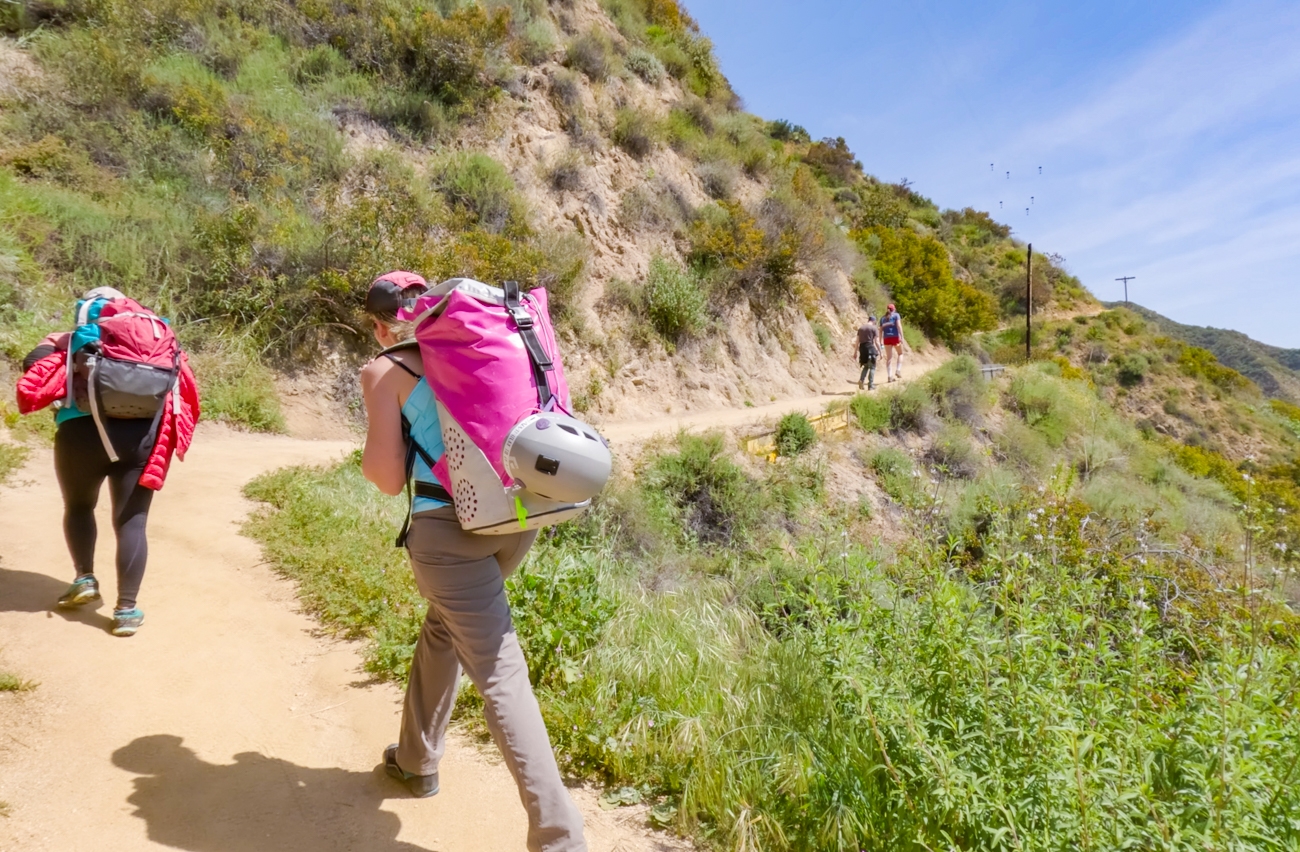
The trailhead Little Santa Anita (LSA) Canyon is located near Mount Wilson Trail Park. You can easily map your way there. There is street parking along Mira Monte Ave. If you’re going on the weekend, it might be a bit difficult to find parking close by. Once you parked, head up the paved Mount Wilson Trail road uphill for about 500ft until you see the big gated trailhead for “Mount Wilson Trail.” You won’t miss it.
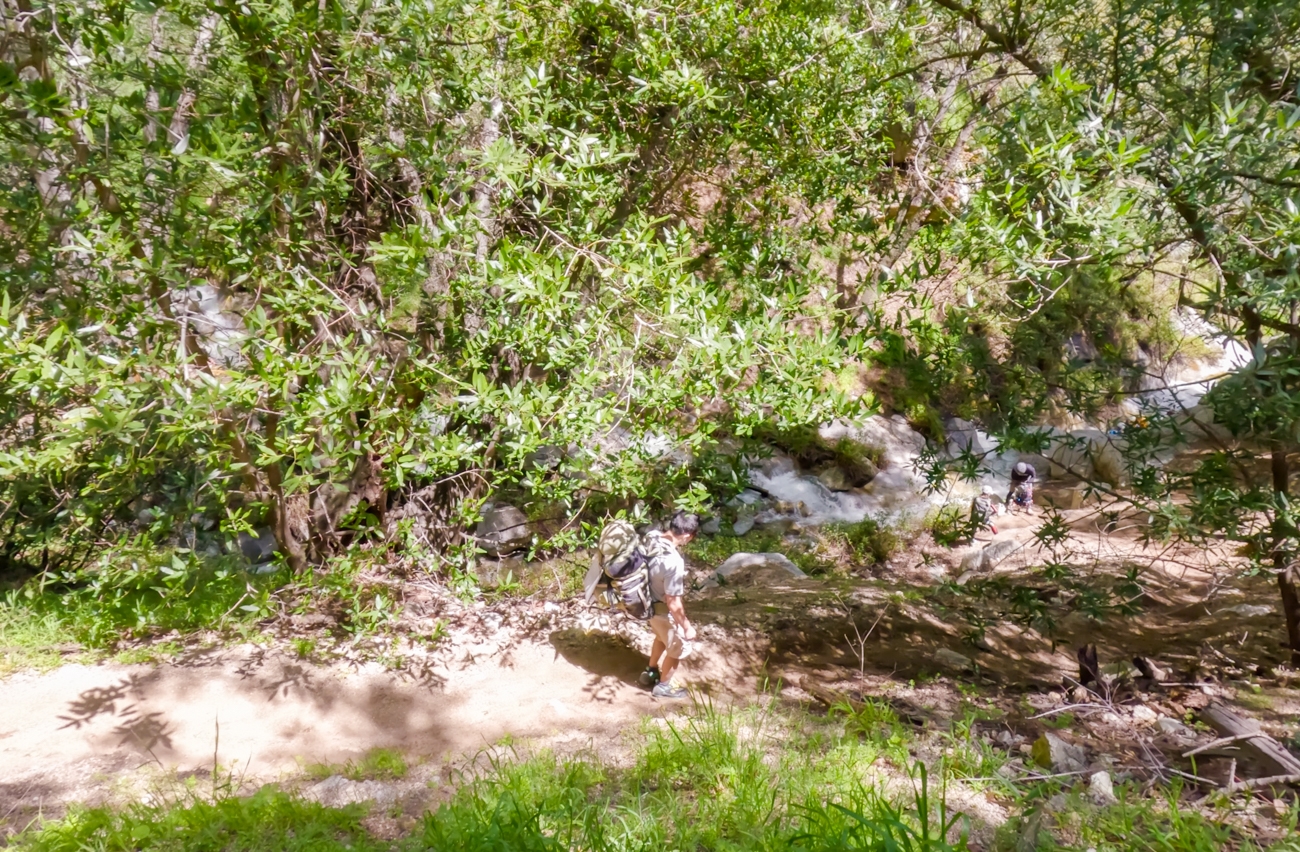
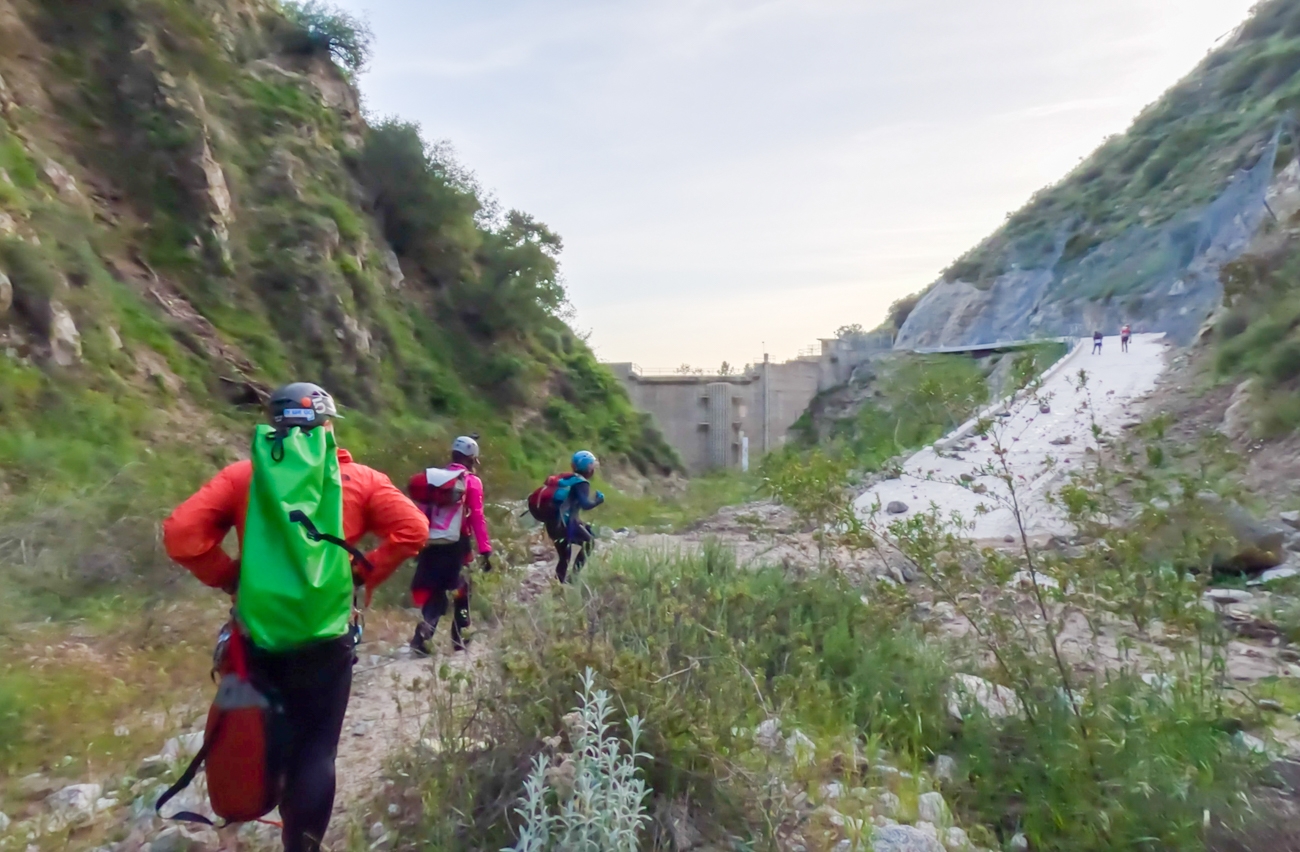
The Hike
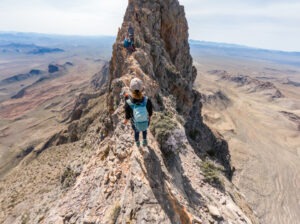
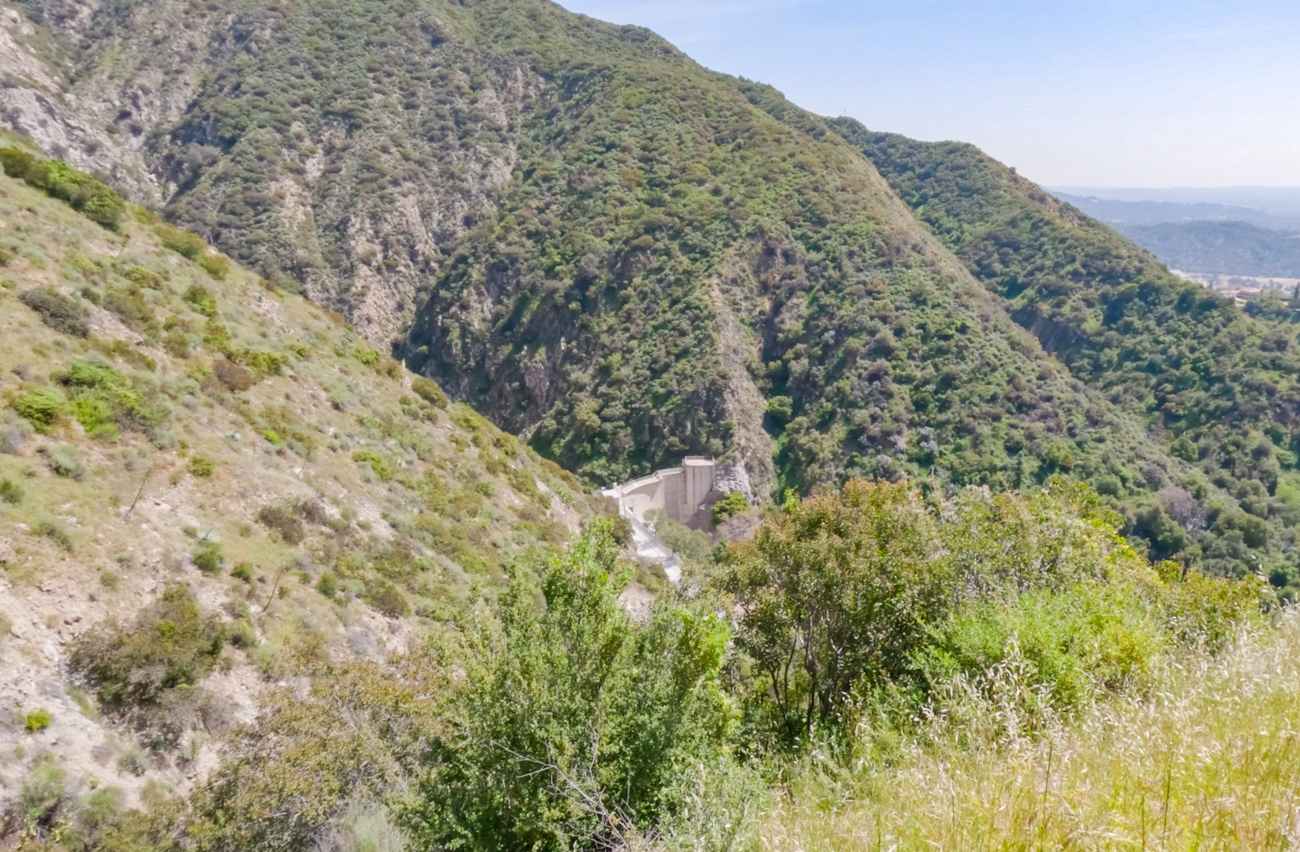
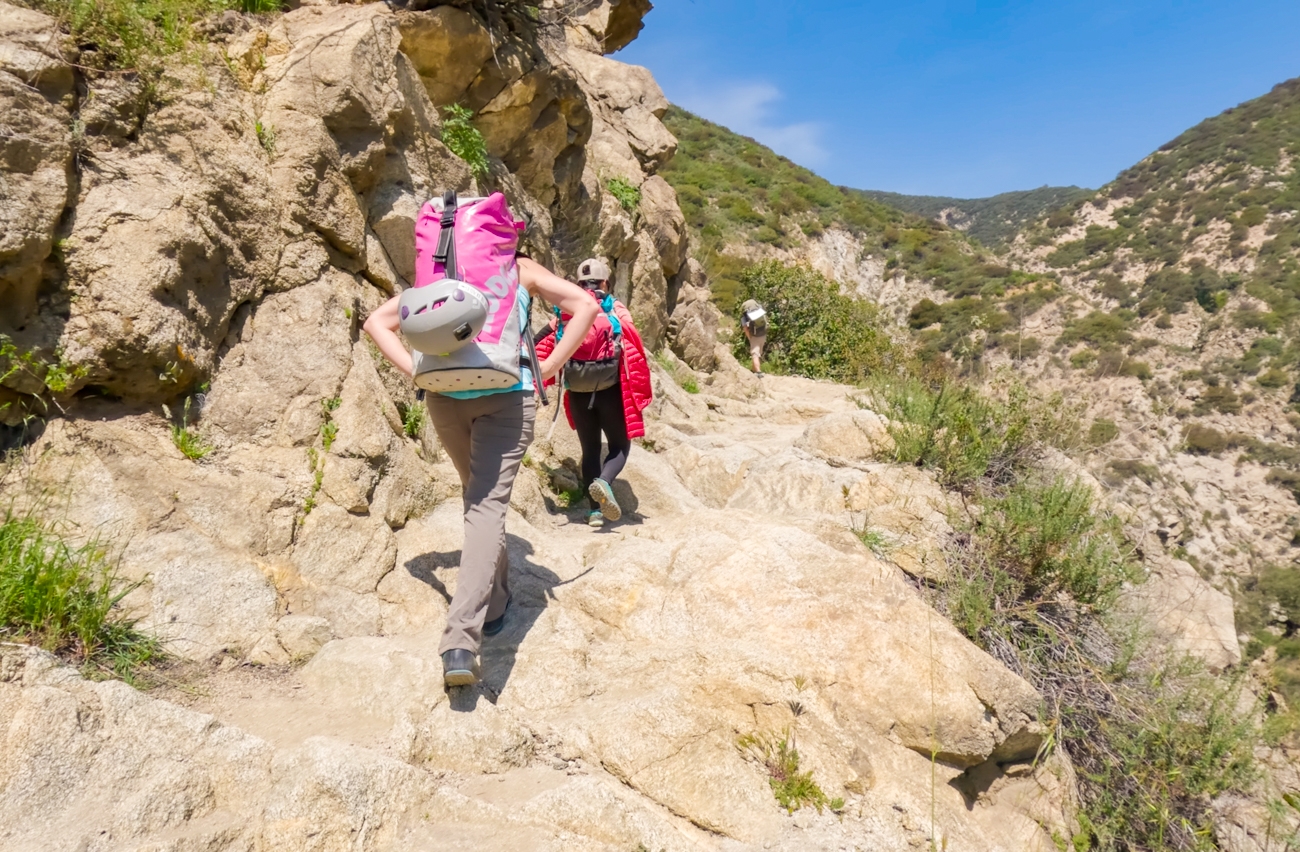
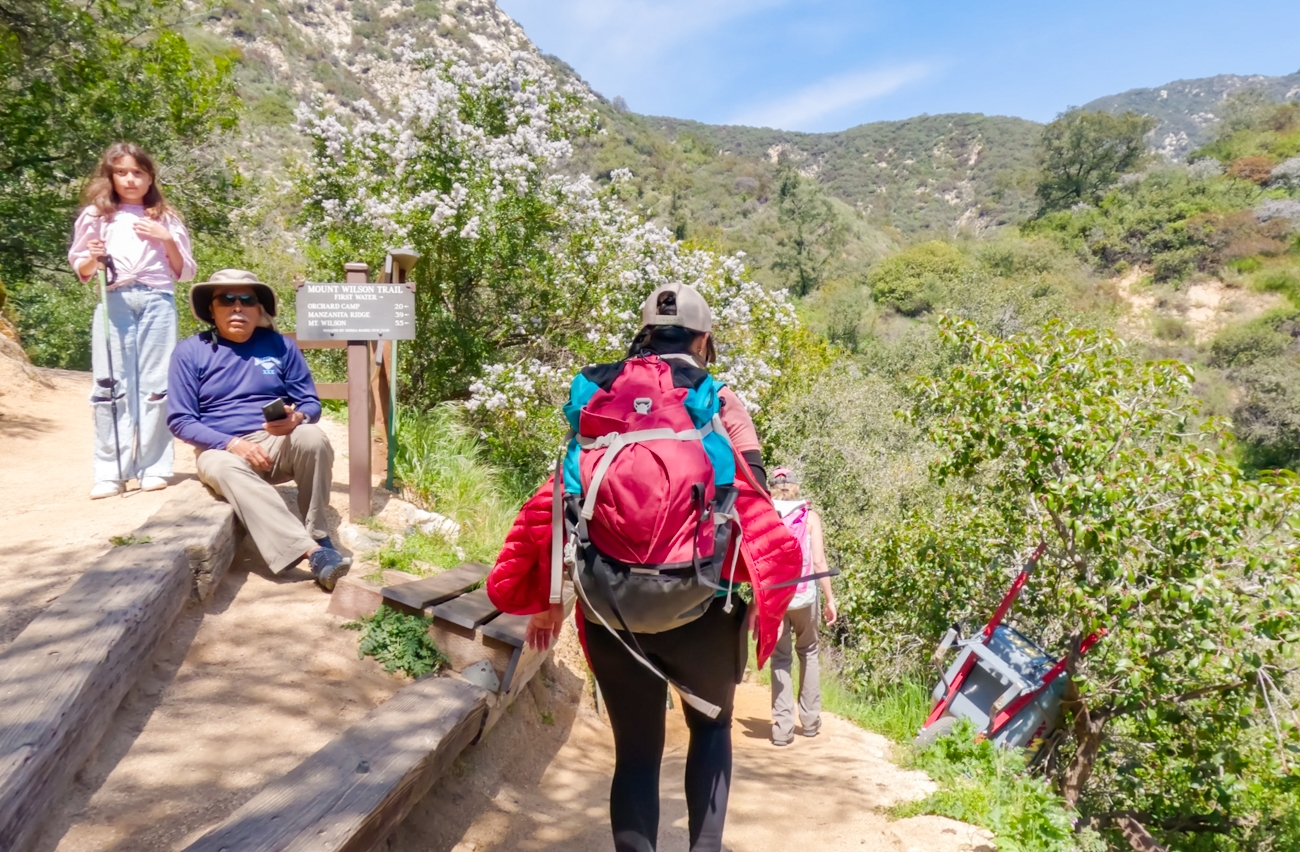
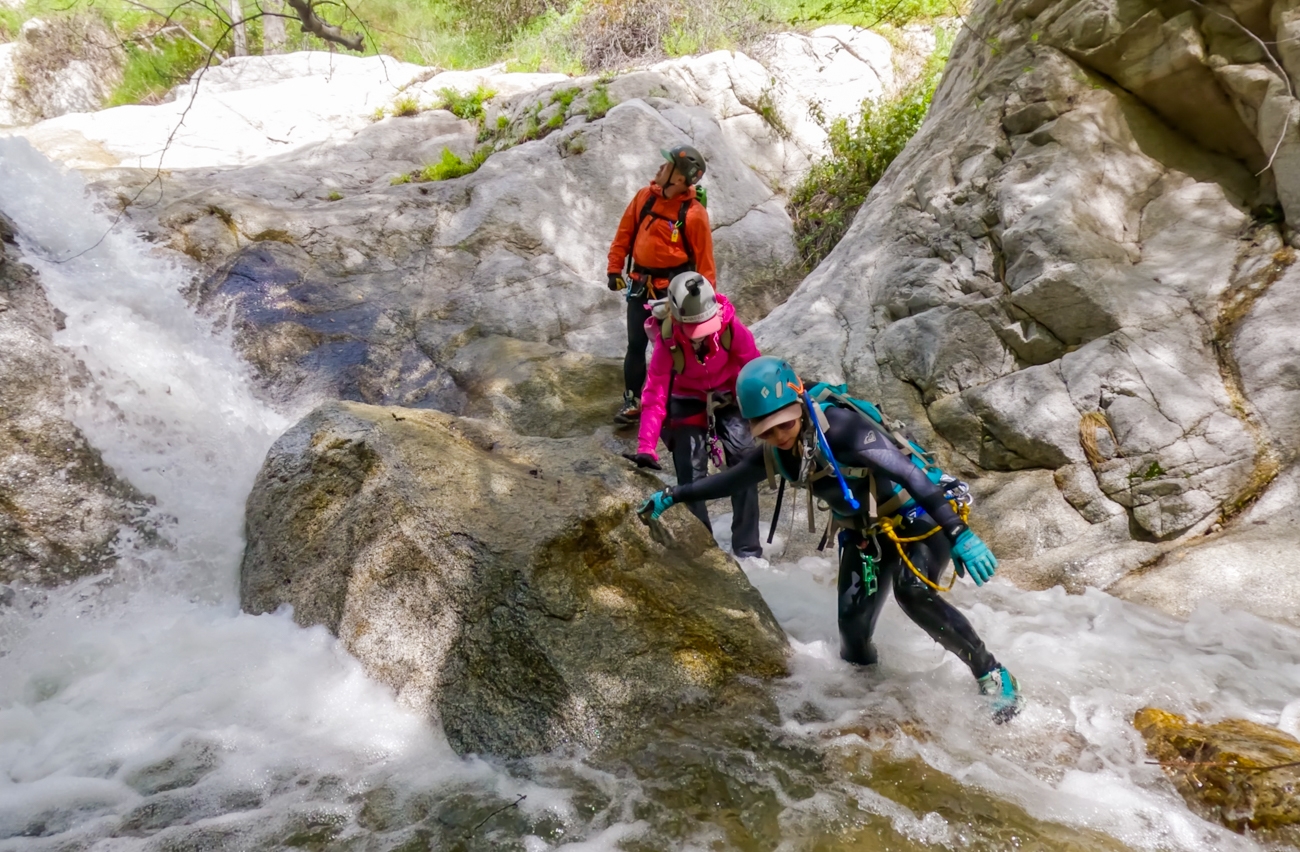
After we excitedly crossed over the gate, we headed up the dirt trail. The trail then switches back and forth as it climbs higher and higher. We’re not gonna lie, it is a steep climb, especially under the beating sun. However, it is still way better than many other canyon approaches that we did. As we climb up, we could see the dam, where we will be exiting later, as well as the roaring waterfalls along the watercourse. After about 1.6 miles of ascending, we reached a fork with a sign for First Water. We went right to go down to the watercourse. This is where you’ll want to suit up. It is the beginning of the Little Santa Anita (LSA) Canyon.
Technical Section:
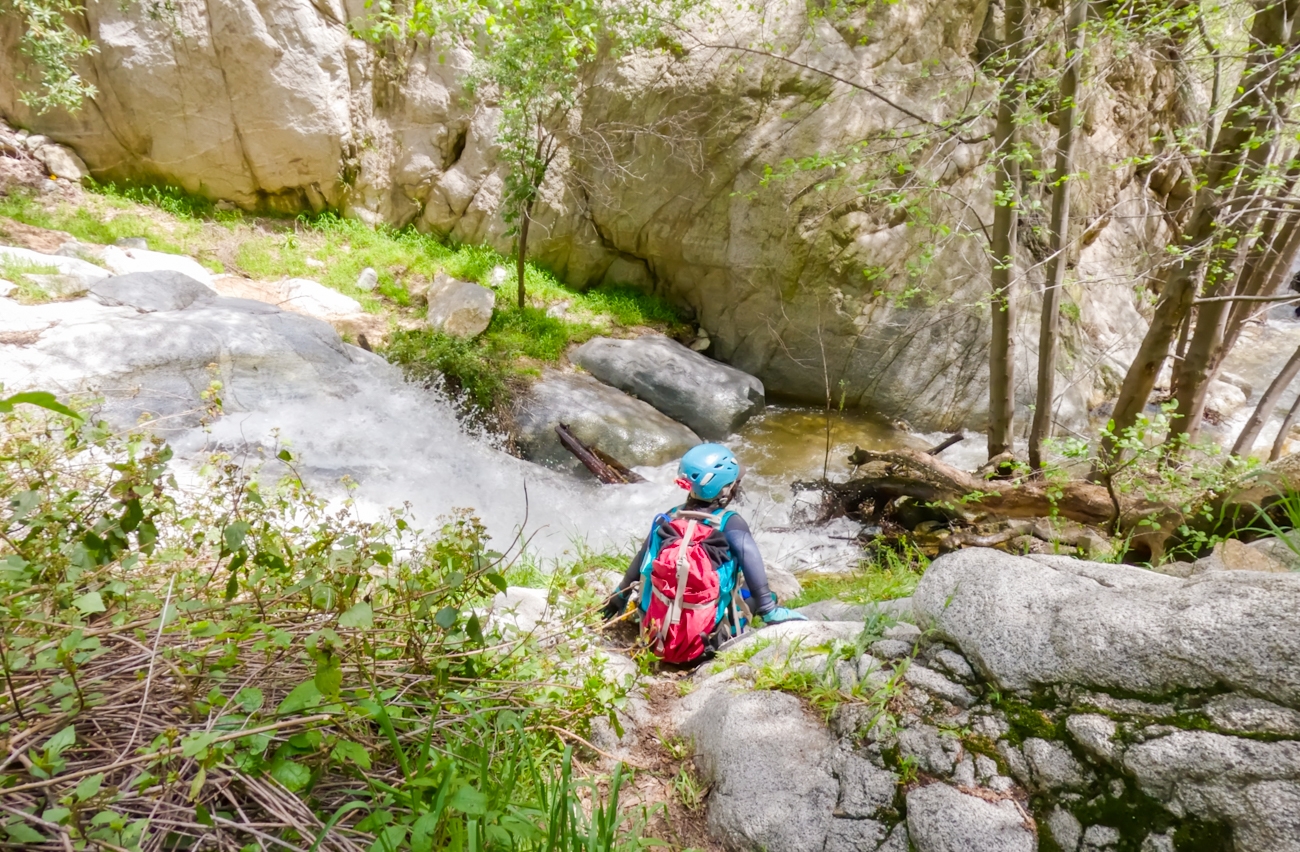
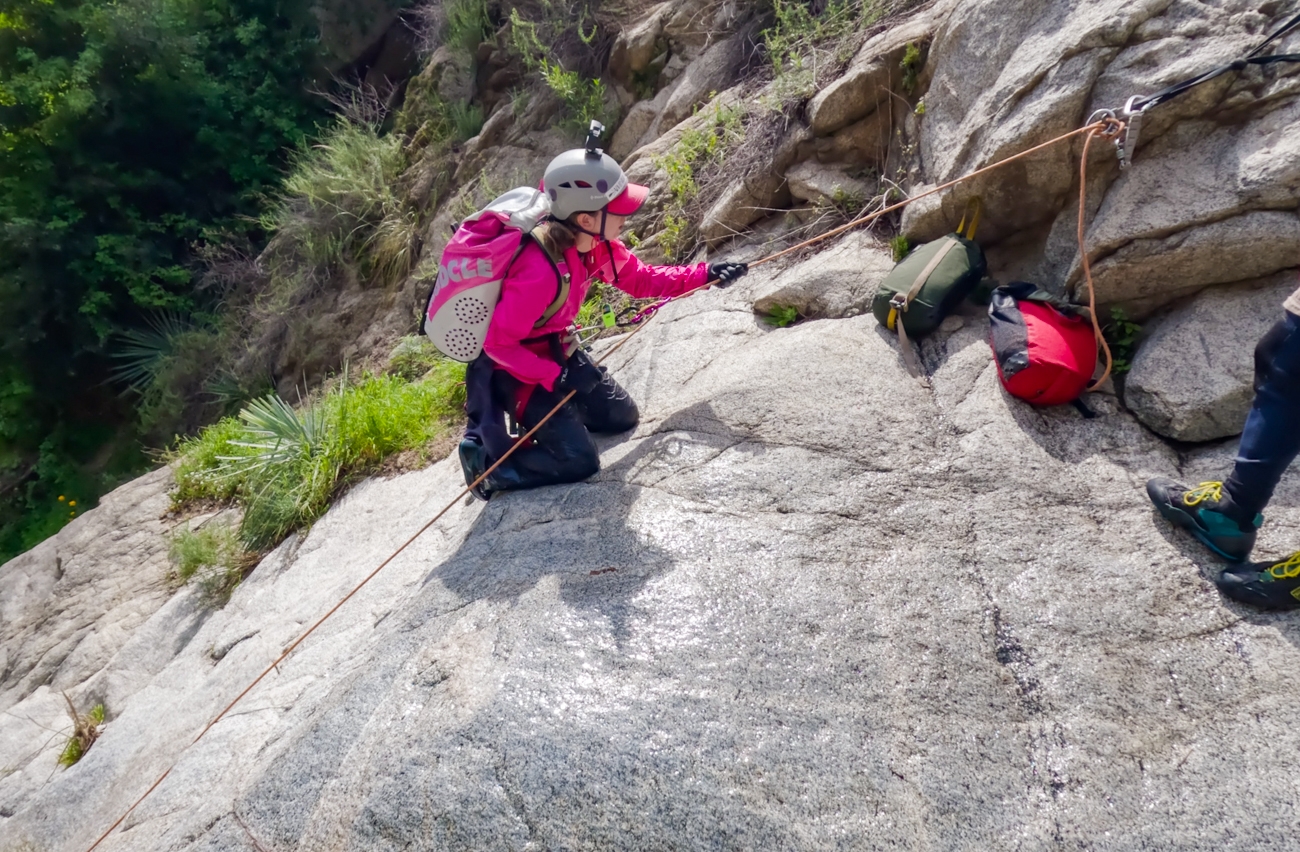
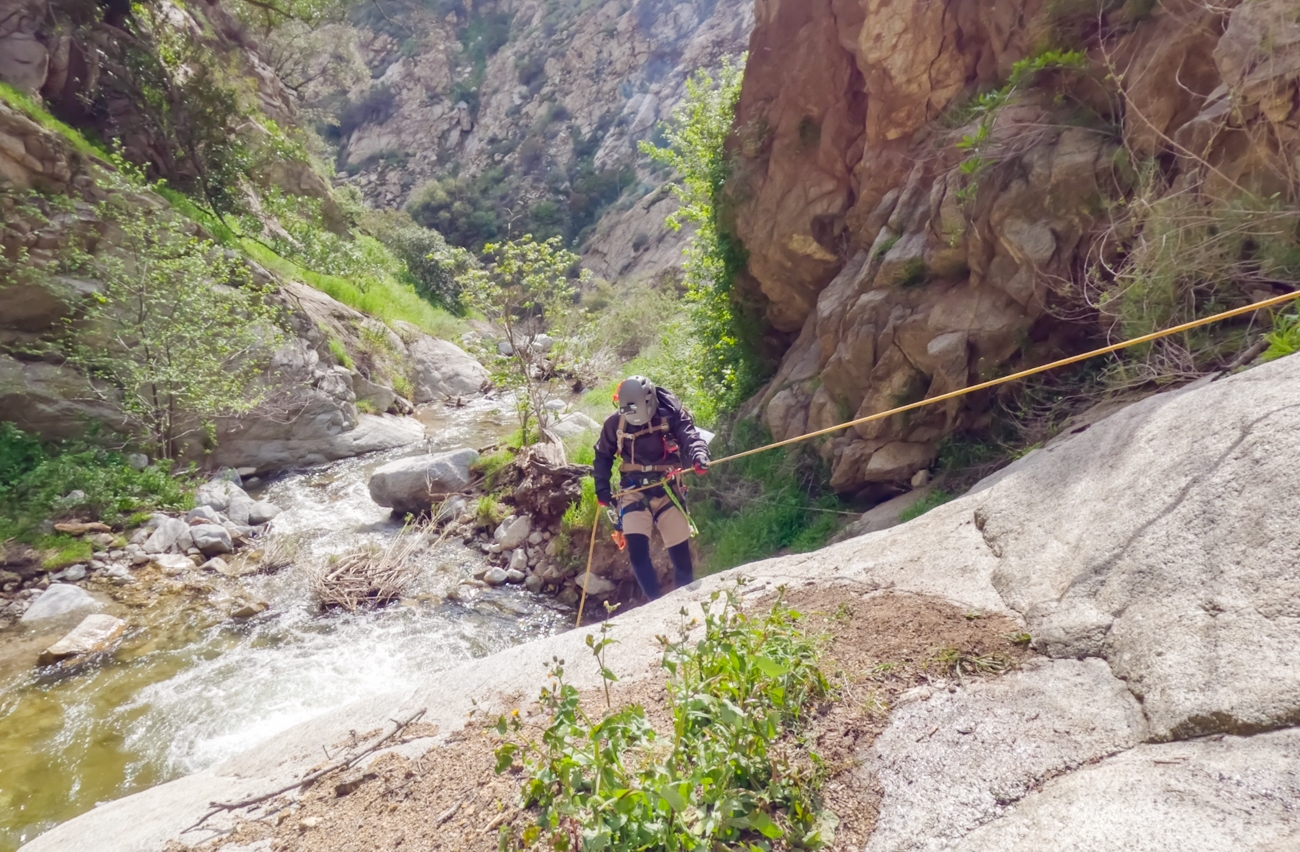
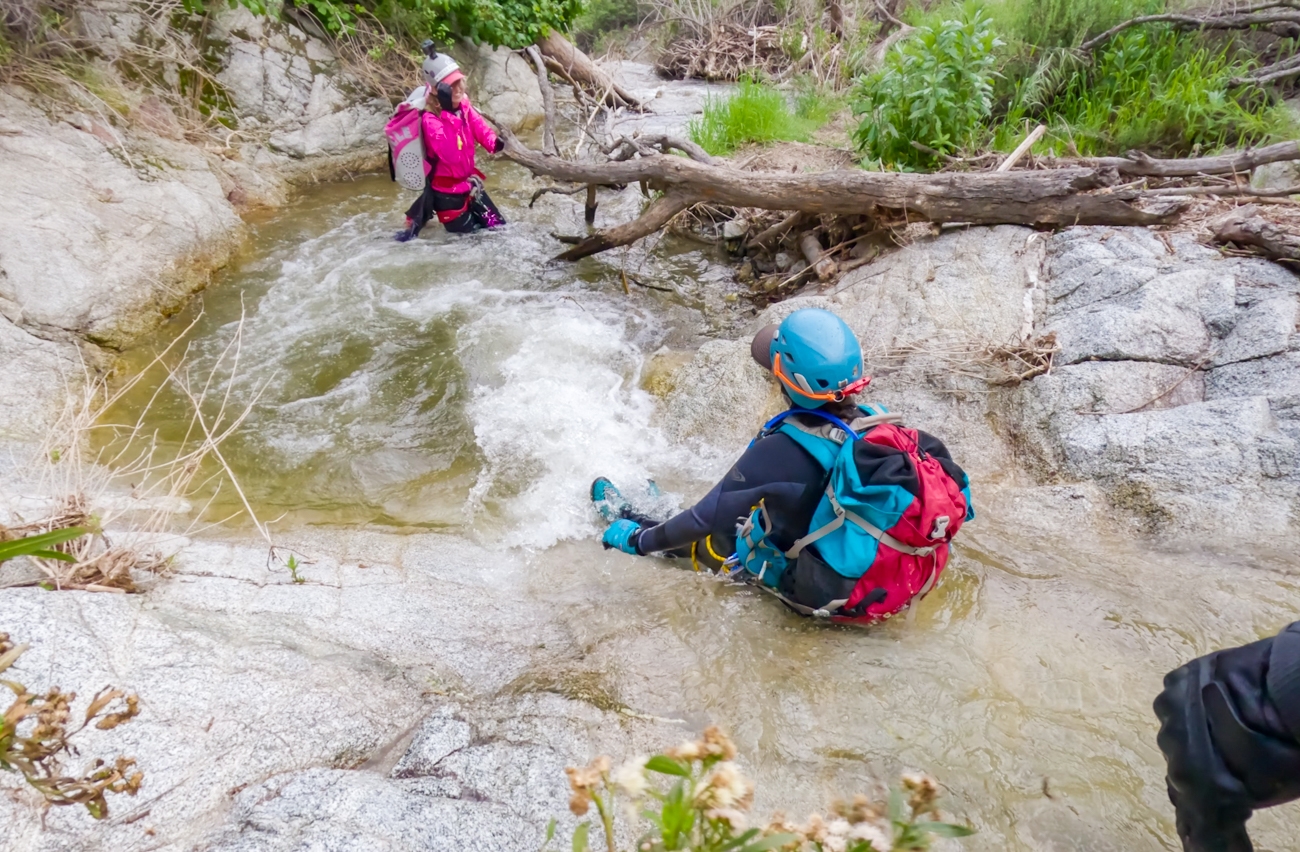
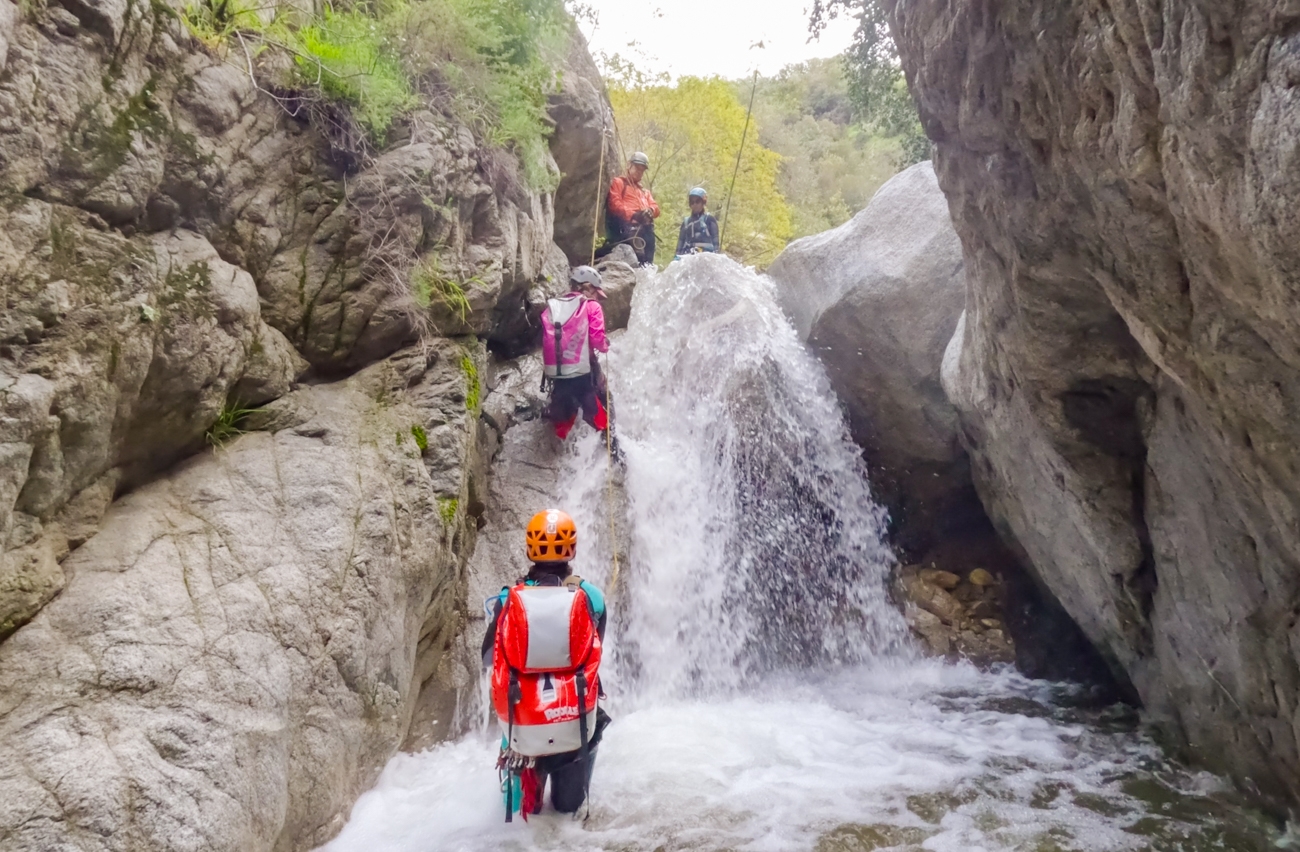
After we finished suiting up, we worked our way downstream toward the first rappel. The first rappel on Little Santa Anita (LSA) Canyon is about 15 minutes down the canyon and consists of a lot of class 2 scrambling in and out of the watercourse. Due to the swift-flowing water, it seemed like it was a lot longer for us.
Rappel 1
Rappel 1 is about 43ft, bolted, LDC. It is quite straightforward. You’ll be rappelling down the left side of the waterfall.
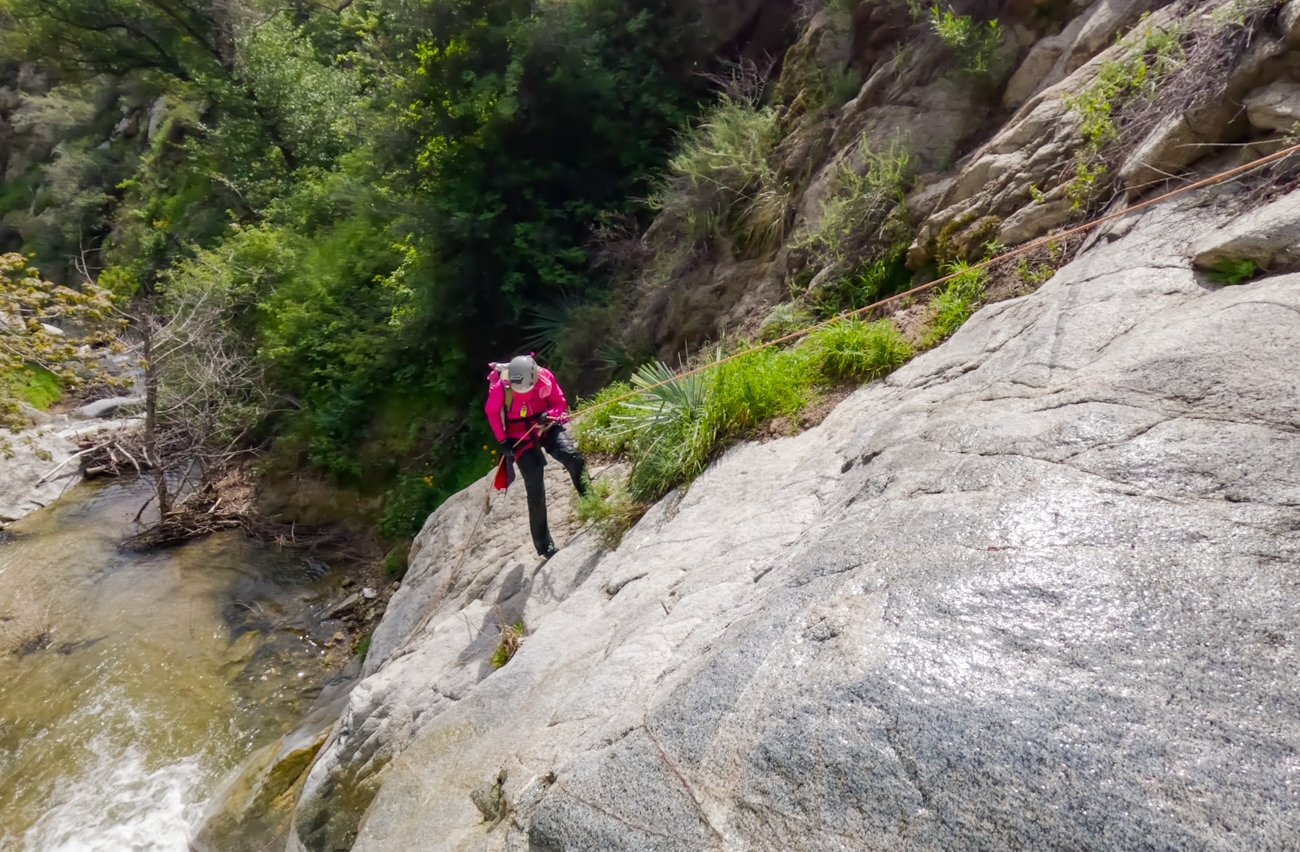
Rappel 2
Soon after is Rappel 2. This one is about 37ft with anchor ties to a log. It can get a bit slippery and tricky trying to stay out of the waterfall in the middle.
Rappel 3
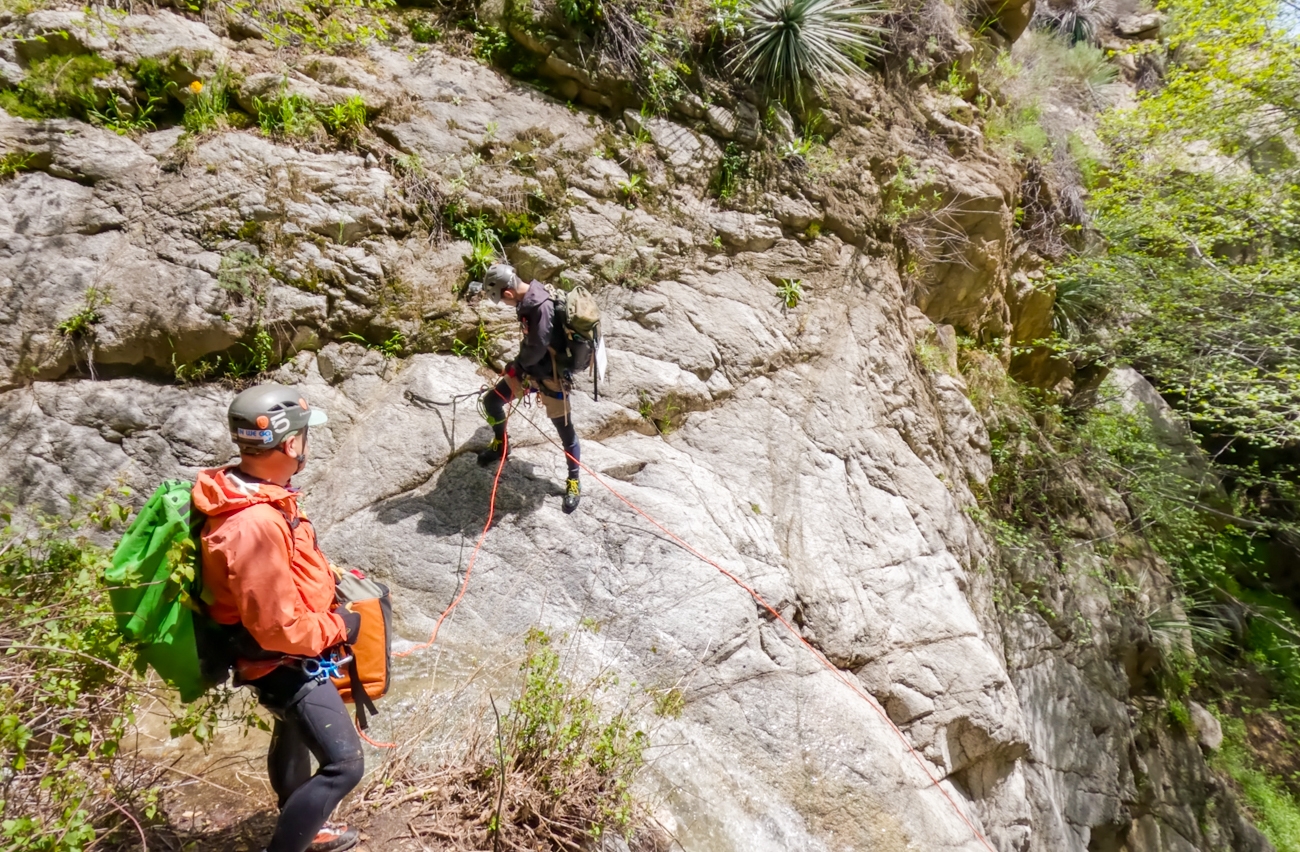
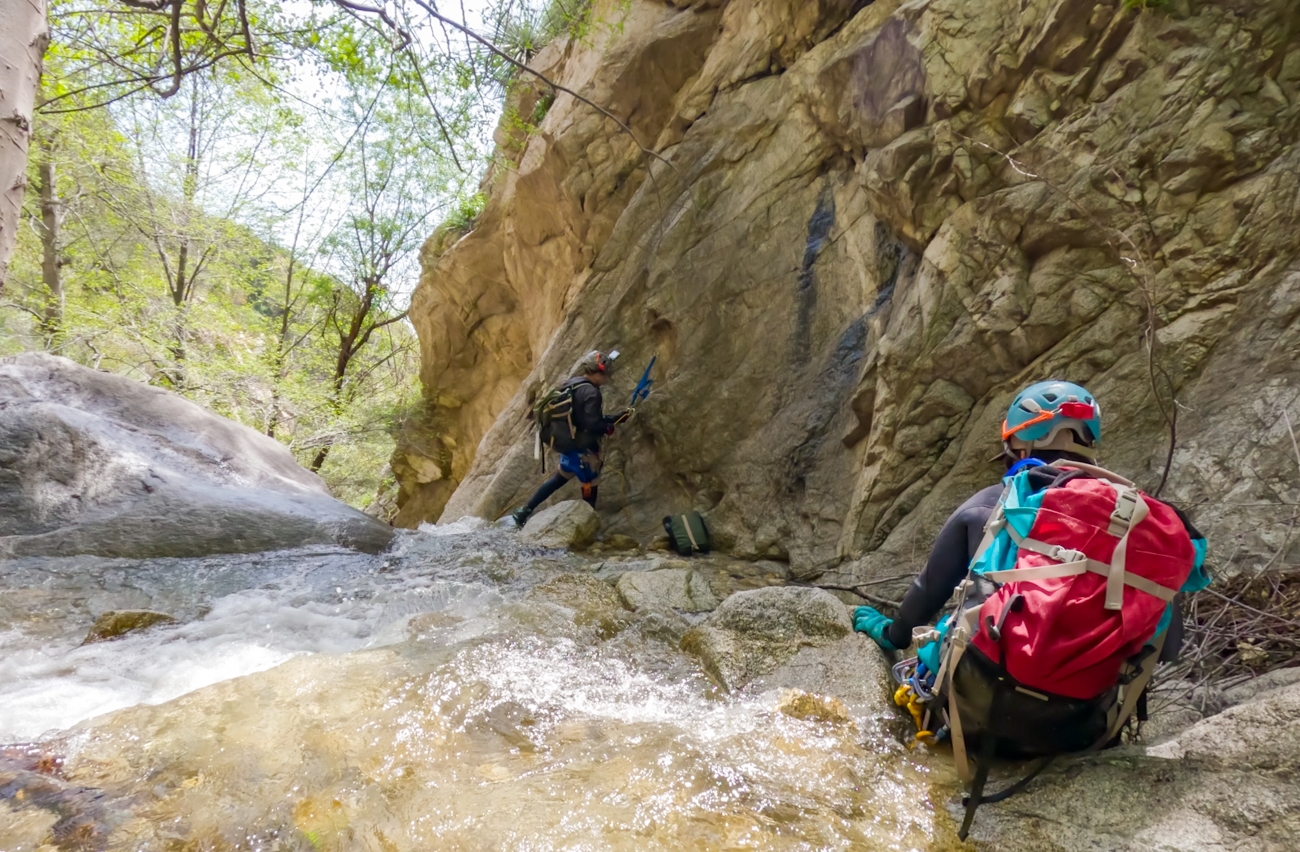
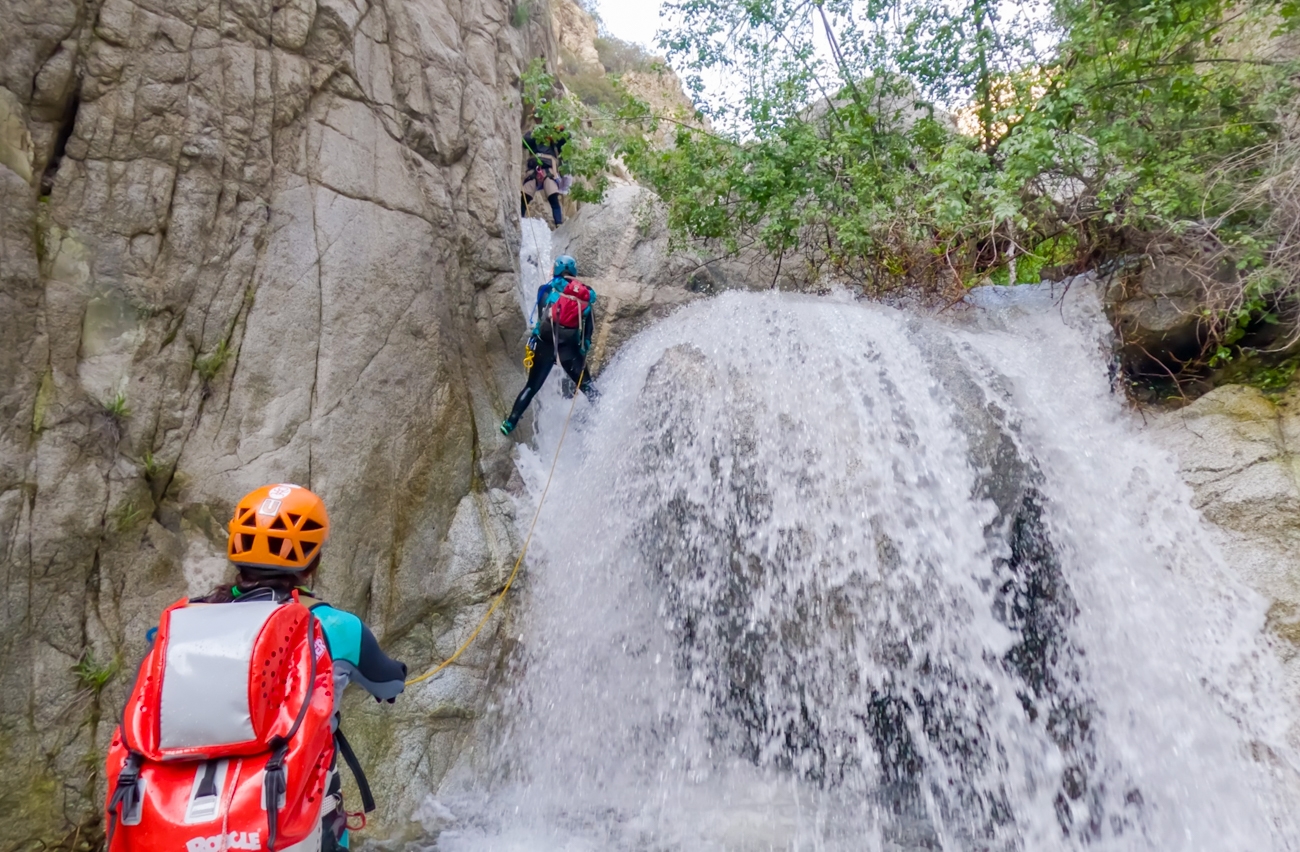
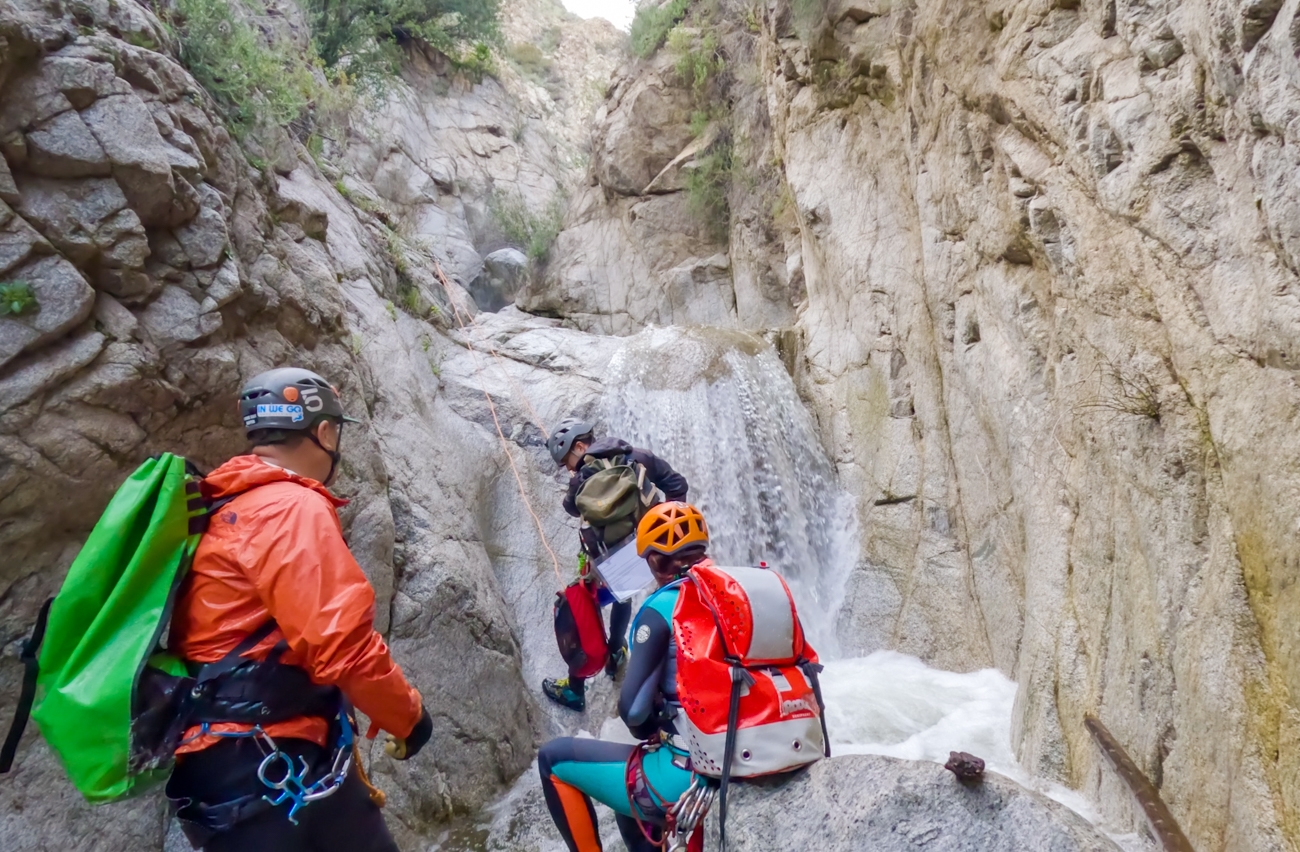
There is a short walk after Rappel 2 to get to Rappel 3. For this one, there are anchors on both sides of the canyon. At first, our canyon leader, Anh, rigged up the anchor on the RDC. This anchor drops down heavy-flowing waterfalls. Frannie was being volunteered to go down first. Well…she wasn’t very happy with that decision because apparently, this waterfall flows down a narrow slot, “The Spout,” which made it extra powerful. Anh noticed there was also an anchor on the other side, LDC. So we ended up rigging the anchor on the other side instead. Using the LDC anchor, the rest of us rappelled down a dry log with a small overhang at the bottom. Of course, being a good sport, Frannie didn’t stay mad at us for that long. So, lesson learned, if you’re at Rappel 3, stay away from “The Spout”, unless that is your thing.
Rappel 4
Rappel 4 on Little Santa Anita (LSA) Canyon is about 45ft, bolted, LDC. It can be slippery but overall, quite straightforward. There is usually a pool here that either can be thigh to waist-deep
Rappel 5
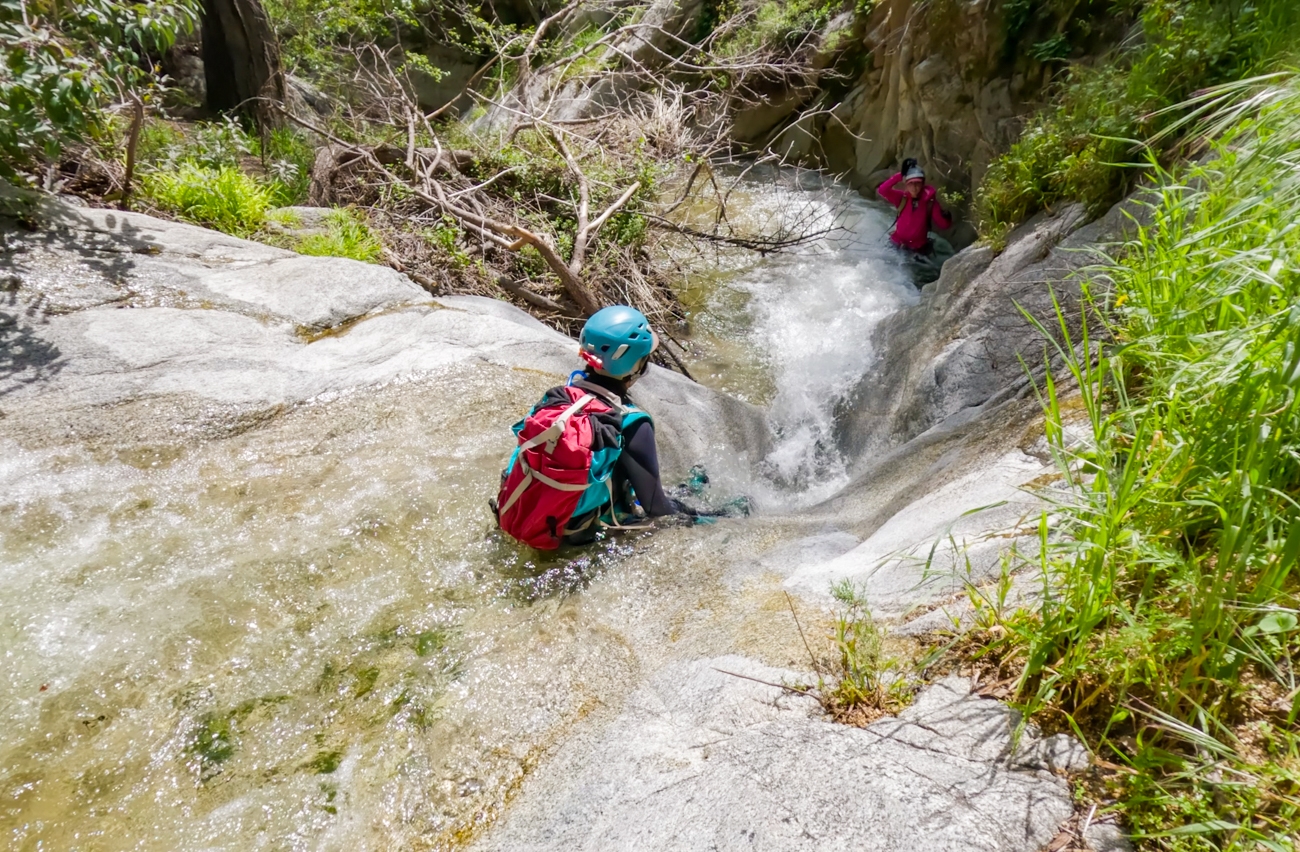
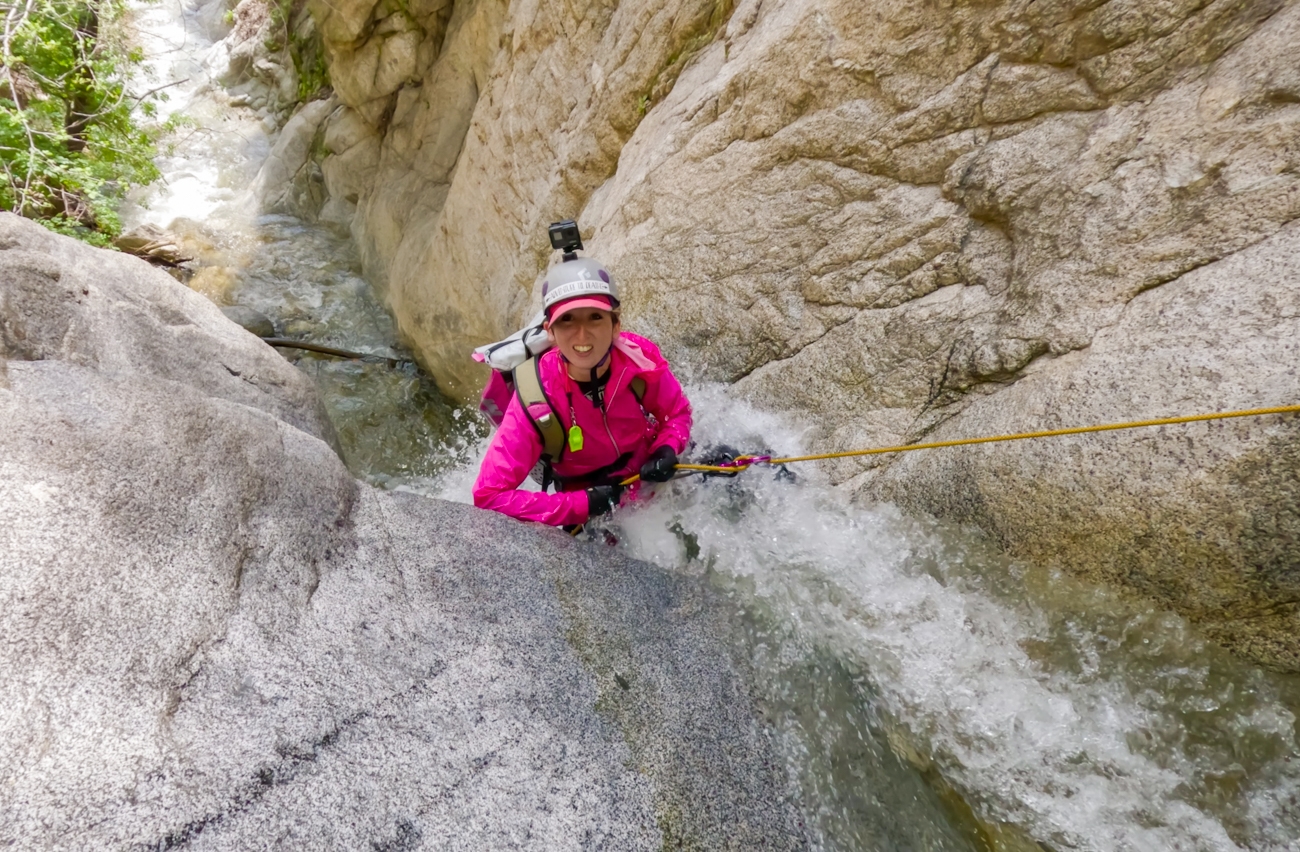
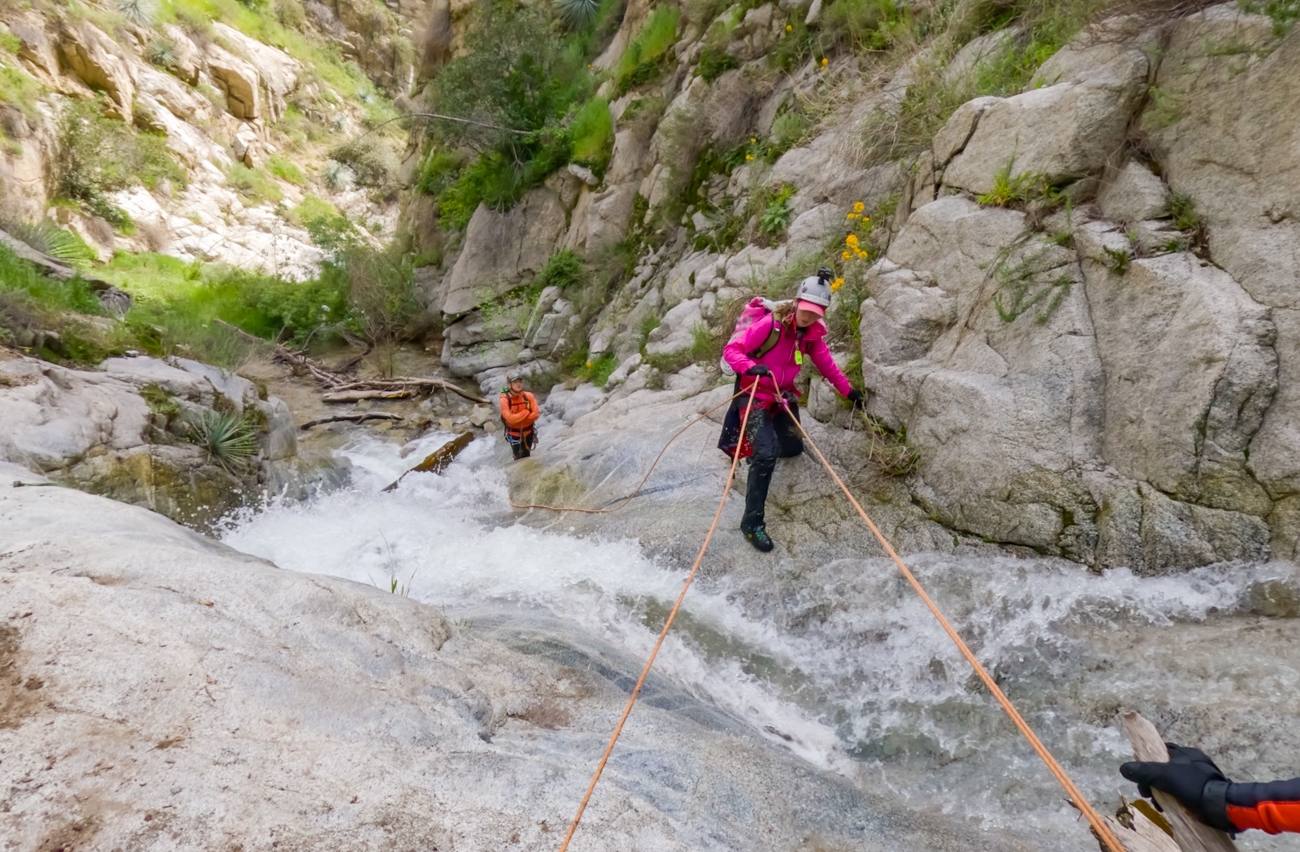
Anchor for rappel 5 is RDC, about 34ft. During high flow, it was a bit tricky to get on anchor. The water that ran in the middle was very strong and it seemed to want to push you down the cliff. So, for safety purposes, we had everyone get on rappel before crossing over the running water. With the waterfalls raging, this rappel can get a bit tricky. It slopes toward the watercourse so you’ll keep wanting to slip into the waterfall, especially about ⅓ to the bottom. If you have a belayer, make sure they keep a tight watch to help everyone stay on course.
Short Hike
After Rappel 5, we went for a short little stroll, well, more like scrambling before we got to Rappel 6.
Rappel 6
Rappel 6 is about 30 LDC or downclimb RDC a very sloppy granite slab. We decided to downclimb this rappel. However, because of the very swift water-crossing, we set up a short rappel to get everyone safely on the other side before downclimbing.
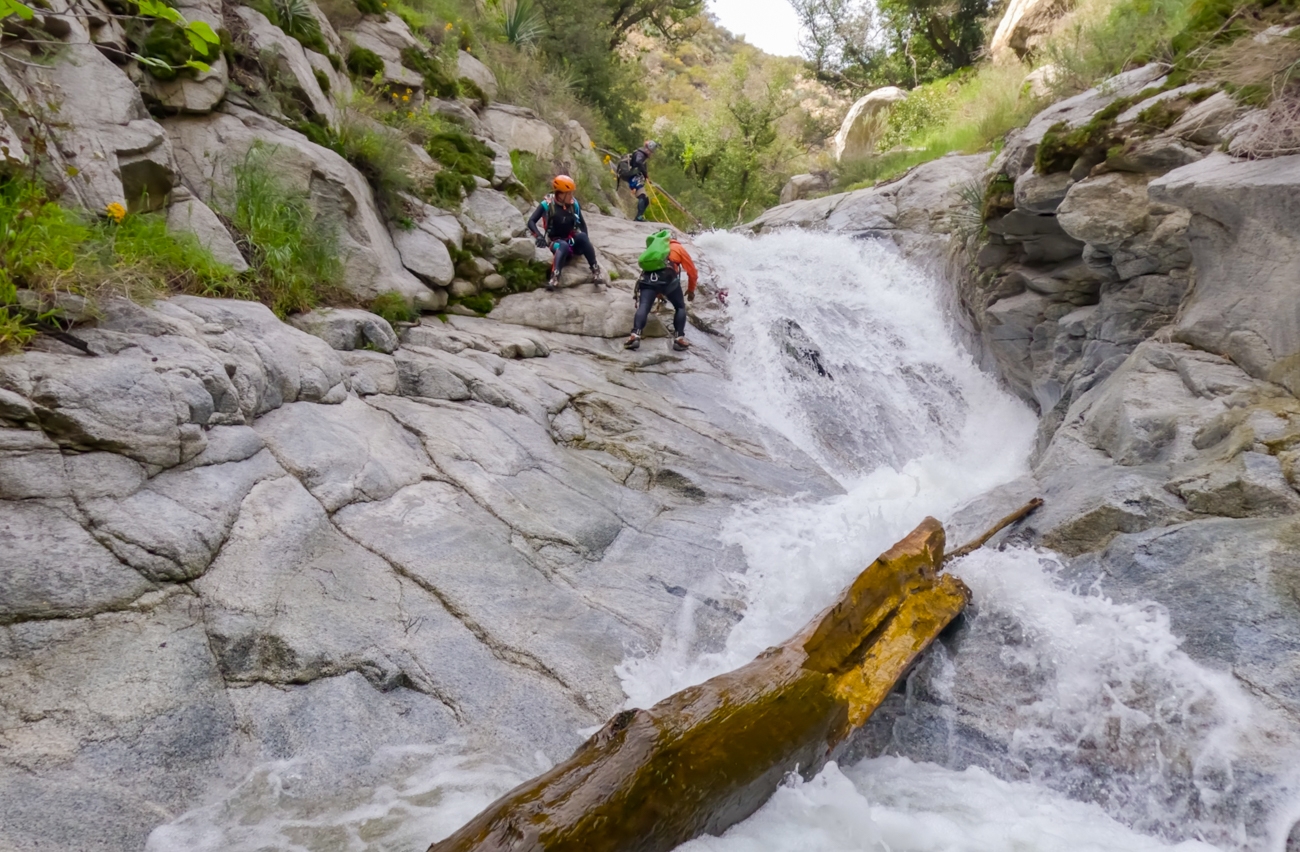
Rappel 7
Anchor for Rappel 7 is RDC, bolted, and about 43ft. It slopes at the top and then drops down.
Rappel 8
Rappel 8 is almost right after Rappel 7. It is about 30ft, with anchor RDC. It looks like you could downclimb this when it’s drier.
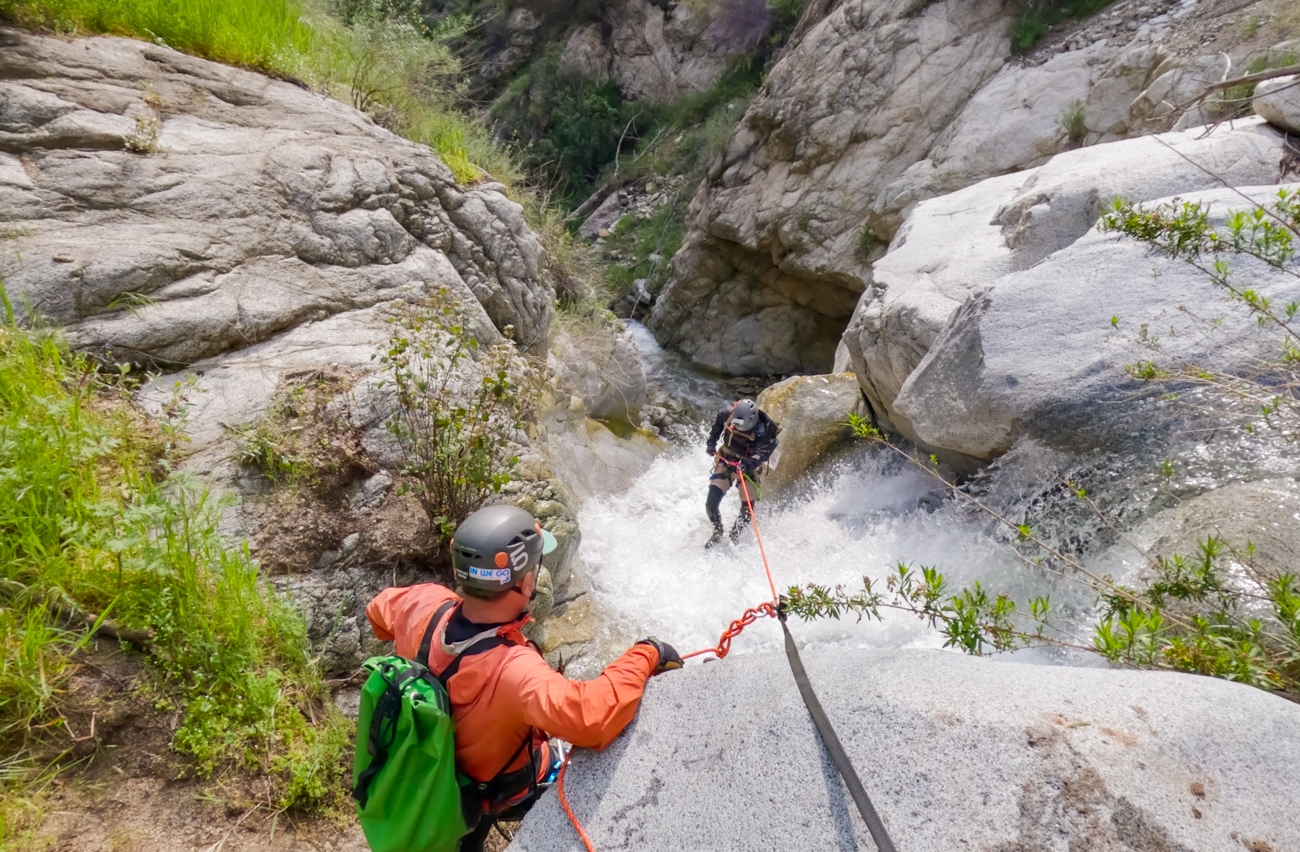
Rappel 9
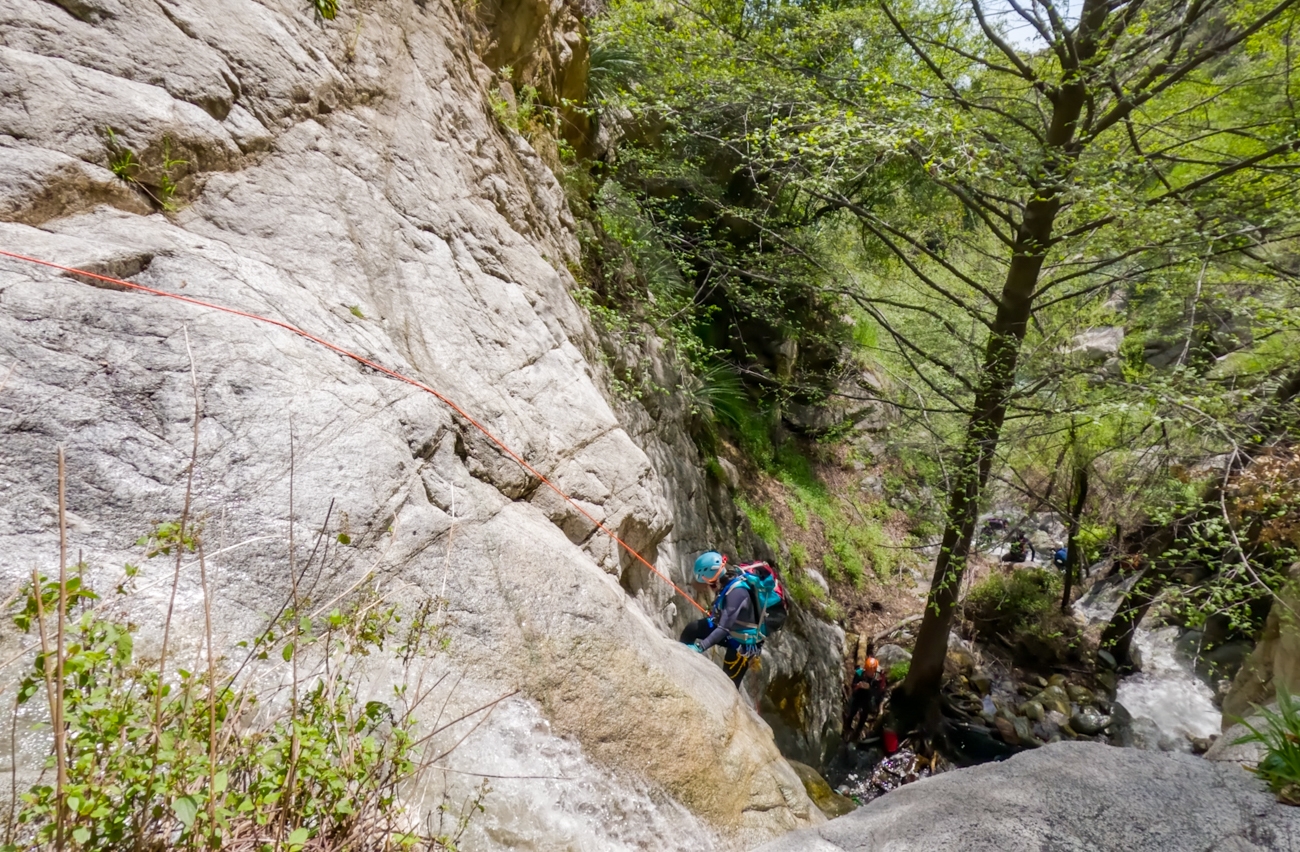
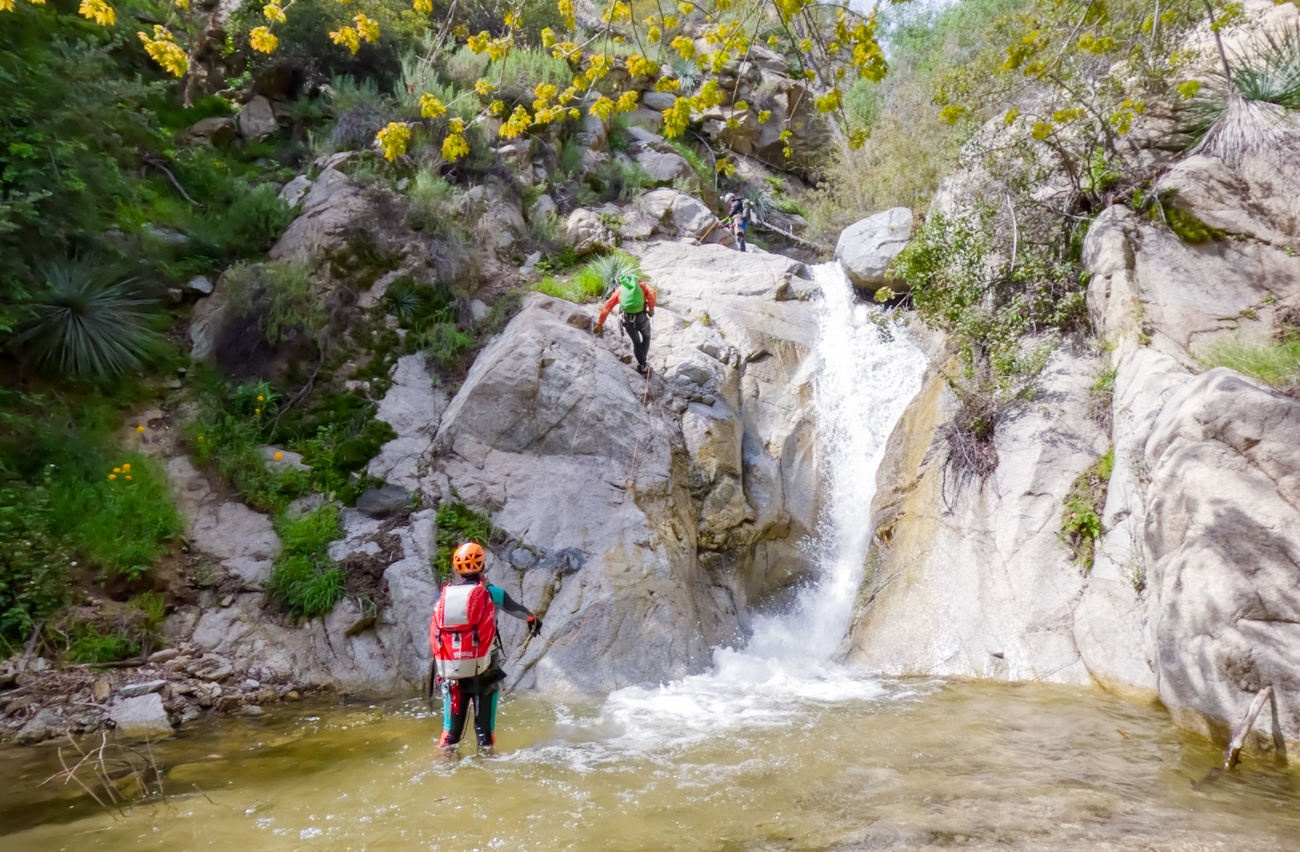
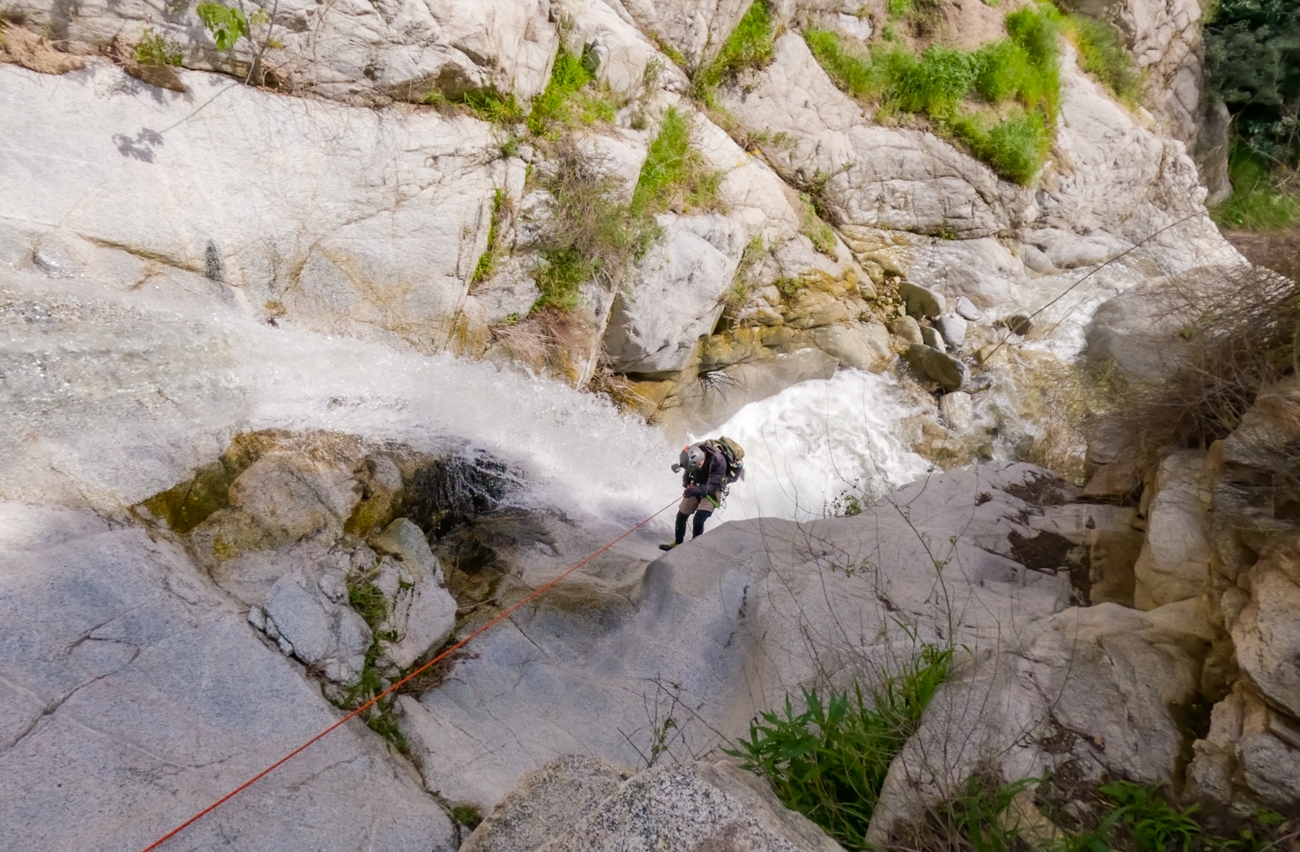
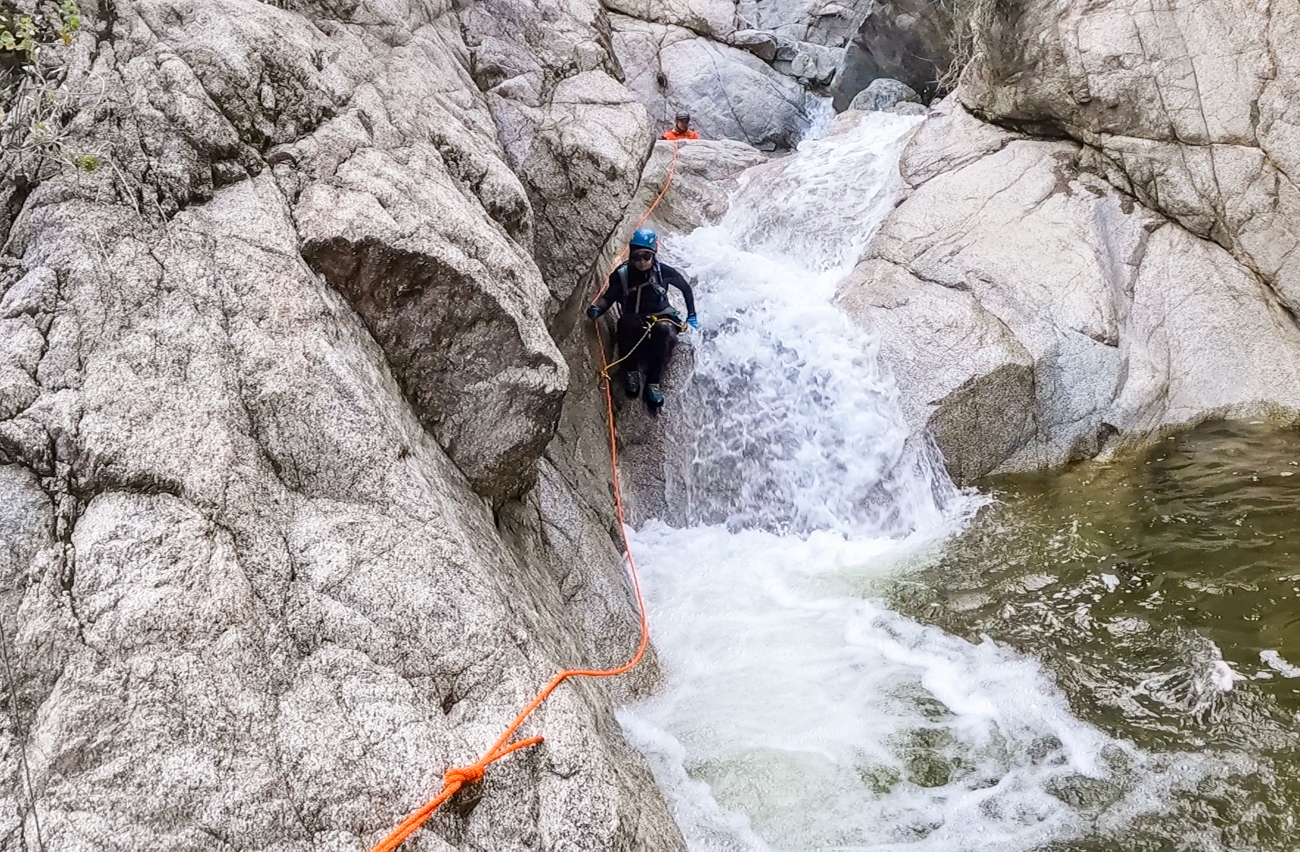
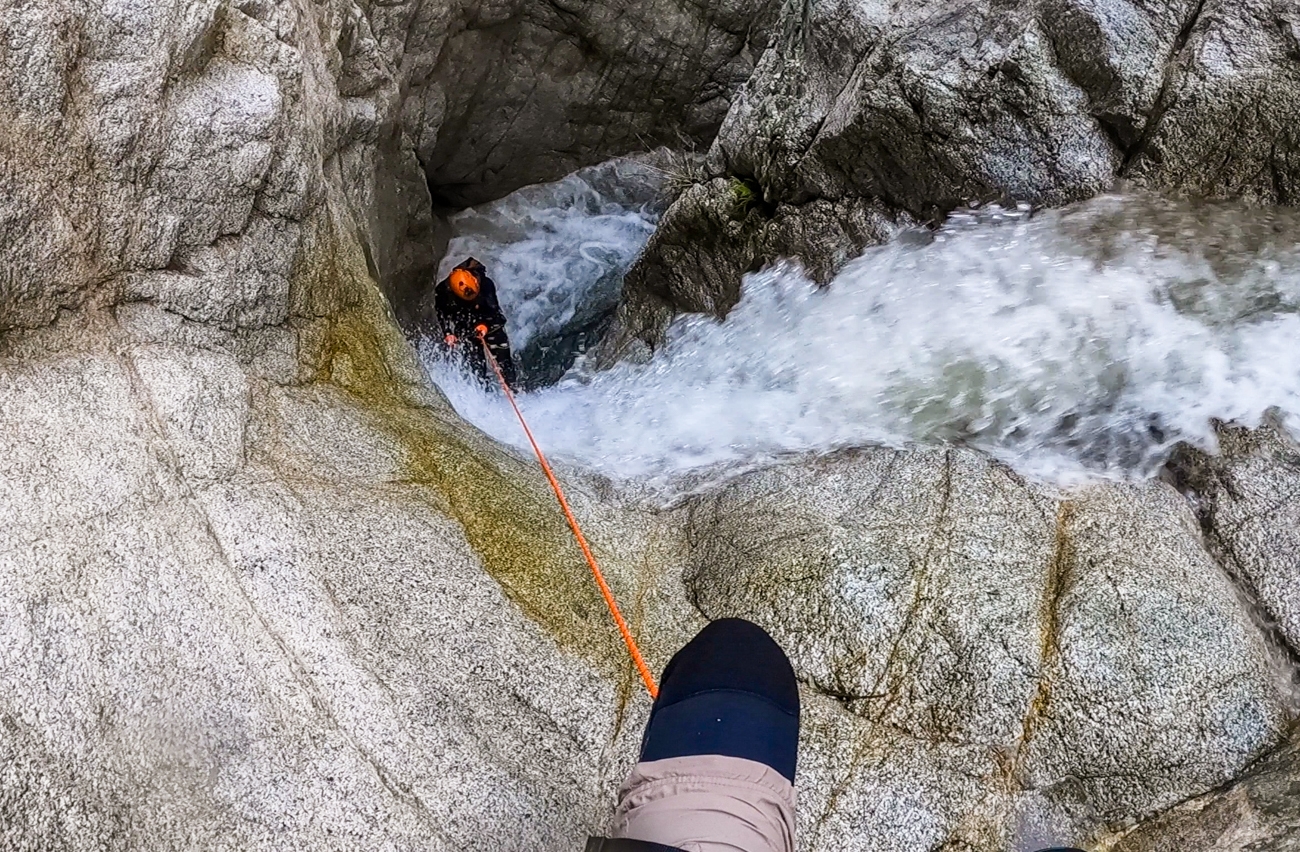
Rappel 9 was interesting. It is about 50ft. As we looked down, all we saw was rushing white water. Luckily, as soon as you round the corner of the small boulder, it wasn’t that bad as long as you stayed toward RDC. The majority of the brunt force is in the middle.
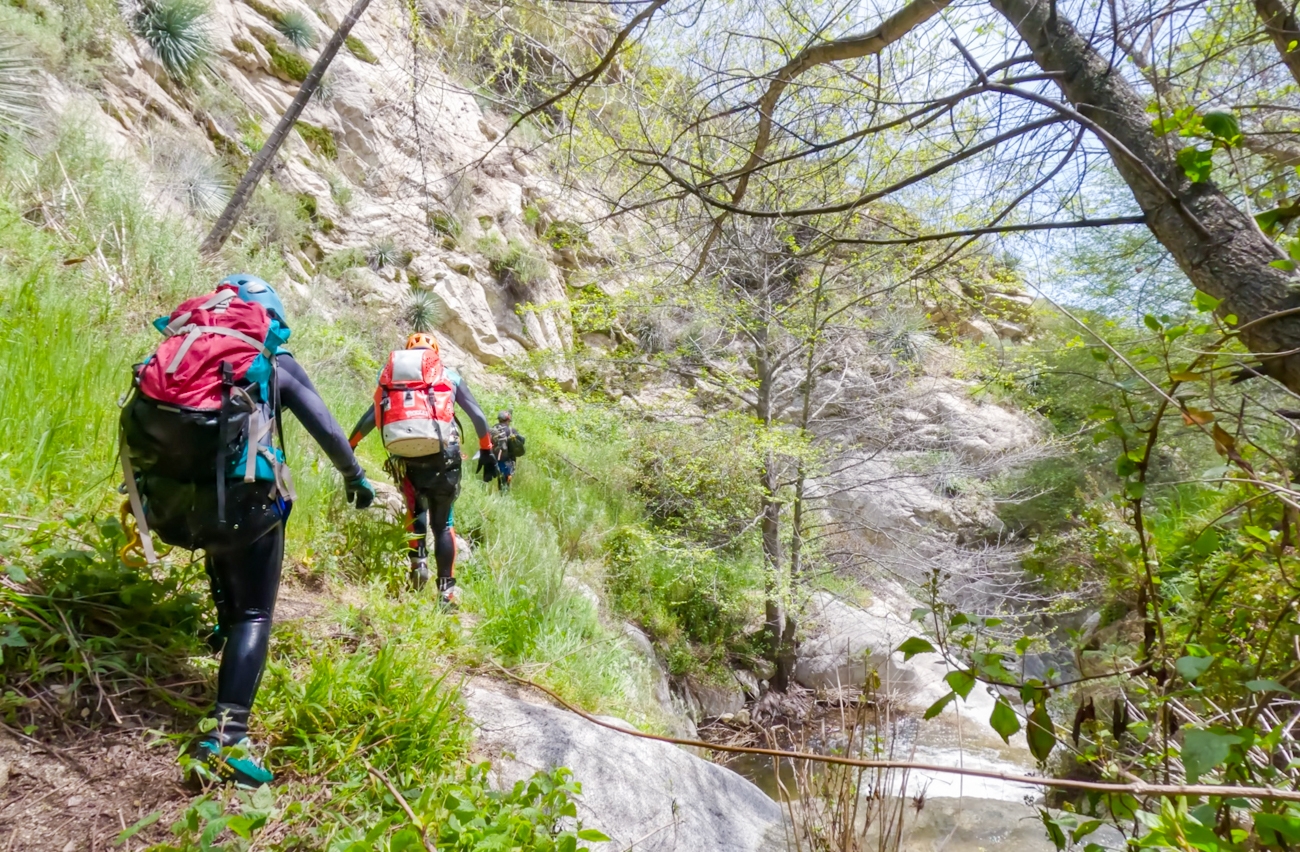
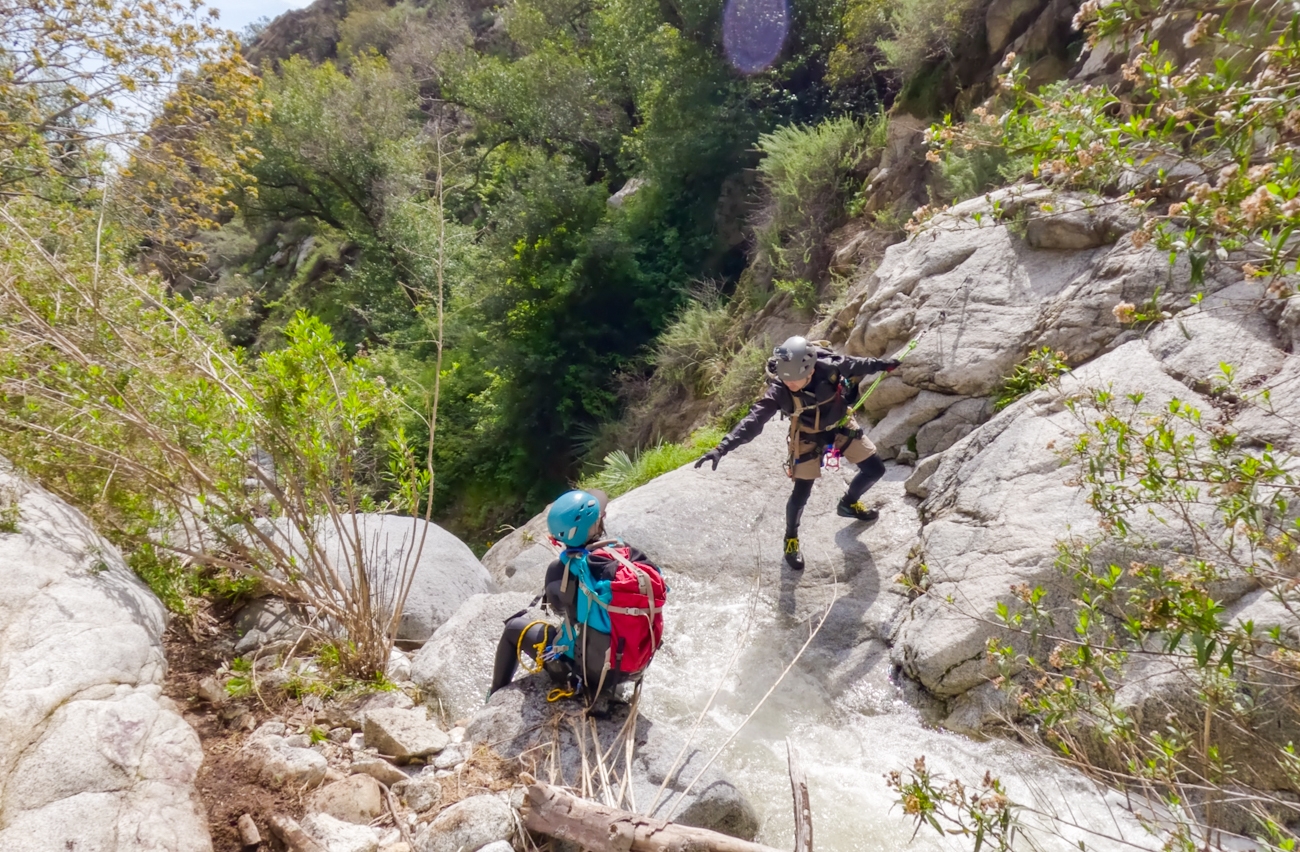
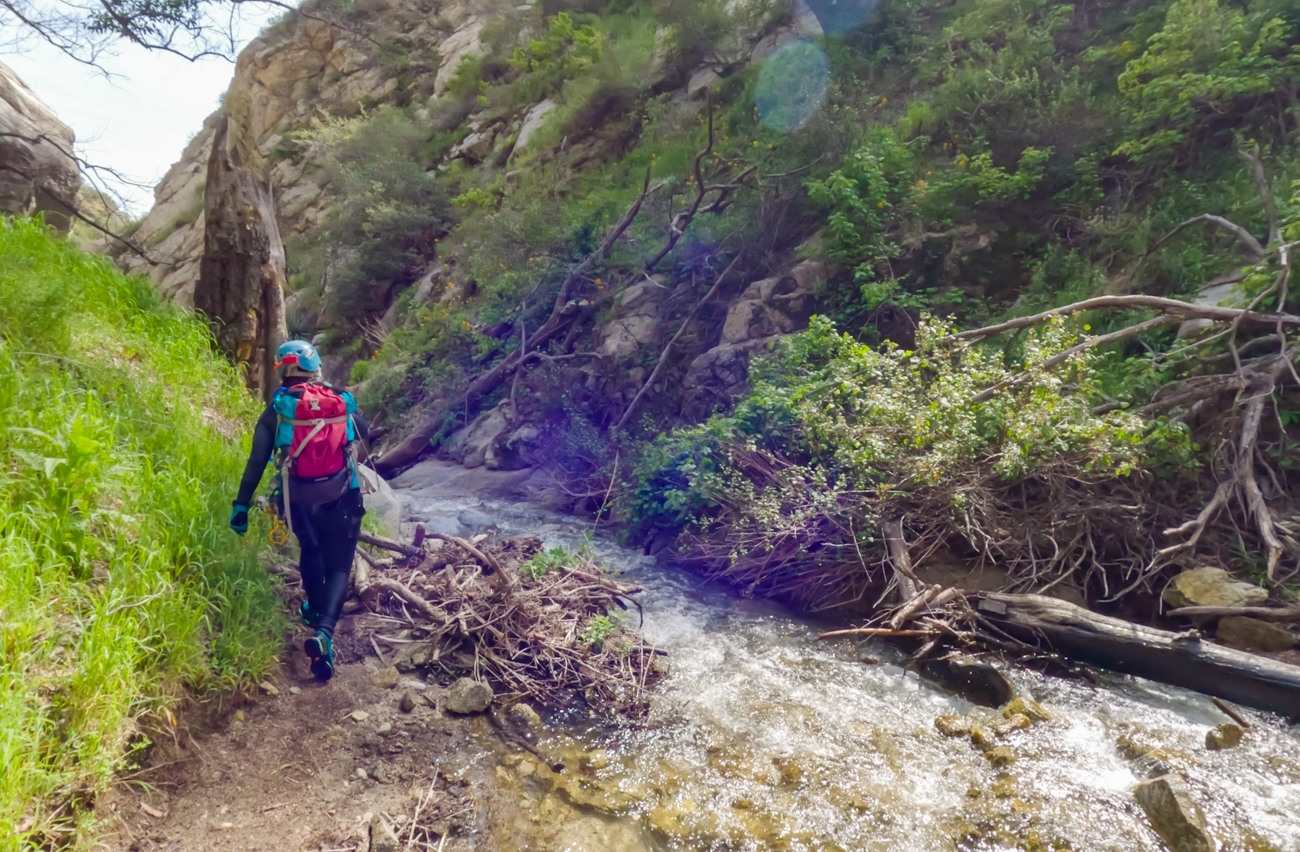
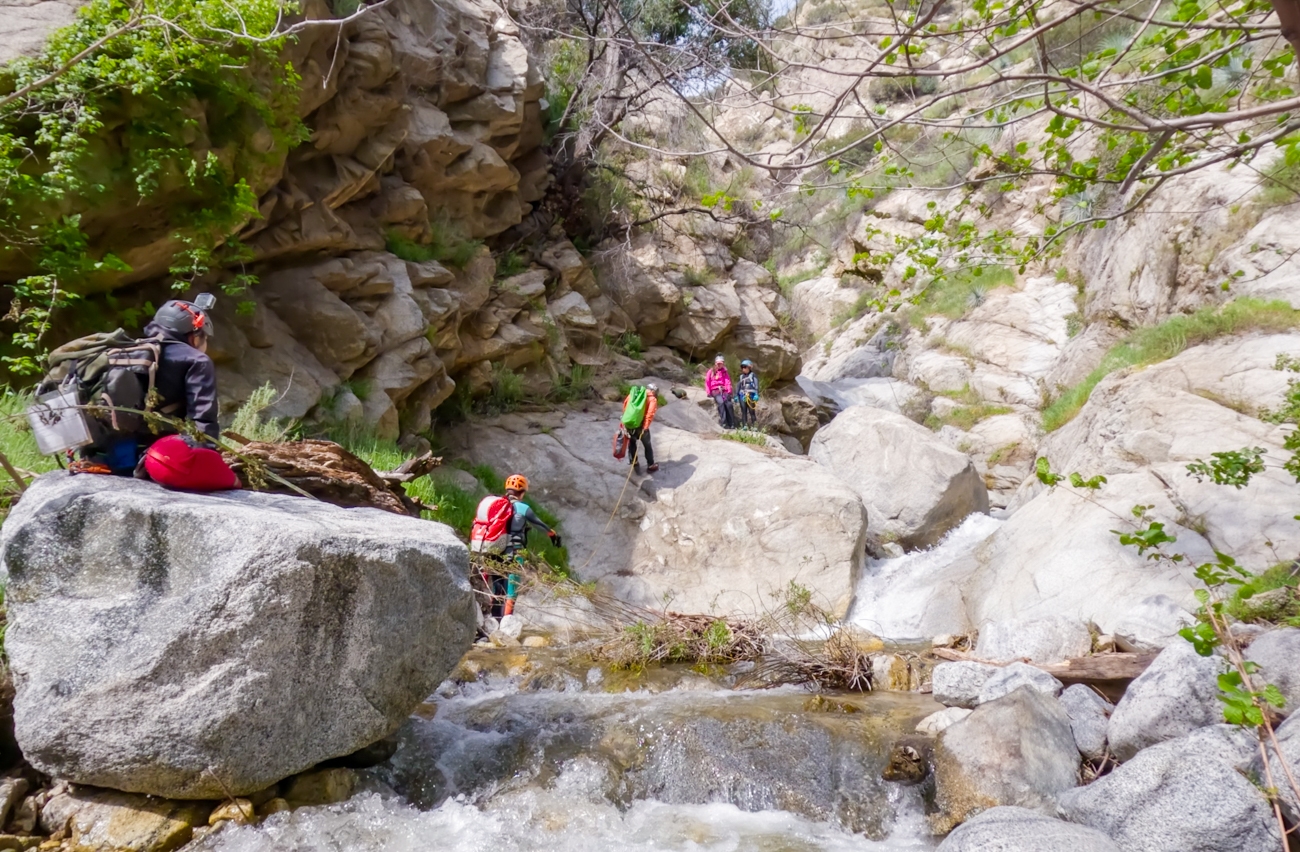
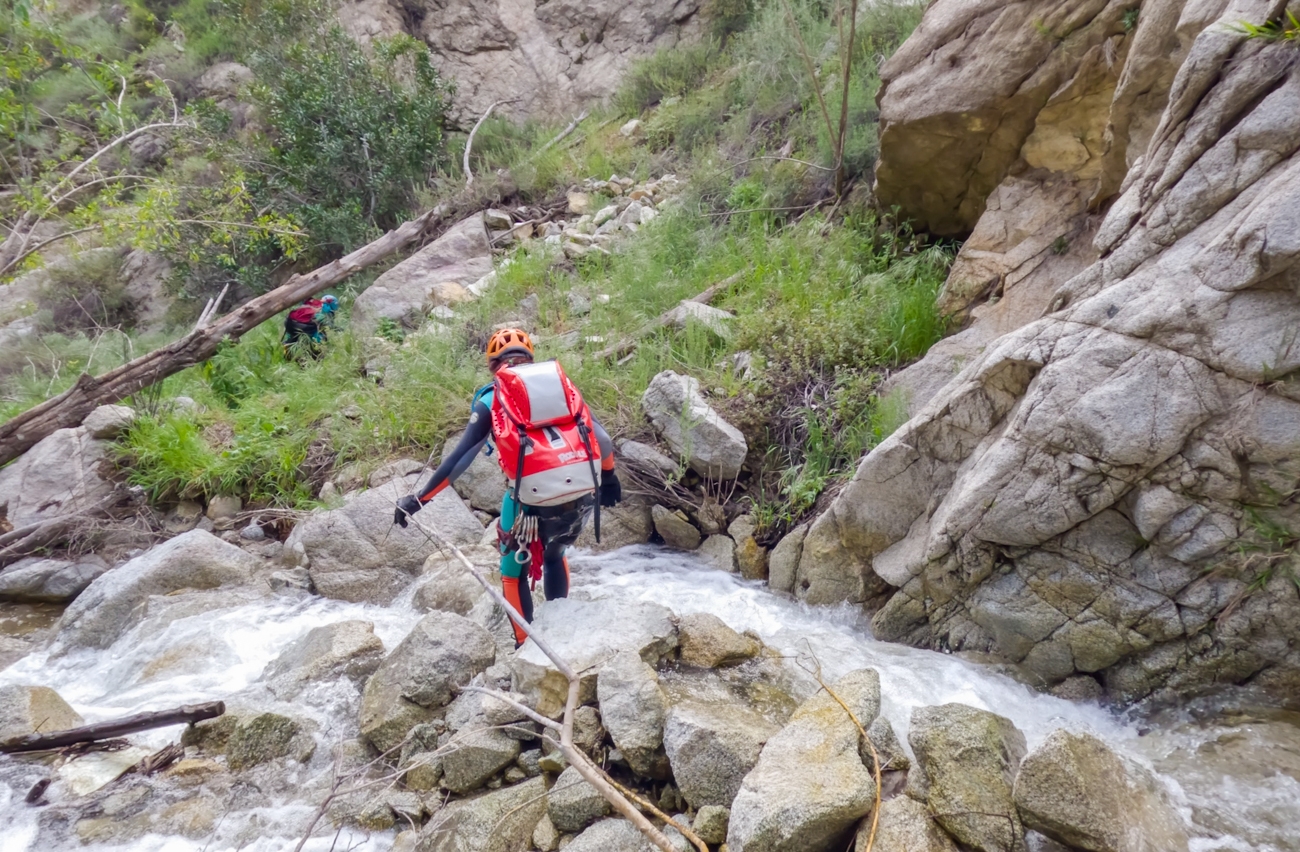
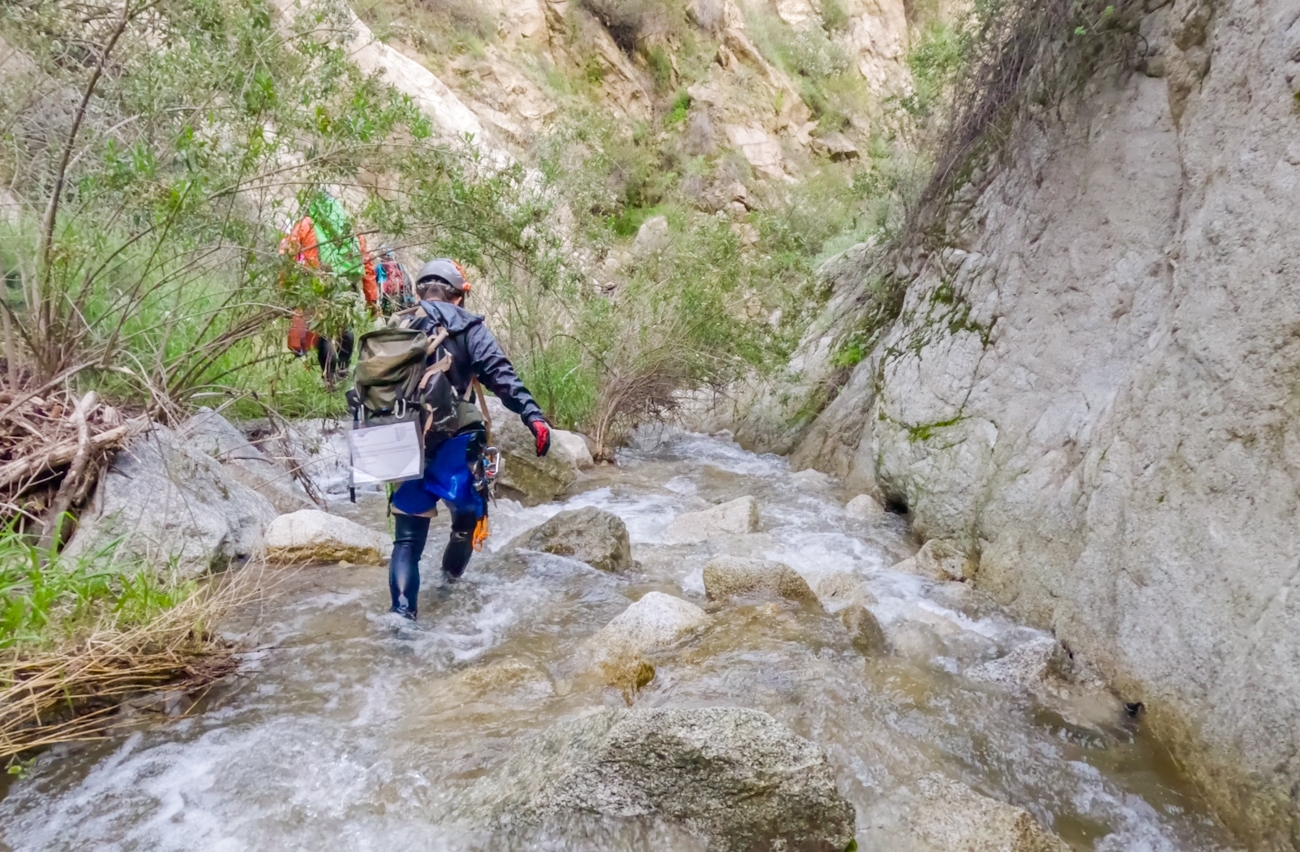
Moderate Hike
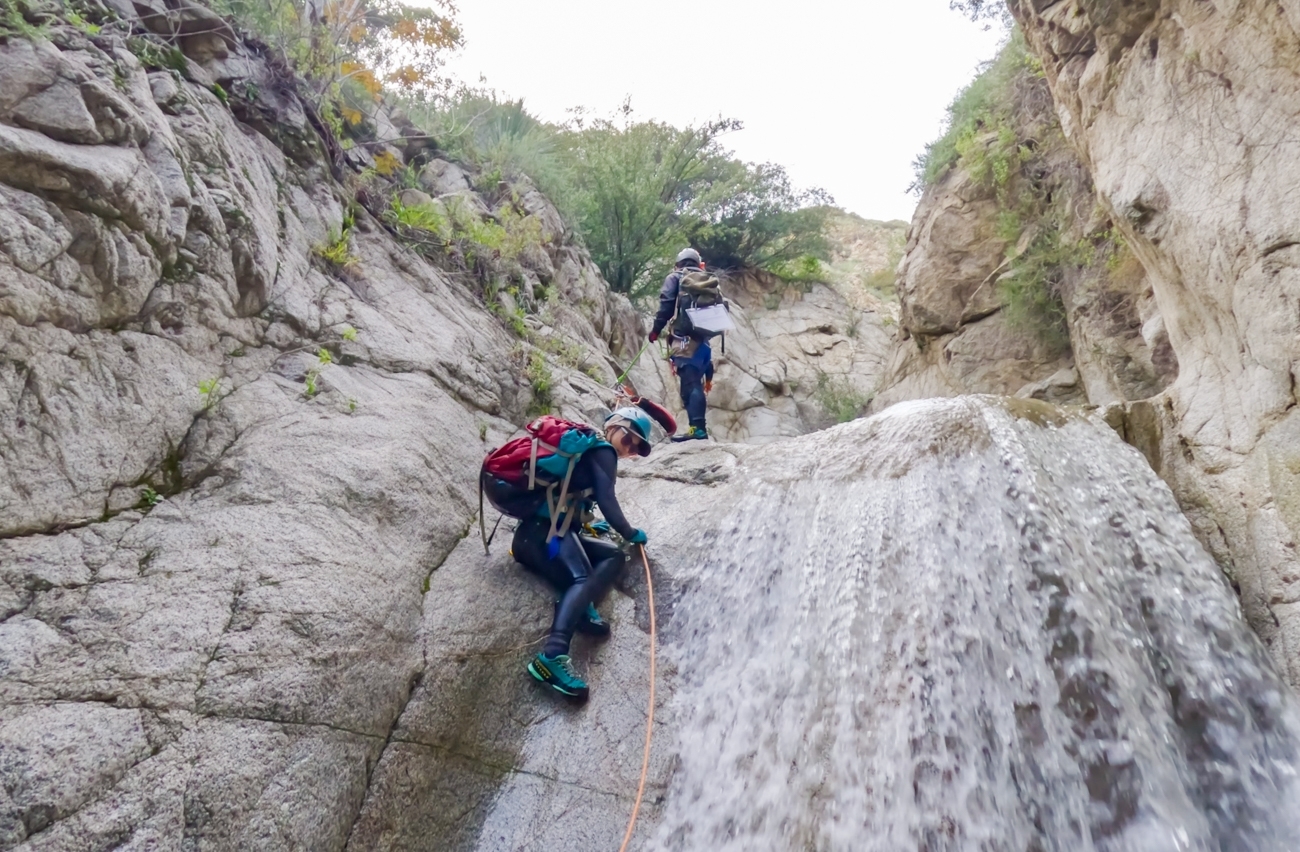
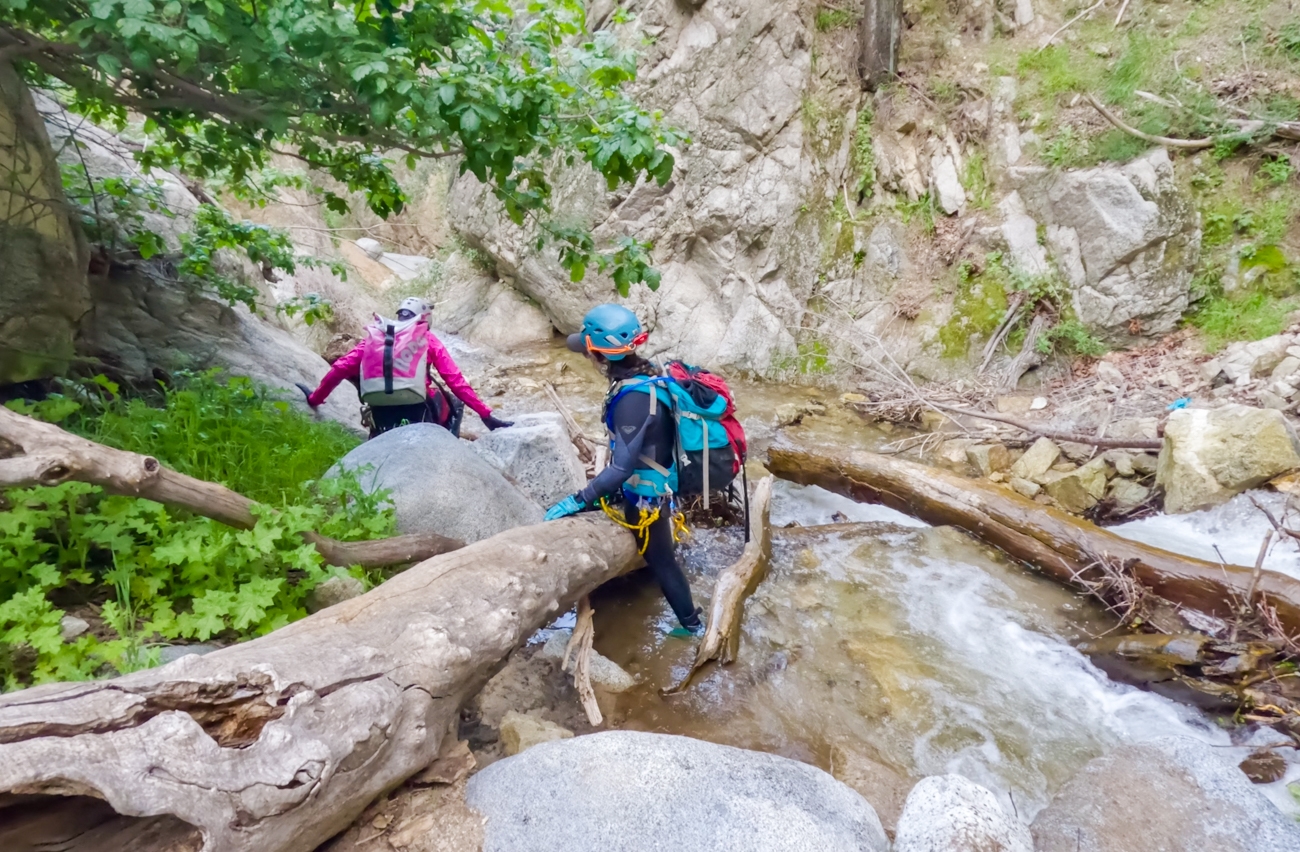
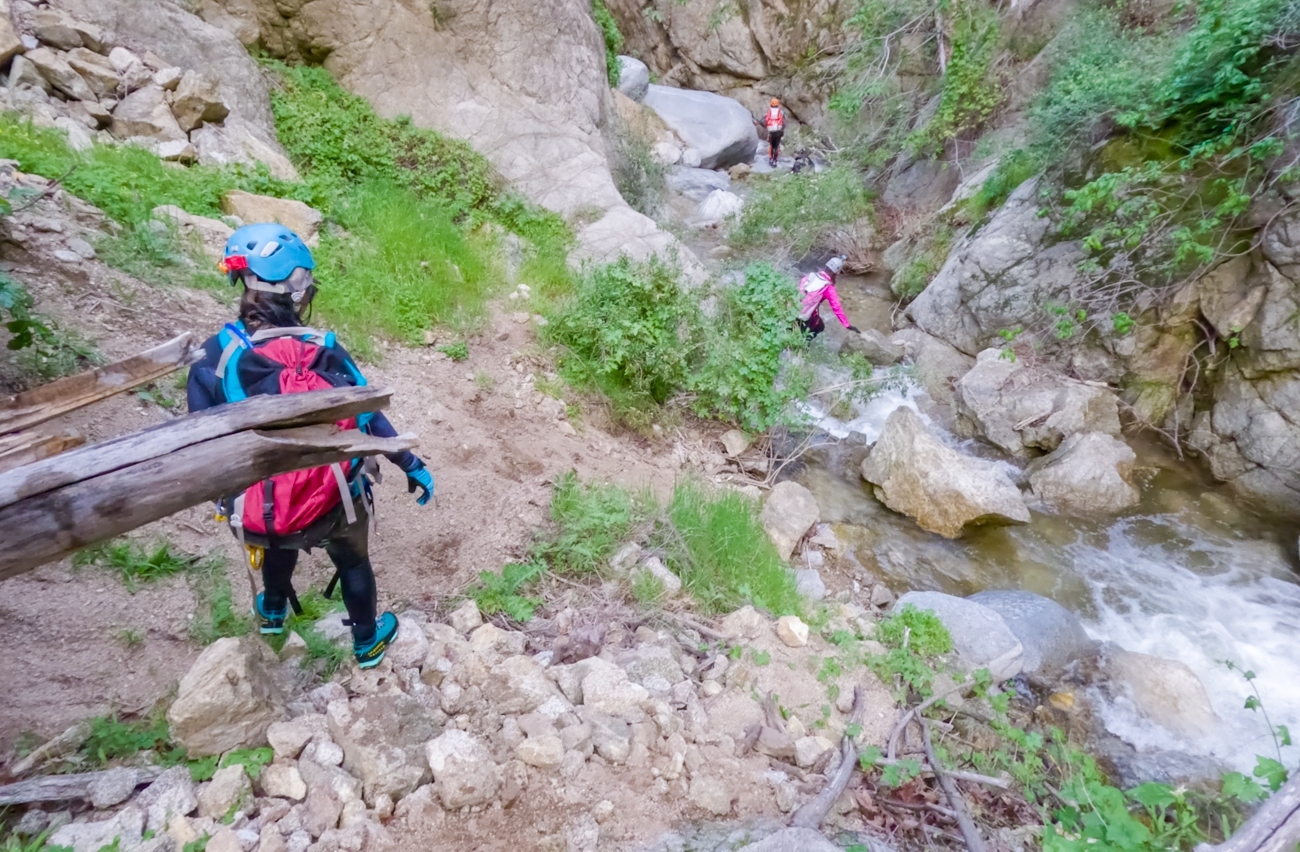
After Rappel 9, we went for another stroll along the watercourse, this time, it was a bit longer. There were many boulders to scramble, small waterfalls to wade, tons of poison oaks to avoid, and a couple of short slides before we got to Rappel 10.
Rappel 10
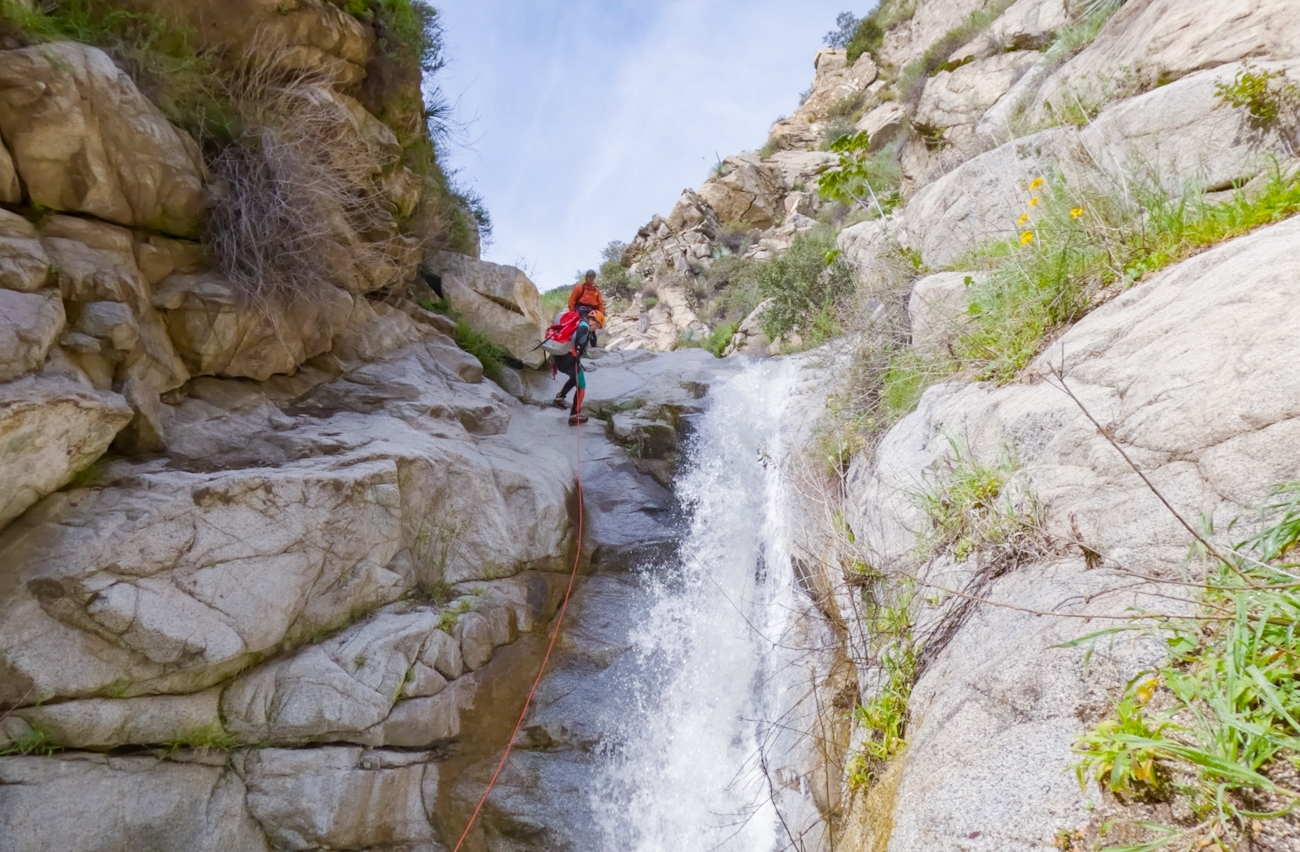
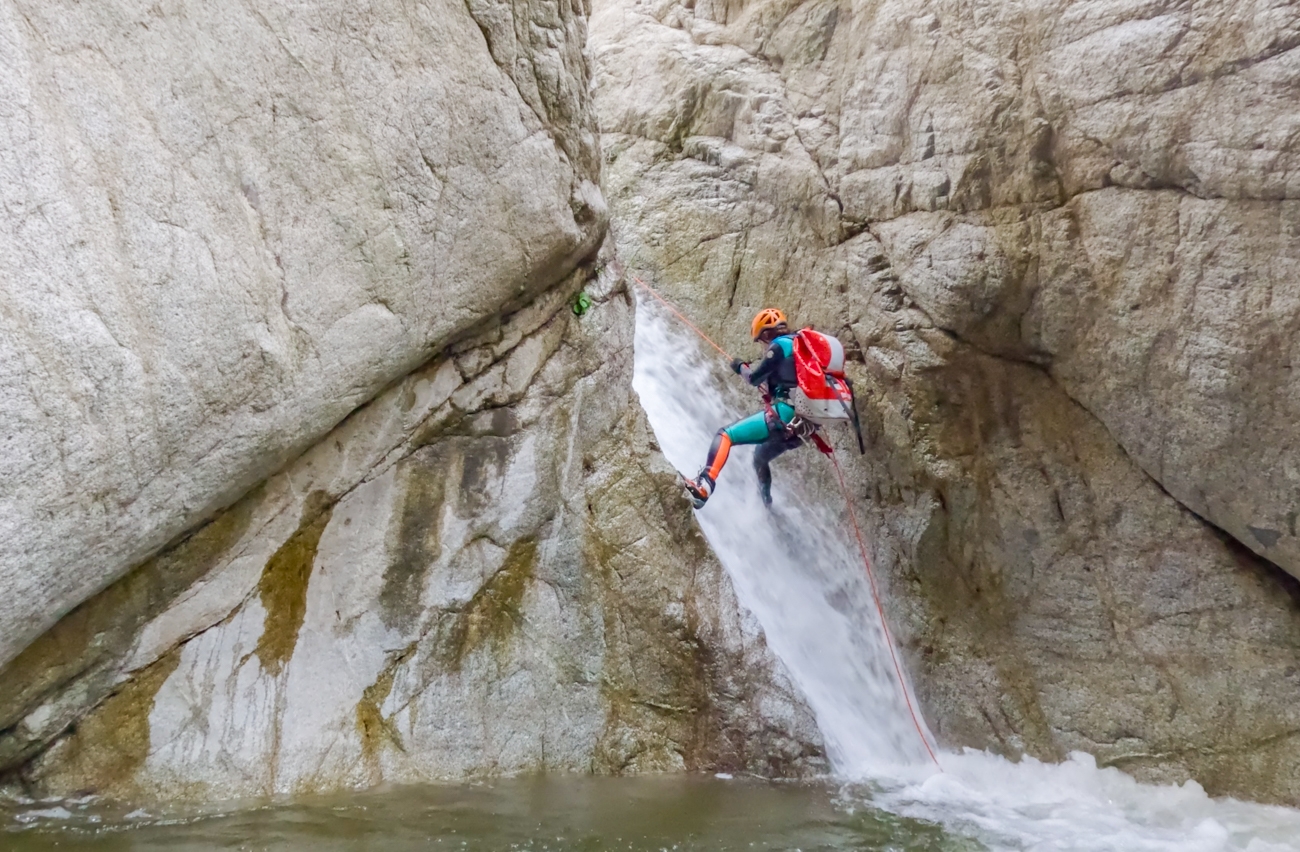
Rappel 10 is about 25ft with anchor RDC. It rappels down a “V” notch. It was one of my favorites because the bottom was just so pretty. As the water flew down, it spread out over a giant boulder, creating a curtain of waterfalls. Make sure to keep RDC to stay out of the heavy flow.
Rappel 11
After rappel 10, we went for another short walk. We actually came upon Rappel 11 just didn’t realize that it was a rappel. It looked like it was an easy downclimb of 10ft, RDC, so we all did. Sorry, we didn’t take photos of this one.
Rappel 12
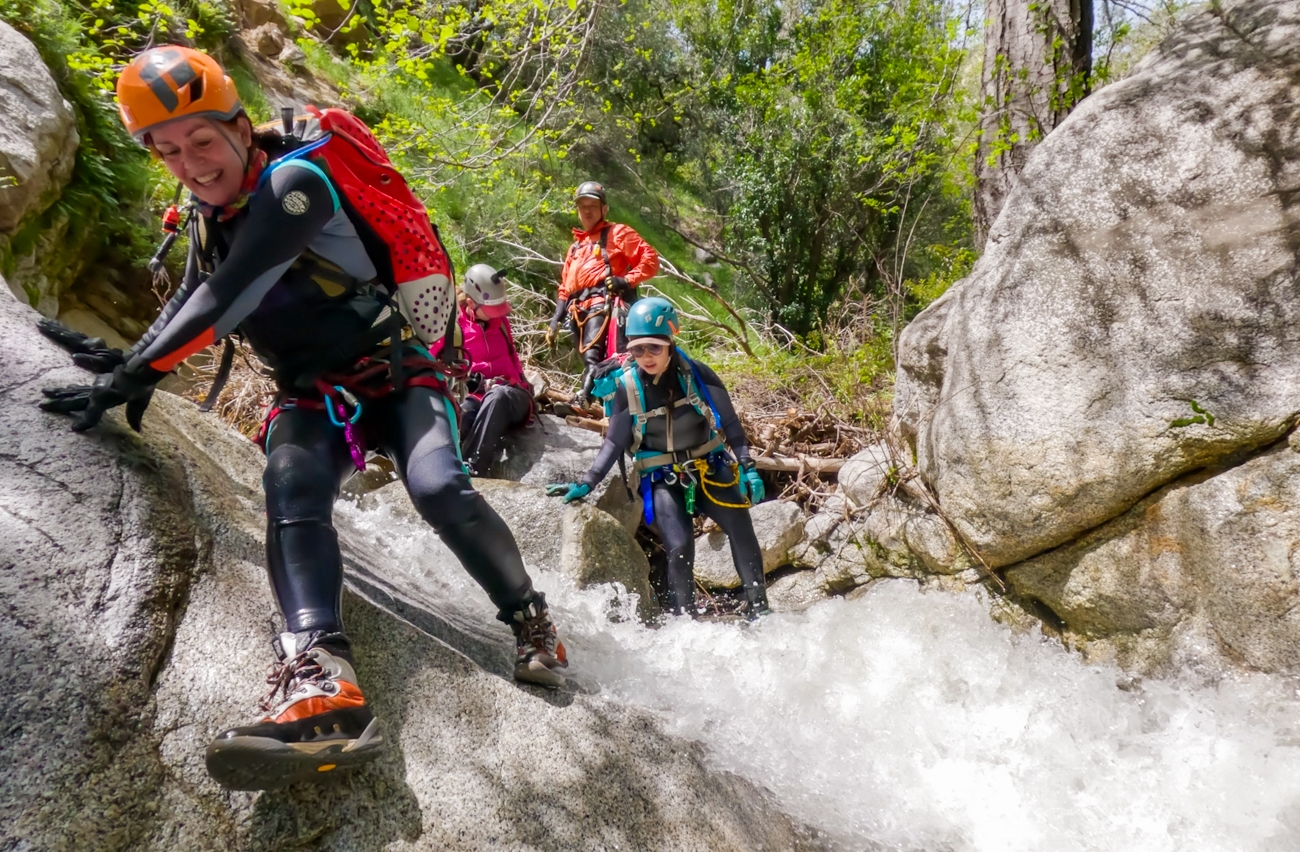
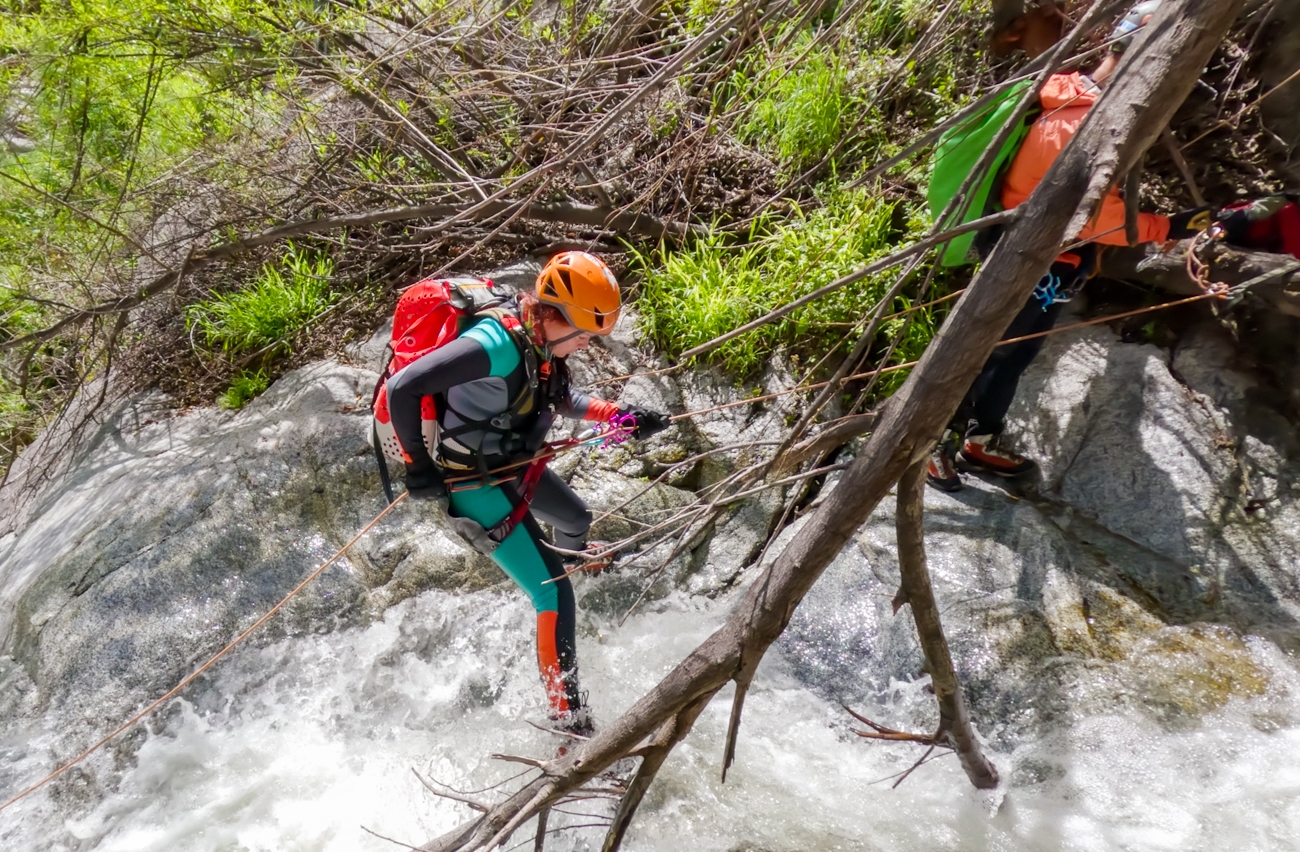
The anchor for Rappel 12 is RDC and is about 17ft. It’s quite simple during the dry season. However, it was tricky to get on rappel for this one during high flow. We had to set up a handline before sending Anh first to set up the anchor. Then the rest of us, one by one, use to handline to get toward the anchor. At this point, waist-deep in a big pool, we got on rappel. Then, Anh helped pull each of us over the lip so we can start our rappel.
Moderate Hike
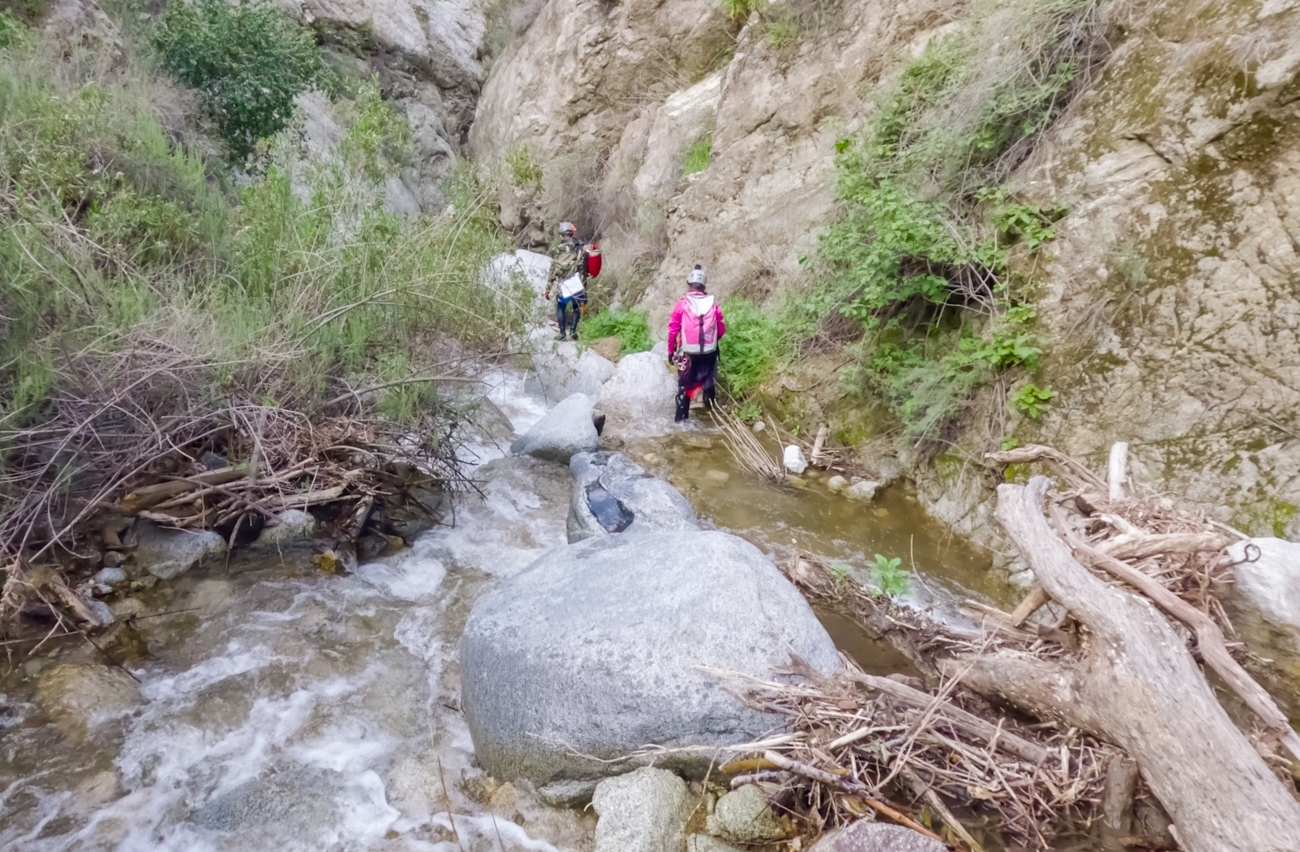
After Rappel 12, there is one more moderate hike before we got to Rappel 13. Be careful to avoid some of the slides if it looks like it’s dumping down from a strong waterfall. Anh slid down one of the slides and was stuck in a whirlpool at the bottom.
Rappel 13
Rappel 13 is simple, about 16ft with bolts RDC.
Rappel 14
Shortly after rappel 13 is rappel 14. This one is another tricky one. The anchor is LDC. It is about a 35ft rappel into a large pothole. Depending on when you go, you might need to do some pothole escape. In the high flow, it turns into a very deep pool. The waterfalls were quite strong too. So if you have weaker swimmers in your group, it might be a good idea to give extra slack and send a stronger swimmer down to the bottom to help pull them out.
Right after this pool is a short slide or a short downclimb during the dry season. Some of us weren’t comfortable sliding down so Anh lengthen the rappel line so we could get all the way to the bottom. He and Frannie then pull the rope at the potholes before both of them slide down the slide.
Rappel 15
This final rappel is immediately after that short slide. It is only 10ft with anchor LDC. During the right condition, you could downclimb this last rap.
Exit
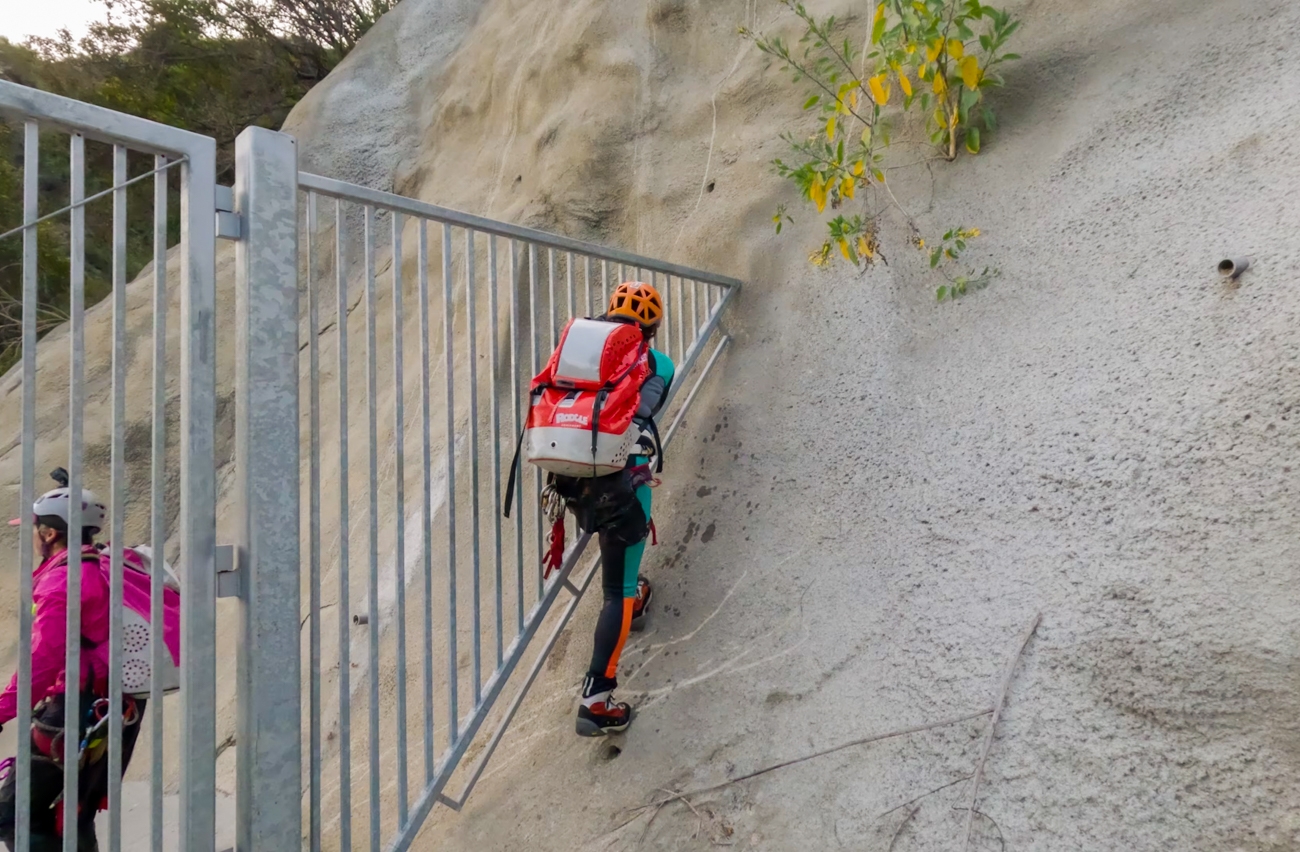
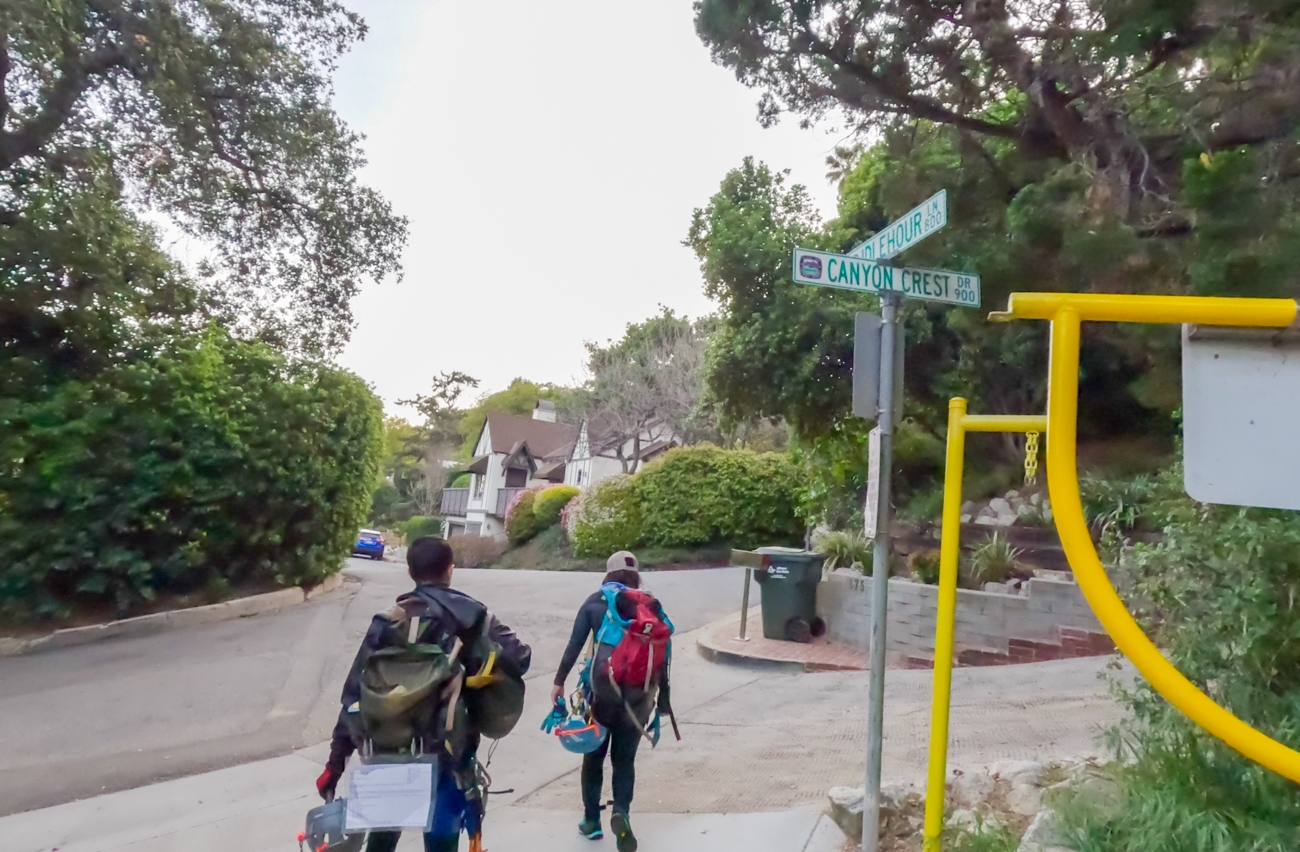
After the last rap, we were exhausted. However, there is another short walk along the canyon before we get to the bottom of the dam. With the water flowing, it felt like an eternity. Eventually, we got to the concrete path and led out of the canyon. There is a gate at the end of this path. If the gate is locked, you can climb over it on the RDC side. Once passing through this date, take the middle street (Idlehour Lane) downhill until you reach the intersection of Mira Monte and Mountain Trail.
For a fun class C canyon, check out S’mores Canyon in Arizona. We also love Water Canyon in Utah.
These are the gear that we personally use and find them helpful for this particular adventure. Don’t forget to check out our Recommended Gear section as well.
adventure gear
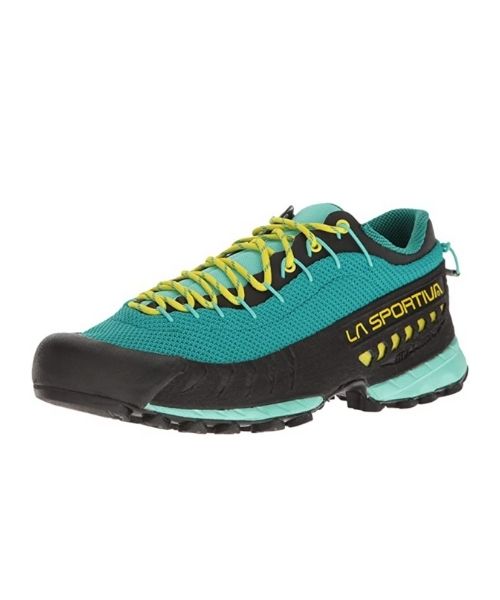
We love these La Sportiva TX3 approach shoes! They have pretty good traction on wet rocks and muddy areas. They also drain well, especially when you have to wade through water.

This is the male version of the La Sportiva TX3.
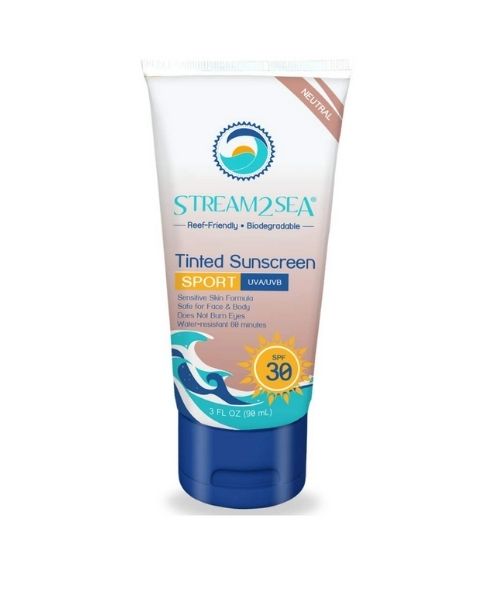
This will be a long day in the sun! We use eco-friendly, reef-safe sunscreen, Stream2Sea SPF 30.

Face sunscreen is also important. We love these tinted, organic All Good Organic Sunscreen Butter.
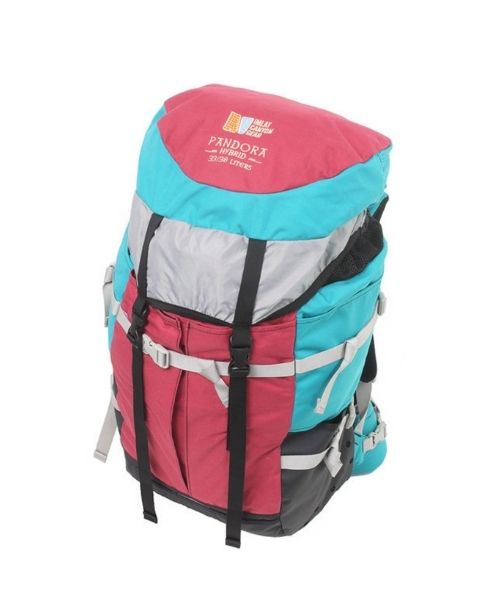
Canyoneering bags are essential, especially for wet canyon. This Imlay Pandora Bag not only has tons of drainage holes, it’s also very well-made. It’s also perfect for shorter people like Vy with heigh range from 5ft – 5ft 4
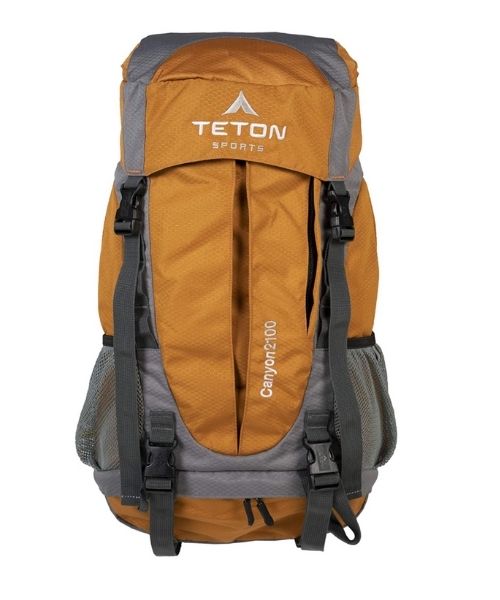
Teton Sport makes a pretty decent beginner canyoneering bag. It has a few drainage holes that will be useful for wet canyons. What we love about this bag is the price and the amount of pockets it has!
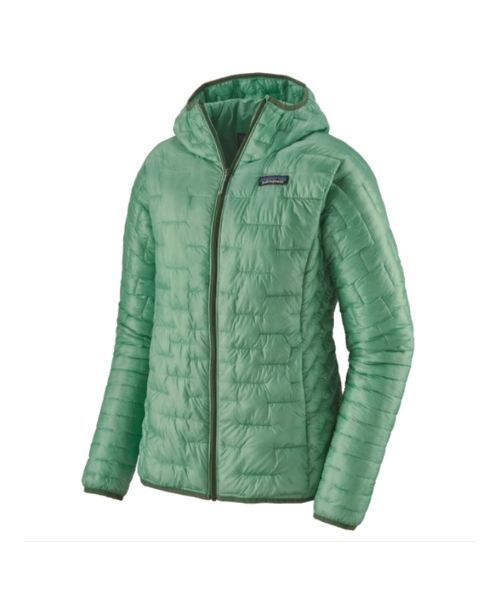
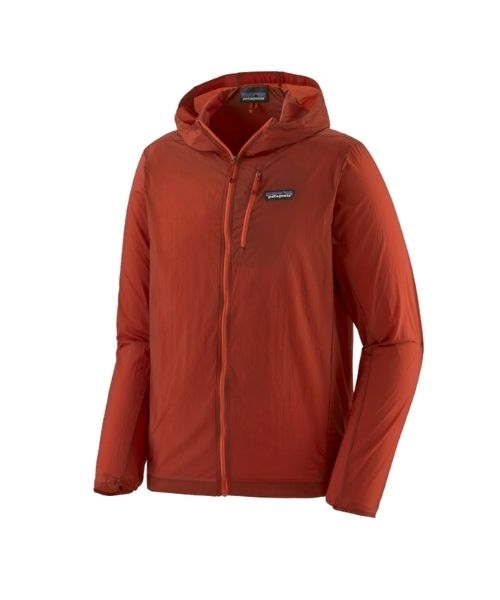
If you want something lighter, we love the packable Patagonia Women’s Houdini® Jacket and Patagonia Men’s Houdini® Jacket
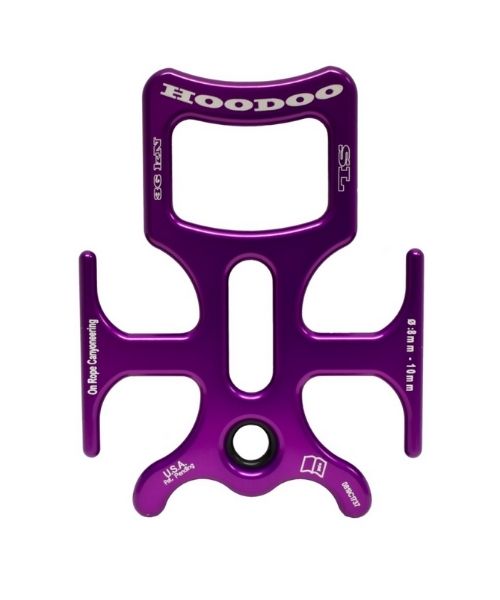
We were introduced to this Hoodoo rappel device from our expert canyoneering friends. So far, we love it!
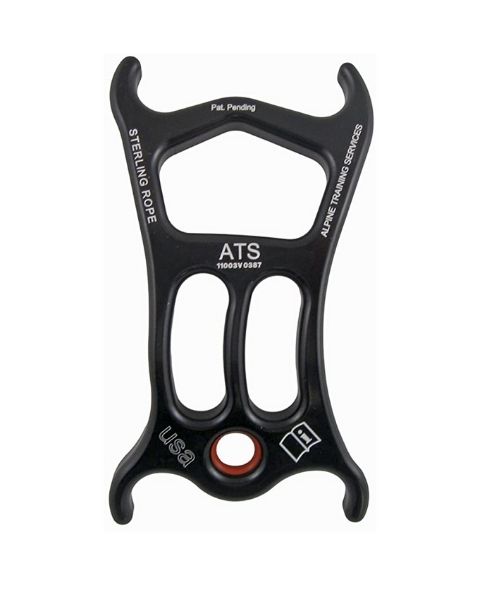
Another popular option for the rappel device is this ATS
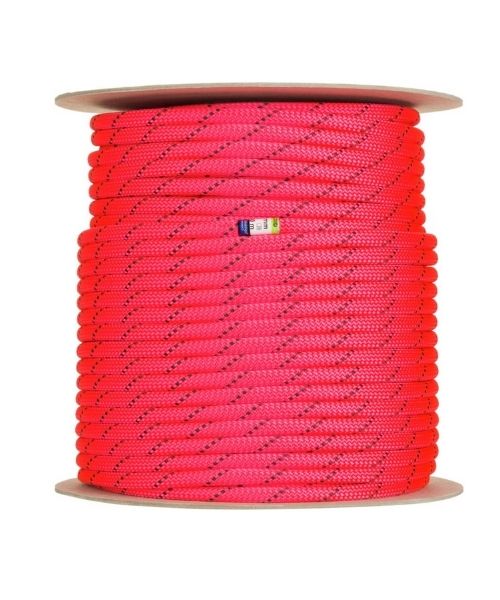
Of course, you will need to bring your canyoneering ropes.
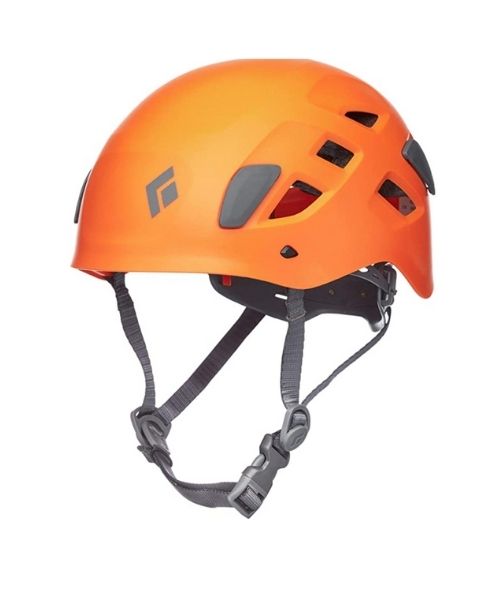
So far, our Black Diamond Half Dome helmets have served us pretty well
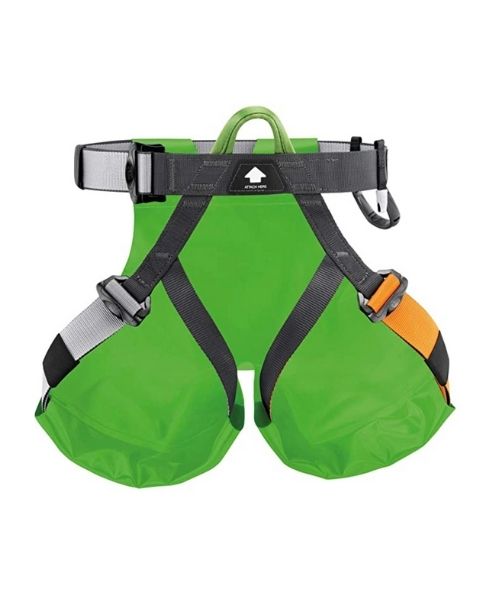
You will need canyoneering harness. Climbing harness will work too.
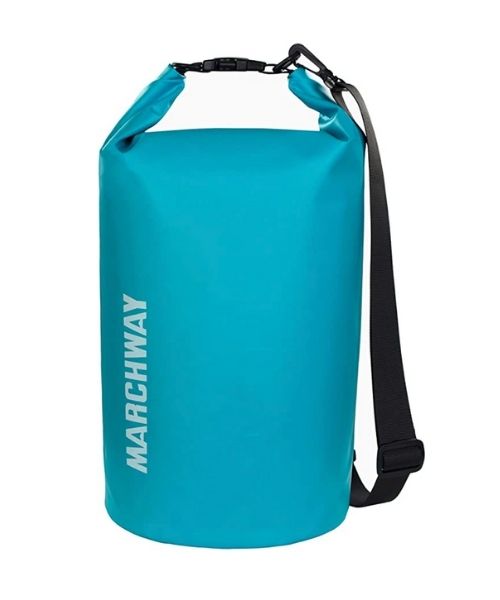
Even when dry, you’ll still need dry bags for Water Canyon. There are a few swimming sections. You will need this to keep your items dry.
other things to bring
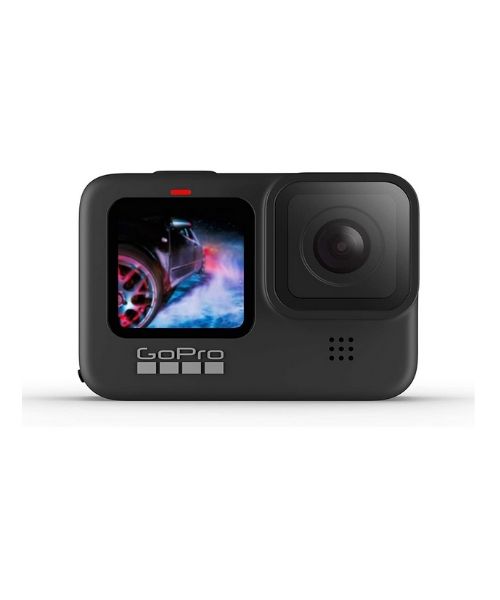
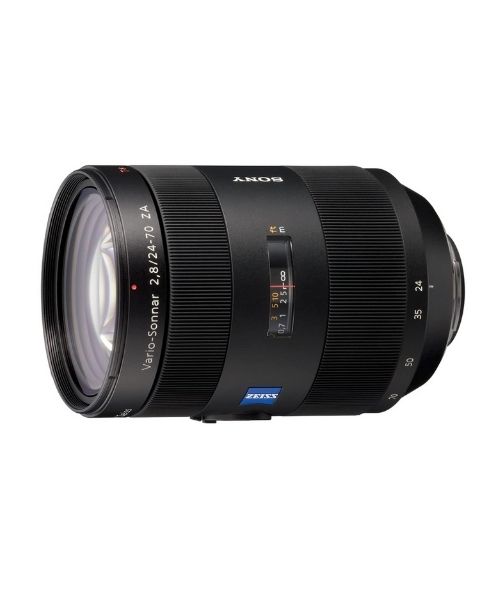
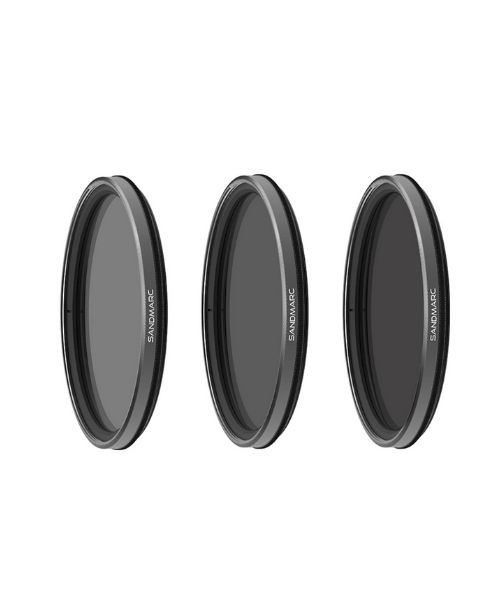
camera gear


Related Posts

Save your pins:

