
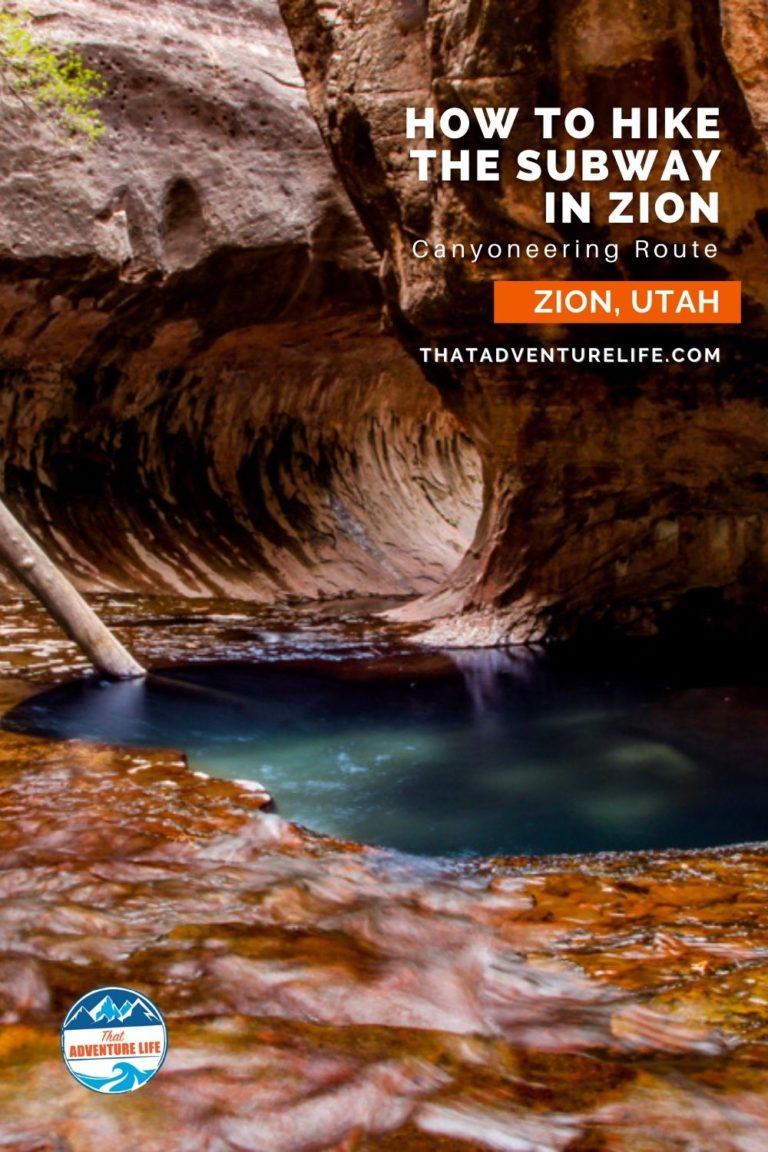
The Subway, also known as the Left Fork of North Creek is one of Zion National Park’s most popular and iconic hikes, and for good reason. It is one of the most beautiful and diverse slot canyons in Utah. The permit for the Subway in Zion is very hard to get. So when we got invited by Anh, we immediately jumped at the chance. If you can’t get the permit for this, check out Water Canyon. It is a beautiful beginner canyon with a lot to offer.
There are two ways to get to the Subway in Zion, the bottom-up or the top-down. The bottom-up is a NON-TECHNICAL, strenuous hike with tons of creek crossings, route finding, and scrambling over boulders. The top-down is a TECHNICAL ROUTE that requires rappelling skills, extensive route finding experience, down-climbing skills, and swimming through multiple deep pools of very cold water. Even though it is more strenuous, the top-down route is also our favorite because you get to experience so much more of the canyon that you won’t be able to see with the bottom-up route. These are the directions for the top-down route.
Stats
Where
STARTING POINT:
Wildcat Canyon trailhead
Coords: 37°20’23.9″N 113°04’32.7″W
EXIT POINT:
Left Fork trailhead
Kolob Terrace Road, Springdale, UT 84767
Coords: 37°17’04.9″N 113°05’45.5″W
Parking
Both of the parking lots are dirt lots. The one at Left Fork trailhead is bigger than Wildcat Canyon.
Restroom
Pit toilet at the trailheads
Best Season
Late Spring, Summer and early Fall. Winter and early Spring are dangerous to attempt this hike.
Weather
Things to Know Before Going
- FLASH FLOOD RISK: Always check the weather report before going. Do not attempt this canyon if there is threat of rain.
- This is a canyoneering route. Please take it seriously! You must bring and know how to use proper canyoneering gear. There have been many accidents, fatalities because of inexperienced hikers getting in over their heads.
- It will be a long, strenuous day so make sure to start your day early and give yourself plenty of time.
- This hike starts and ends at different trailheads.
- GPS can be unreliable in the canyon, therefore, DO NOT rely on a GPS as your sole method of navigation
Rating
3B III (v3a2 III)
Click here to learn more about canyoneering rating.
Distance
Total: 9.5 miles
Technical: 1.5 miles
Elevation Range
1000-ft descent down Russell Gulch, then 1000-ft descent through the Left Fork. This ends with a steep 400-ft ascent to the Left Fork Trailhead.
Time
6 – 12 hours
(We had 10 people, a few of which are beginners and took 9 hours)
Permit
Yes!! There are rangers hiking the route to check for permits. For more info, check out Zion National Park website.
Rappels
4 rappels. Longest rappel is about 30ft.
Shuttle Required
Yes. The two trailheads are about 7.5 miles from each other.
Vehicle
Passenger
Water
A fair amount of swimming through freezing water.
Gear Required
- Standard rappelling and anchor gear, ropes and webbing.
- Full wetsuits or drysuits even when the outside temperatures are in 80’s.
- Dry bags
Video
Getting There
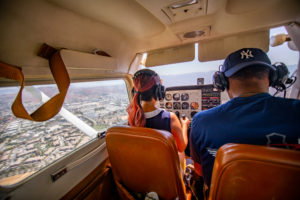
The top-down route for the Subway in Zion National Park starts and ends at two different trailheads. The hike starts at the Wildcat Canyon trailhead and ends at the Left Fork trailhead. Both of these trailheads are located on Kolob Terrace Road and about 7.5 miles from each other. You will need either a shuttle car, to hitchhike or arrange for a shuttle with local adventure companies. Don’t forget, you need a permit to attempt hiking the Subway, it doesn’t matter which route.
To get to the Wildcat Canyon trailhead (the approach), from the South Gate entrance to Zion National Park, follow Highway 9 west for about 14 miles. Turn off for Kolob Terrace Road, then drive another 15.6 miles to the trailhead.
To leave your exit vehicle, follow highway 9 west from the South Gate entrance for 14 miles, then turn off for Kolob Terrace Road. From there, drive 8.2 miles to the Left Fork or North Creek trailhead. You can park your exit vehicle here then continue up the Kolob Terrace Road to Wildcat Canyon trailhead to begin the route.
The Approach
The Initial Approach
Our group of 10 pulled up to the Wildcat Canyon trailhead at the crack of dawn. Since we have such a big group, we wanted to start the day early and have plenty of daylight left on the way back. The initial approach is quite simple. From the Wildcat Canyon trailhead, we followed the trail for about 1 mile. From here, stay left at the first trail junction for the Hop Valley Connector. After about 0.2 miles, turn right (south) at the second junction for the Northgate Peaks trail. There is a sign marking the turn. After another 0.2 miles on Northgate, you’ll see a small sign marking the start of the Subway route on the left. From here, you will follow the unmaintained, yet well-cairned path that heads down into Russell Gulch.
Descending Russell Gulch
After the Subway in Zion sign, our group followed the sandy trail to an open slope of the white slickrock formation of Russell Gulch. This route is a backcountry route rather than an actual trail. Therefore, make sure you pay attention and follow the route closely. If you come up to the drop that looks longer than 30ft, you might be at the first rappel for Russell Gulch, which is 100ft. This is the wrong way. Unless you’re ready to rappel multiple drops of 100 +ft, make sure you turn around and go back to the trail. Your longest rappel (also your last) for the Subway in Zion should be no longer than 30ft.
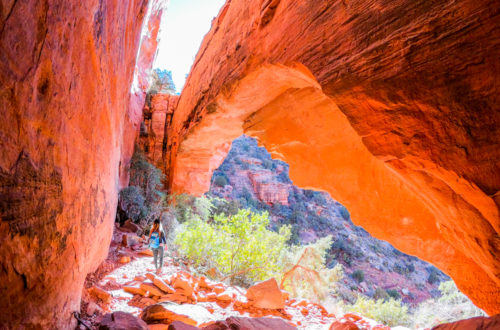
From the top Russell Gulch, we followed the cairns and walked down the slickrock slope. About 30ft above the woods, we followed a sidewalk-like ledge to the right for about 100 yards toward a used, sandy trail. This trail is on the left and goes through the woods to the next slickrock area. Follow this toward the right until it comes back onto the slickrock. From here, you’ll follow the ledges right to a large, fallen log on the ground. After climbing over the log, we went left and down to a small trail that goes into the woods. This trail cuts through the woods and eventually goes up to the top of a ridge. The view up here is beautiful. We took a quick break to enjoy the scenery.
After our break, we followed the trail to the left and downclimbed a steep slab. We then followed the trail to descend down the ridge and then climbed back up to the slickrock pass. It was a pretty warm day out so we were all happy to take another break and enjoy the breeze here. From the top of the pass looking down, the area below looks like a big bowl of slickrock. After cooling down, we headed down the bowl to a trail on the right that crossed through the trees to another slickrock area. We then follow a used trail to climb over the crest of the ridge, along the ridge, and then down to the wash below. At this point, we followed a well-established trail through the bushes that lead to the end of the ridge. At the end of the ridge, you will be overlooking a steep drop on both sides.
From here, follow the trail toward the right until you’re on top of a rocky, sandy gully. There is a big pine tree right next to it. This gully is very steep and can look pretty intimidating, especially the first downclimb down a boulder. If you want to skip that first downclimb, you can actually go right and climb down the easier way. Unfortunately, you will have to downclimb the rest of the way. However, it is not as bad as the first one. The way down is steep and can be slippery, so make sure to take your time and be careful.
Once you get down to the bottom of the gully, there is a pool there. During the wet seasons, the water can be waist-deep. However, when we went, there was water but there was also plenty of room to bypass it. The water in the pool looked stagnant so none of us wanted to go in it. If there is tons of water here, you might want to put your wetsuit on before continuing on your hike. From the pool, we followed the flowing water to the left to continue on the Left Fork of North Creek.
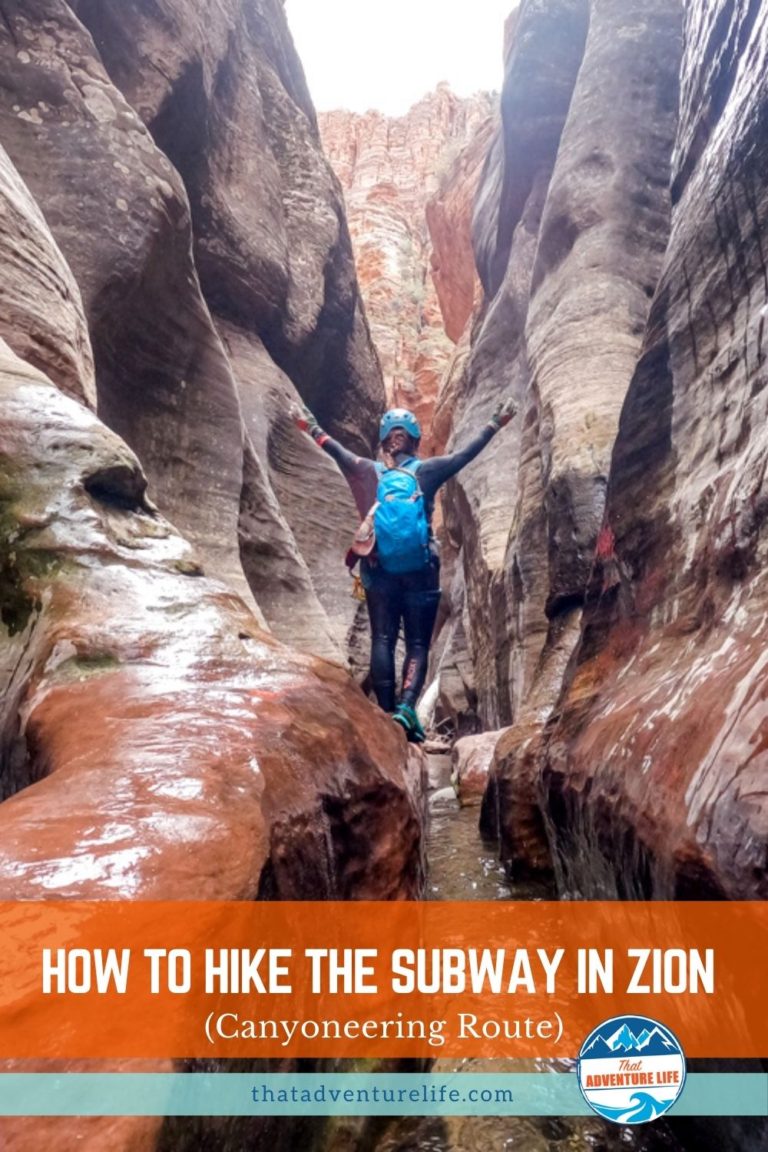
The Technical Section of the Subway in Zion
Entering the Canyon
We followed the running stream through a mini subway-like section. It is quite beautiful here with curved walls on both sides of the trail. The trail leads to a sandy wash where you have to hop over boulders to continue to a big pile of giant boulders. This is where you’ll encounter your first obstacle and rappel.
First Obstacle and Rappel
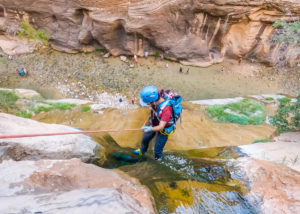
This first obstacle for this Subway in Zion National Park hike is where several giant boulders had fallen into the canyon and blocked the route. The anchor for the rappel is located on the top of the boulder closest to the canyon wall RDC (right down canyon). The easiest and safest route is to rappel down from here. It is a short and easy rappel, about 30 ft. There was a pool of stagnant water underneath the boulder as we rappelled down.
Another way to go down is to downclimb or handlining down the V-slot. The V-slot is the gap between the boulder with the anchors and the canyon wall. It is doable but not recommended unless you are very experienced or go with people that can help you. It is very awkward. A group behind us went that route to skip the rappel and it didn’t look like they enjoyed it.
To the Triple Pools
After the first rappel, we continued to follow the canyon through more boulder hopping and sculpted canyon walls. We eventually came up to our first mandatory water encounter. Depending on when you go, this could be earlier or later along the trail. After putting on our wetsuits and putting all our gear in the dry bags, everyone reluctantly wading through the freezing, knee-deep water. After this point, we continued through several potholes and water-filled slots. If you want to be a badass like Marylou and Aaron, you can wade through these waist-deep potholes. Most of us though preferred to climb up and walk on the rock ledges on the sides. After this section is the Triple Pools.
The Triple Pools
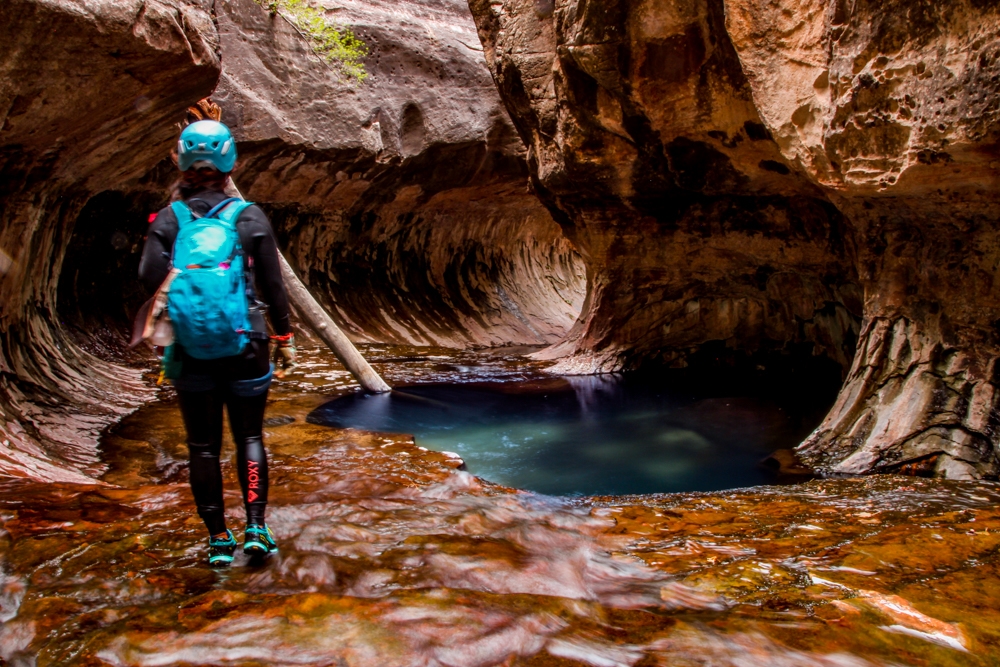
The Triple Pools is the first mandatory swim in the Zion National Park’s Subway. Since I’m not very good at swimming, I brought Bobbie, my inflatable orange dry bag with me. This was before I found out that putting a puffed-up drybag in your canyoneering bag will also help you float. It’s also less cumbersome than carrying Bobbie. Even so, I was glad I had him with me. Some of the pools are pretty deep, although quite short in distance. The Triple Pools section is where the sandstones are beautifully sculpted into three round bowl-like pools.
The Bowling Ball Corridor (Optional Second Rappel)
After the Triple Pools, the scenery becomes even more beautiful. The canyon walls get taller and narrower. The rock formations get more interesting. There is also more water along the way. There are a few downclimbs and wading/swimming before we get to the Bowling Ball corridor, our second rappel.
The Bowling Ball Corridor is a narrow slot section full of water that is marked by a big bowling ball-shaped chockstone stuck between the canyon walls. There used to be two chockstones, however, the lower one got washed away in Spring 2005. In 2012, a big flood went through this section of the Subway in Zion and pushed a log-jammed under the big bowling ball. Depending on the water level and your experience, you can scramble over the chockstone and either swim or downclimb into the water. The log on the other side was quite slippery when we went. Therefore, Kelly volunteered to be the meat anchor for all of us to rappel down, just to be safe. He then downclimbed over the bowling ball. The section on the other side of the bowling ball is a swimmer.
Keyhole Falls (Third Rappel)
After the Bowling Ball Corridors, we continued on through more beautiful narrow slots, swimmers, and downclimbs. Eventually, we reached Keyhole Falls. Keyhole Falls is an easy and short rappel, about 10-12ft into the usually waist-deep pool. It is the start of the infamous Subway in Zion National Park. The anchor for this rappel is bolted on the wall RDC (right down canyon). The start for this rappel can look a little awkward and intimidating. You have to stand on wet rocks to lean out to set your rope. However, it’s not as bad as it looks. Even though it is easy, you still need to be prepared. This was where a tragic fatality happened in 2012.
When we went, we also ran into the rangers here. They made sure that we have our permit with us. Therefore, please make sure you have your permit before you go. Otherwise, you either get turned back, pay a fine, or both.
To the North Pole Log
When the last person in our group rappelled down Keyhole Falls, we continued on to the last rappel of the day. The section after Keyhole Falls is quite spectacular with wrinkled canyon walls, tubular shape passages, beautiful alcoves, and clear flowing water. A little walk down the canyon, we came up to the “North Pole”. The North Pole is an infamous log that propped up against the canyon wall. You have probably seen this log in a lot of the photos when searching for the Subway in Zion.
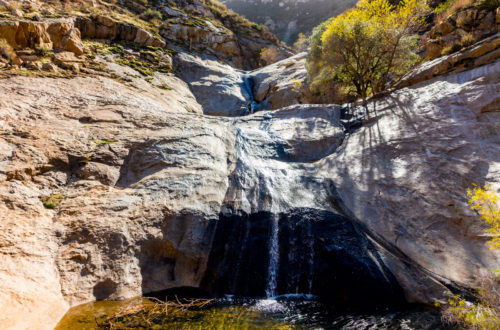
The Last Rappel
After the log, we followed the bend to downclimb down a shelf, then continued our way down the canyon. The canyon then opens up a bit to reveal our last rappel. The anchor for the last rappel is a couple of bolts, located RDC, on top of the cliff’s edge. There usually is a waterfall running down the left wall. The final rappel is about 20ft, into water. This rappel is pretty steep and not safe for handlining. Once you get to the bottom, don’t forget to check out the waterfall and the room behind it. Depending on the time you go, you might have to swim through a few spots in the narrow section to get out. The rocks through these pools are slippery so be careful.
The famous Subway in Zion National Park
The famous Subway is right after the last rappel. This part is considered the lower Subway in Zion. It is easy to see why this place is so popular. The curved, narrow canyon walls resemble a underground subway station. Right before it, there are pools full of clear, emerald water. These pools are a beautiful contrast to the dark canyon walls. It can get pretty windy here. Even though it was cold along the way, we were freezing just standing here because of the wind chill.
Be careful when heading down the red ledge to the Subway. It is very slippery. Most of us ended up using it as a slide. It was actually pretty fun.
The Exit
Lower Left Fork Hike
After the Subway, the canyon opens up. Many people would take their gear off here. It was still pretty cold and full of water when we went so we kept our gear on for a bit longer. We follow the route to go down these beautiful red ledges full of waterfalls. These ledges can be quite slippery so be careful when you walk. We made our way down a small waterfall to the stream below. This was a perfect spot for us to take off our gear and have lunch. From here, it is about a 3.5-4 miles hike back to where you left your shuttle car.
The hike back out of the Subway in Zion is notorious for being a doozy. It is very long, warm, and can be demanding, especially on your knees. This section is still beautiful, however, after the breathtaking landscape we went through, it seemed a bit anti-climatic and almost tedious. The trail winds through the stream, from one side to the other. Most of the way, you will need to scramble through boulders and trees. About 1 hour down the canyon, there are two large, gray boulders close to the water on the right. If you look carefully, you can see the dinosaur tracks on the flat surface. Please make sure to not damage it.
The Climb Up
About 2.5 miles through the stream, there is a small sign that has the words “Left Fork trailhead” on it. This is where the steep exit begins. Make sure you don’t miss the exit or exit too early. A reliable GPS will be very helpful. This steep exit is the worst! Well, I’m exaggerating a bit, but that 400ft climb wasn’t fun after a long day of canyoneering and scrambling. Luckily, it is quite short. So after a few breaks, we made it to the top. Once we cleared the ridge, we went left to follow the trail back to the Left Fork trailhead parking. A few people in our group went right and they ended up all the way on the other side. They eventually found their way back but it wasn’t the best route to go.
When I saw the parking lot, I was so happy! As we waited for some members of our group to go get the car, everyone took off their shoes and flopped down on the ground. Exhaustion finally hit us. Even so, it was the good kind of exhaustion. The Subway definitely was an amazing experience, and to complete it with such an awesome group! We can’t wait to go back, maybe the bottom-up next time, and a few more top-down routes as well!
These are the gear that we personally use and find them helpful for this particular adventure. Don’t forget to check out our Recommended Gear section as well.
adventure gear
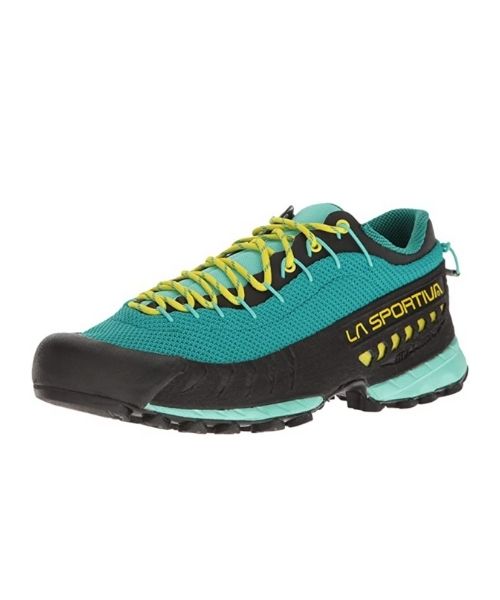
We love these La Sportiva TX3 approach shoes! They have pretty good traction on wet rocks and muddy areas. They also drain well, especially when you have to wade through water.

This is the male version of the La Sportiva TX3.

Make sure to use lots of sunscreen! We use eco-friendly, reef-safe sunscreen, Stream2Sea SPF 30.

Face sunscreen is also important. We love these tinted, organic All Good Organic Sunscreen Butter.
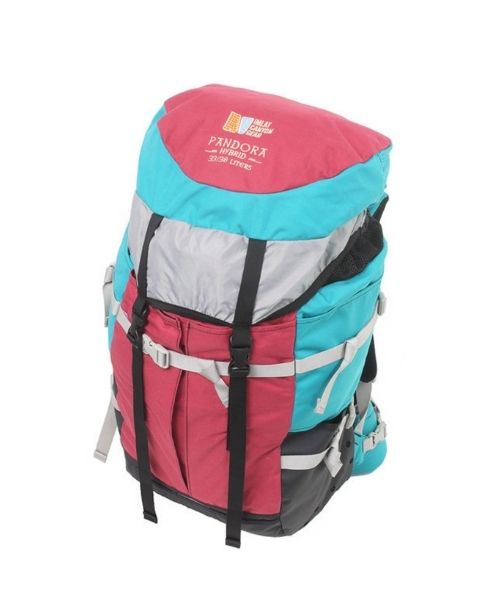
Canyoneering bags are essential, especially for wet canyons. The Imlay Pandora Bag not only has tons of drainage holes, it’s also very well-made. It’s also perfect for shorter people like Vy with heigh range from 5ft – 5ft 4
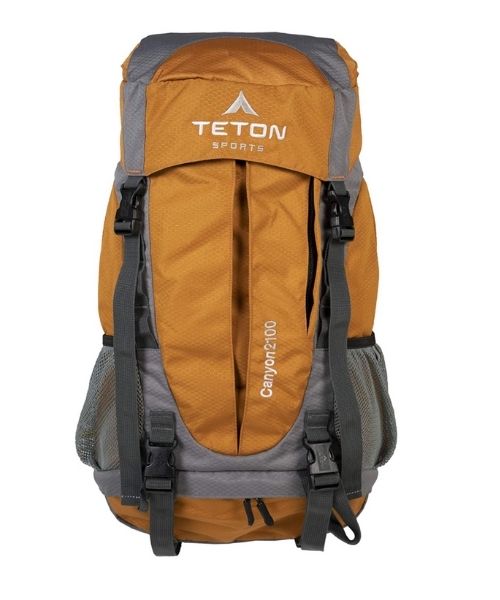
Teton Sport makes a pretty decent beginner canyoneering bag. It has a few drainage holes that will be useful for wet canyons. What we love about this bag is the price and the amount of pockets it has!
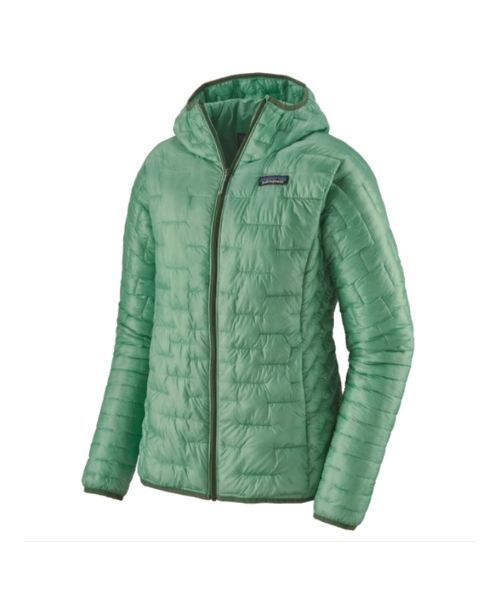
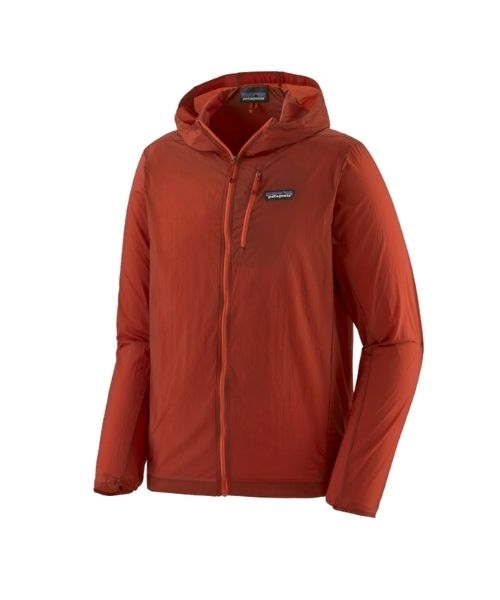
If you want something lighter, we love the packable Patagonia Women’s Houdini® Jacket and Patagonia Men’s Houdini® Jacket
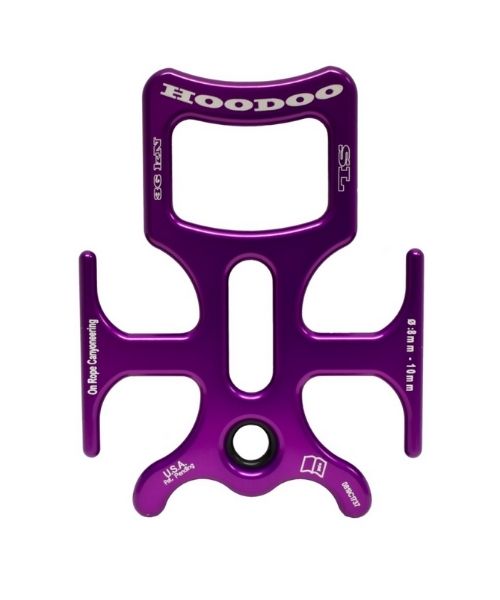
We were introduced to this Hoodoo rappel device from our expert canyoneering friends. So far, we love it!
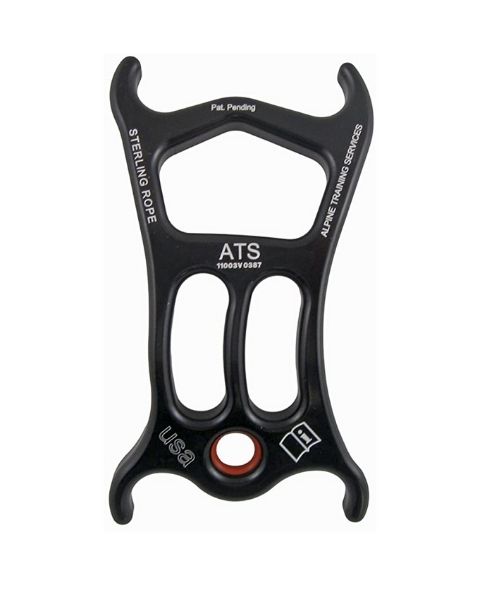
Another popular option for the rappel device is this ATS.
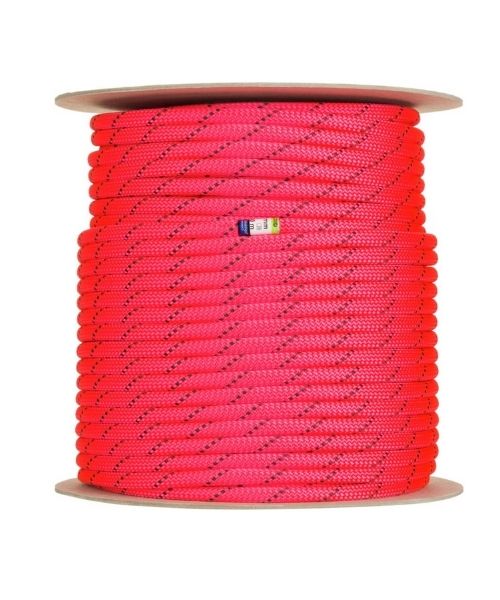
Of course, you will need to bring your canyoneering ropes.
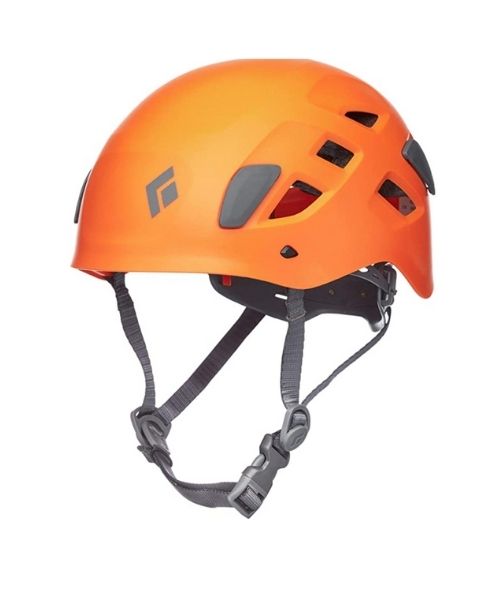
So far, our Black Diamond Half Dome helmets have served us pretty well. They are comfortable for all day use.
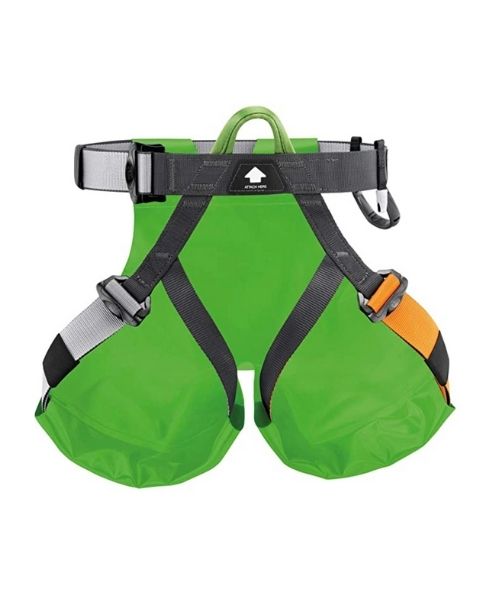
You will need canyoneering harness. Climbing harness’s will work too.
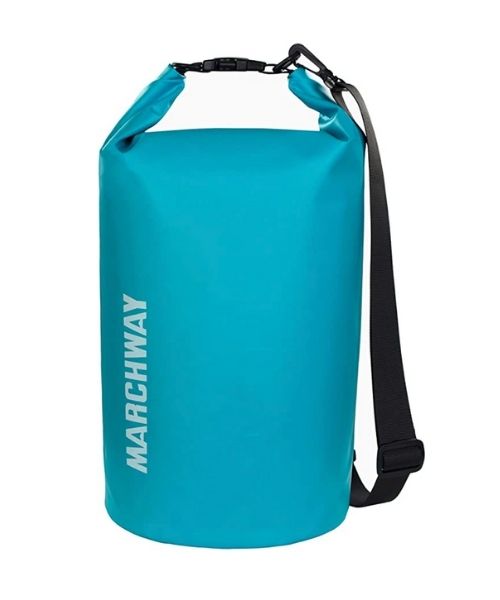
The subway has no shortage os swimmers. You will need dry bags to keep your valuables and clothes dry.

You will need gloves for rappelling. Climbing gloves work great! Some people even use gardening gloves or tactical gloves. Just make sure they fit your hands and have leather on the palm and fingers.
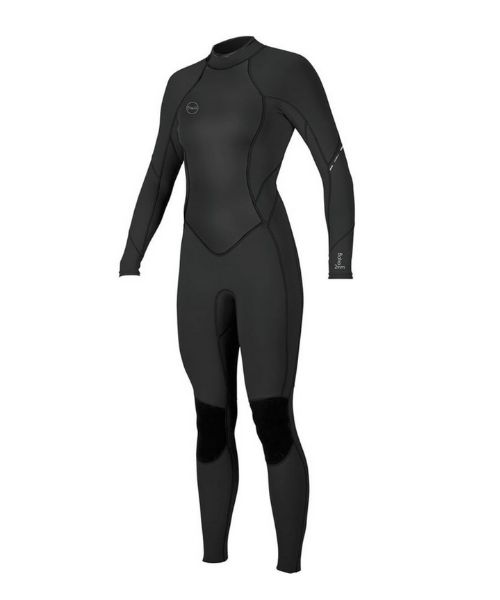
For colder months, wetsuits are essential. Usually, 4/3mm suits are recommended.
other things to bring
It can be a long day. Make sure to bring lunch and lots of snacks. For healthy and easy snacks, check out some of our recipes.
camera gear


Related Posts
Save your pins:


