
Slideanide Canyon is one of the popular canyons in the Poison Spring area, about 1 hour north of Hanksville, UT. I love this canyon! It is short, fun and very beautiful. Slideanide Canyon is a perfect place to practice downclimbing, chimneying, and partner assists. This canyon also has a unique final rappel. Another interesting thing about this canyon is that for very experienced canyoneers, you can downclimb the entire thing. Although, the majority of us use at least 2 rappels.
Stats
Where
Parking:
38°05’32.9″N 110°31’33.9″W (38.092472, -110.526083)
Start of Slideanide Canyon:
38°06’05.6″N 110°31’13.5″W (38.101553, -110.520418)
Start of Climber Exit:
38°06’25.6″N 110°31’30.1″W (38.107119, -110.525017)
Parking
Small dirt areas on both sides of the road.
Restroom
There is no restrooms
Best Season
Spring, Fall. Summer can be very warm
Weather
Caution
Flash Flood! Like any canyons, make sure to check the weather for rain before attempting this canyon.
Rating
3A (or B) II
Click here to learn more about canyoneering ratings.
Distance
Total: 3.8 miles
Technical: 0.5 miles
Elevation Range
5180 – 4560 Feet
Time
4 – 6 hours
(We had 9 people and took 5 hours)
Permit
None
Rappels
0-4 Rappels. Longest rappel is about 80 feet.
Shuttle Required
None
Vehicle
High Clearance is a must!(possibly 4WD if the road is in bad shape)
Water
Slideanide Canyon is generally mostly dry with some possible wading. When we went, there was no water. However, you may get waist deep after a heavy rain. Bring a wetsuit in colder months.
Video
Getting to the Trailhead
To get to the start of Slideanide Canyon, from Hanksville, take UT-95 South for about 20.5 miles (mile marker 20.3). From the junction of UT-95 and highway 276, it is about 5.8 miles North.
- Turn left (east) onto a dirt road. This is BLM 15210.
- About 5.8 miles, you’ll come to a T on the road. This is where the main road intersects with a small side road on the left.
- Turn left here to follow the small side road for about 0.3 miles.
- After 0.3 miles, you’ll come up to wide drainage with lots of spaces for parking on both sides of the road. This is where you can park to start your hike for Slideanide Canyon (GPS coordinates are above).
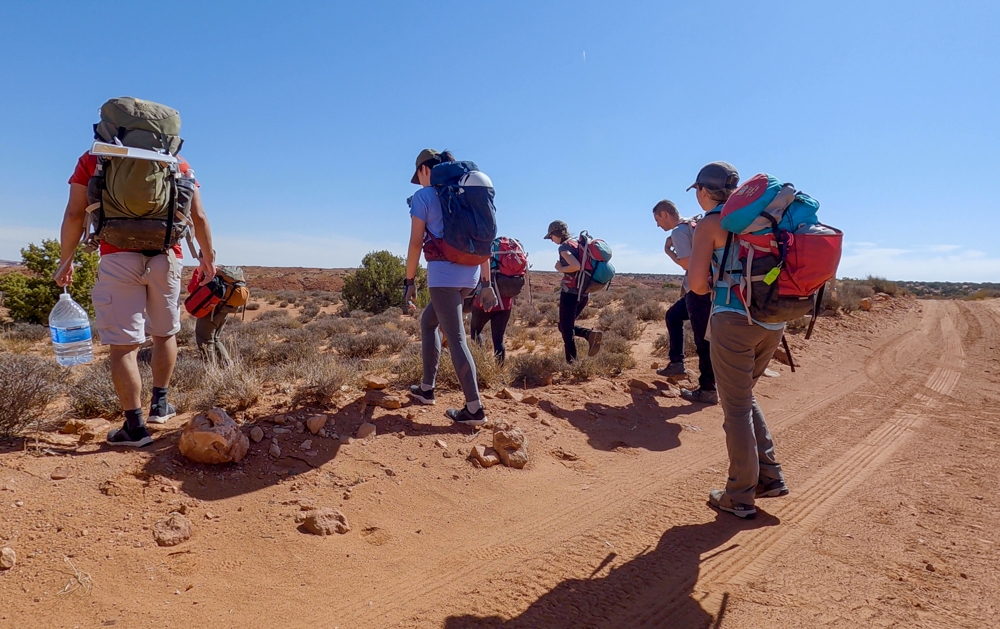
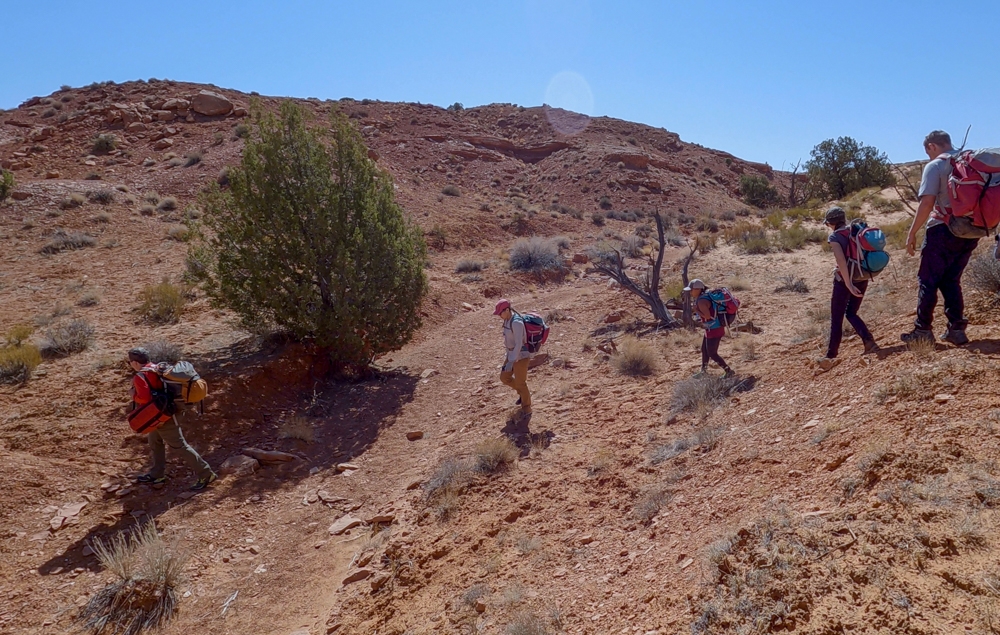
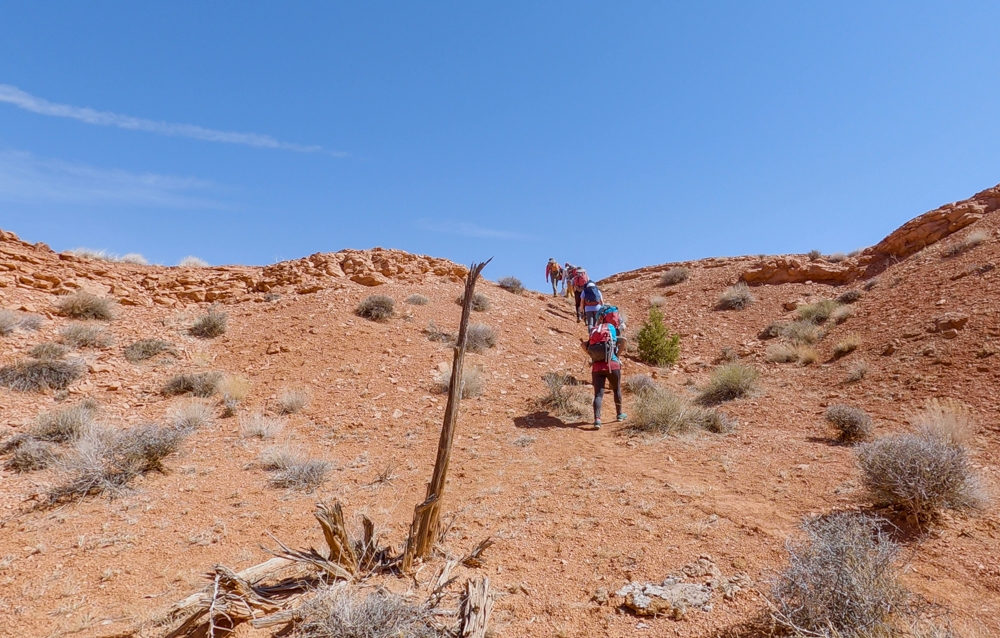
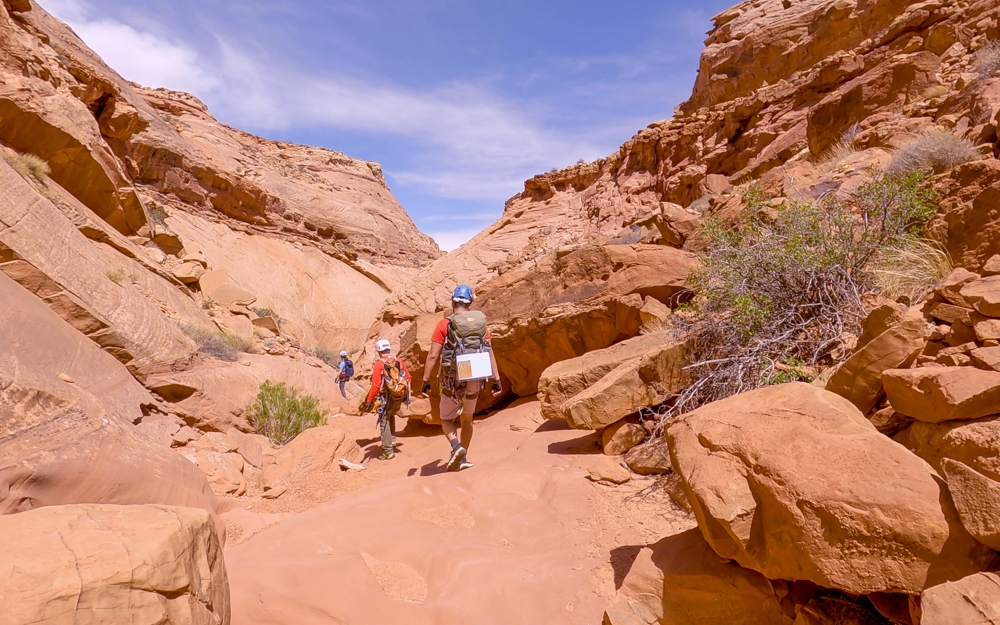
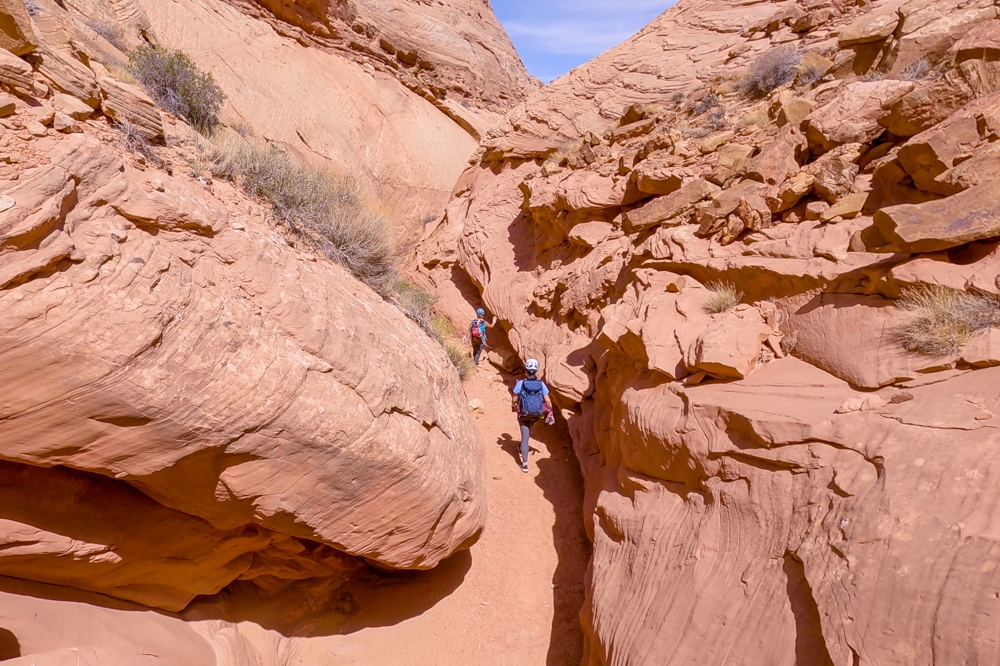
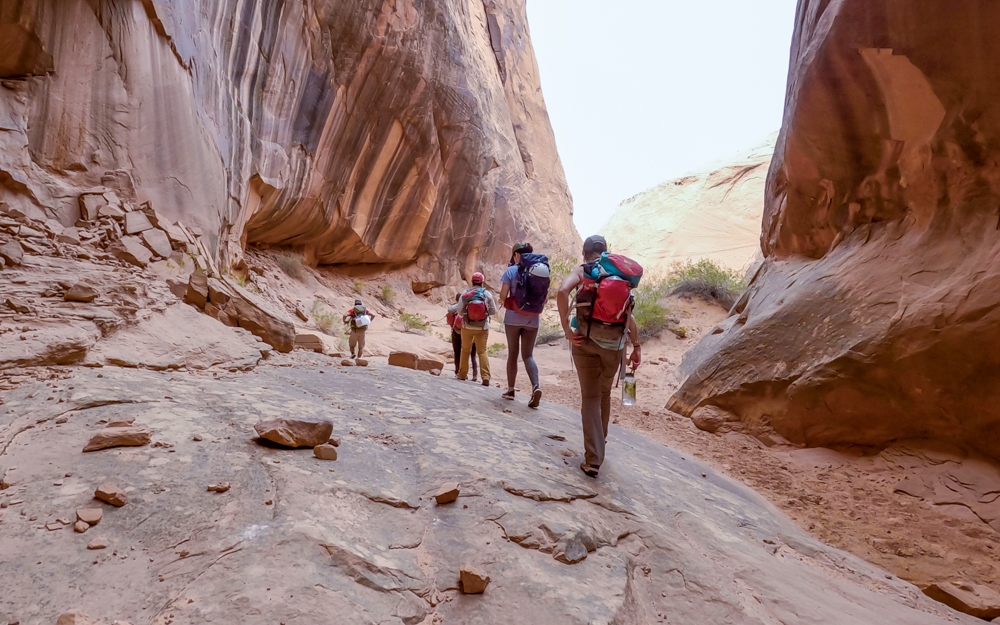
The Approach
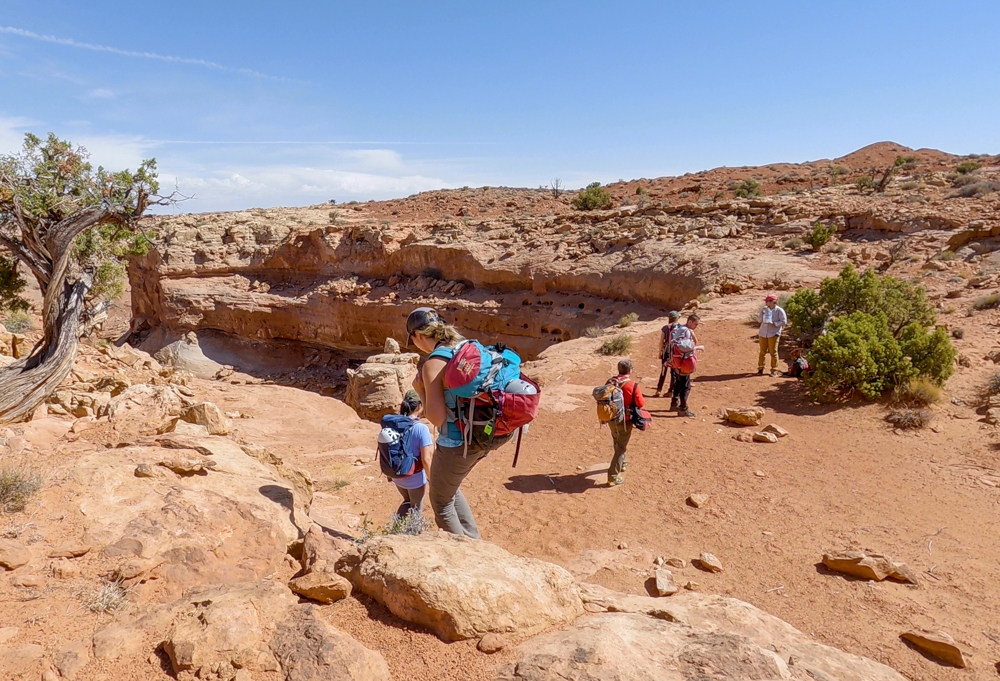
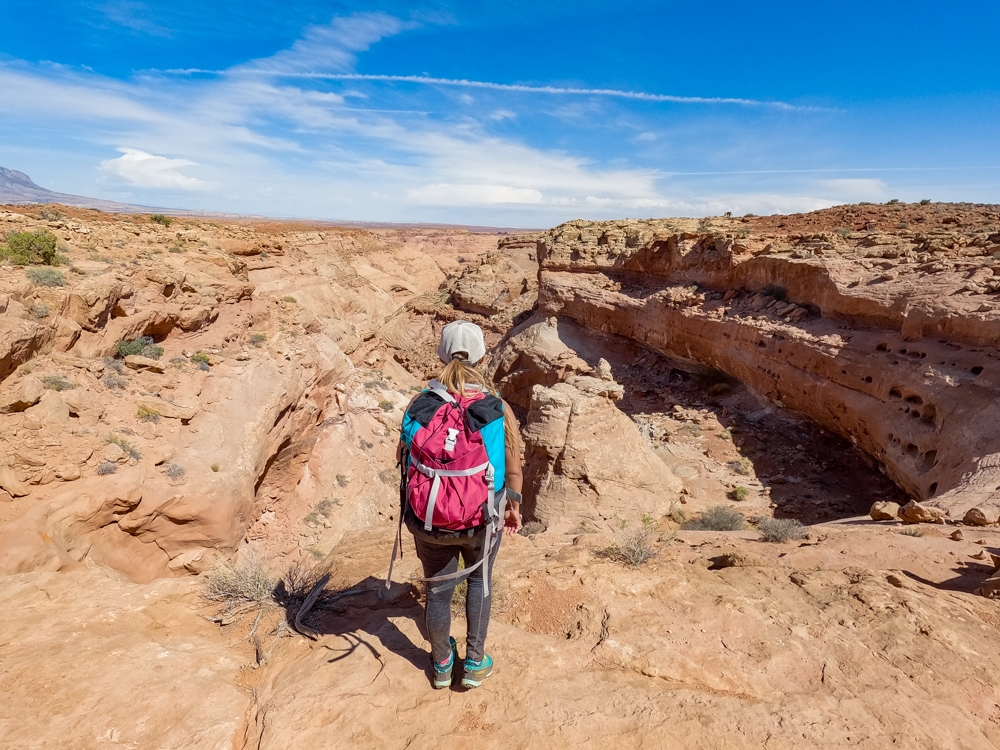
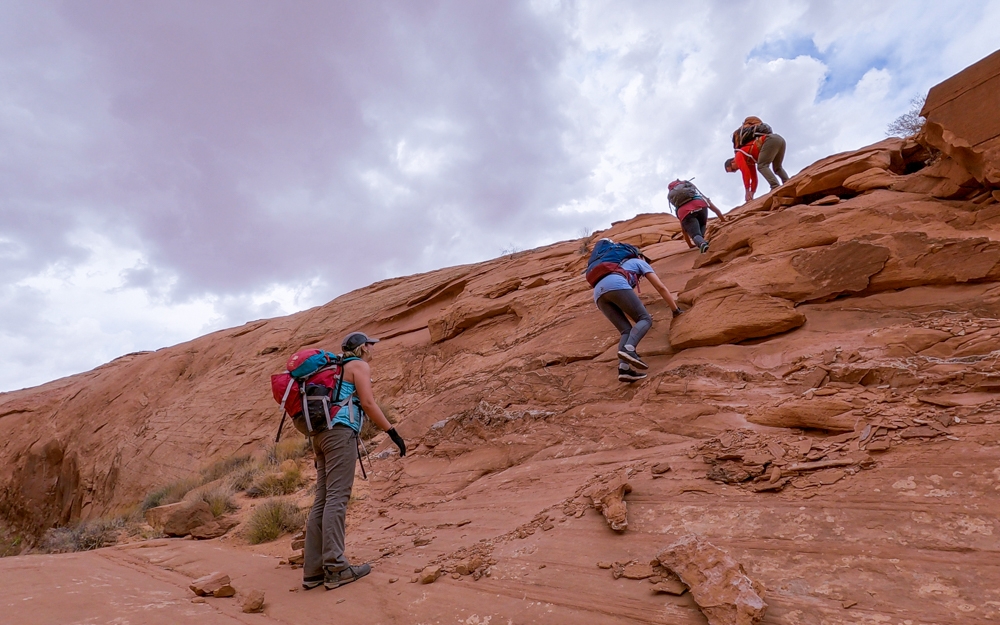
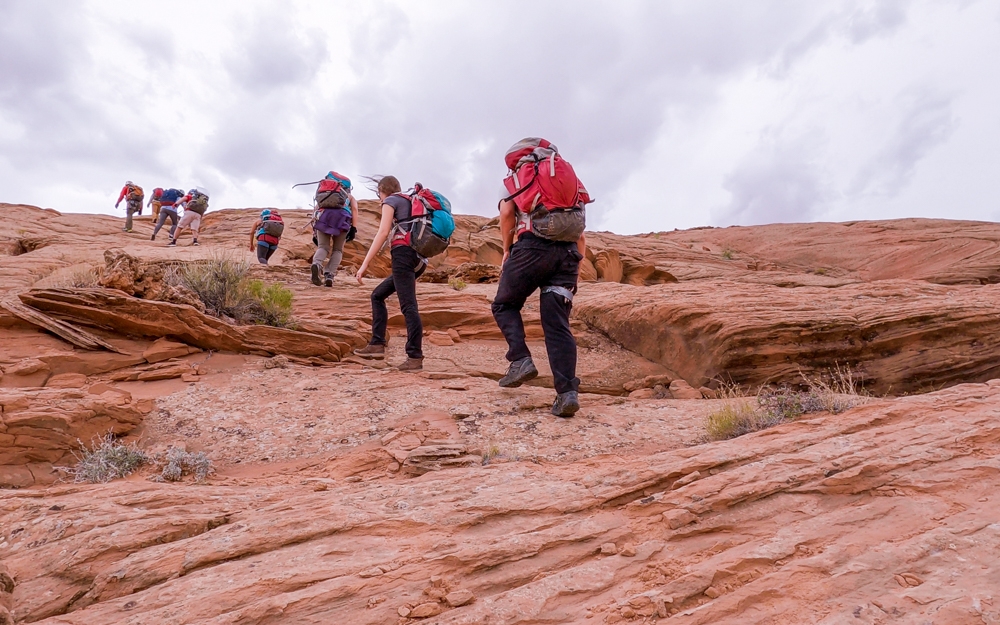
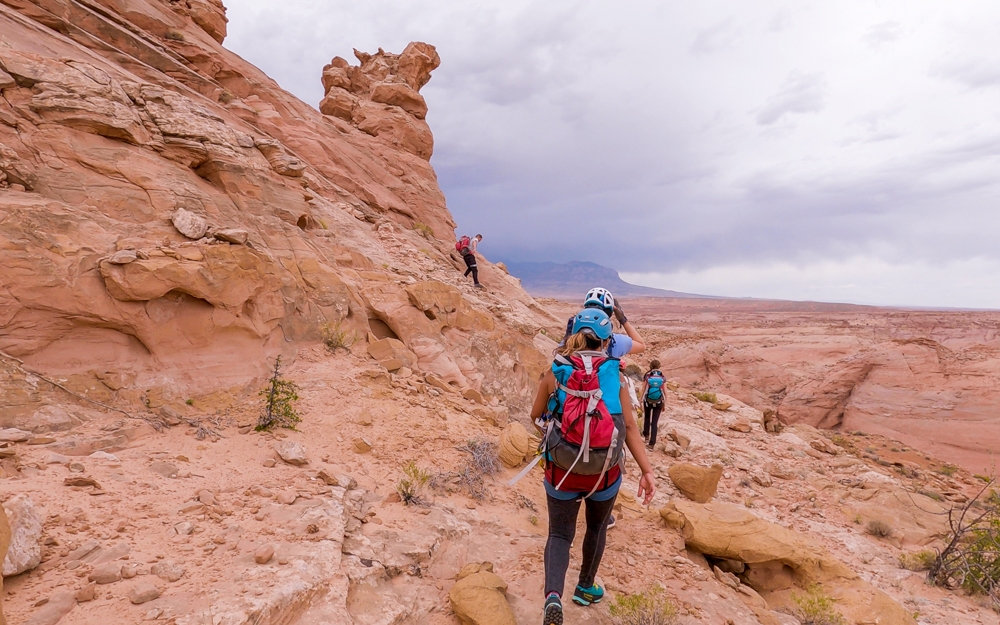
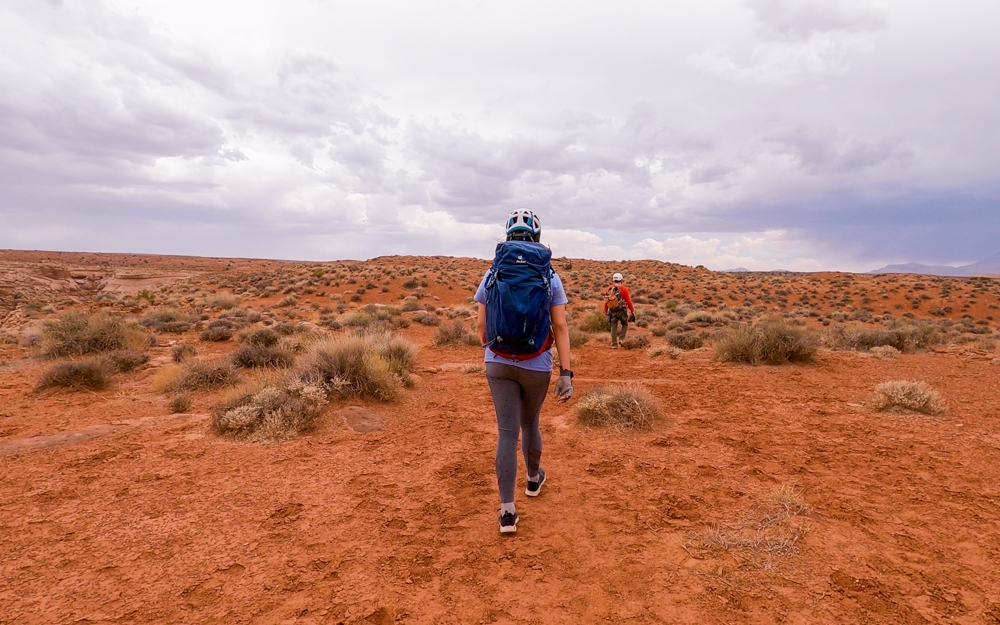
The approach for Slideanide Canyon is quite easy. It is about 1.4 miles. From where you park, go northeast across the open desert. Keep in mind, there aren’t really actual trails here. You pretty much just find the best route to get to the start of the canyon. So, it is helpful if you use a GPS, or map and a compass to guide your way. There are multiple ways to get to the start of the canyon. Please make sure to use the coordinates above as a guide so you don’t go to the wrong canyon. Along the way, you’ll drop in and out of the drainages and eventually up on a hill where you’ll veer right to go over the rim of Slideanide Canyon. From here, it is about 80ft drop into a large deep slot.
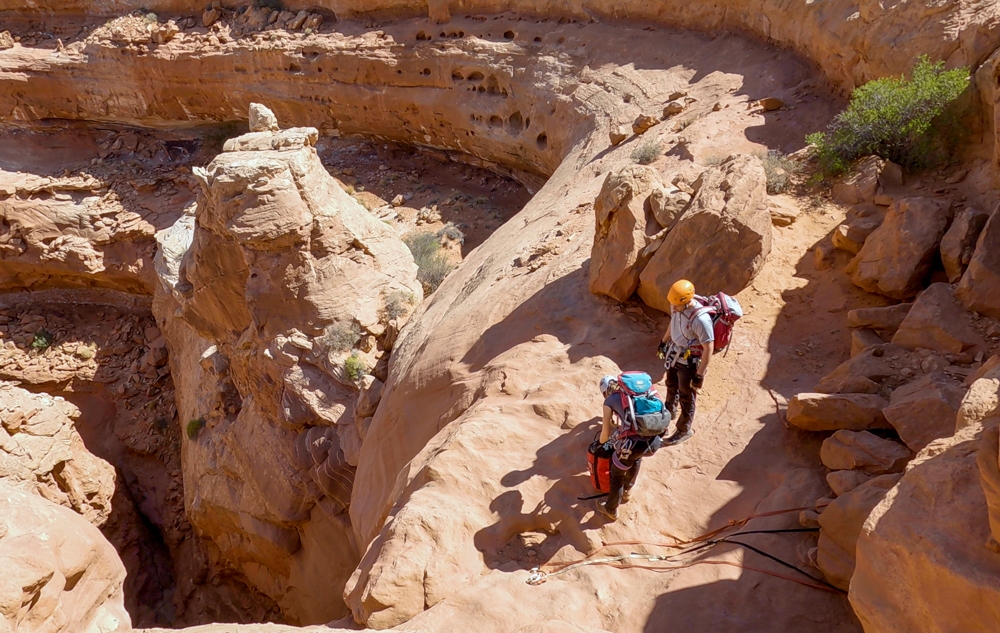
Technical Section
Note: The conditions of Slideanide Canyon are ever-changing depending on the seasons or how much water it has. You will need to adapt or adjust your route accordingly.
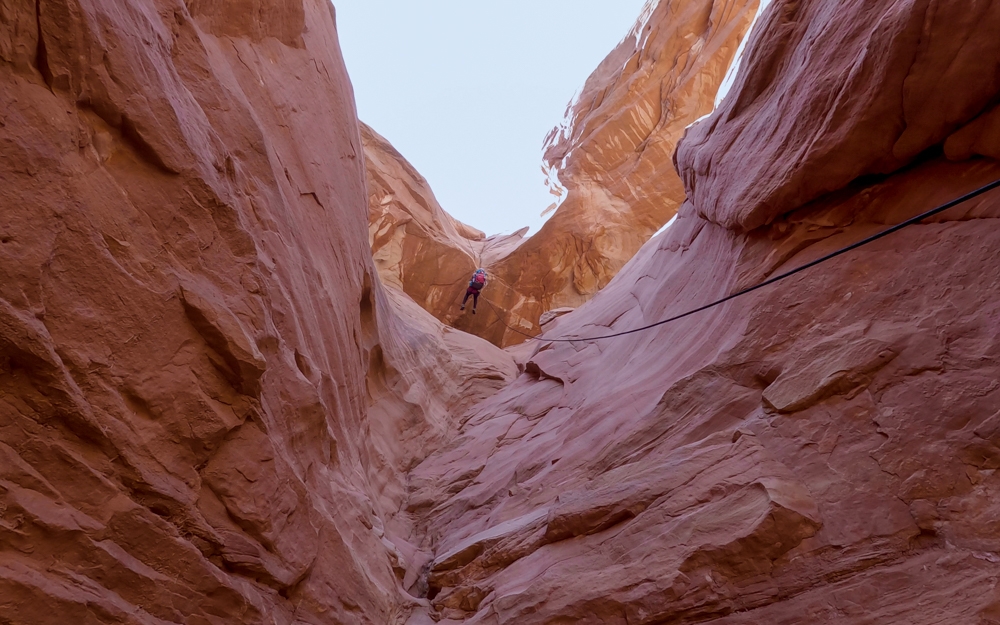
Rappel 1 (Could Be Optional)
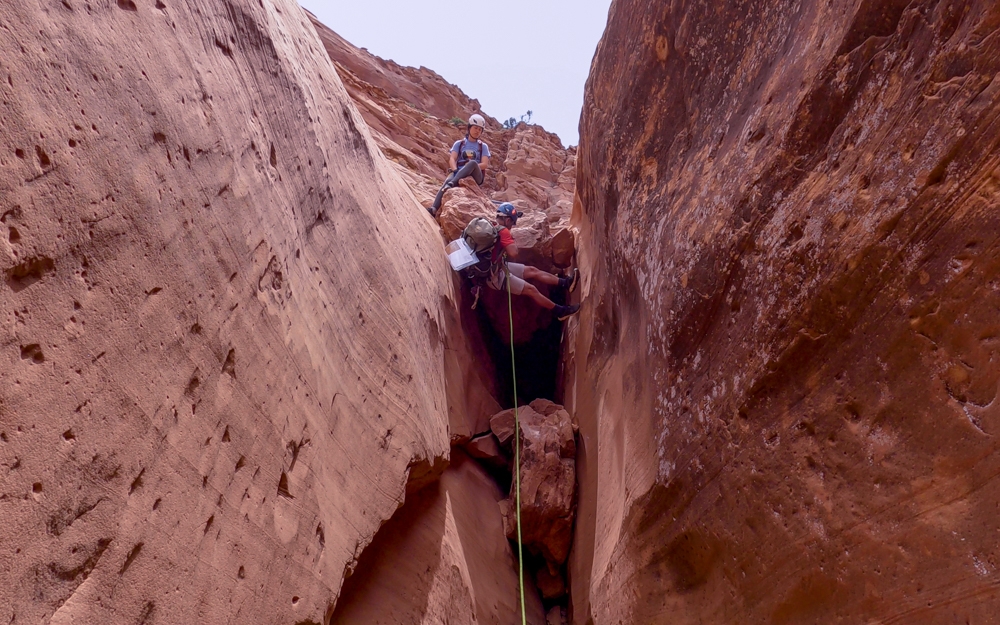
Rappel 1 is right at the head of Slideanide Canyon. To get to the anchor for rappel 1, you’ll need to climb down about 8ft to a shelf. There is an easy route LDC. Once we climbed down to the shelf, the anchor was tied to a large rock, about 8ft back from the drop. It is about an 80ft drop down to the canyon wall. This rappel is down a slightly sloped wall with a short, 15ft free hang section about halfway down.
Apparently, you can bypass this Rappel 1 by going around the rim, RDC side. There should be a ravine about 150ft from rappel 1 where you can scramble down to the canyon floor. Since we brought enough rope, it was easier and more fun for us to just rappel down instead of finding the bypass. Therefore, we don’t have to exact beta for the bypass.
To the Elevator Section
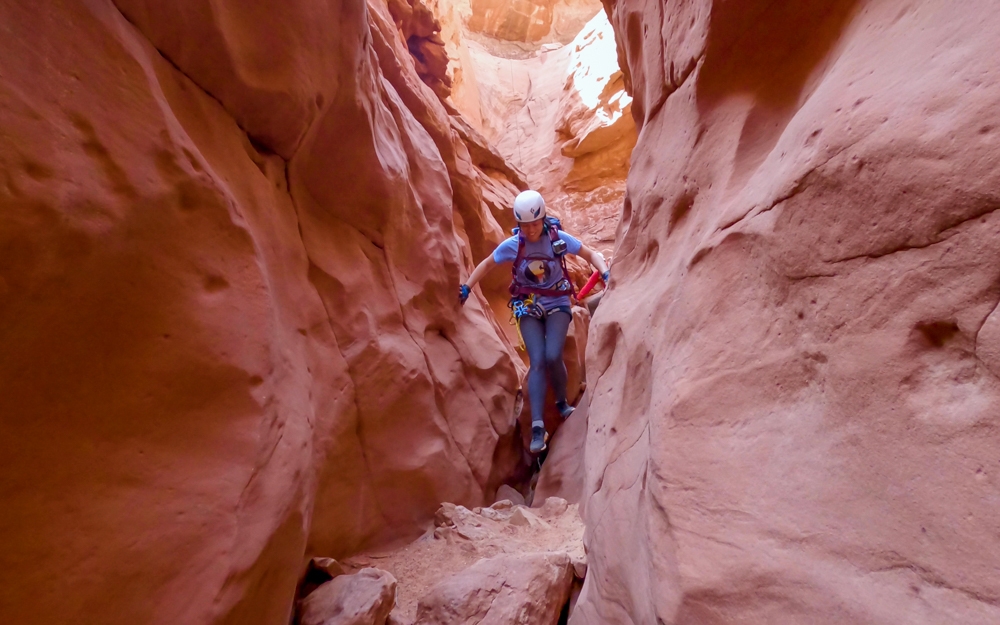
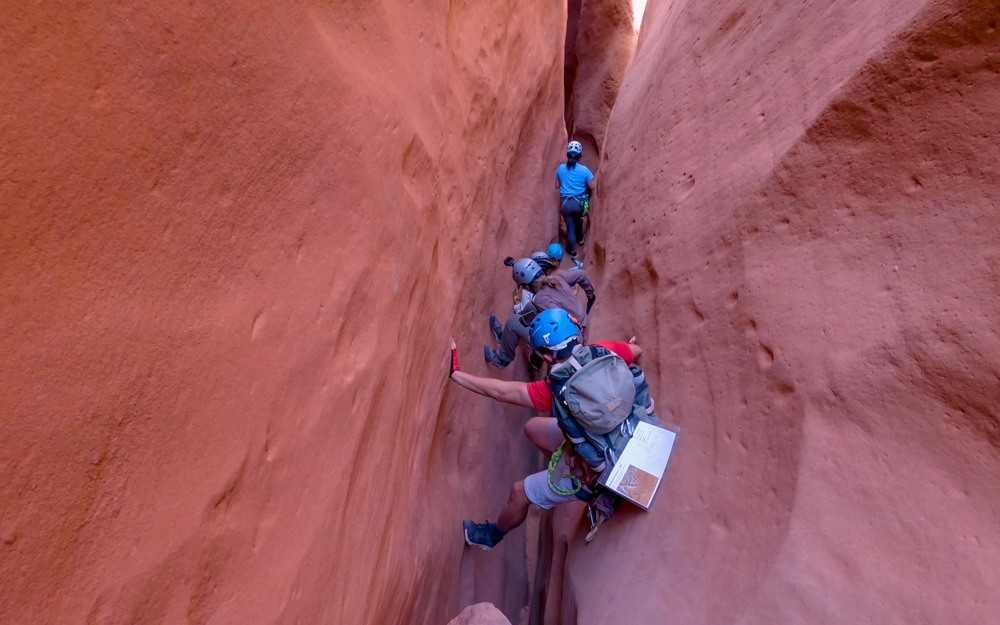
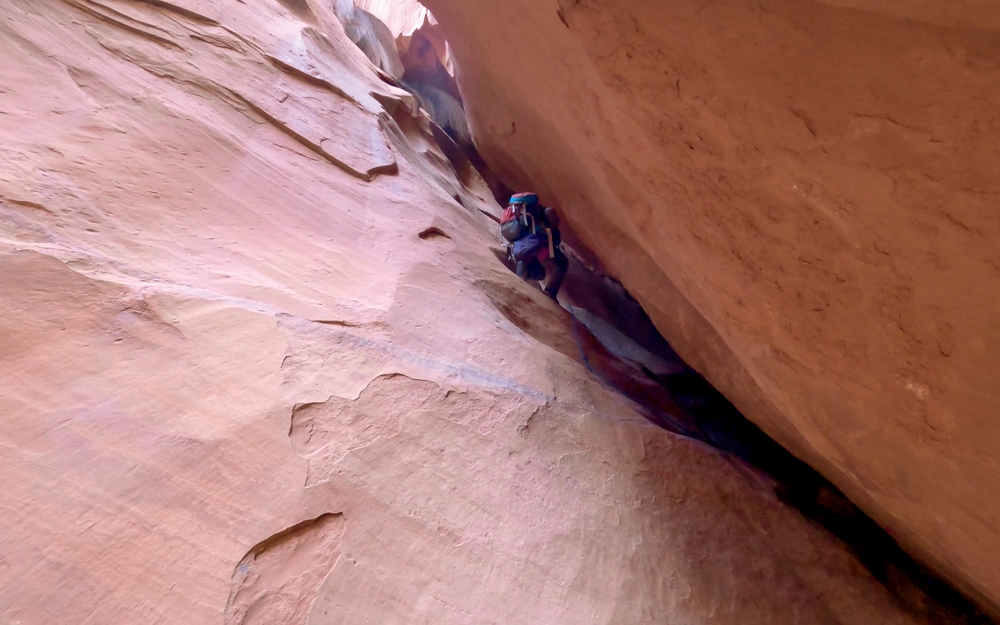
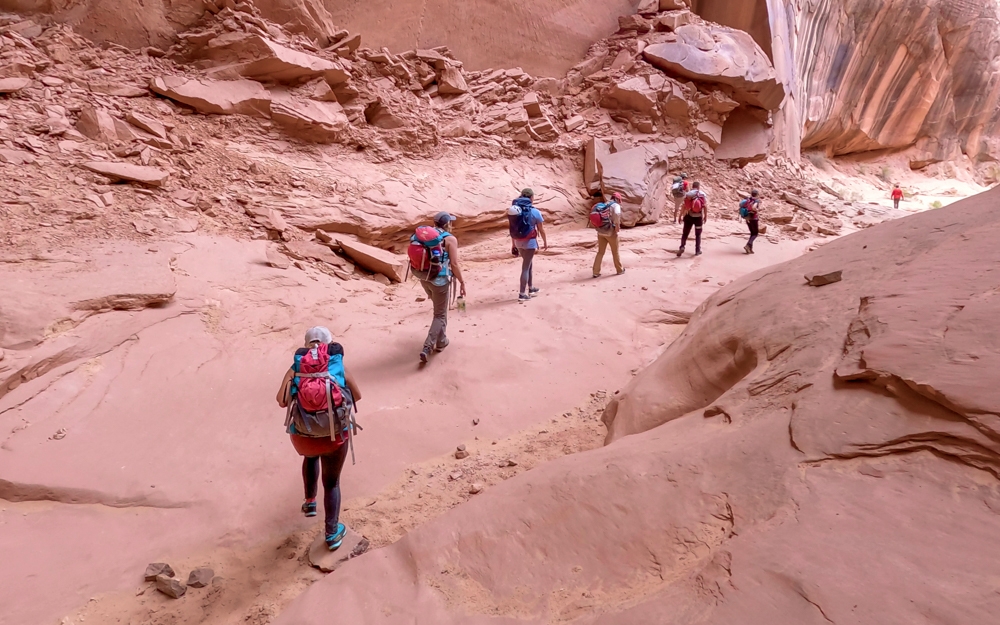
After rappel 1, we made our way down a series of sandy washes and short downclimbs. Depending on when you go, there might be a few shallow pools that you can stem over. Fortunately for us, the whole canyon was very dry when we went. As we proceeded further, the canyon walls became narrower and narrower.
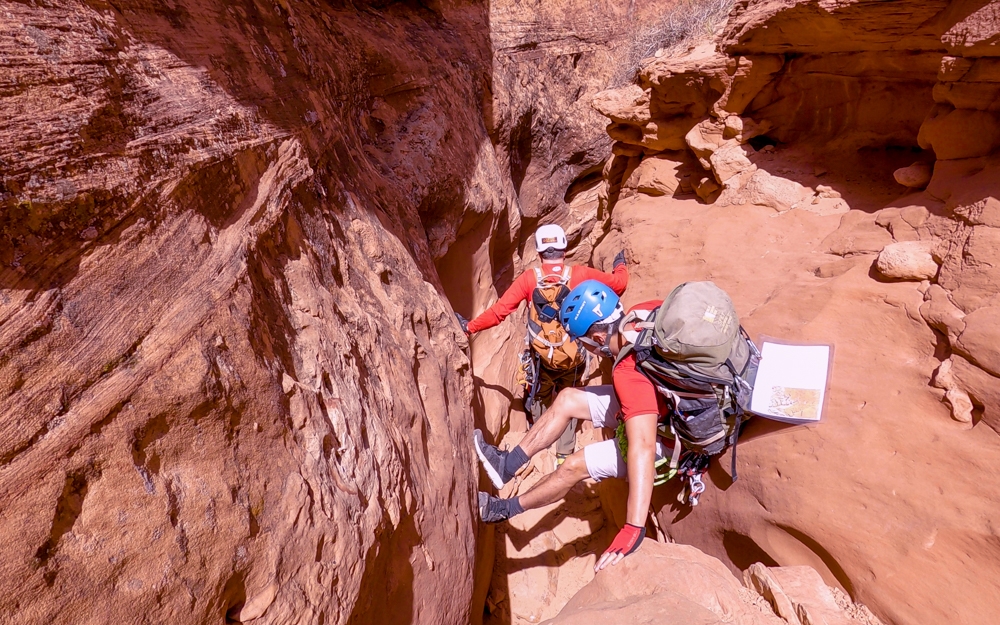
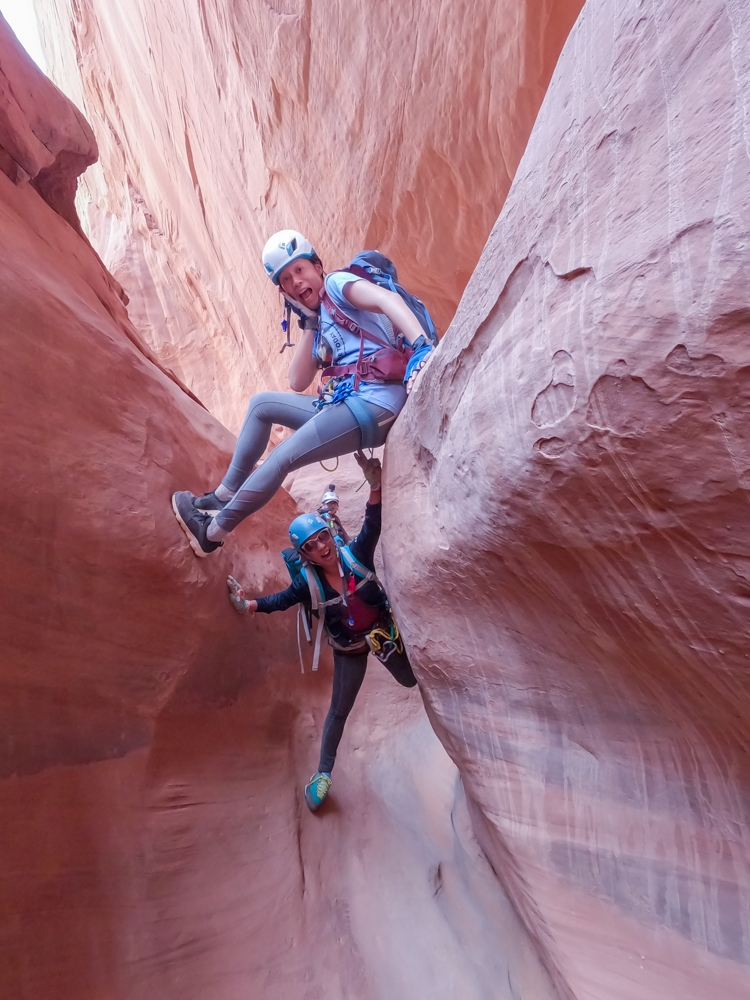
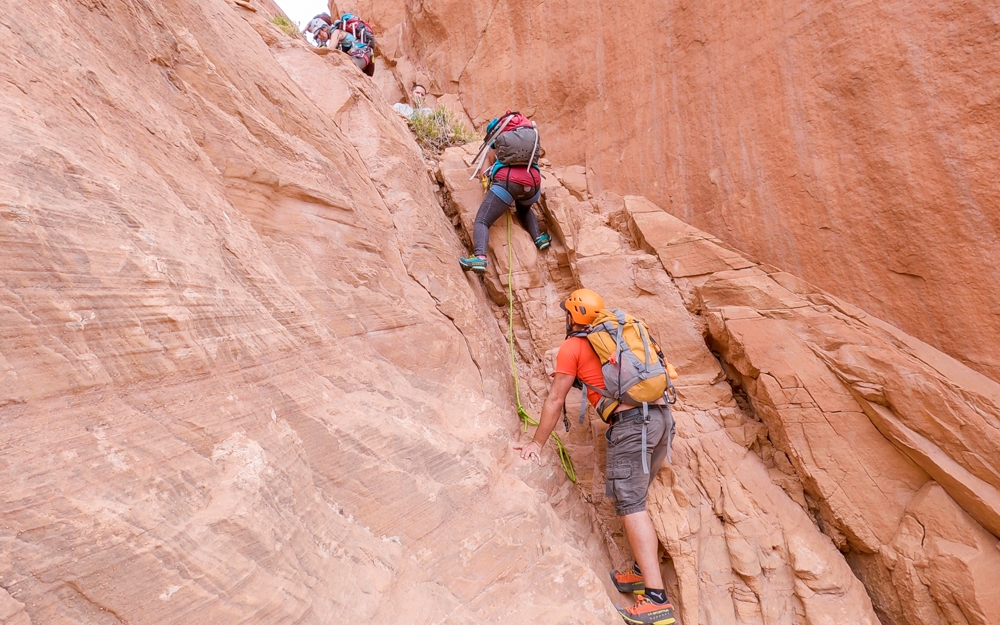
About 400ft from rappel 1, we came to our first significant downclimb, about 25 ft. This was the first time that Dustin and I had to downclimb by stemming down such a length. It was hard for a bit in the beginning, but we quickly grasped the concept of pushing into the walls for friction. With his climbing background, Dustin was struggling a bit harder than I was because he kept trying to find something to grab onto. Once we figured out how it works, Slideanine became my favorite canyon of the trip.
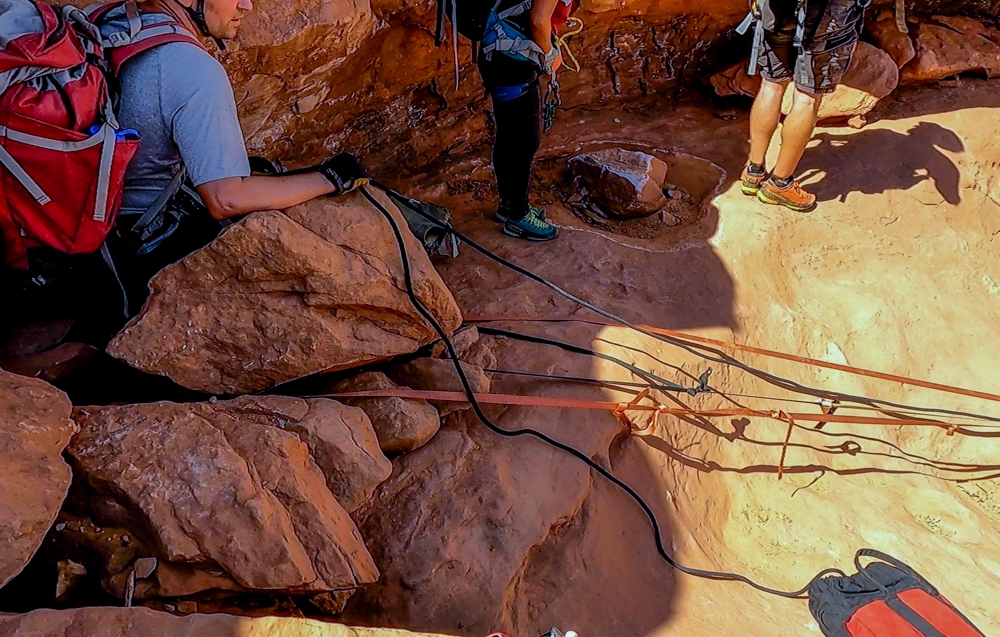
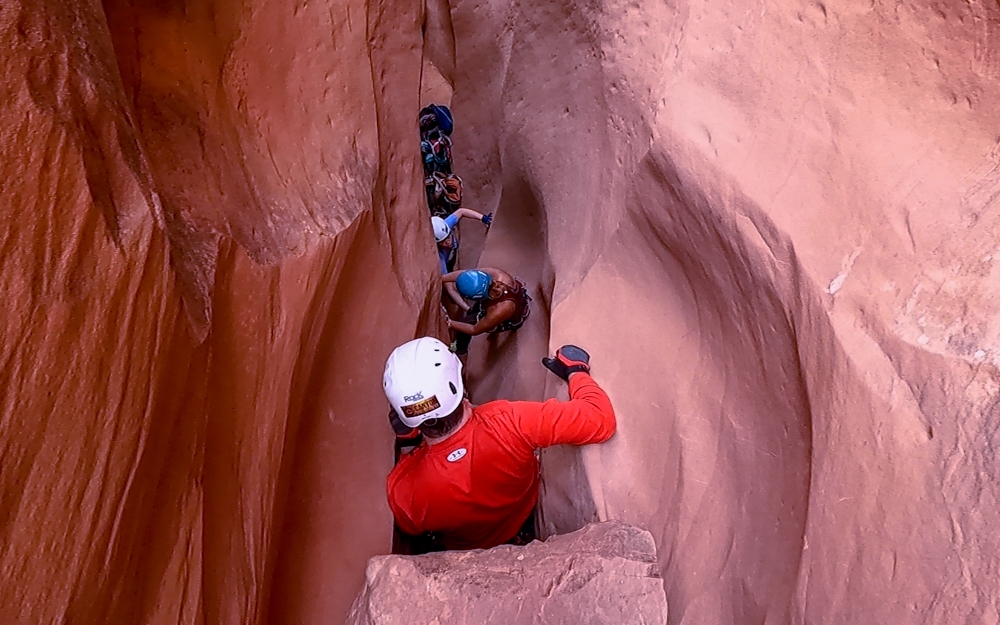
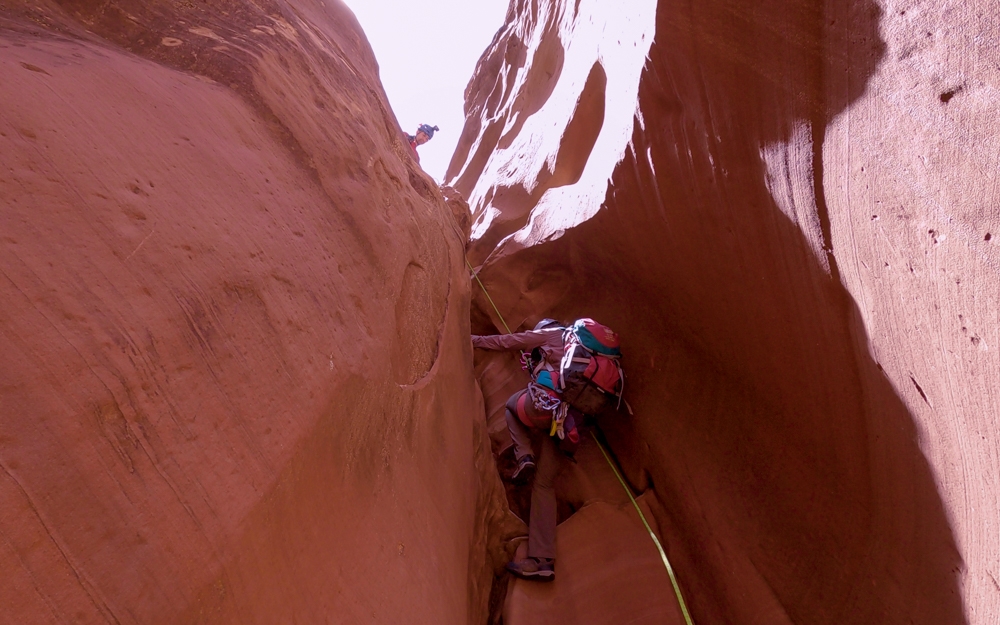
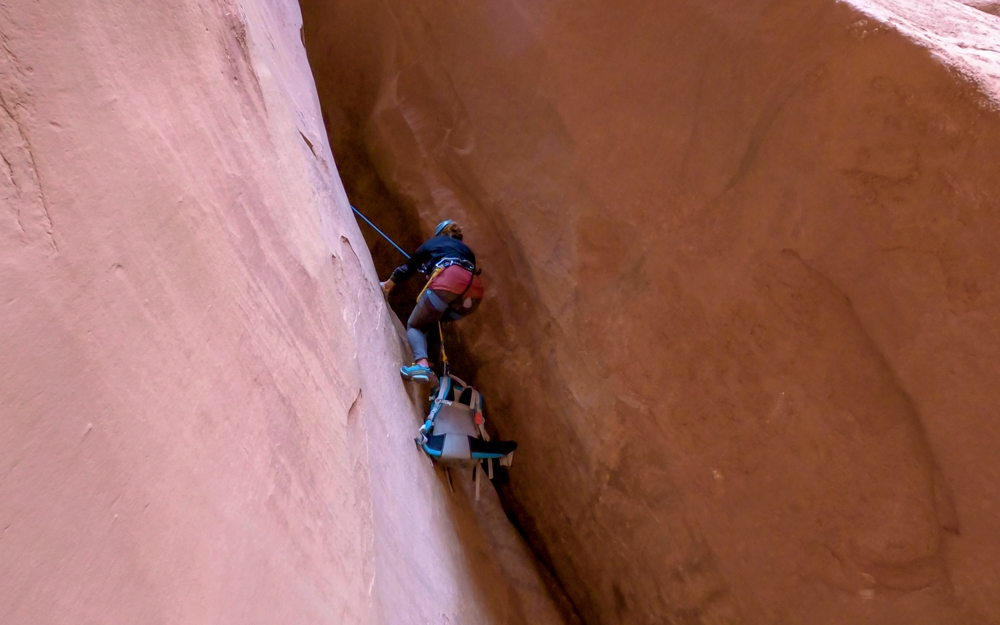
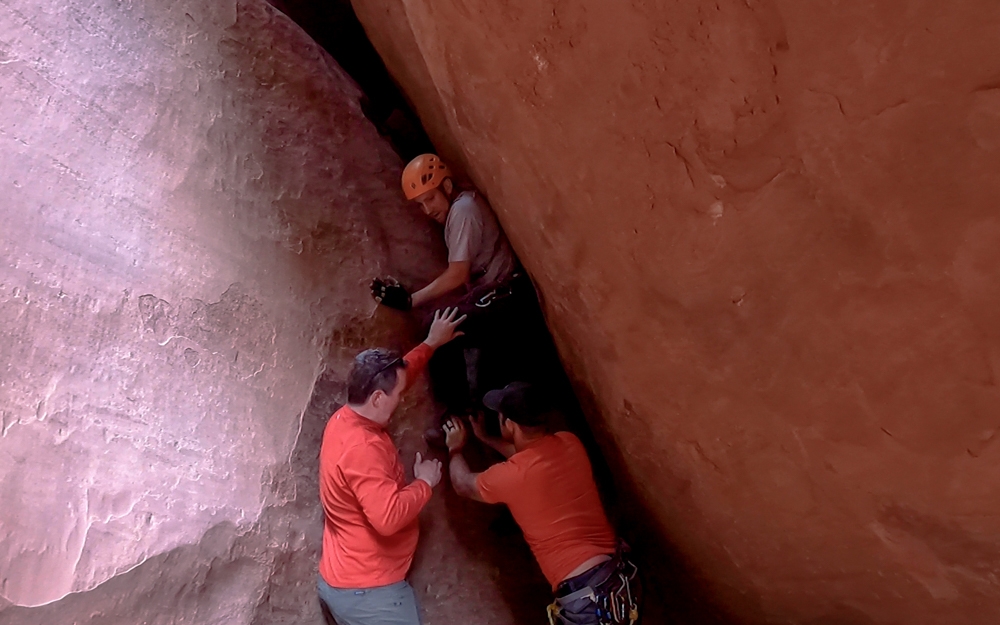
There are a few more sizable downclimbs as we go further down. A lot of these have webbing at the beginning so if you’re not sure, you can either rappel down or use a hand line. If there is no webbing, you can also rig your own. There are tons of natural anchors that can be used. Also, this is a good place for partner assists, especially when going with less experienced canyoneers. The more experienced canyoneers downclimb most of these sections, however, we rappelled down a couple of these downclimb sections. In one of these sections (rappel 3), it is down 2 big chockstones, about 20ft or so. The walls were a lot wider apart at the top, which made it harder on shorter canyoneers in our group to downclimb so we decided to rappel down.
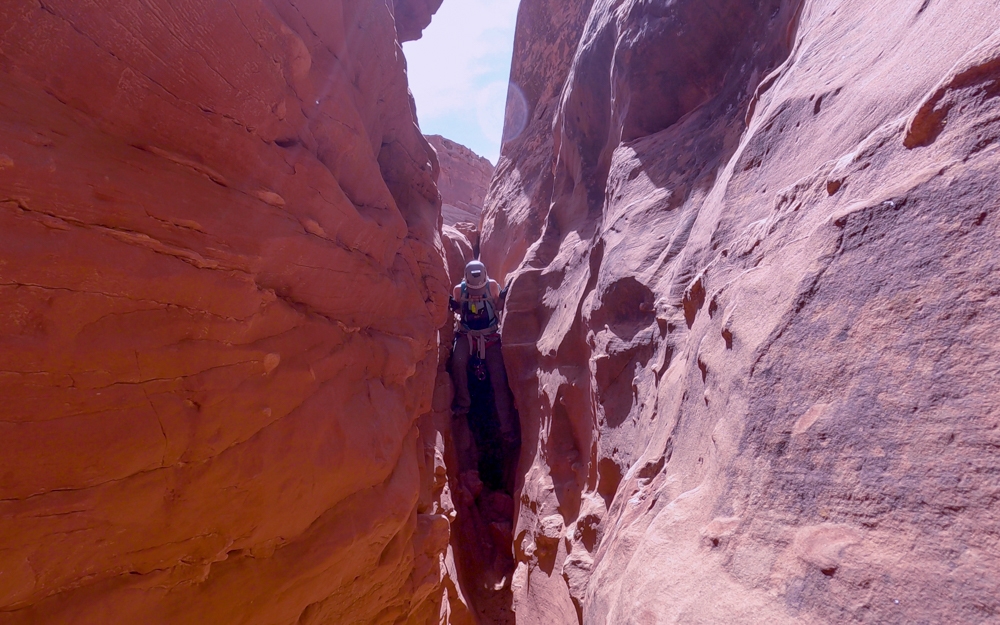
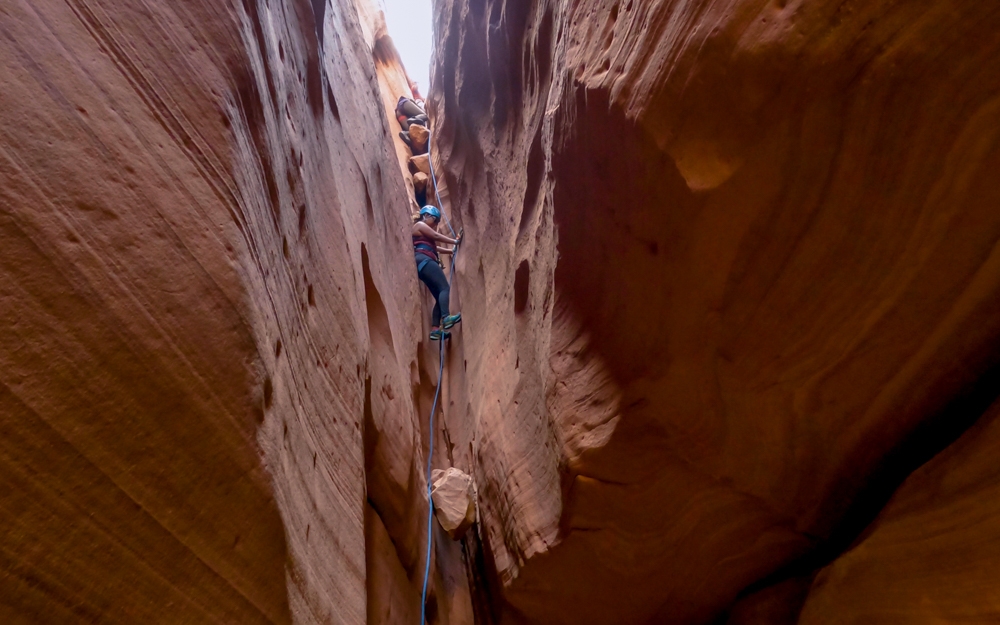
The Elevator Section
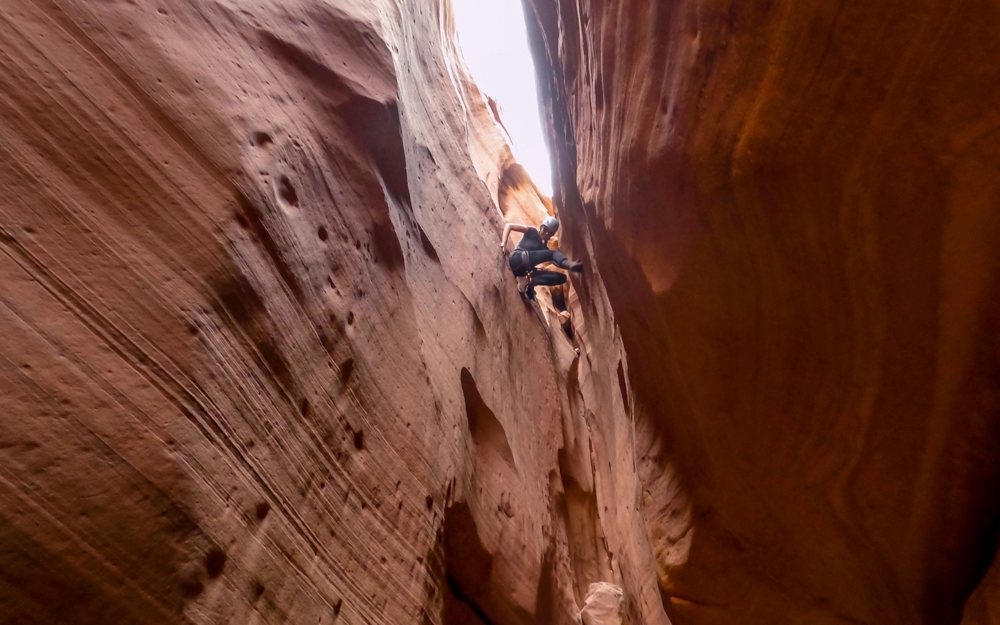
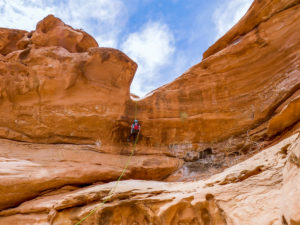
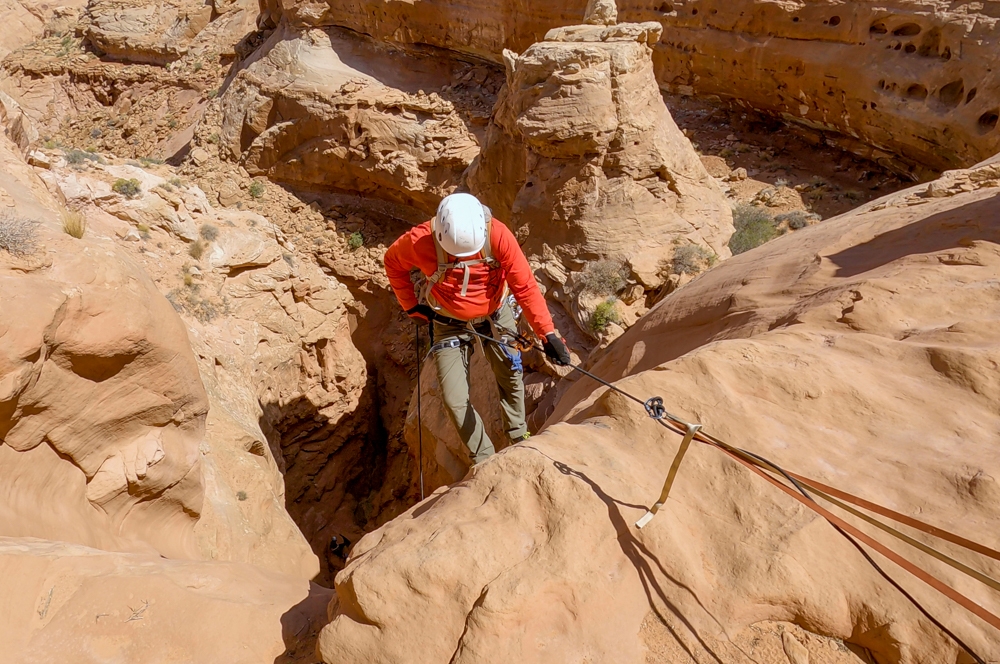
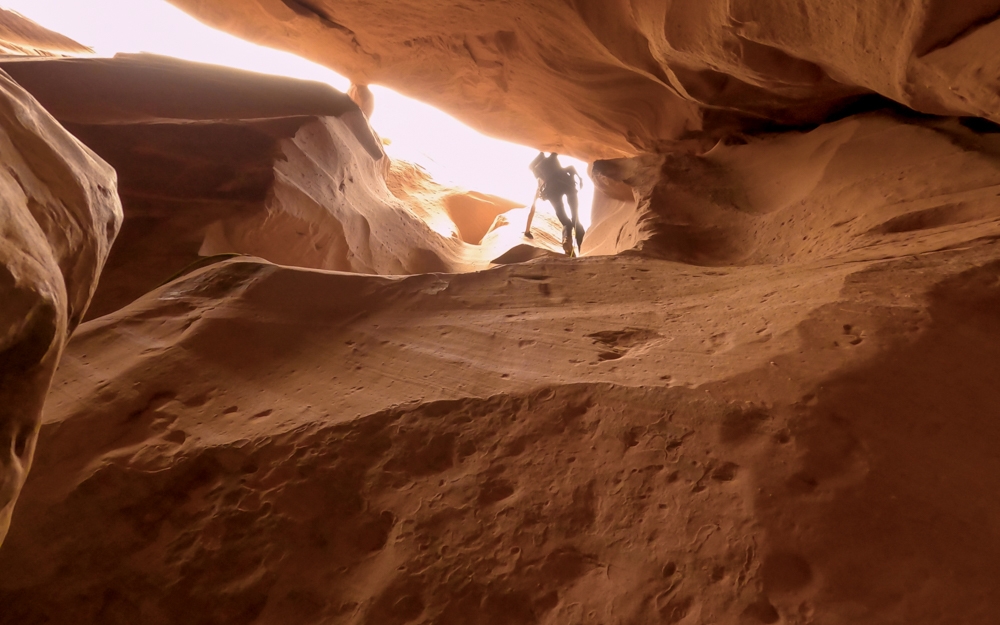
After this downclimb, we began into a long narrow slot, over 300ft long. This section is where Slideanide (Slide + Cyanide) Canyon gets its name. The narrow slot descends over several drops. These drops are elevator styled. They can be downclimbed by sliding down while pushing against the wall for friction. Again, if you’re not sure, there are natural anchors here to rig your rappels.
This section can be quite intimidating if you’re not used to downclimbing. As for us, we used a handline as a safety precaution. It helps that the canyon walls are quite narrow. Unfortunately, that means we have to either zipline or throw our bags before stemming down. I really enjoy this section, however, it wasn’t Dustin’s favorite at all. During the rainy season, there might be a couple of pools at the end of this slot. These pools can be chest deep or possibly a swimmer.
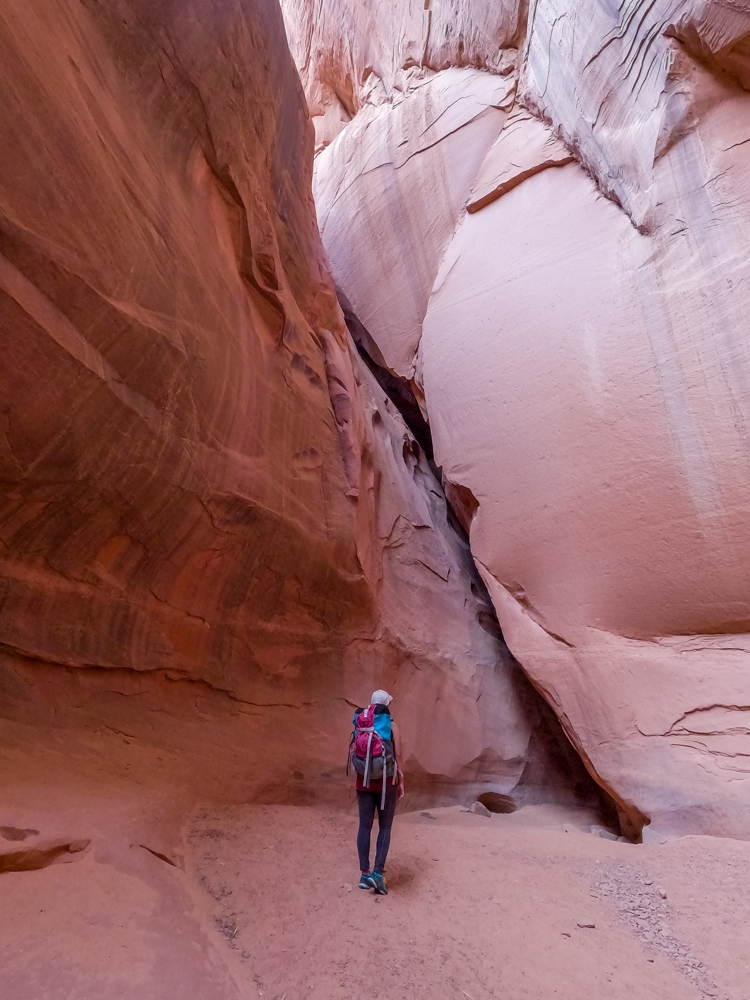
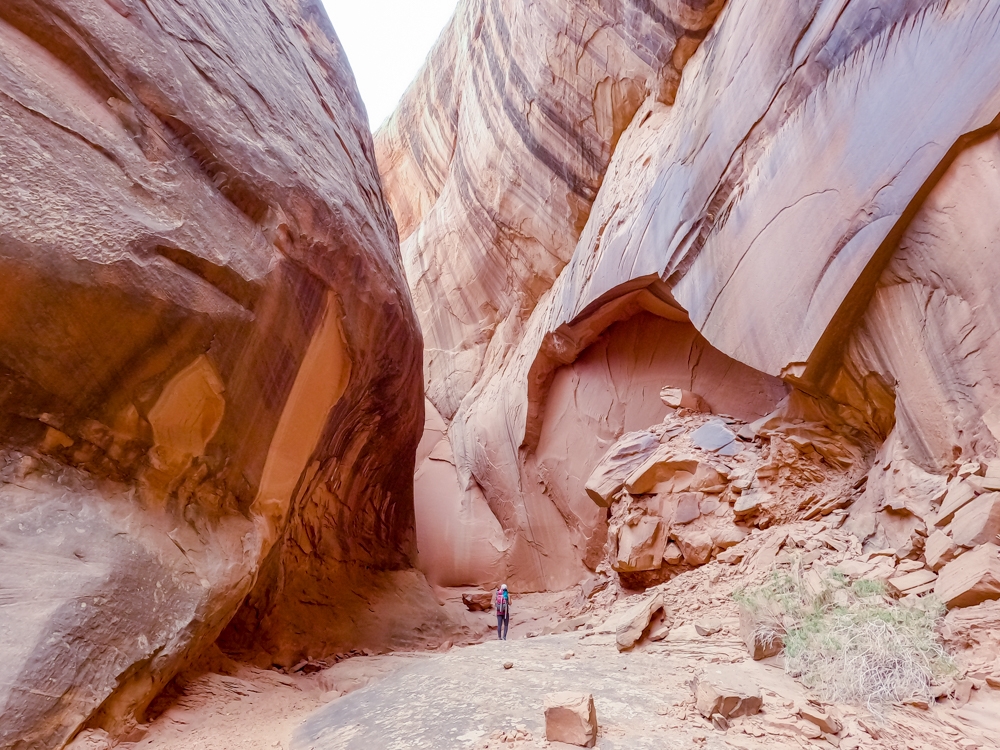
The Curved Walls Section
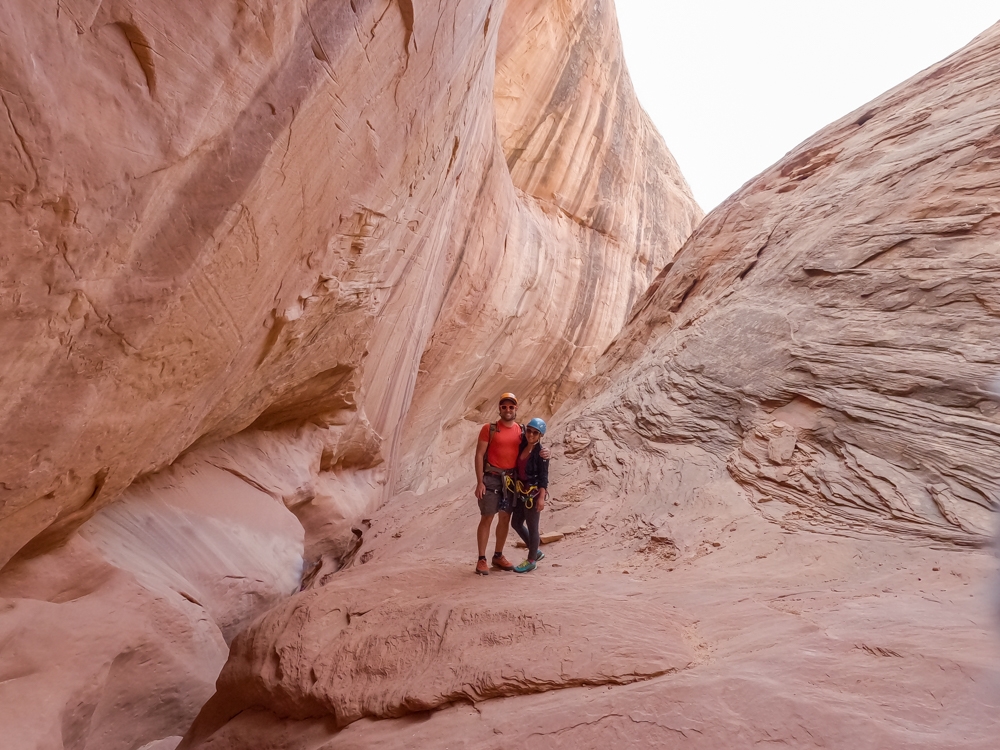
After the pools, there is another downclimb to a few possible pools, some of which can be a swimmer when full. Luckily, we didn’t encounter any water. As we curved around the corner, we came up to an open area. This area is super beautiful. The canyon is made up of stunning tall striped walls. The walls curved around to give an illusion for a conch shell. Of course, we had to stop and take photos.
The First Part of the Last Rappel
After taking our share of photos, we went left to climb down into the start of the slot where the last rappel is. This slot is quite unique. It also kind of resembles a corkscrew or a conch shell as it twists in the middle. The last rappel on Slideanide Canyon is divided into 2 sections. The first section is down an angled slab, about halfway, to a platform. Here, you can find the anchor for the second section. We rappelled down the first section because the rock looked a bit too slippery to downclimb. I know some people downclimb this part. The platform at the second section can get a little dark. It helps if you bring a headlight.
The Second Part of the Last Rappel
The second section of the rappel can be tricky. It was quite awkward in the beginning as you either have to climb over an overhanging boulder or squeeze yourself underneath. Once you get over/out under the boulder, the floor slopes down through a crack and then opens up to an almost vertical wall of about 8ft. The first part of the second section can be climbed quite easily, however, the last 8ft can be tricky. Most of us rappelled down. However, Kelly, the beast in our group, downclimbed this section to make sure our rope didn’t get stuck. But instead of sliding down that last 8ft as some other people recommended, we partner-assisted him down. Even though the 8ft slide down didn’t seem like a big deal, we rather Kelly didn’t sprain his ankles or worse.
This last rappel concludes the technical section for Slideanine Canyon. It was pretty cool to look back at the last drop that we just did. It literally is a crack in the canyon wall. Who would have thought we would rappel inside that crack!
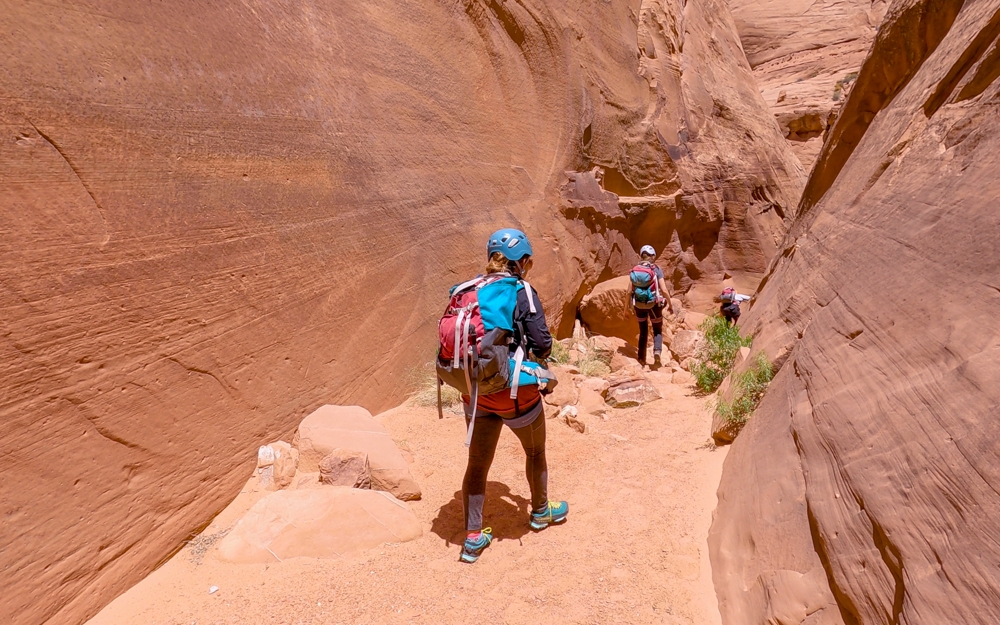
The Exit
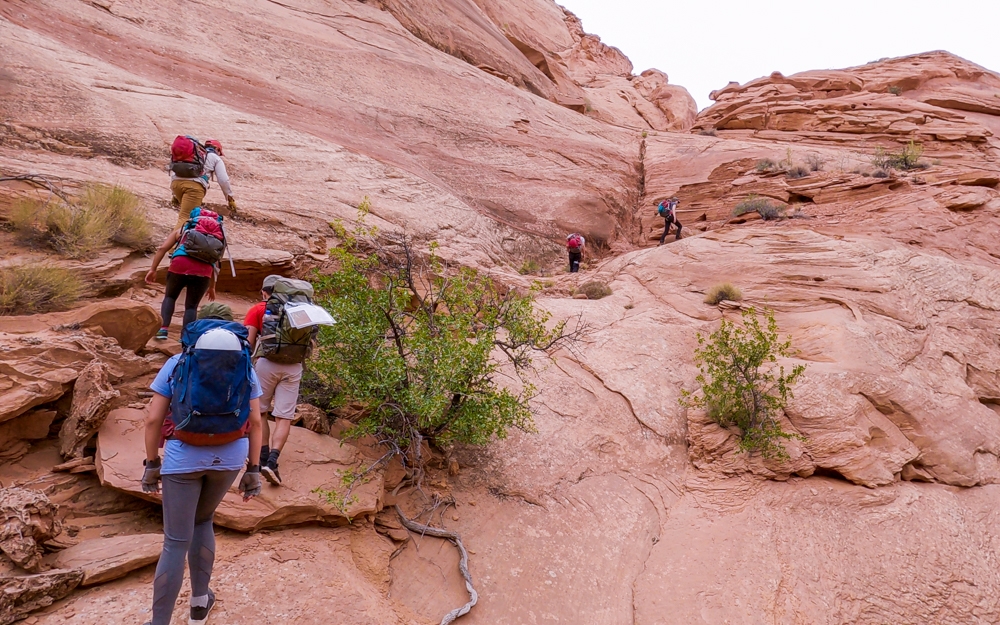
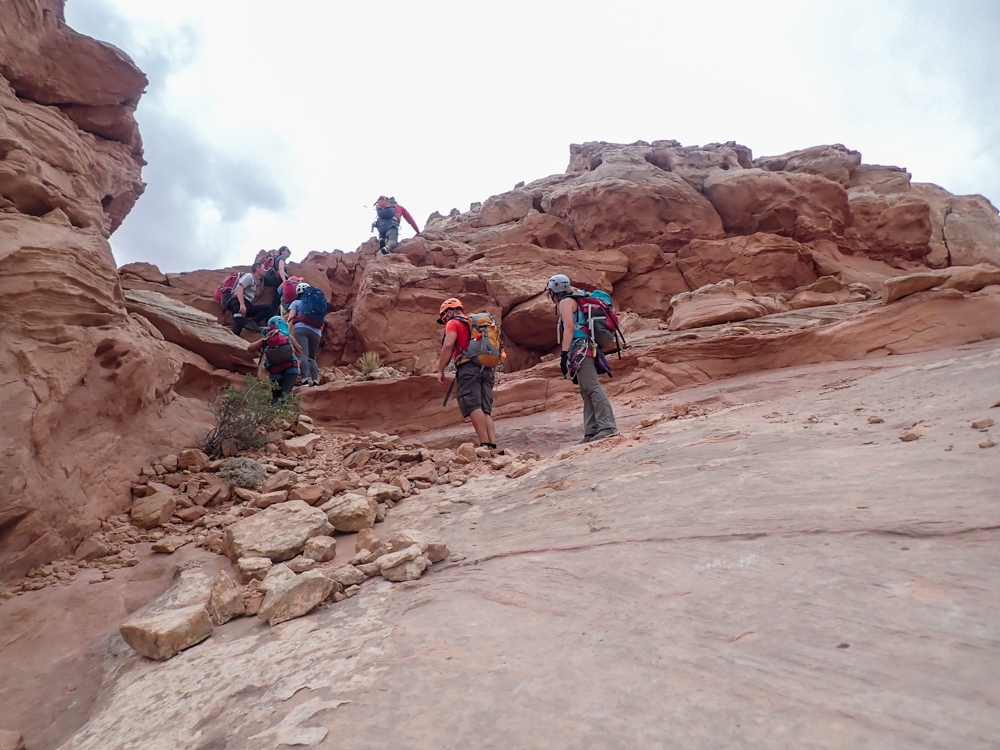
Once we got out from the last rappel, the canyon slowly opened up. We can see the sky in the middle of the tall, curved canyon walls. It was quite a beautiful spot. We took a quick break to put our gear away and to duct-taped up our now torned wardrobe. After we were done, we followed the sandy wash to go out. From here, there are two ways to exit Slideanine Canyon. The Climber Exit is 0.5 miles shorter, however, it is quite steep, with one class 4 scrambling section with exposure. The Regular Exit is easier scrambling but it is longer.
Option 1: The Climber Exit
As soon as we got out to the open wash, the beautiful blue sky turned ominous. The clouds started to roll in. When we left for the canyon earlier in the day, there was 0% chance of rain in the forecast. However, the weather can change pretty quickly out here. So, we decided to take the Climber Exit so we can get to higher ground faster.
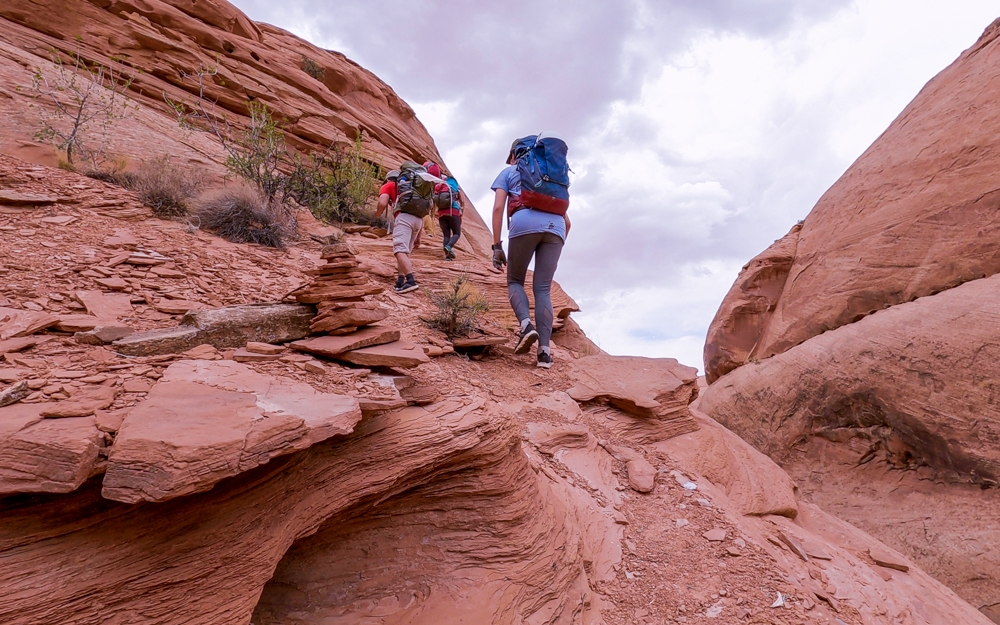
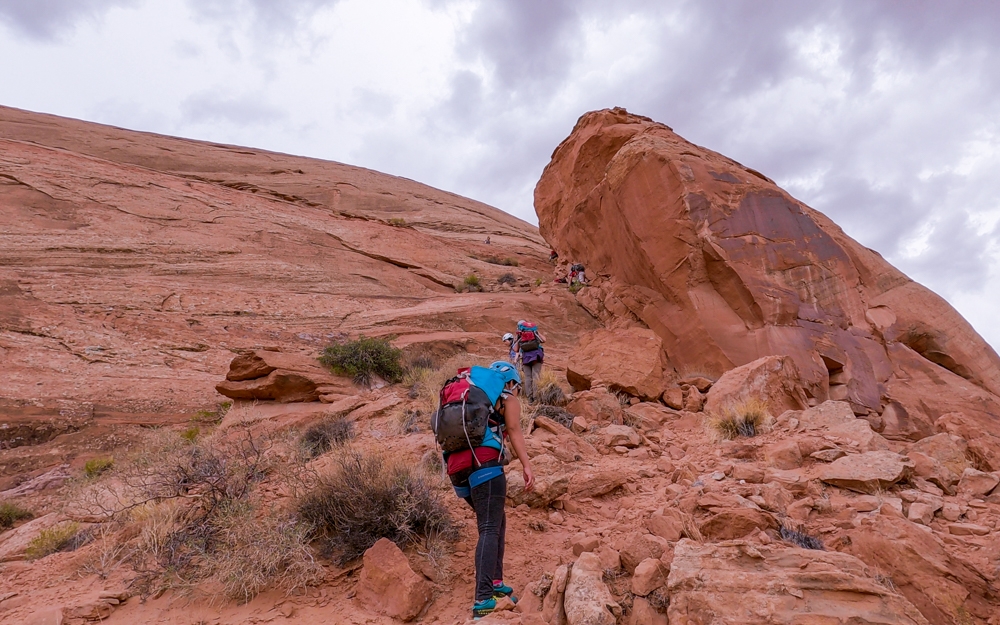
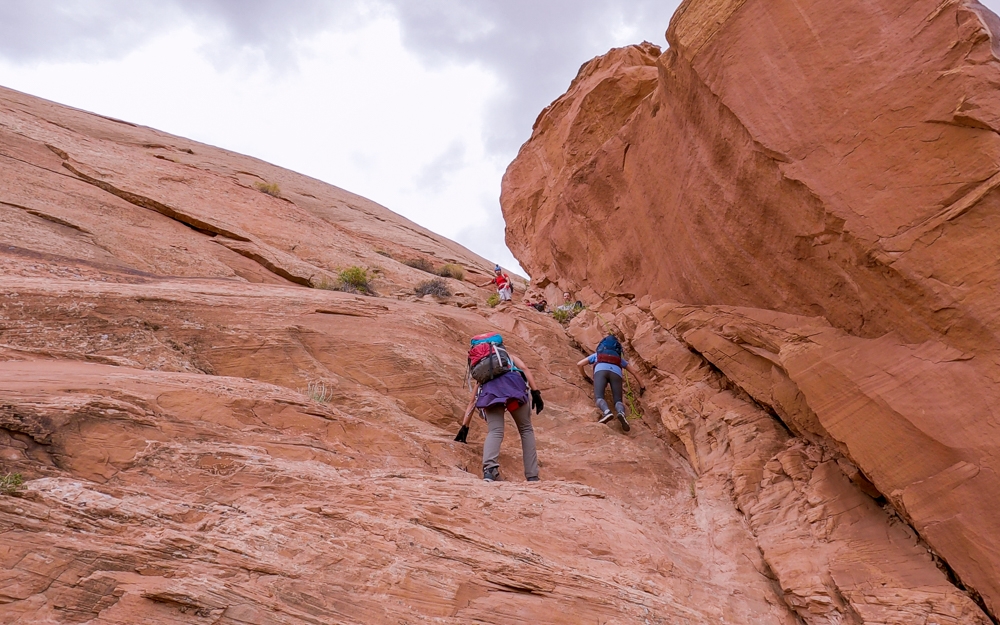
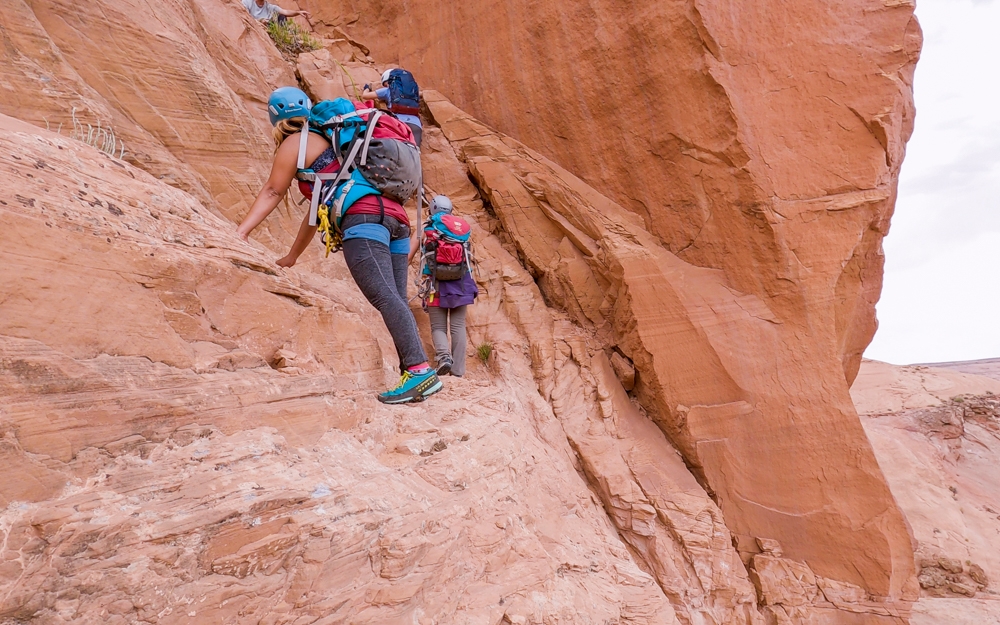
The start of the Climber Exit is across from the exit of Constrychnine Canyon. It is the first canyon on the right after the last rappel. We followed a ravine to scramble up the left (west) side of the canyon wall. After about 100ft up, we followed the ridge to the right (northeast side). There are rock cairns marking the way. It was a good decision to take this route because the wind started to pick up and we could feel raindrops on us. Once we got on top of the ridge, Danny pointed out to the chute on the left (west) side that we had to climb up.
Climbing up the chute is the most difficult part of the exit. There is one area that requires some climbing skills. It is also very exposed, which makes it a bit more intimidating. Kelly ended up running a handline for those of us that needed some extra help. We were thankful for the handline because a handhold broke off on Dustin as he climbed up. Luckily, he was able to grab the handline and was safe. Please be careful when climbing up this chute.
After the chute, we continued our way up to the top of the slick rock area. Once at the top, we found our way back to the start of Slideanine Canyon and back to the car.
Option 2: The Regular Exit
To take the regular exit, continue to go down the wash for about 0.26 of a mile. Keep going past 3 side canyons on the right (or until you reach a side canyon on your left). Just before this side canyon on the left, look for the start of a faint trail LDC that goes up the side of the canyon. From here, you can climb the slickrock to the rim. Depending on your group’s skill, you can find the best route to go up.
Once on the top, you can walk the rim back to the start of Slideanine Canyon and back to the car. To take the regular exit, continue to go down the wash for about 0.26 of a mile. Keep going past 3 side canyons on the right (or until you reach a side canyon on your left). Just before this side canyon on the left, look for the start of a faint trail LDC that goes up the side of the canyon. From here, you can climb the slickrock to the rim. Depending on your group’s skill, you can find the best route to go up. Once on the top, you can walk the rim back to the start of Slideanine Canyon and back to the car.
These are the gear that we personally use and find them helpful for this particular adventure. Don’t forget to check out our Recommended Gear section as well.
adventure gear
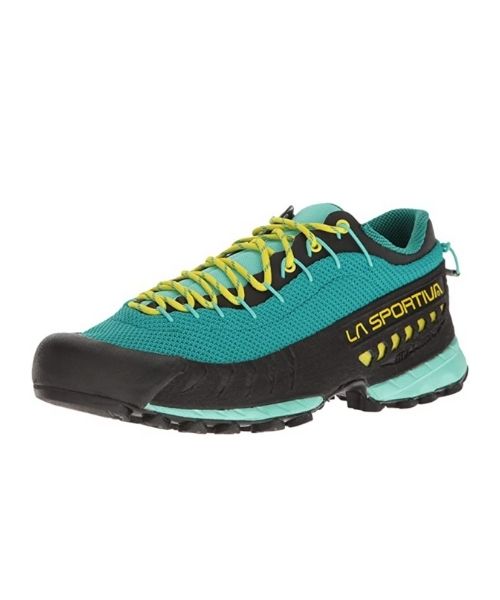
We love these La Sportiva TX3 approach shoes! They have pretty good traction on wet rocks and muddy areas. They also drain well, especially when you have to wade through water.

This is the male version of the La Sportiva TX3.
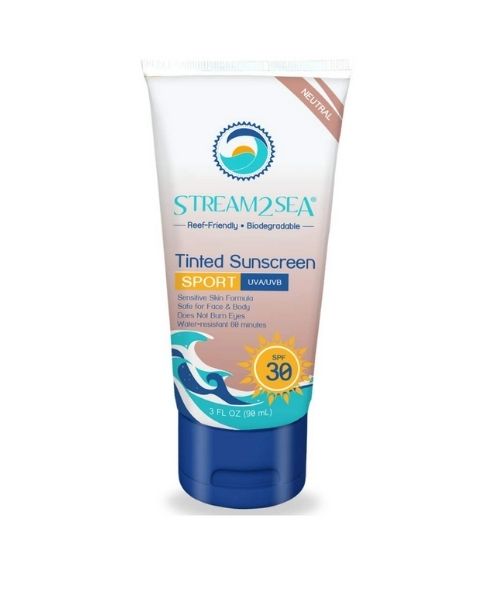
This will be a long day in the sun! We use eco-friendly, reef-safe sunscreen, Stream2Sea SPF 30.

Face sunscreen is also important. We love these tinted, organic All Good Organic Sunscreen Butter.
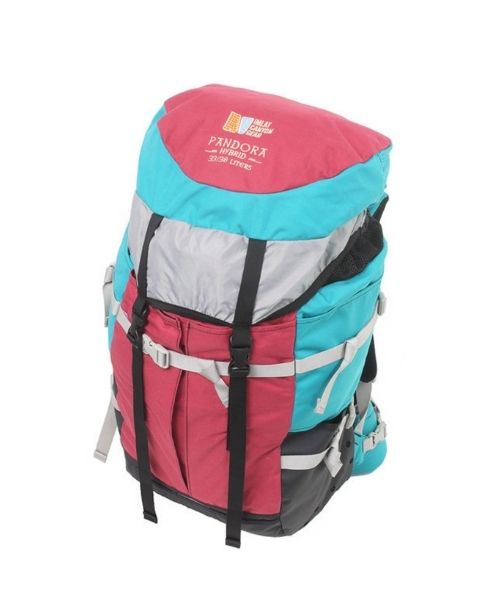
Canyoneering bags are essential, especially for wet canyon. This Imlay Pandora Bag not only has tons of drainage holes, it’s also very well-made. It’s also perfect for shorter people like Vy with heigh range from 5ft – 5ft 4
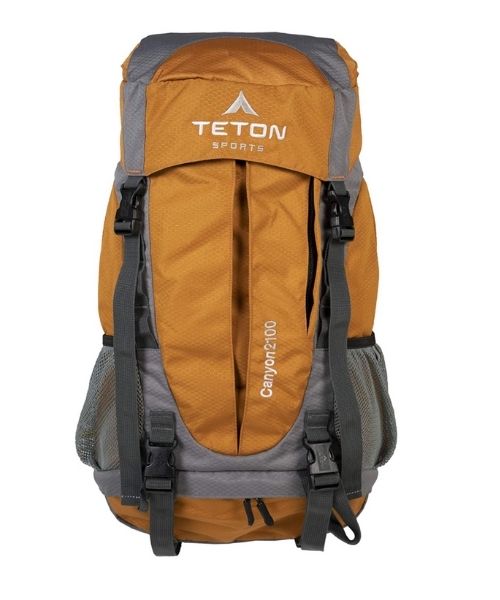
Teton Sport makes a pretty decent beginner canyoneering bag. It has a few drainage holes that will be useful for wet canyons. What we love about this bag is the price and the amount of pockets it has!
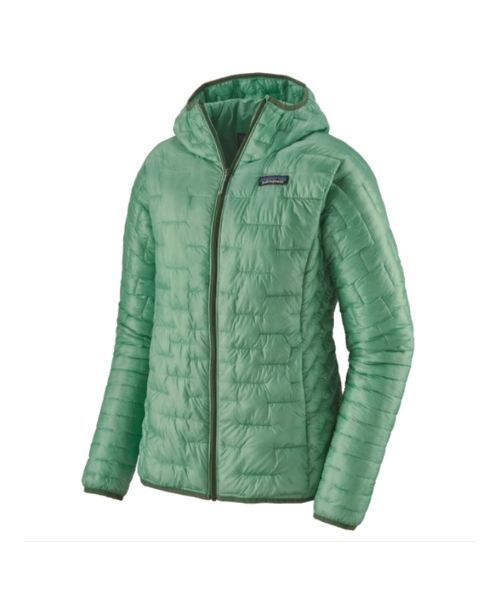
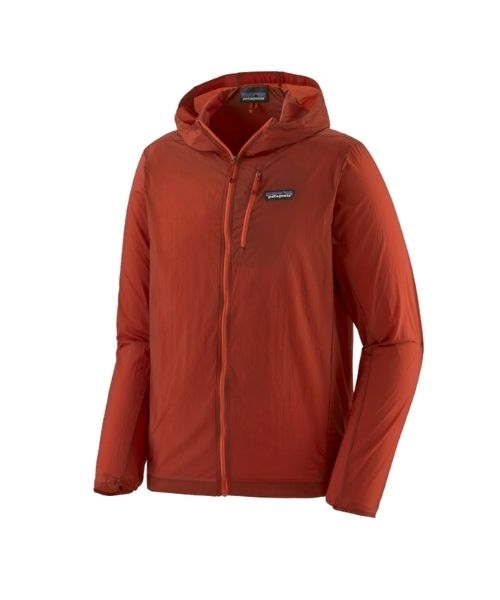
If you want something lighter, we love the packable Patagonia Women’s Houdini® Jacket and Patagonia Men’s Houdini® Jacket
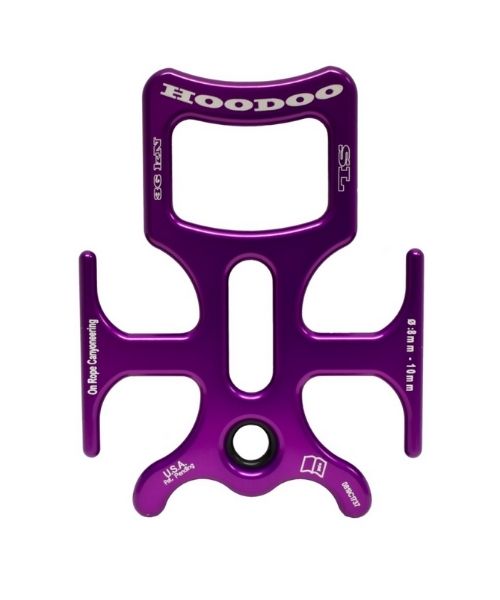
We were introduced to this Hoodoo rappel device from our expert canyoneering friends. So far, we love it!
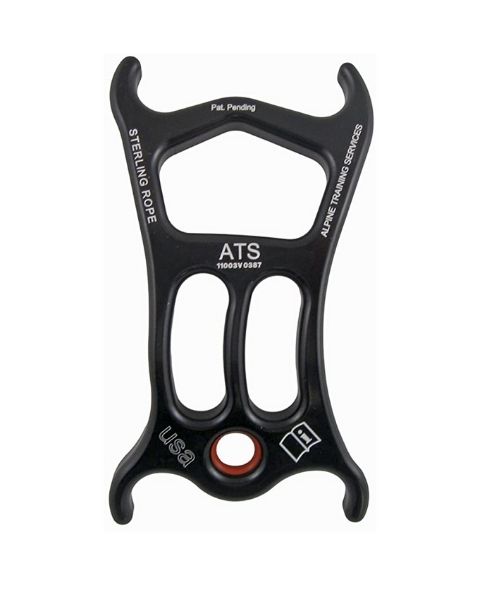
Another popular option for the rappel device is this ATS
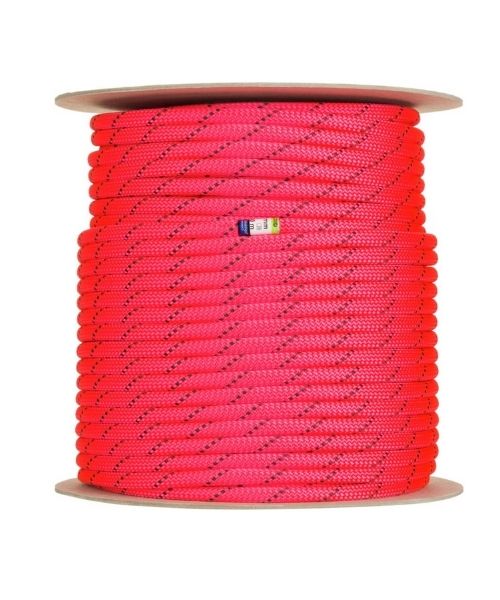
Of course, you will need to bring your canyoneering ropes.
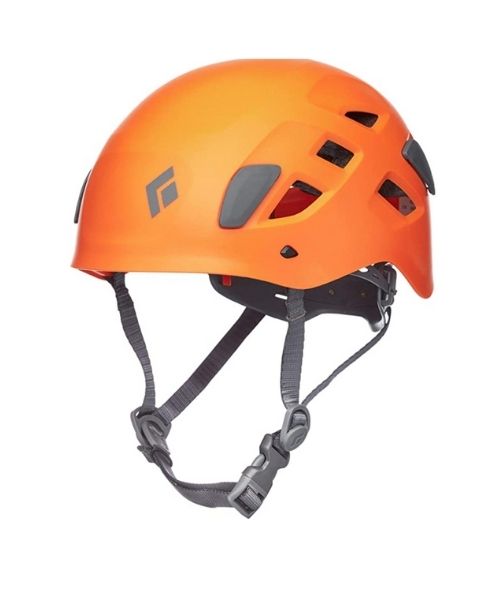
So far, our Black Diamond Half Dome helmets have served us pretty well
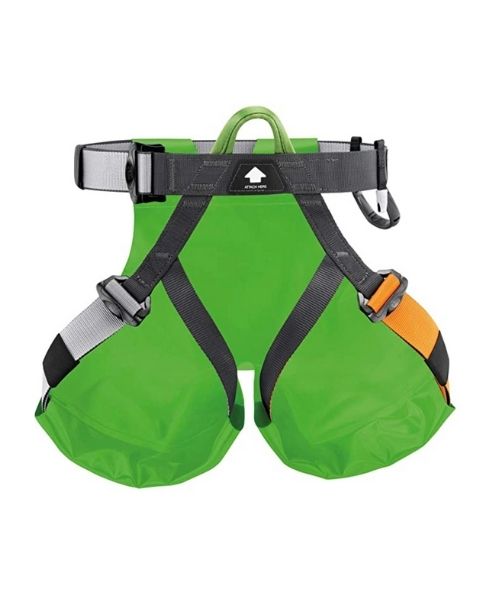
You will need canyoneering harness. Climbing harness will work too.
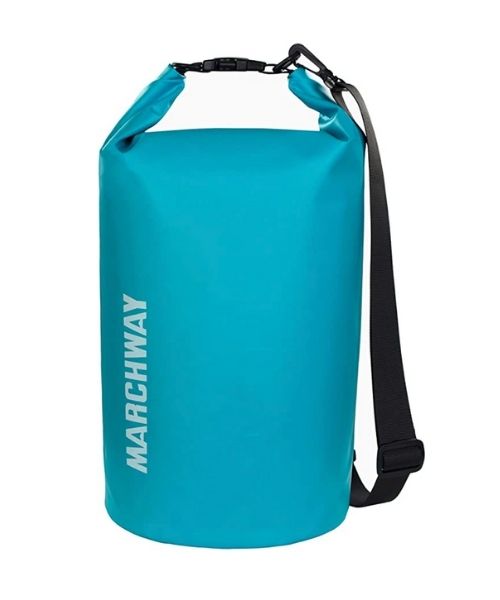
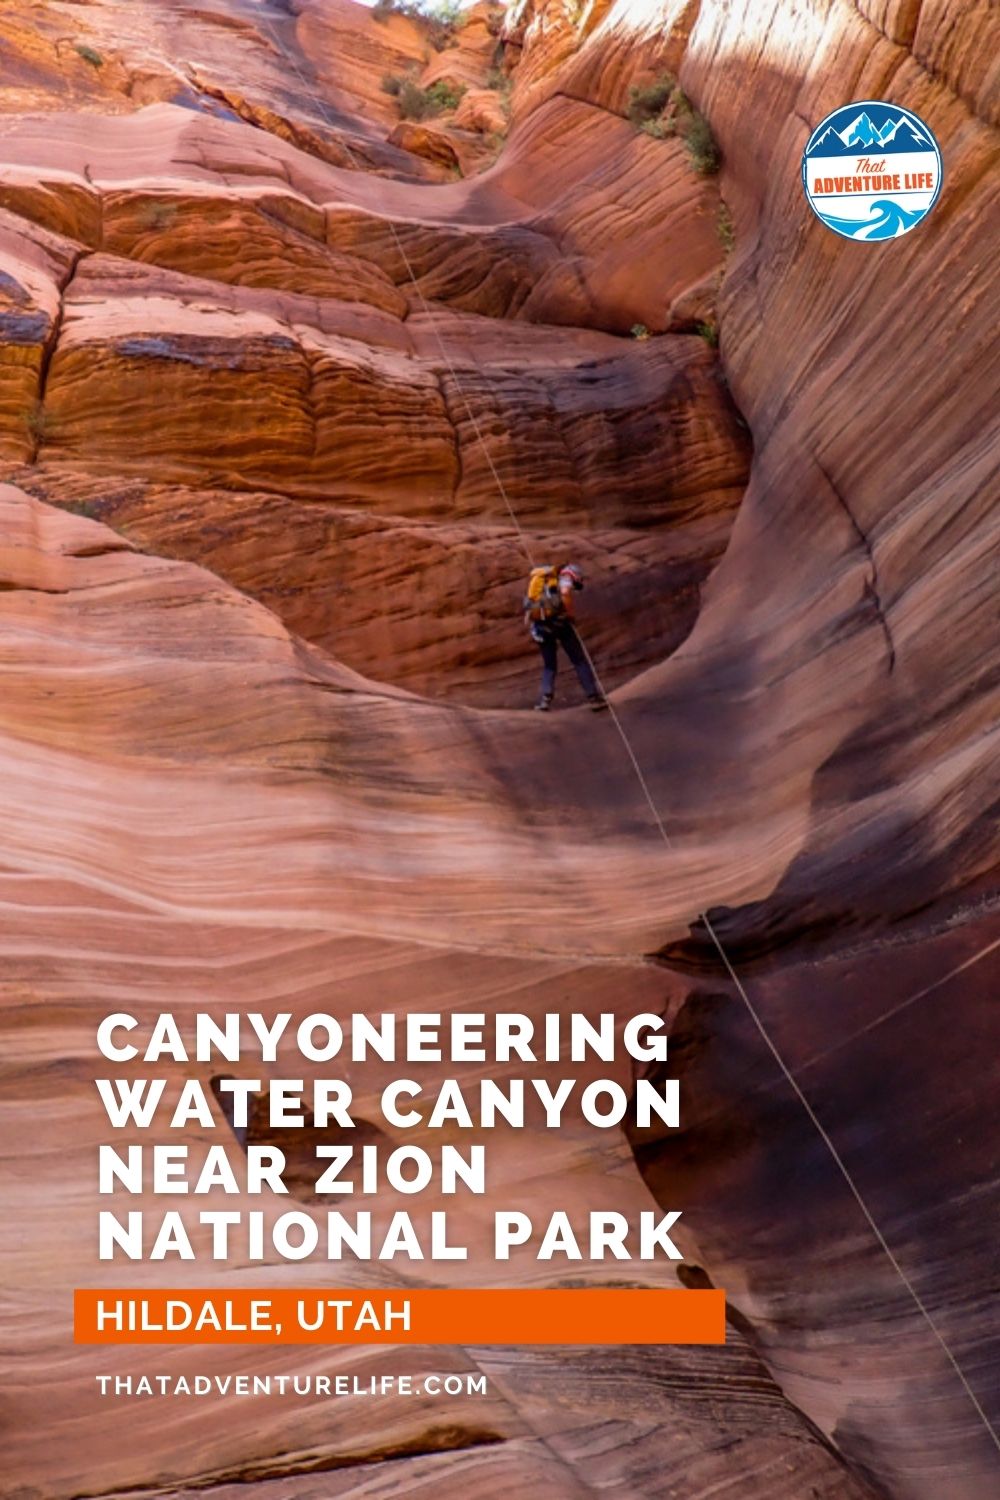
Even when dry, you’ll still need dry bags for Water Canyon. There are a few swimming sections. You will need this to keep your items dry.
other things to bring
- Lots of water, especially during hot days.
Wear clothing that you don’t mind throwing away after. Long sleeves and long pants are recommended. This canyon is very hard on clothing.
Duct-tape. This helps us a ton with our ripped clothes, half way through the canyon.
- Always good to bring some snacks and lunch with you. For healthy and easy snacks, check out some of our recipes.
camera gear


Related Posts
Save your pins:

