

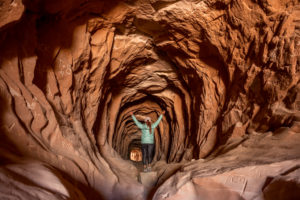
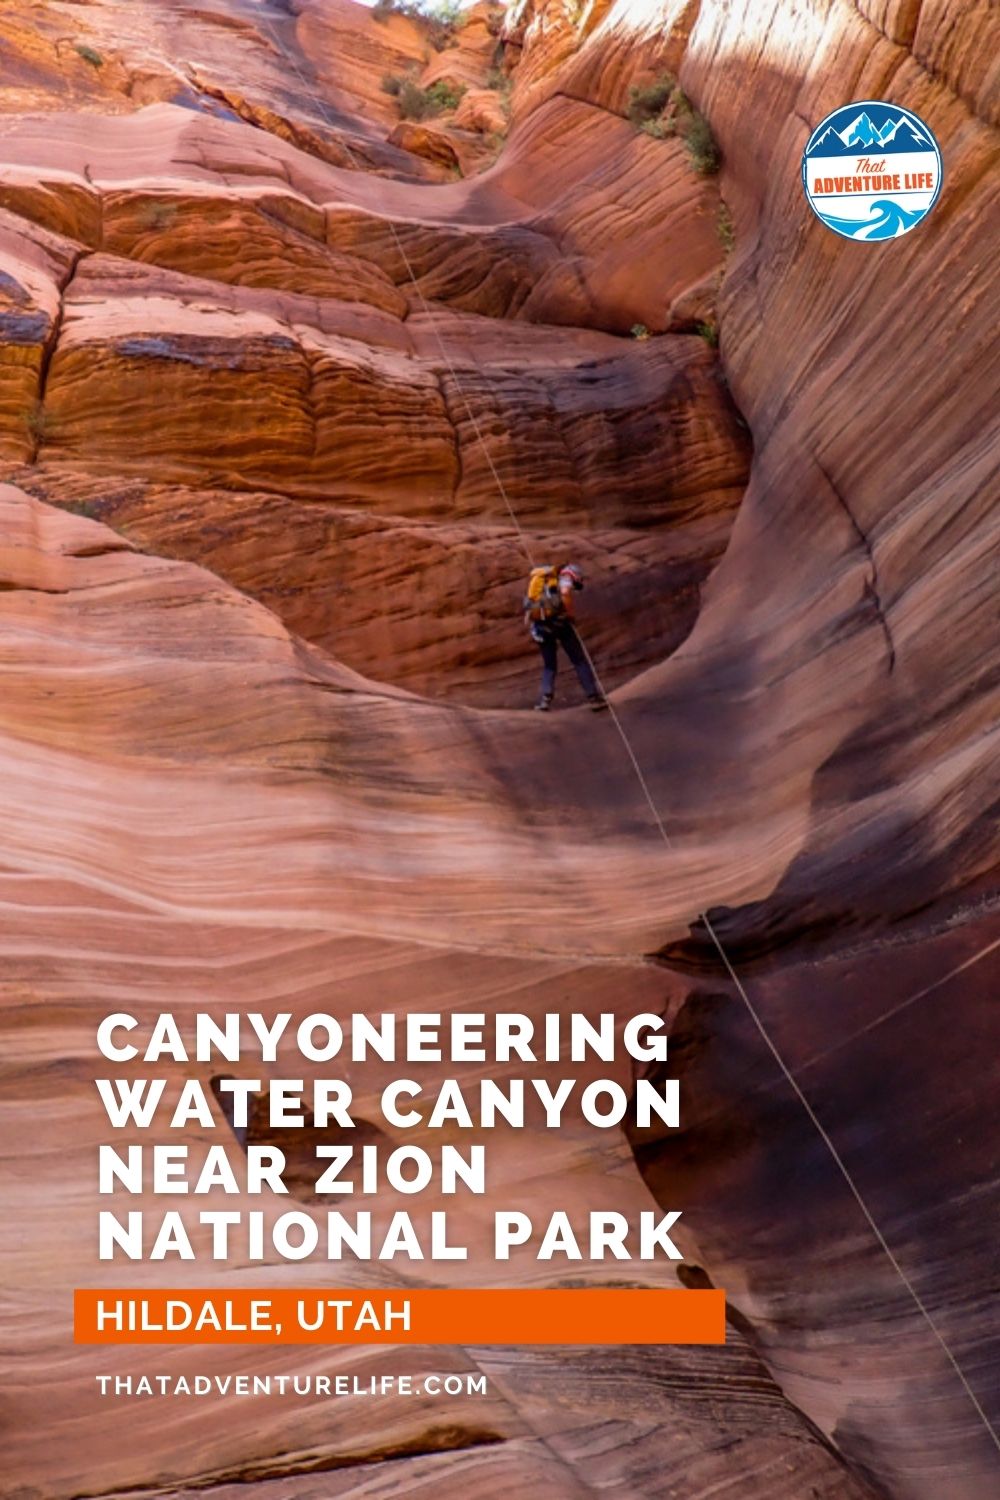
Recently, our cousin Anh introduced us to the canyoneering route through Water Canyon near Zion National Park. We’ve done the hike here but we haven’t got a chance to rappel down this beautiful canyon yet. It’s not hard to see why Water Canyon is one of Anh’s favorite canyons. Besides being a great beginner technical canyon, it also has a little bit of everything from big rappels (170ft), swimming pools, narrow slots, and beautiful scenery. One interesting thing about this canyon is that the approach trail runs along the side of the canyon on the way up. This gives you multiple points to drop in or opt out of different rappels. Water Canyon also makes a great alternative for canyoneering near Zion National Park if you can’t get permits there.
Stats
Where
Water Canyon Trail trailhead:
Water Canyon Rd, Hildale, UT 84784
37°02’16.8″N 112°57’19.3″W
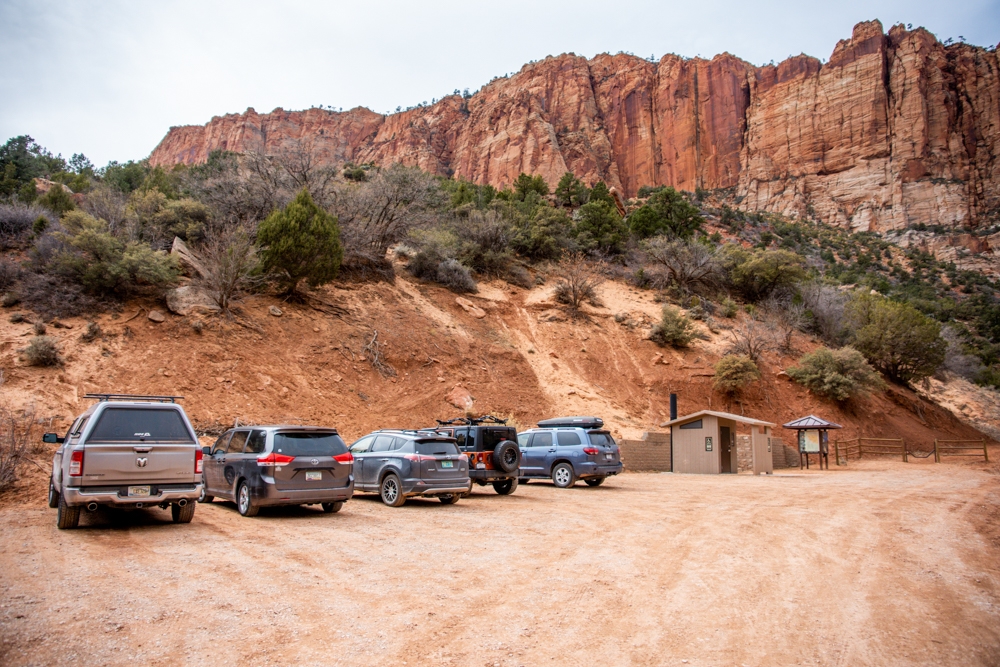
Parking
There is a small dirt lot right in front of the trailhead. If that is full, you can either park on the side of the road or backtrack down the road for another smaller parking. If you park on the side of the road, please make sure to pull over all the way so cars can pass.
Restroom
Pit toilet at the trailhead
Best Season
Spring, Summer, Fall
Weather
Gear Required
- Standard rappelling and anchor gear.
- Ropes and pull cords need for rappels up to 170ft.
- 60ft of 1″ webbing for sling placement
- Wetsuits for colder month. You might skip the wetsuits if it is warm enough out. The water sections are short.
Rating
3B III (v3a2 III)
Click here to learn more about canyoneering ratings.
Distance
Total: 4.3 miles
Technical: 0.7 miles
Elevation Range
5230 – 6520 Feet
Time
6 – 11 hours
(We had 10 people and took 9 hours)
Permit
None
Rappels
9 – 12 rappels. Max is 170ft
Shuttle Required
None
Vehicle
Passenger
Water
A few pools. The water sections are usually short.
Video
The Approach
Getting to the Water Canyon's Trailhead
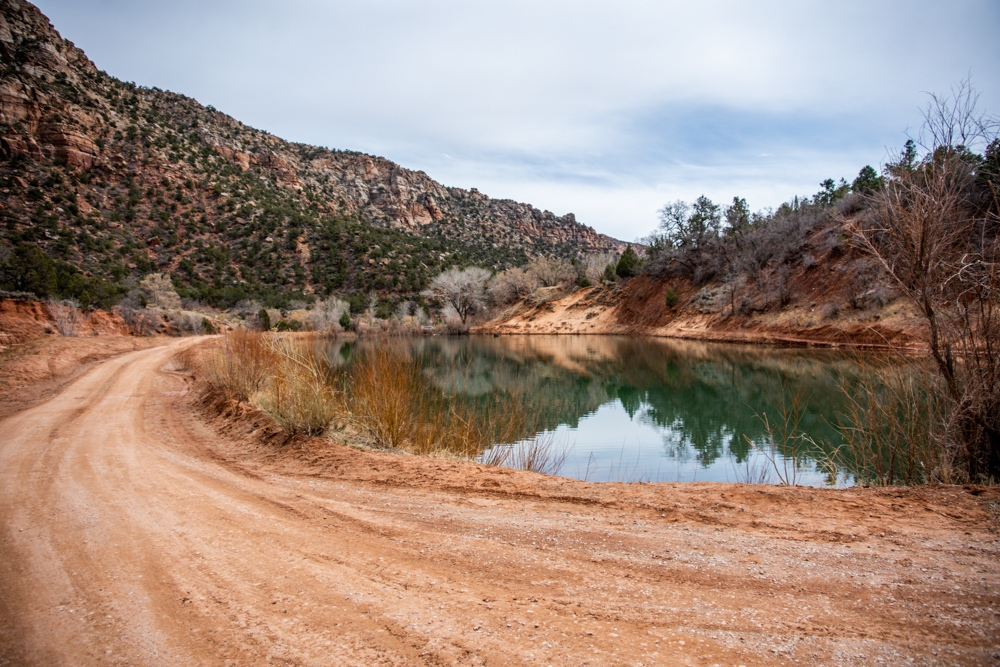
The canyoneering route for Water Canyon starts at the same trailhead for the Water Canyon trail. It is located on Water Canyon Road in Hildale, Utah. You should be able to use GPS to map your way there. Water Canyon Road is a gravel road for a short distance, then becomes a dirt road for the rest of the way. This dirt road can be rutted and bumpy. It is also impassable when wet. The parking and the trailhead for the Water Canyon trail are located at the end of this dirt road, right after a small reservoir.
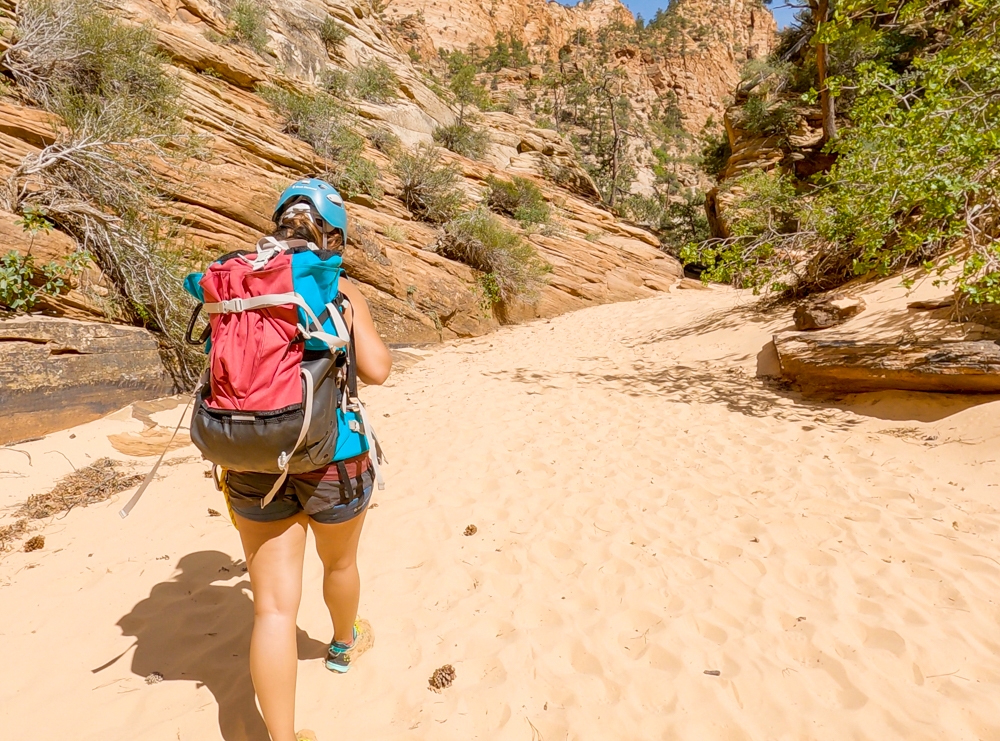
To the Waterfall
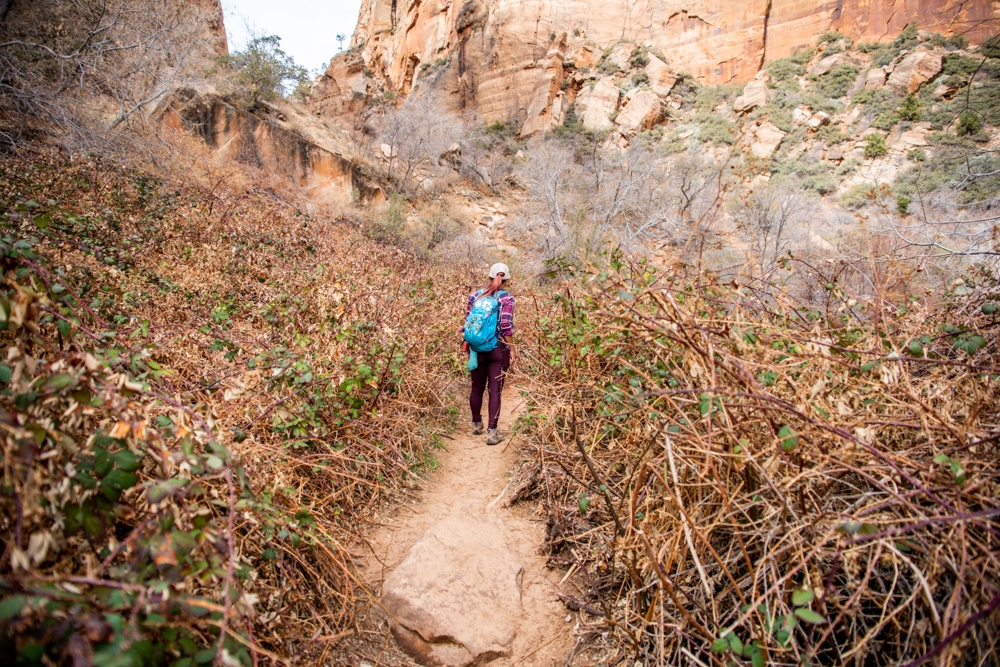
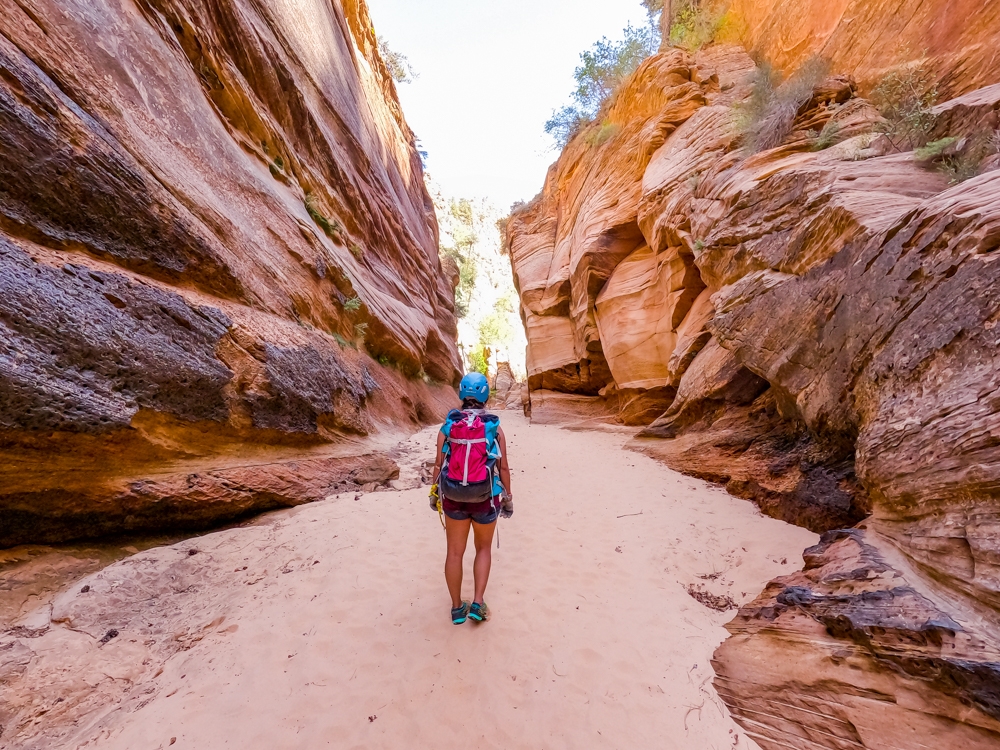
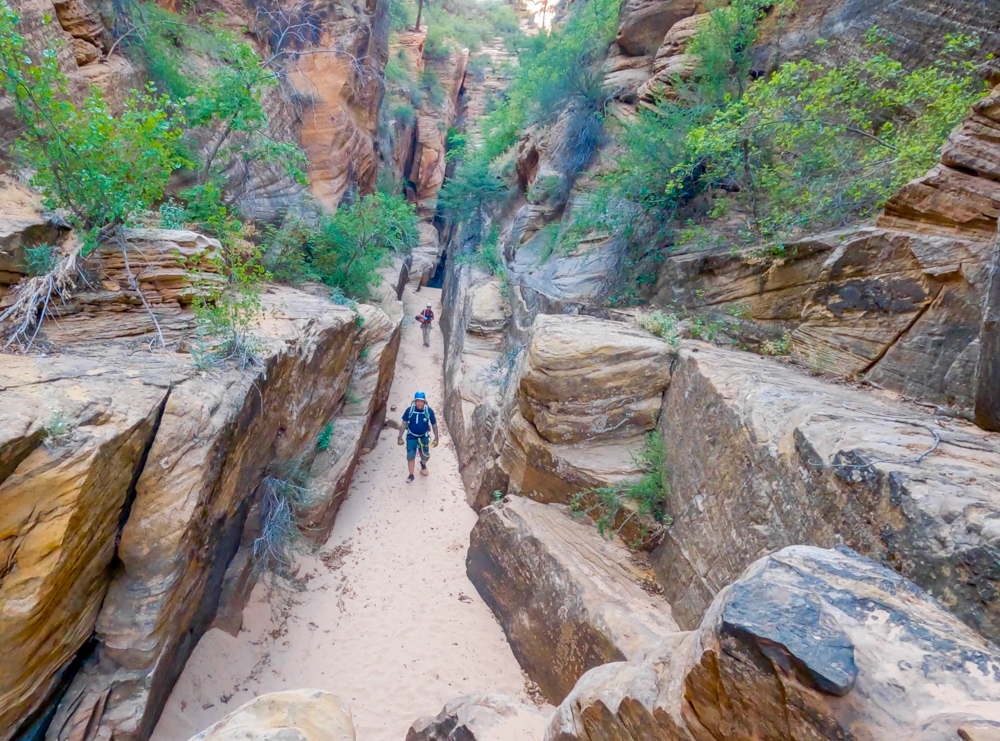
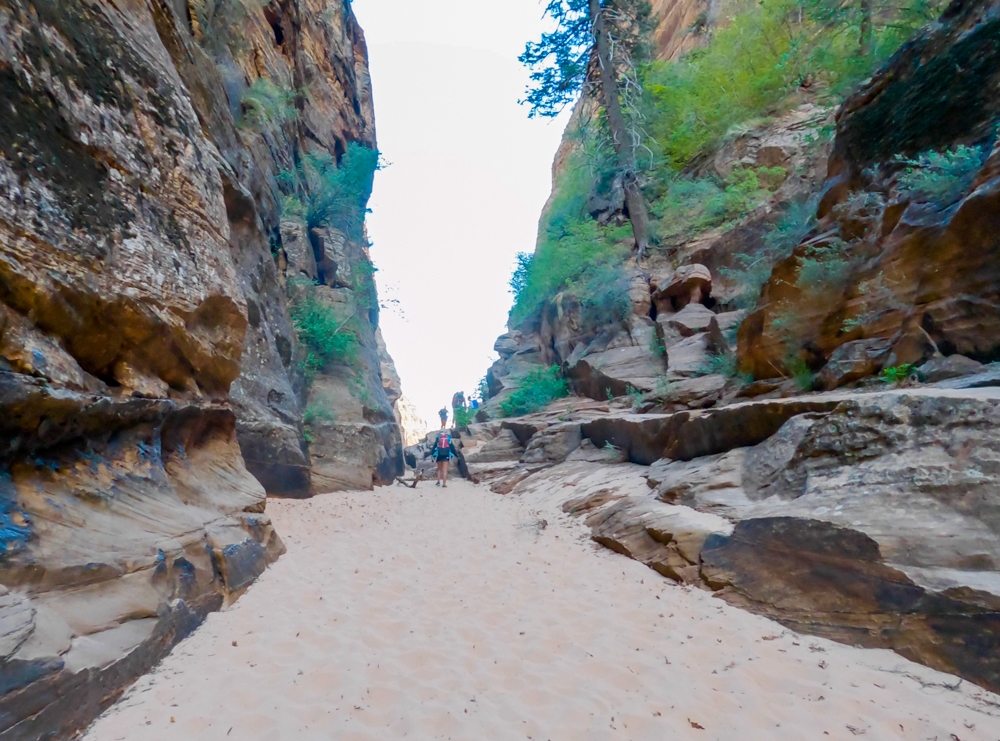
The first part of the approach is quite straightforward. From the trailhead, follow the well-defined sandy trail for about 1 mile or so. This trail follows along the small stream on the right. Along the way, there are several times when the main trail splits into multiple ways. These trails are either merge back together or take you down to the stream below. Make sure to stay left higher up. As long as you follow the stream toward the canyon, you won’t get lost.
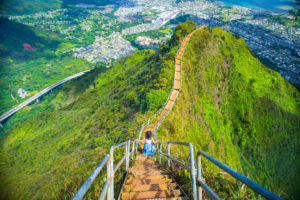
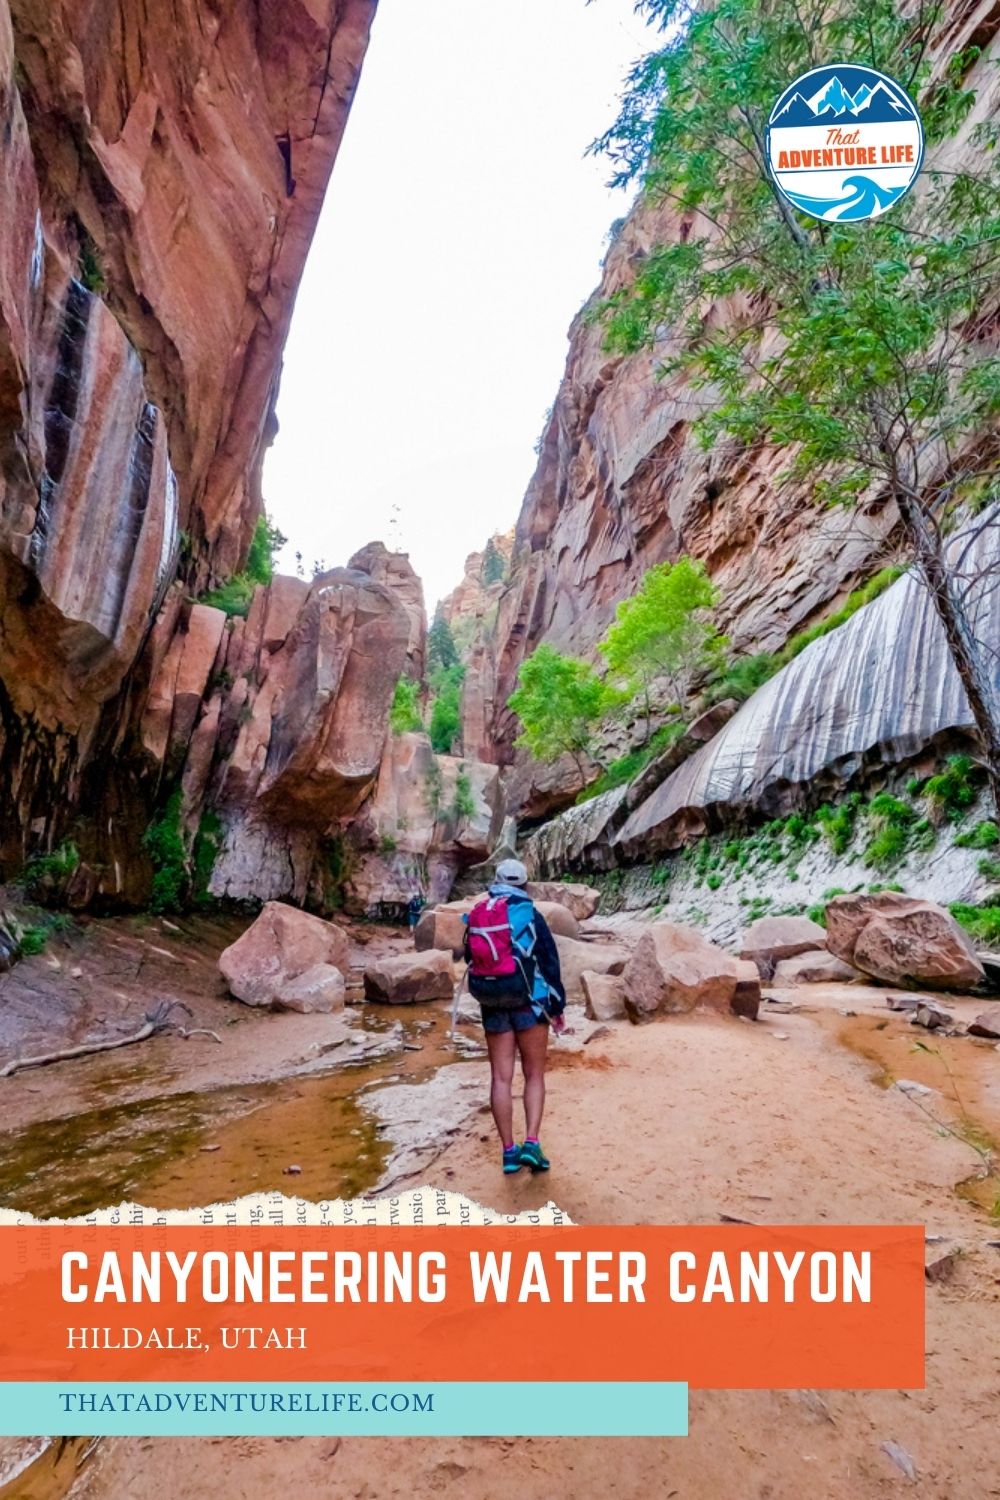
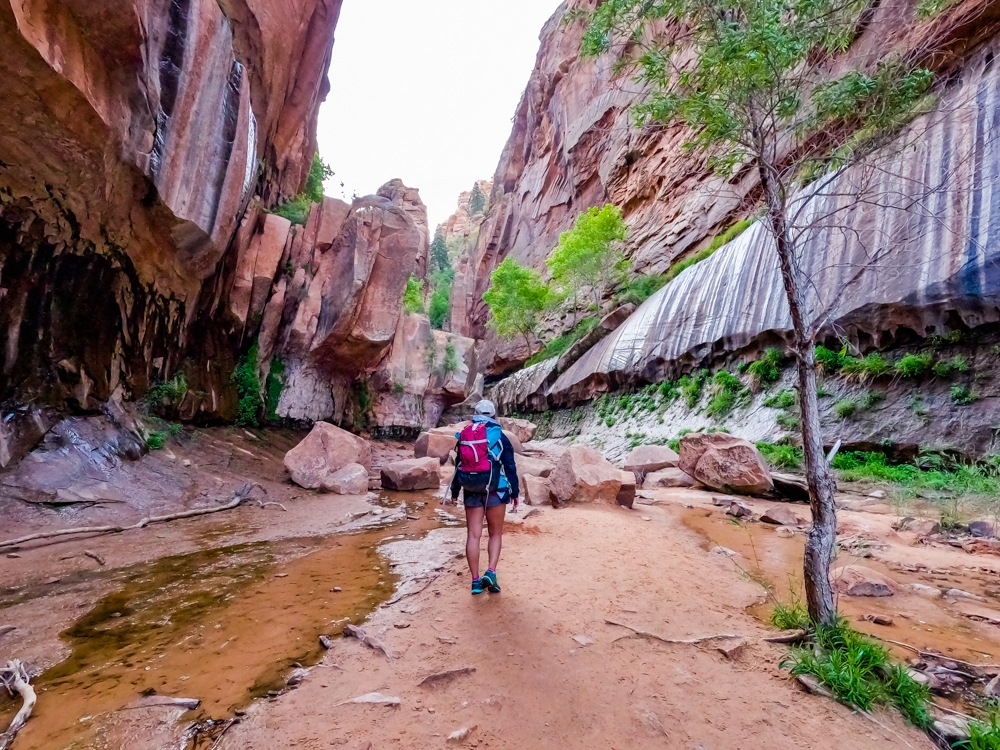
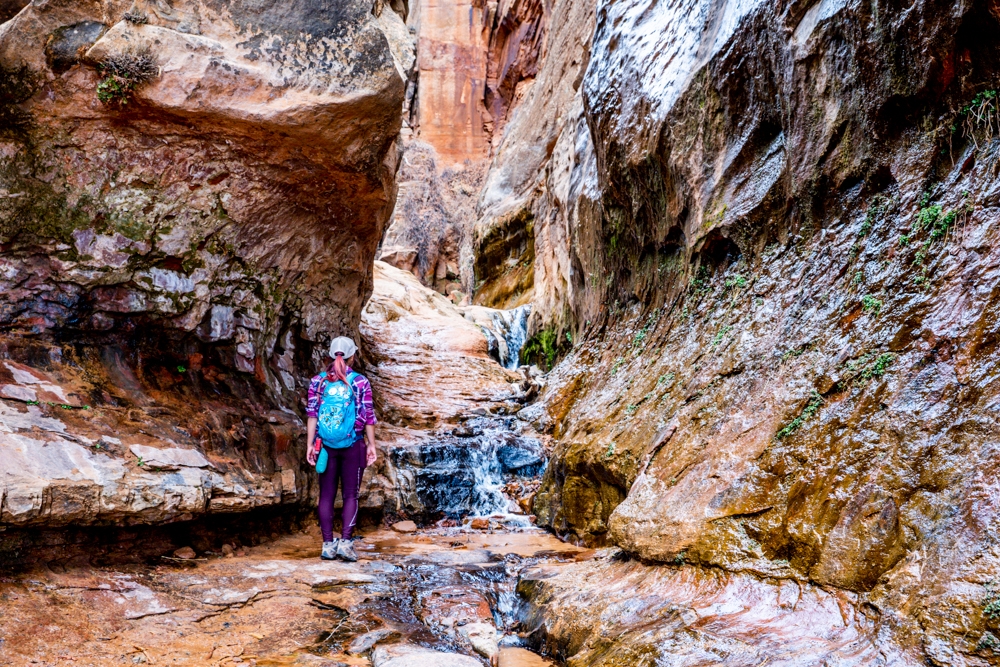
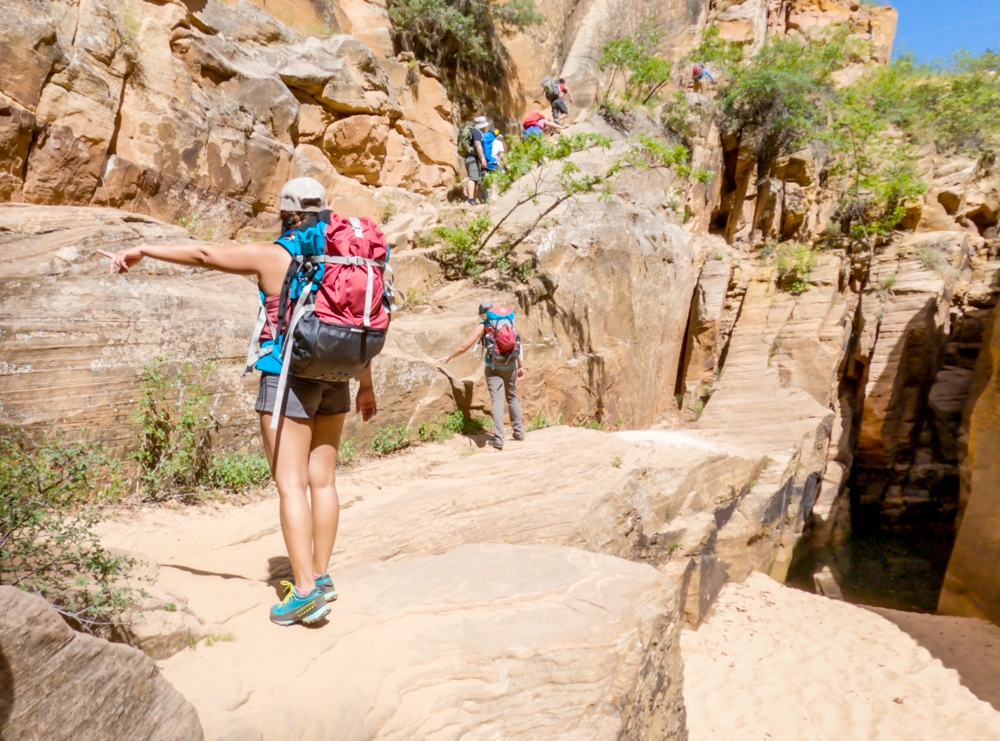
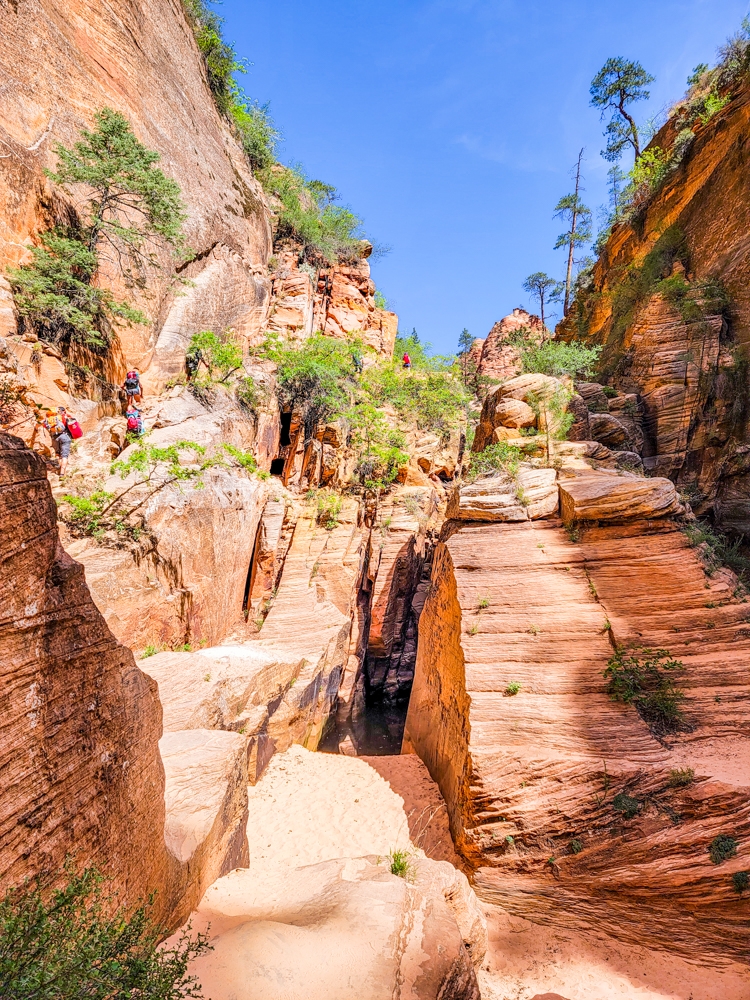
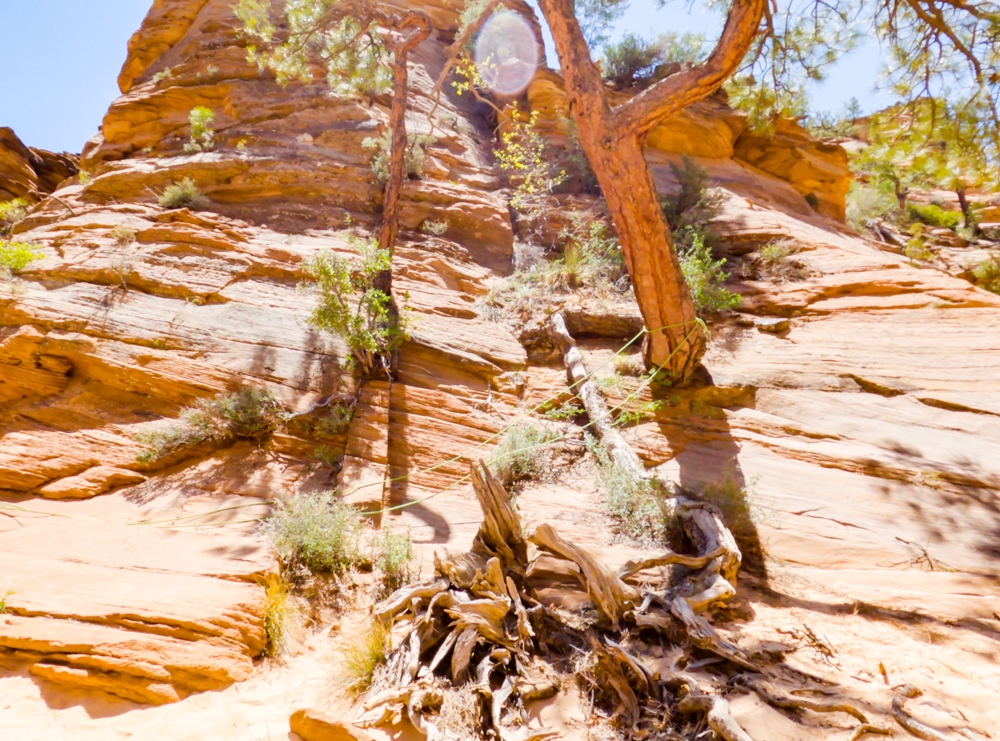
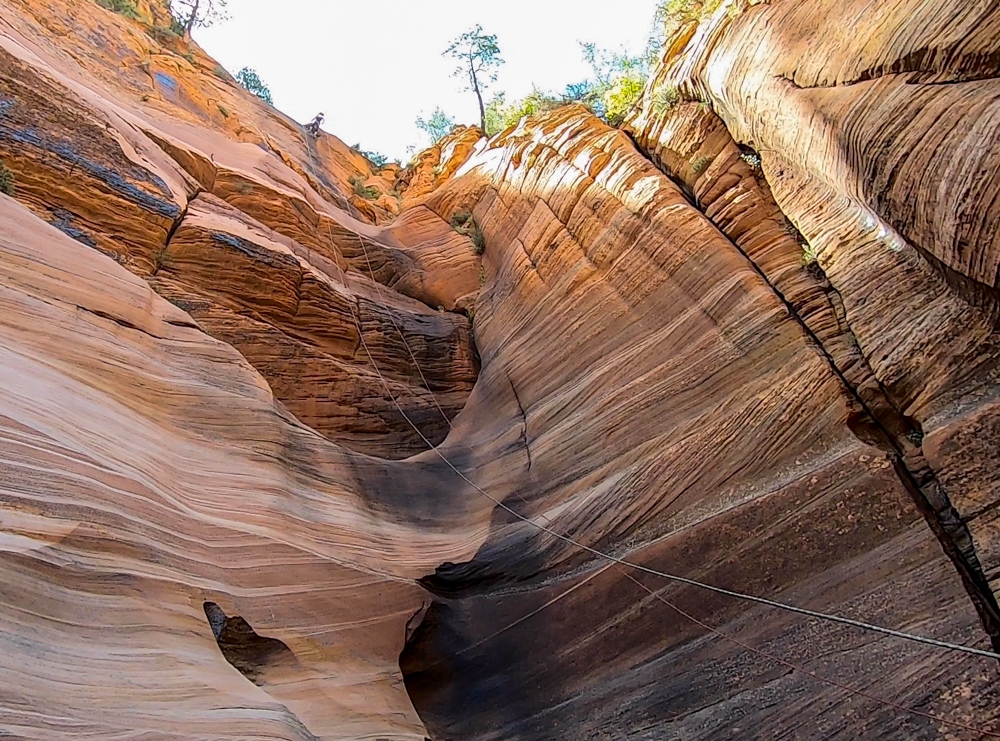
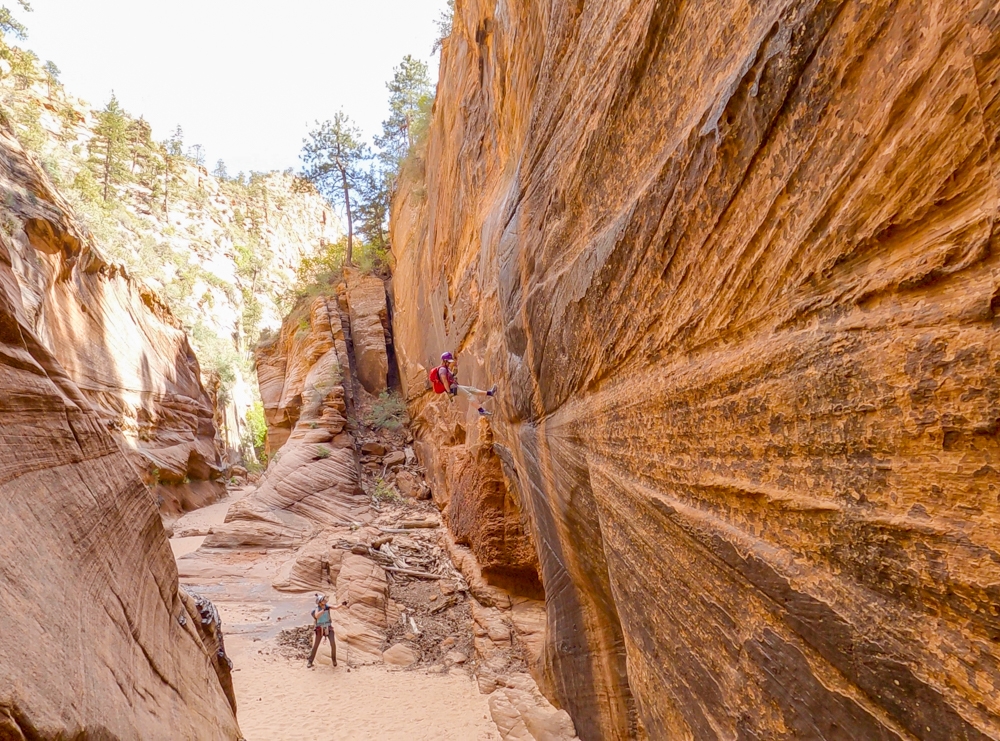
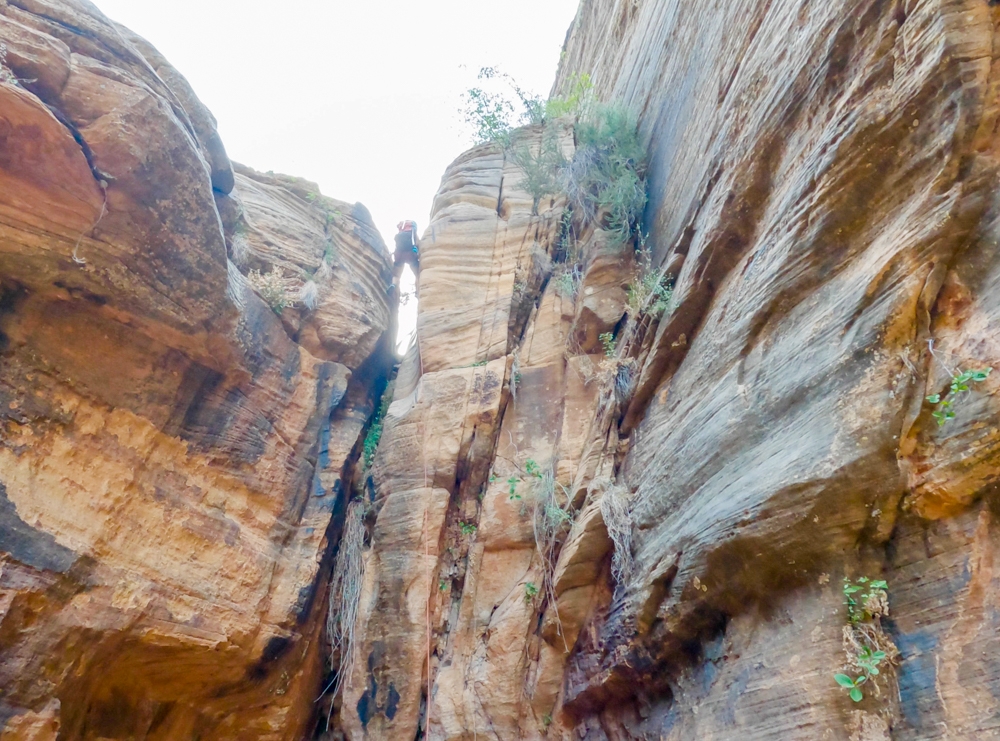
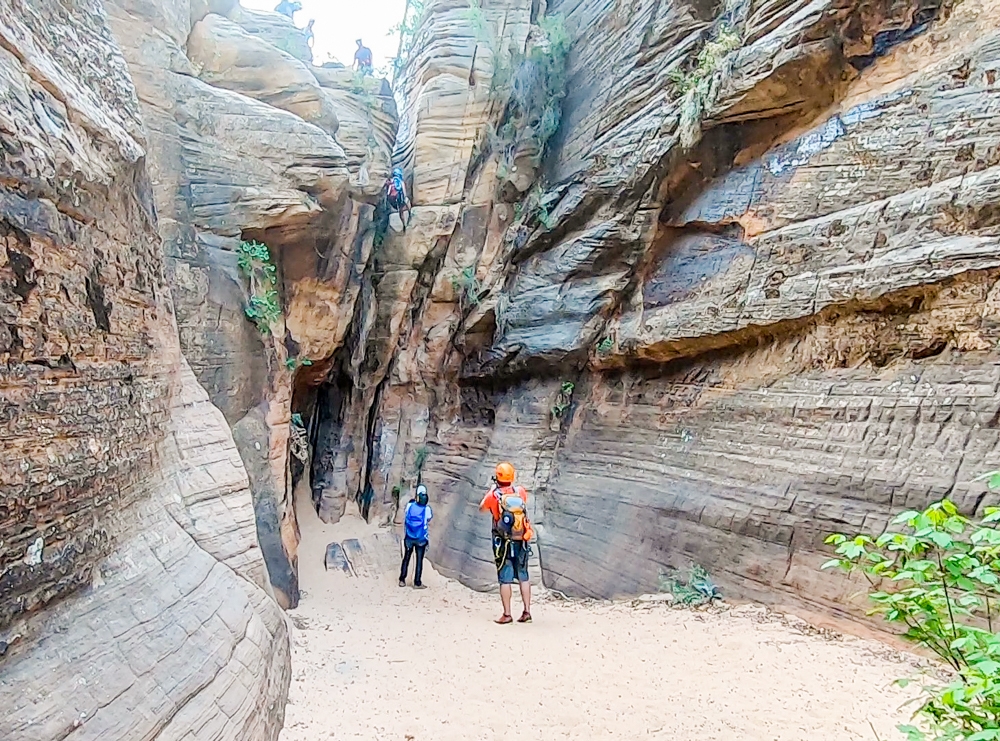
The trail eventually winds through the middle of some blackberry bushes. At around 1 mile, the trail will drop down to the canyon floor. It is quite spectacular as you’re surrounded by the towering canyon walls. It can be slippery here so watch your step as you cross over the canyon floor and head toward the sloped waterfall at the end of the slot-like canyon. From here, climb along the rock to get on top of the sloped waterfall. Make sure to stay left to climb up the plateau. Once you’re up on the plateau, it might look like a dead-end here. However, if you look hard enough, you can find a narrow trail climbing along the left (west) wall up the canyon.
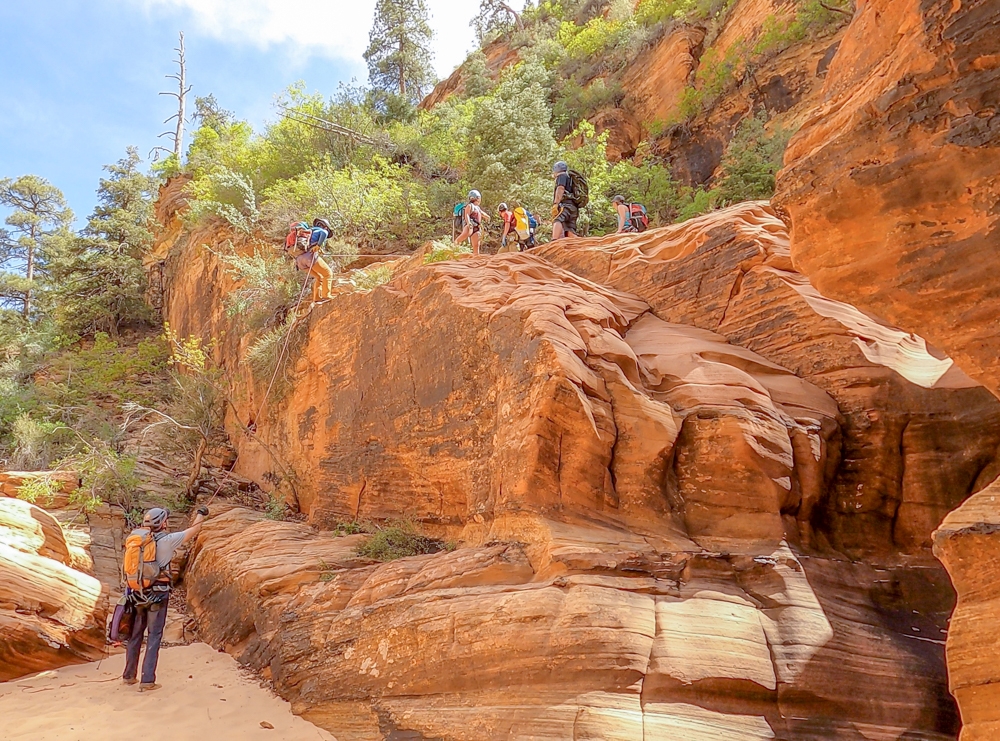
From the Waterfall to the First Rappel
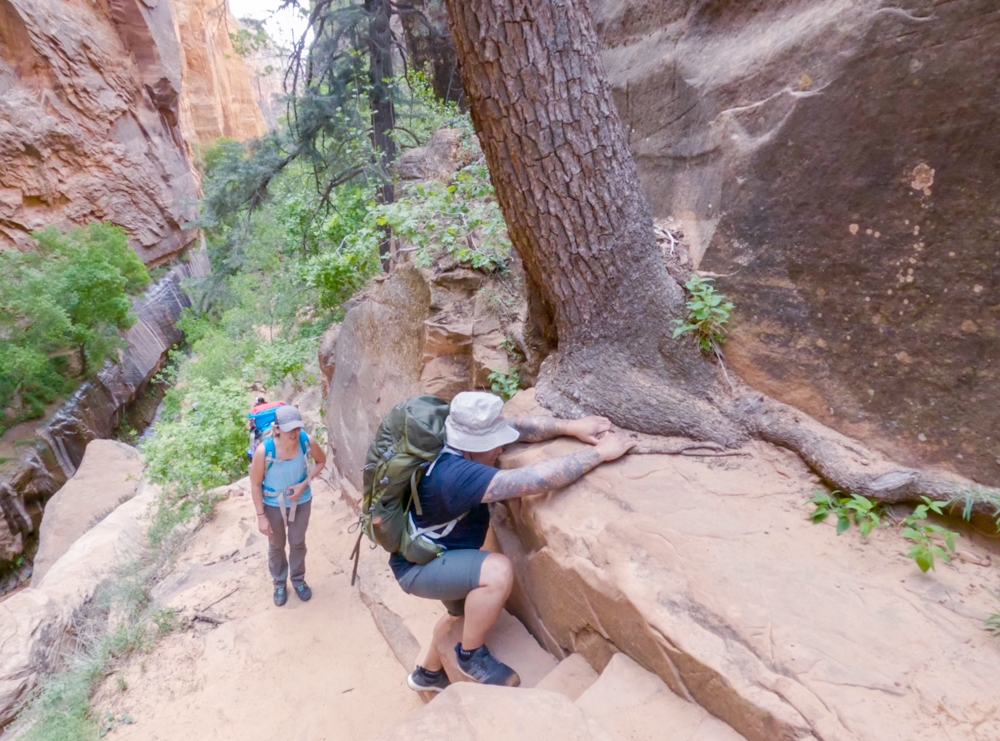
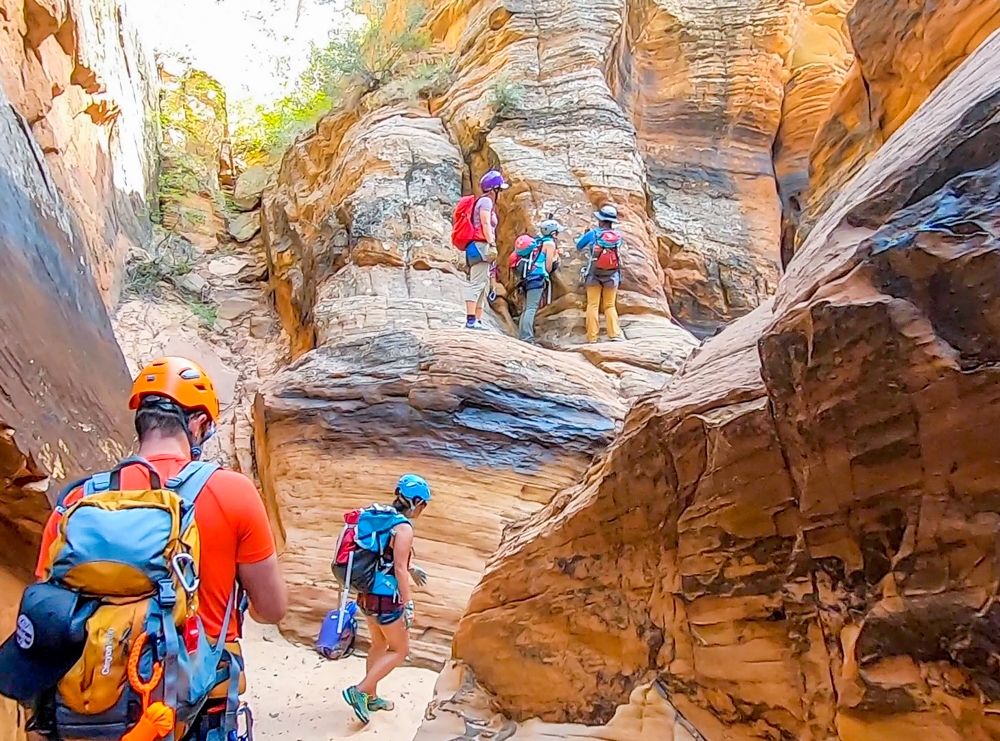
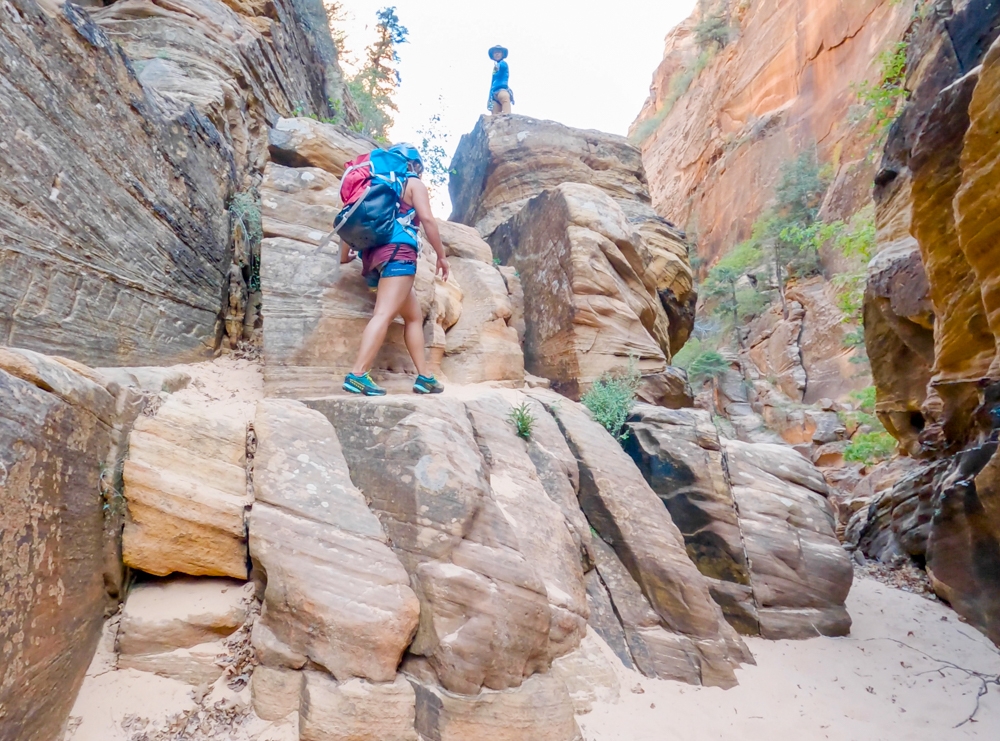
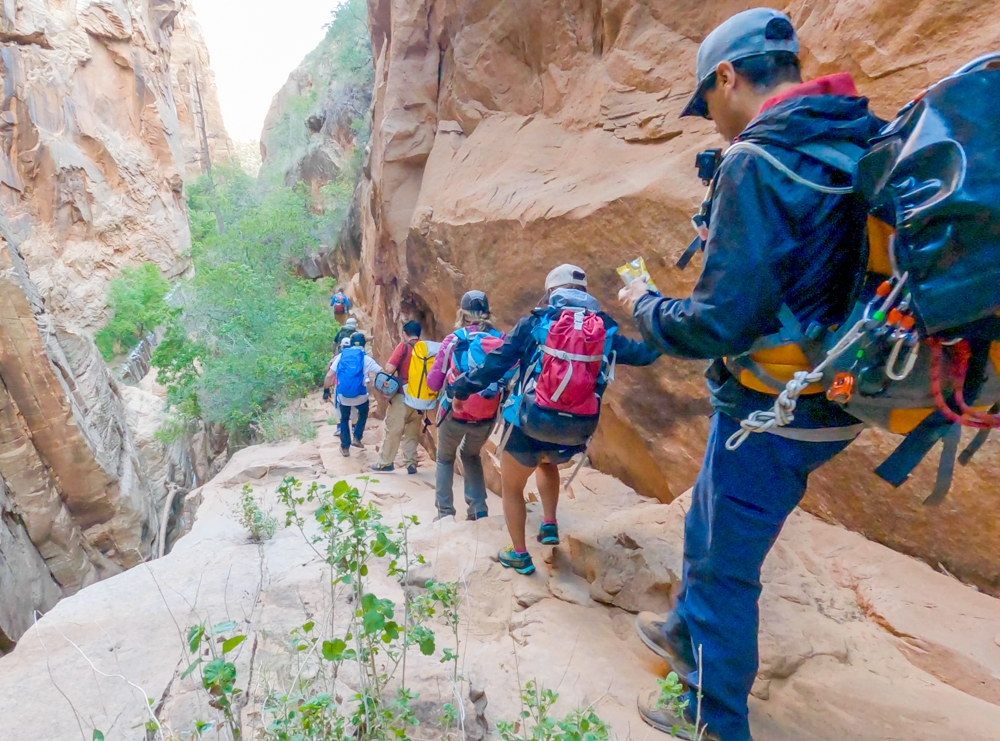
Along the way up, you might see multiple areas where you might be able to drop in. There are anchors to rappel down. However, you’ll want to keep following the trail to go up to the top of the canyon wall. The trail might seems to disappear every once in a while, but it will reappear back if you look for it. There are rock cairns along the way, marking the trail. At one point, you’ll need to climb up a decent size ledge to continue to the route. Your objective is to go to the top of the canyon wall.
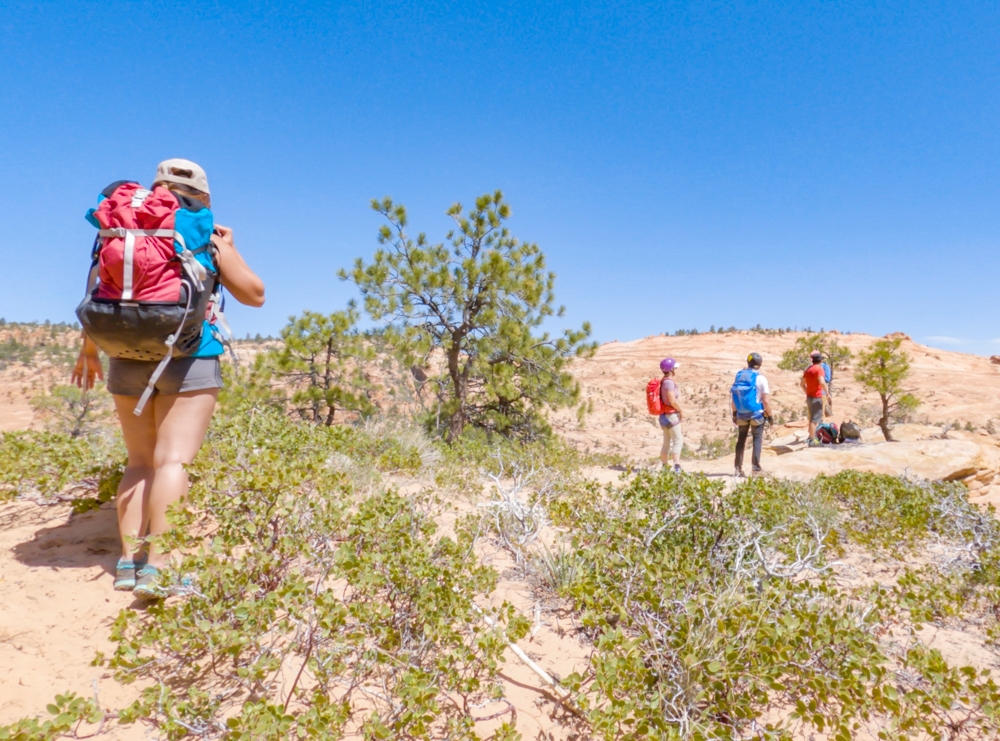
Once you get closer to the top of the canyon wall, the trail levels out. Do not go south, instead turn right (north in the up canyon direction) and follow one of the trails toward Top Rock. This is a great spot for a quick break. The view up here is beautiful. You’ll get to see an almost 360° view of the surrounding areas.
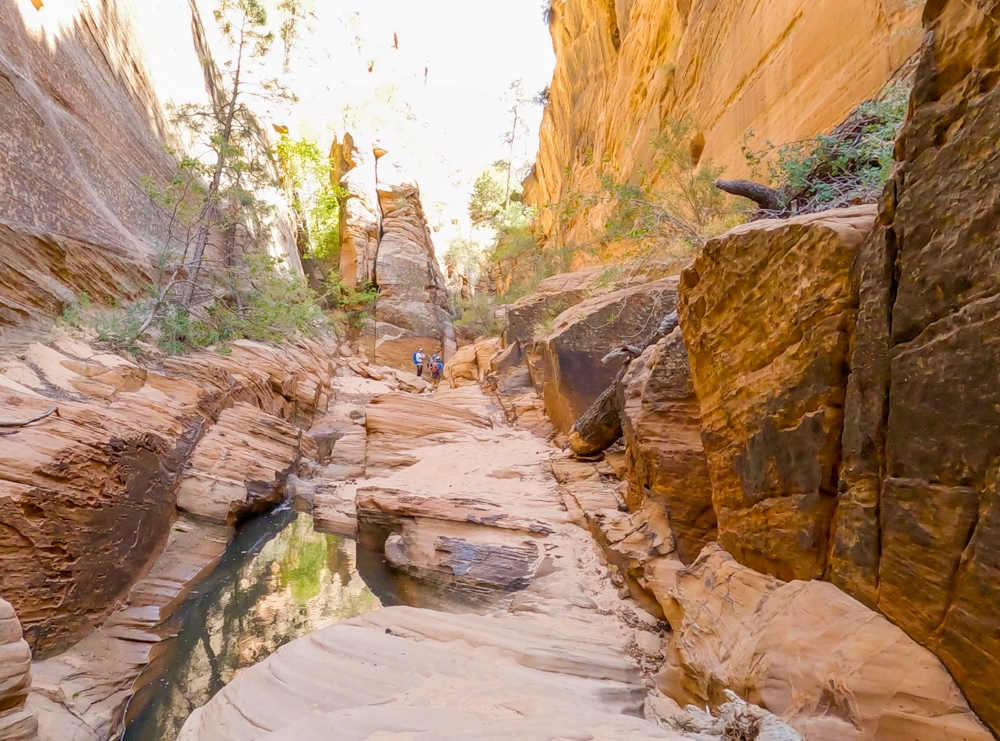
After you’re done here, follow the trails curving right, dropping down toward the canyon. The trail fades as it gets closer to the canyon floor. There are a few down-climbs to get down to the slick rock area. Depending on when you go, there might be water here. You’ll want to cross over the slick rock, and follow it down toward the sandy canyon floor. This is a perfect spot for a quick lunch before starting your first rappel.
Technical Section:
Note: The conditions of Water Canyon are ever-changing depending on the seasons or how much water it has. You will need to adapt or adjust your route accordingly.
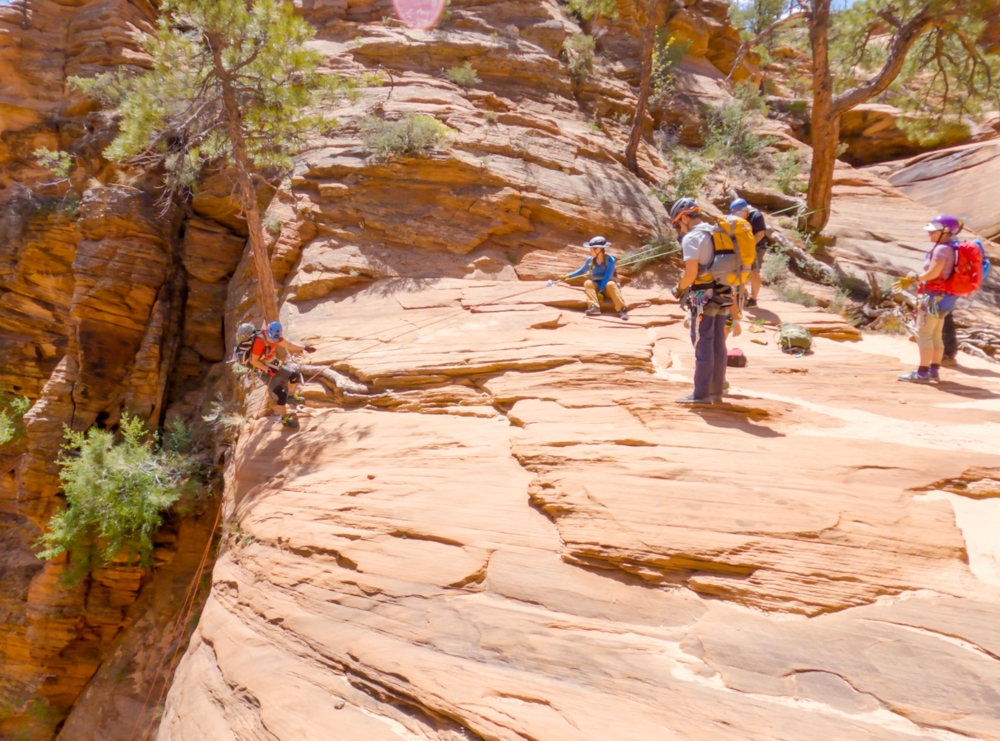
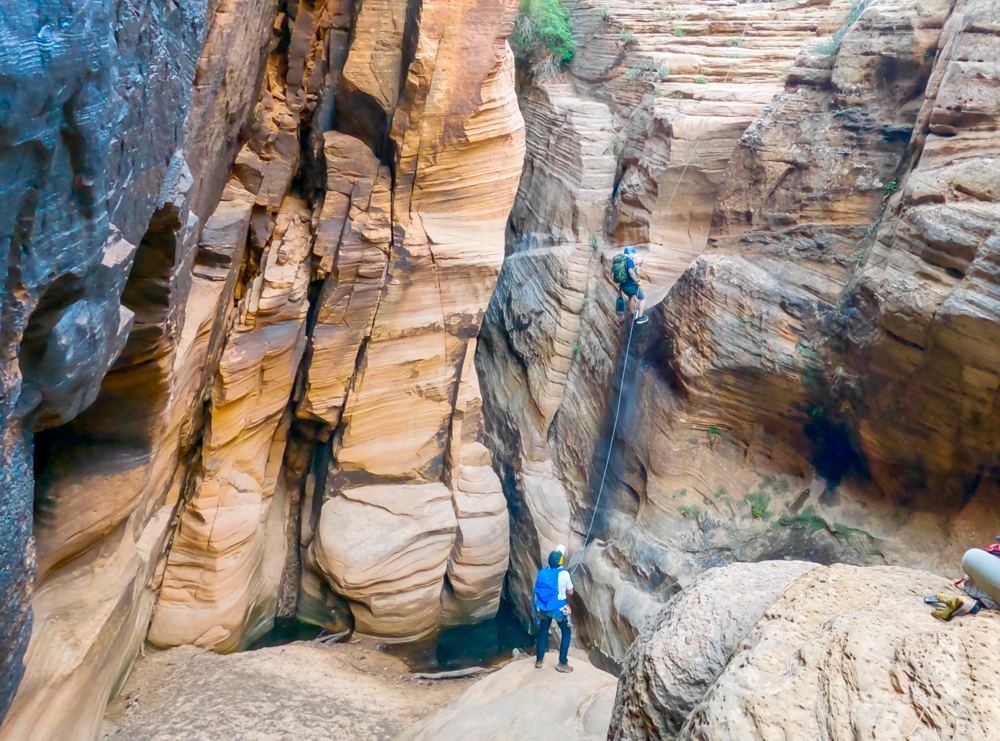
Rappel 1
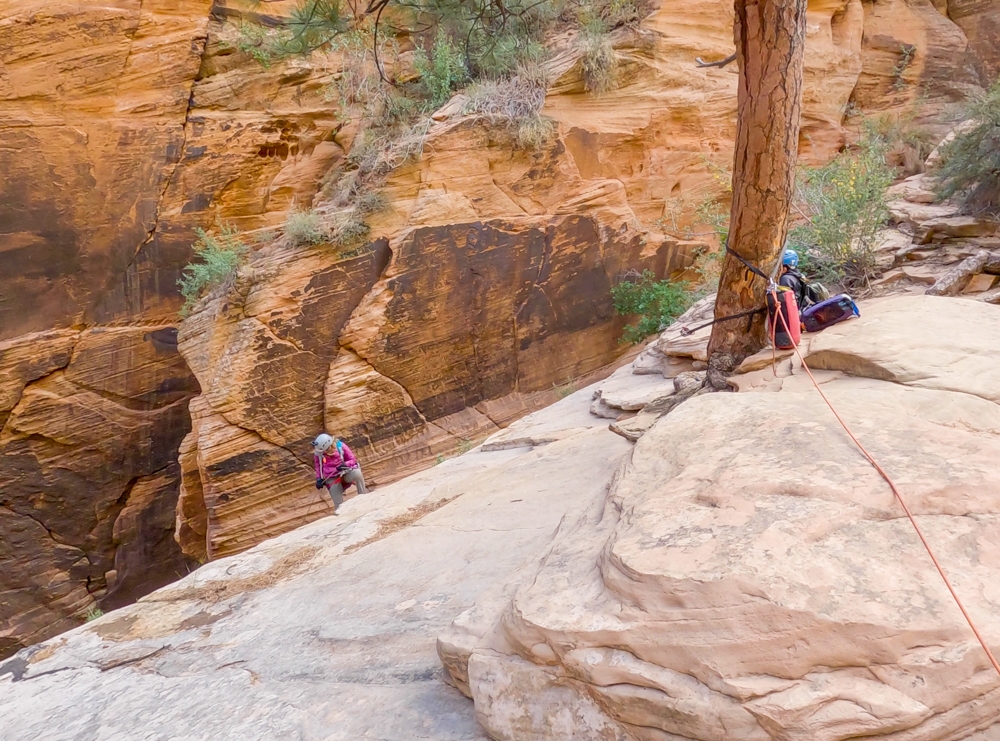
This rappel is anchored from a large tree, about 30 ft back from the drop-off. The drop-off is about 70-80ft high with an easy start. There are a couple of ledges on the way down, perfect for a quick break if you need it. Frank, one of the beginners in our group took a couple of breaks on his way down. You can bypass Rappel 1 by climbing LDC (left down canyon) and following multiple ledges to get to the canyon floor.
Rappel 2
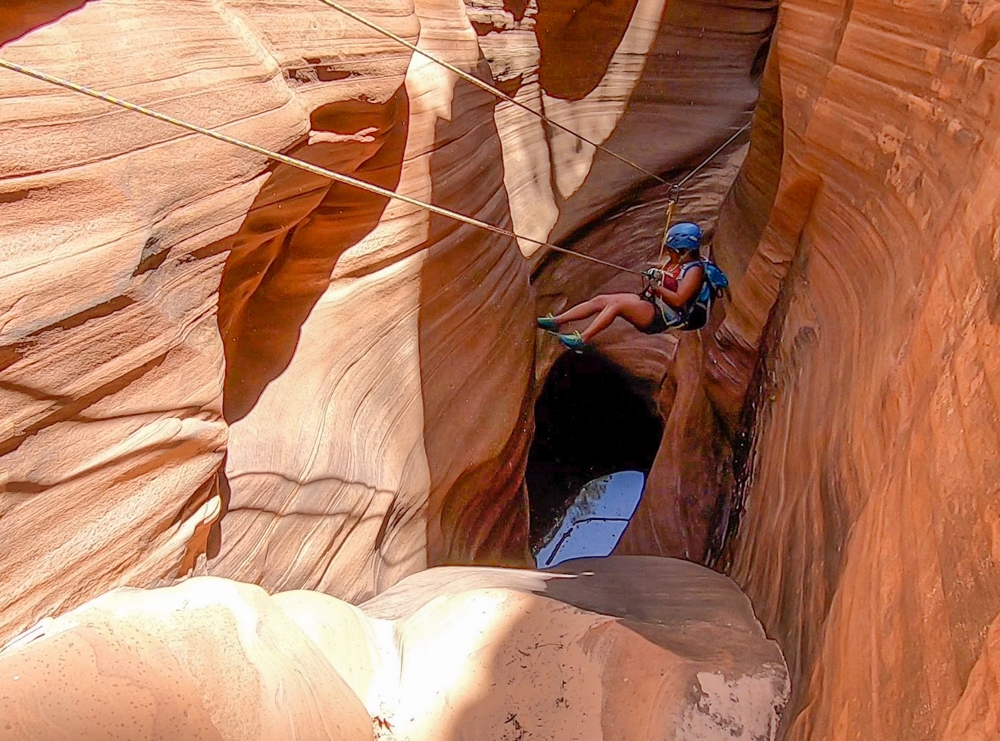
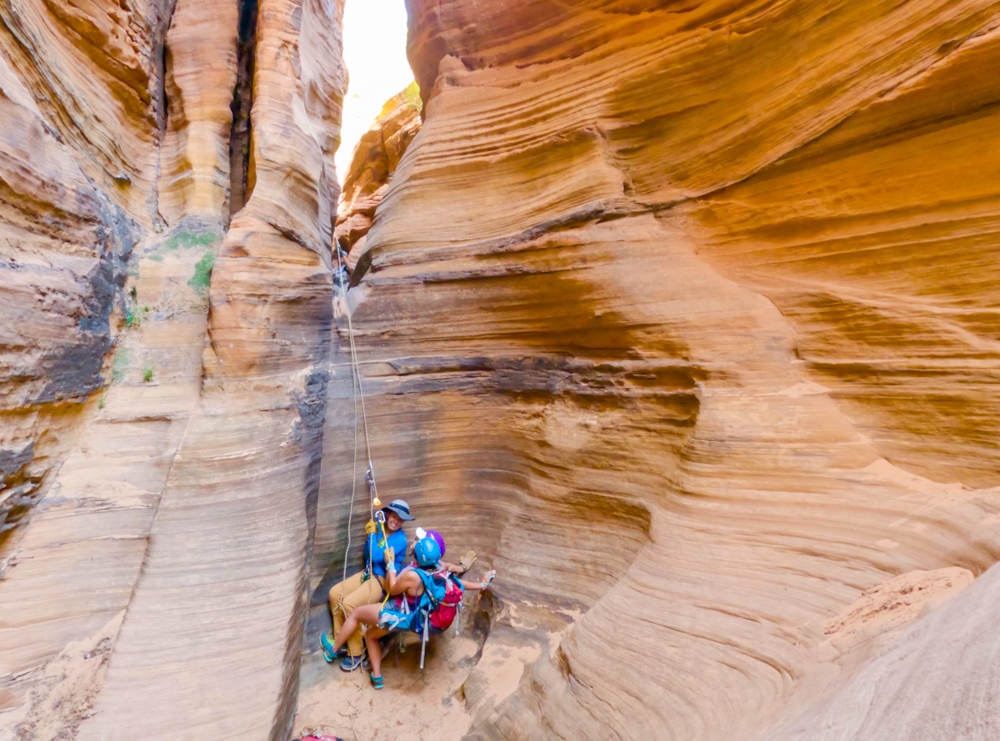
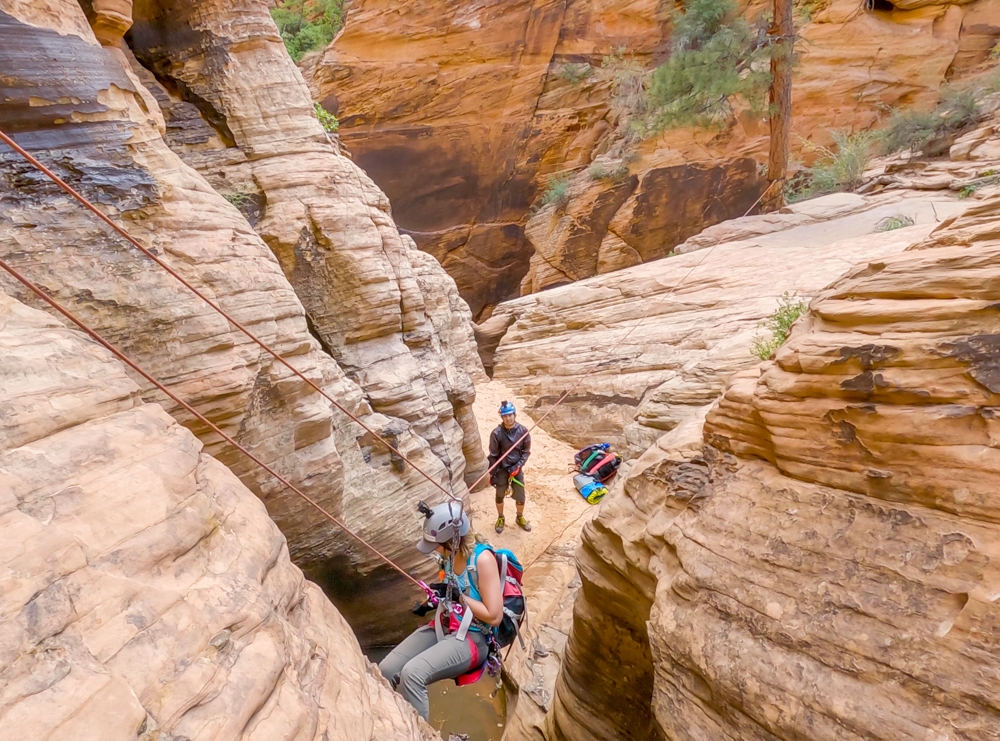
Rappel 2 is not that far from Rappel 1. It starts down a slot. The anchor is LDC from a single bolted hanger about head high at the beginning of the slot. There are 2 stages of about 10 and 15ft each. Depending on the water level, there might be water at the bottom of both stages.
When we went, there is a stagnant pool at the bottom of stage one. Anh, being one of the more experienced canyoneers, rappelled down and stemmed himself above the pool. He then set up a guided rappel for the rest of us by using the meat anchor at the bottom of stage 2. The rock is a bit slippery near the bottom of stage 2.
If you prefer to bypass the rappel here, you can downclimb the first stage. The second stage can be downclimbed but it can be difficult, even with help. It is safer to rappel down the second stage.
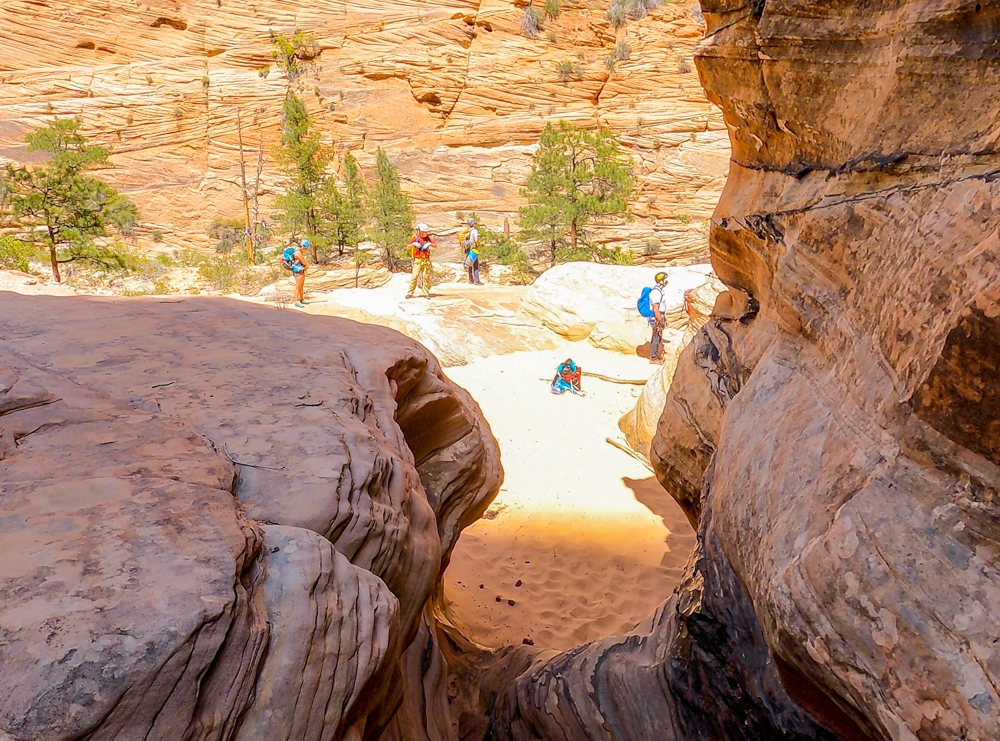
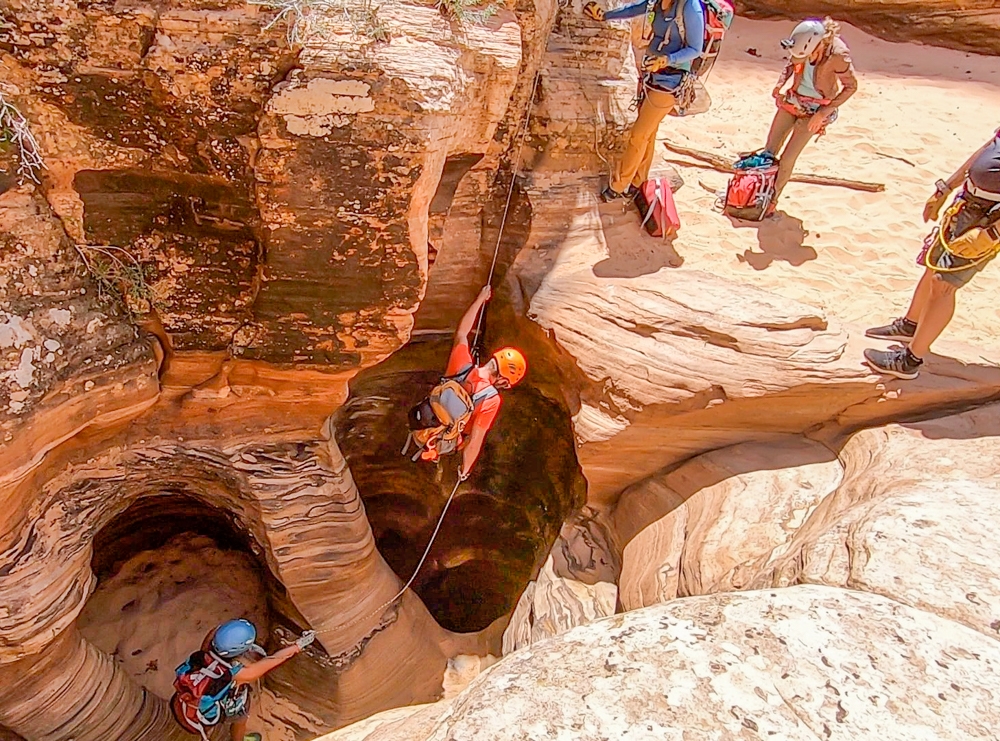
Rappel 3
Rappel 3 is about 250ft down the canyon from Rappel 2. It has a single glue-in anchor RDC (right down canyon). Even though it is only about 30ft down, this rappel can be a bit tricky because of a 2ft wide pothole at the bottom. You don’t want to fall into this pothole since it is at least about 15ft deep. Be careful if you’re throwing the rope bag down from the top. You won’t want it to fall into this pothole. It is best if the first person down to hang the bag from their harness and let the rope out as they rappel down.
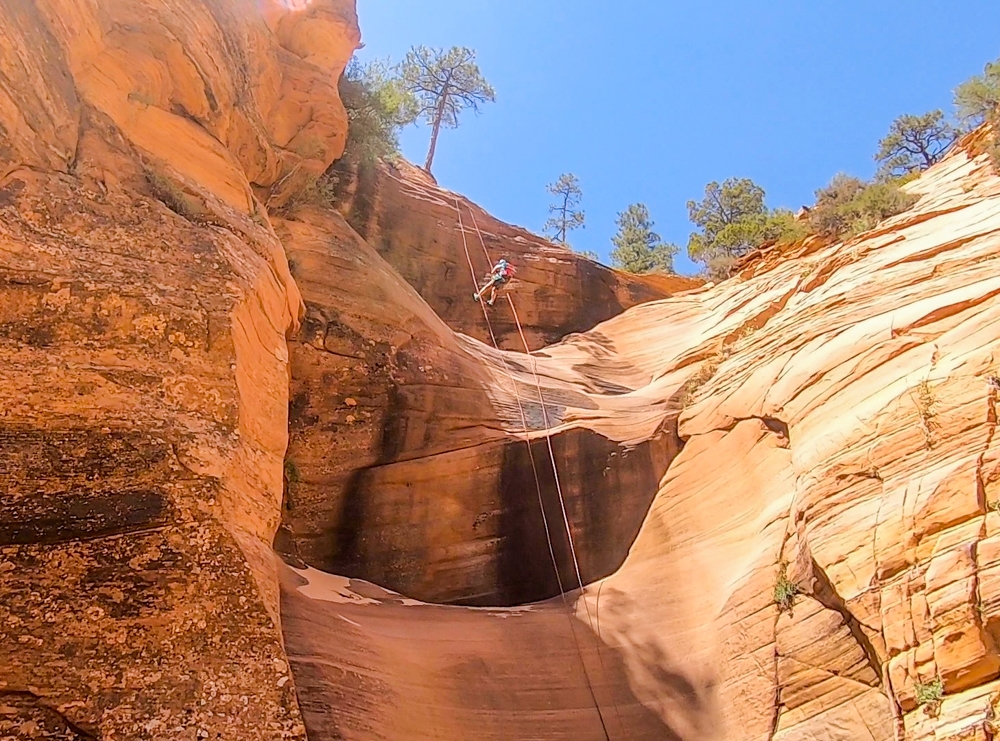
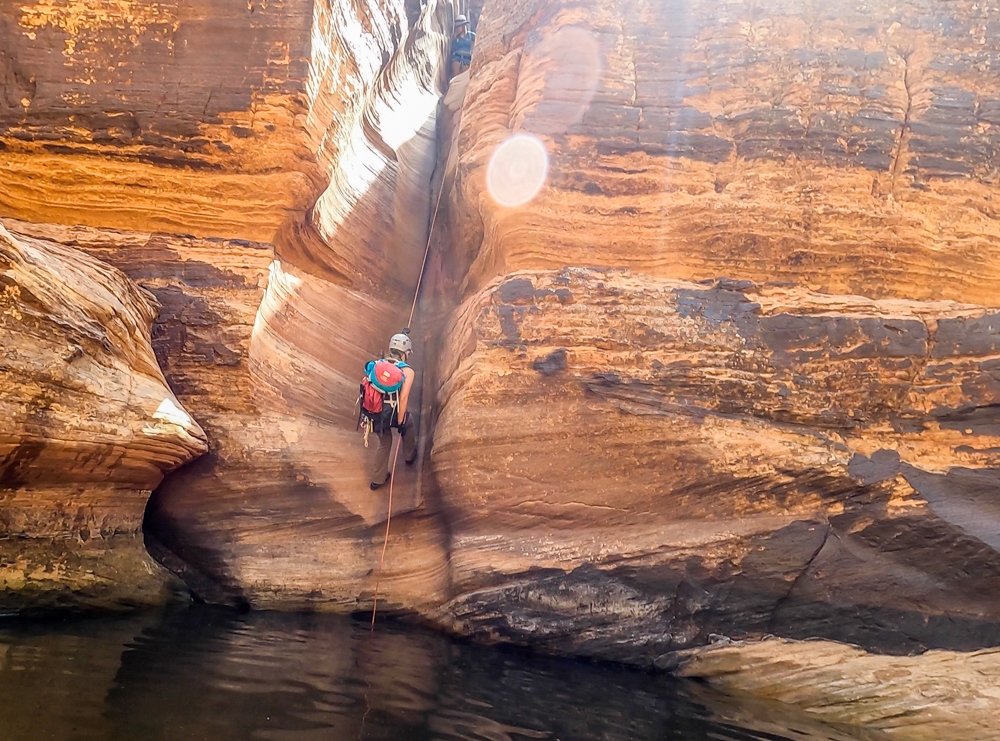
Rappel 4
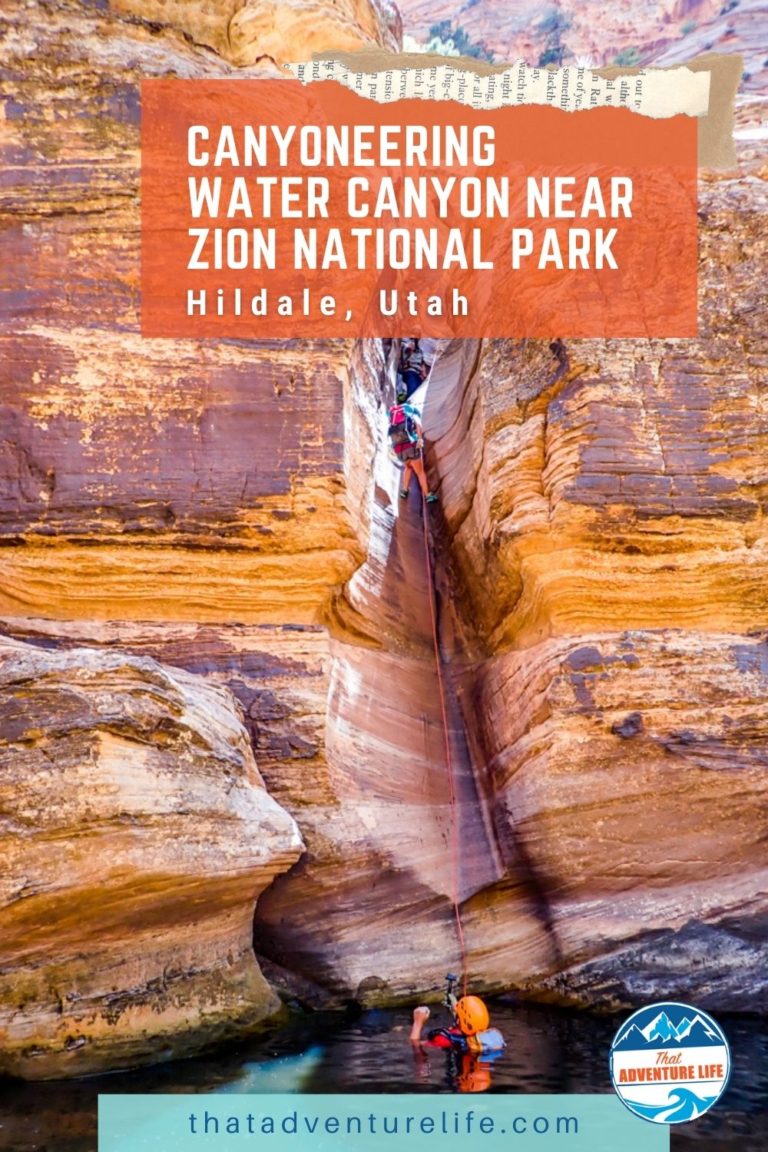
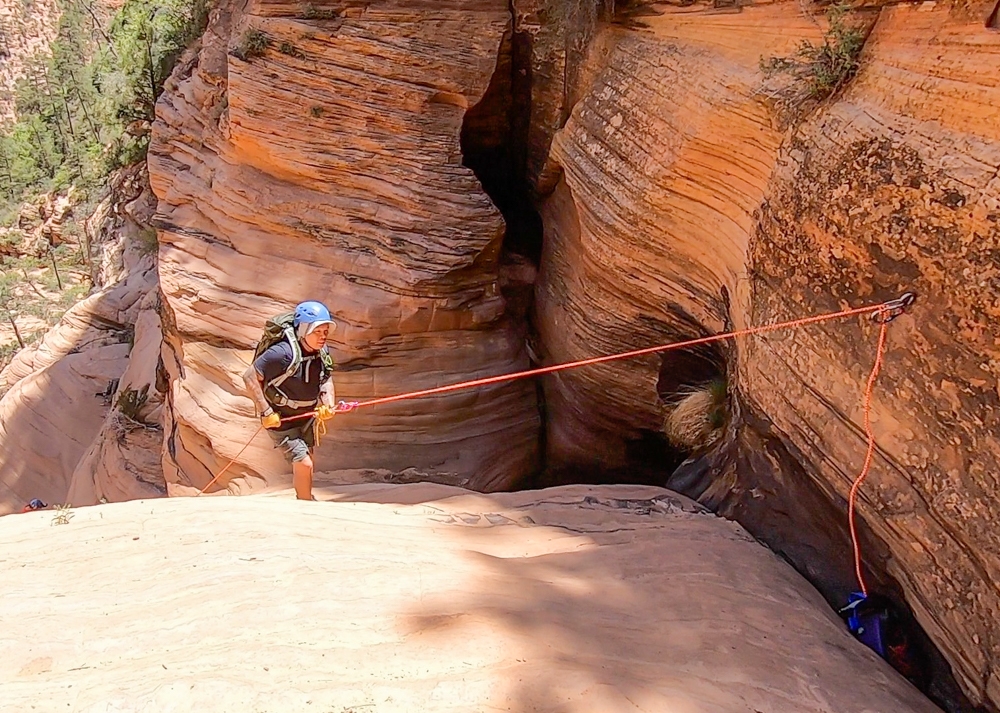
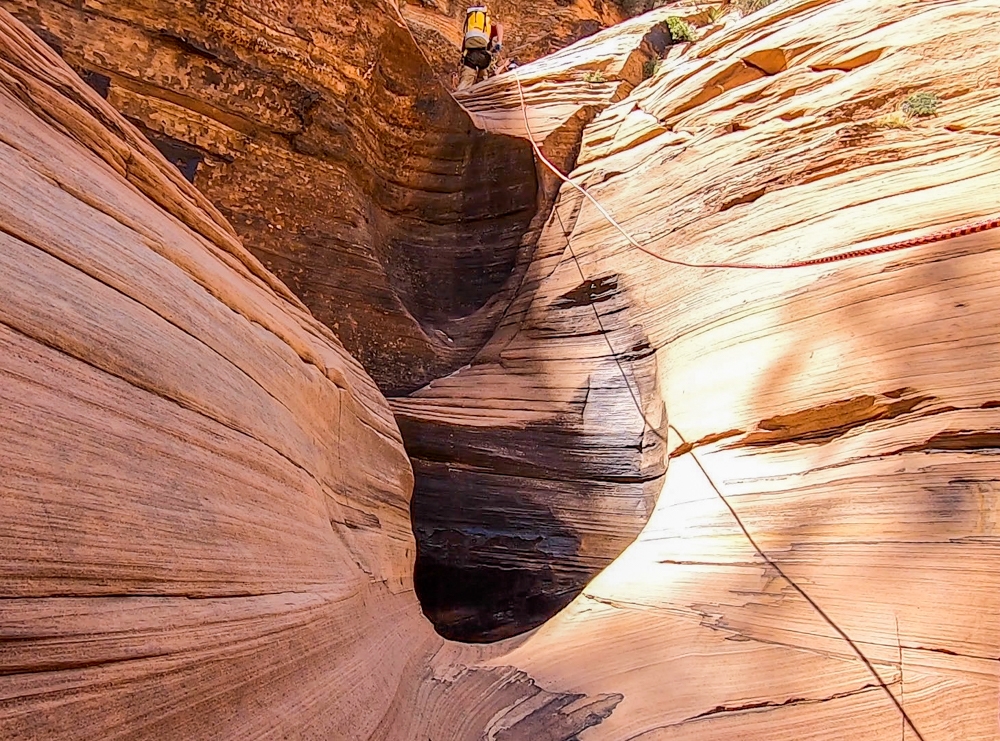
This is your longest rappel of the day, down a vertical wall of about 170ft. It starts from the shelf right below Rappel 3. There are 2 glue-in anchors RDC for this rappel. Depending on when you go, there might be a pool at the bottom. If the pool is full, it would likely be chest high with no room to stand at the bottom. When we went, it was dry except for a tiny pool right at the bottom of the vertical wall. If the pool is full, it is easier to pull the rope from the down canyon side.
Even though it is the longest rappel, it is quite straightforward with no overhang. There are a few good footing areas for beginners to take a breather or to adjust tension.
Between Rappel 4 and Rappel 5:
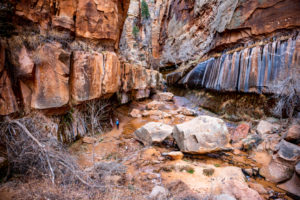
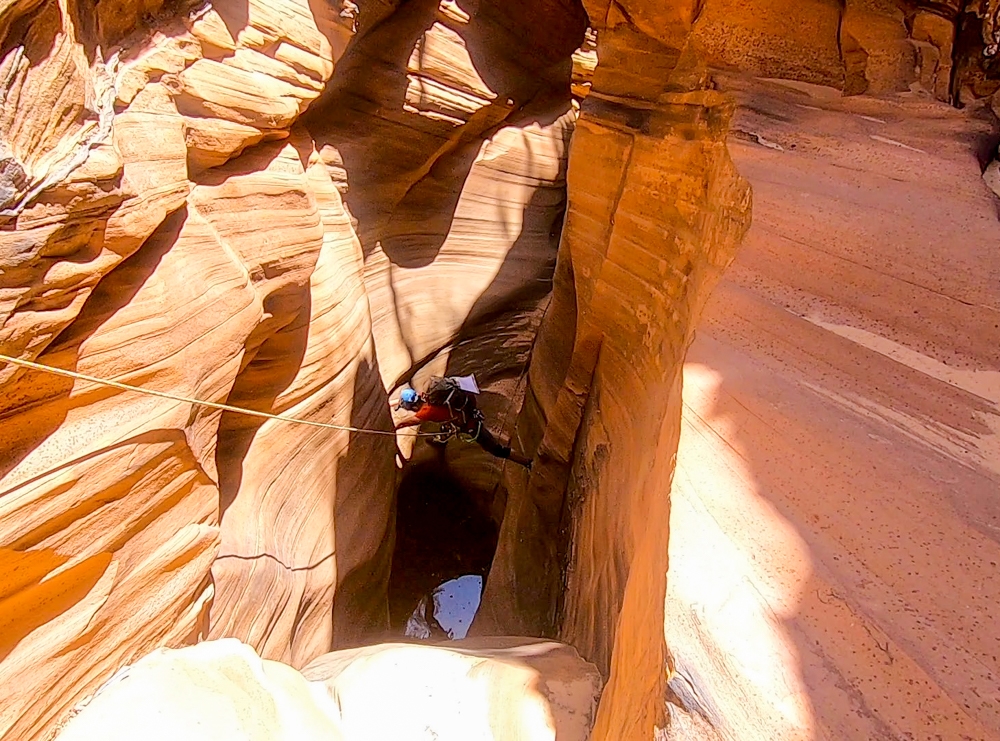
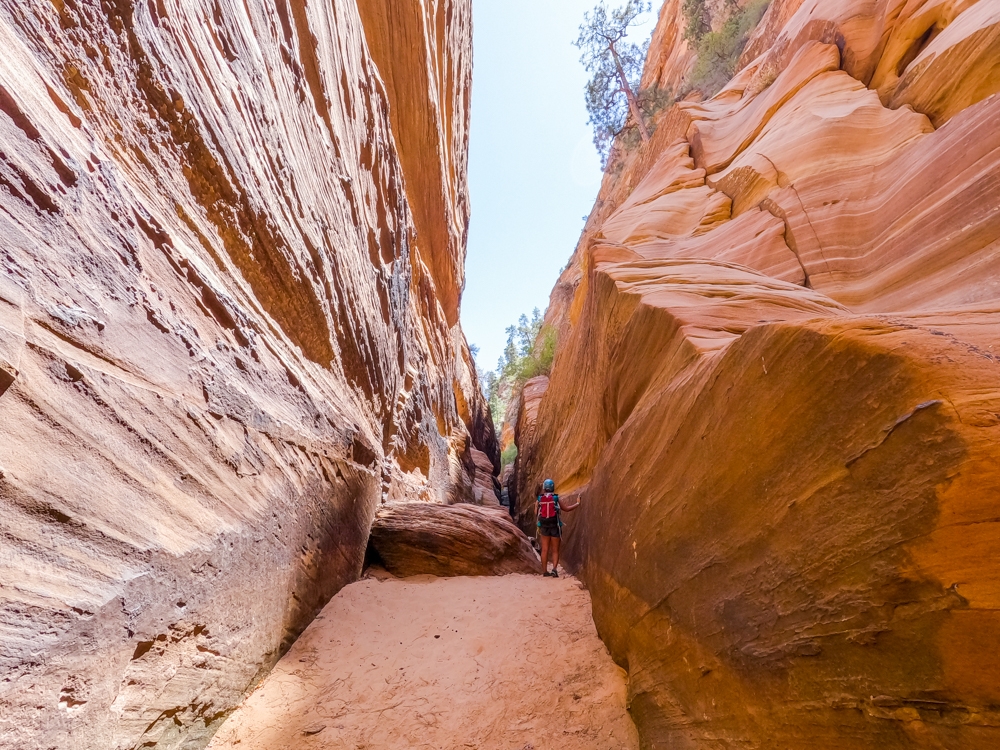
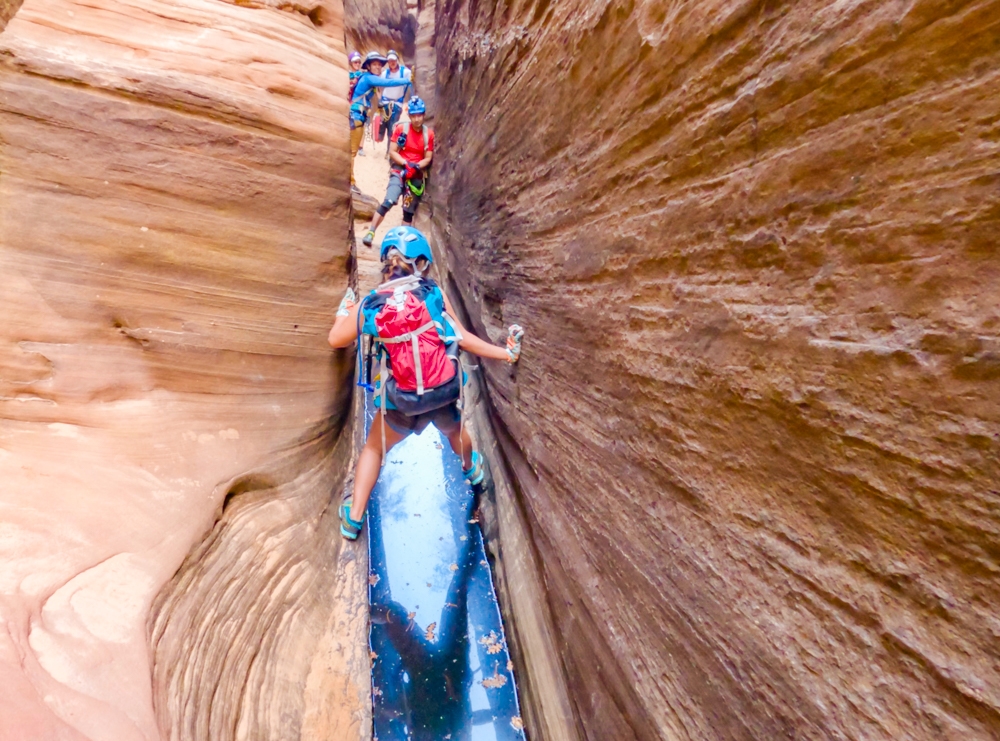
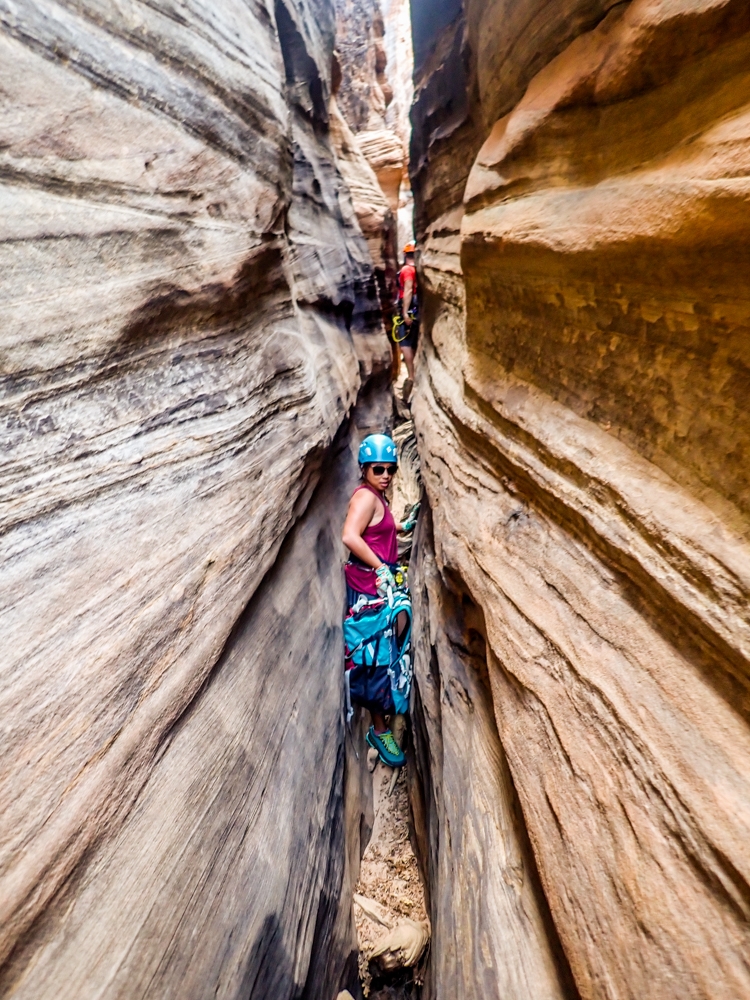
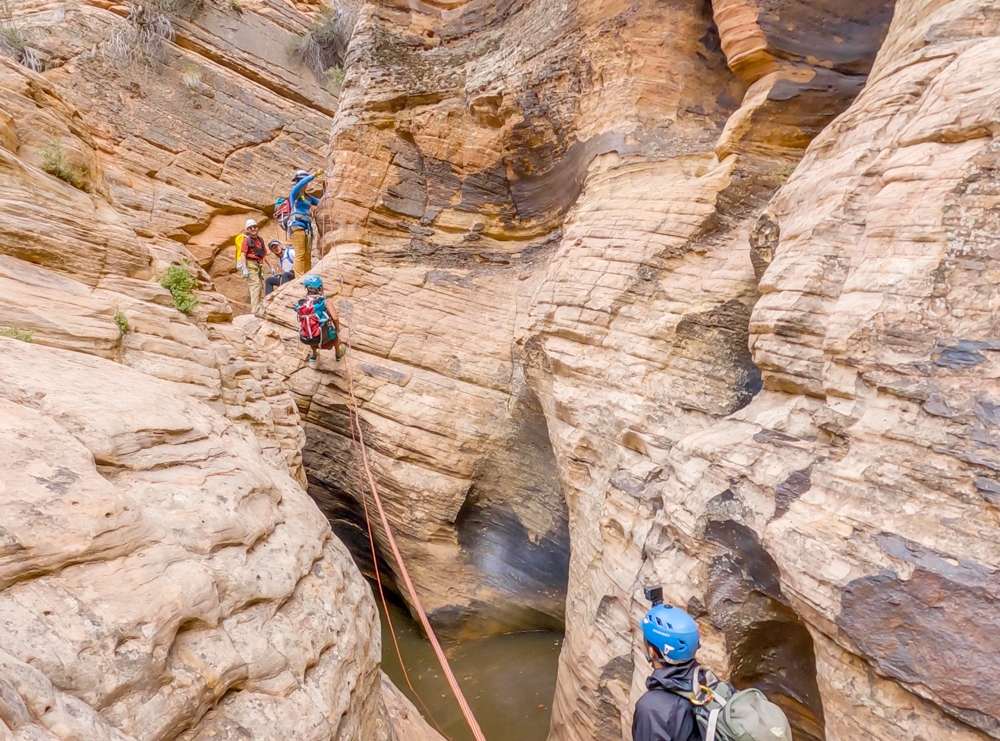
After Rappel 4, you’ll encounter a narrow slot canyon. The slot canyon runs around 300ft. In the first part of the slot canyon, there might be water at the bottom. If this is the case, you will have to either swim or stem your way through it. The slot then gets quite narrow, where you’ll have to walk sideways with your bags. Once you pass through the narrowest part, the slot opens up to a wide-open landing. From here, you can see the canyon to the left, down below.
Rappel 5
If you look on the right, down canyon direction, you can see a single glue-in anchor there. This rappel drops down an interesting-looking slot. Similar to Rappel 3, there is a pothole at the bottom of this one as well. However, the wall is more slippery than Rappel 3 so be careful.
You can bypass both Rappel 5 and 6 by going left and following a series of ledges that slope down the canyon floor. Depending on the water level, you will need to either swim or walk across a pool to continue down the canyon. This pool is what you will rappel into for rappel 6.
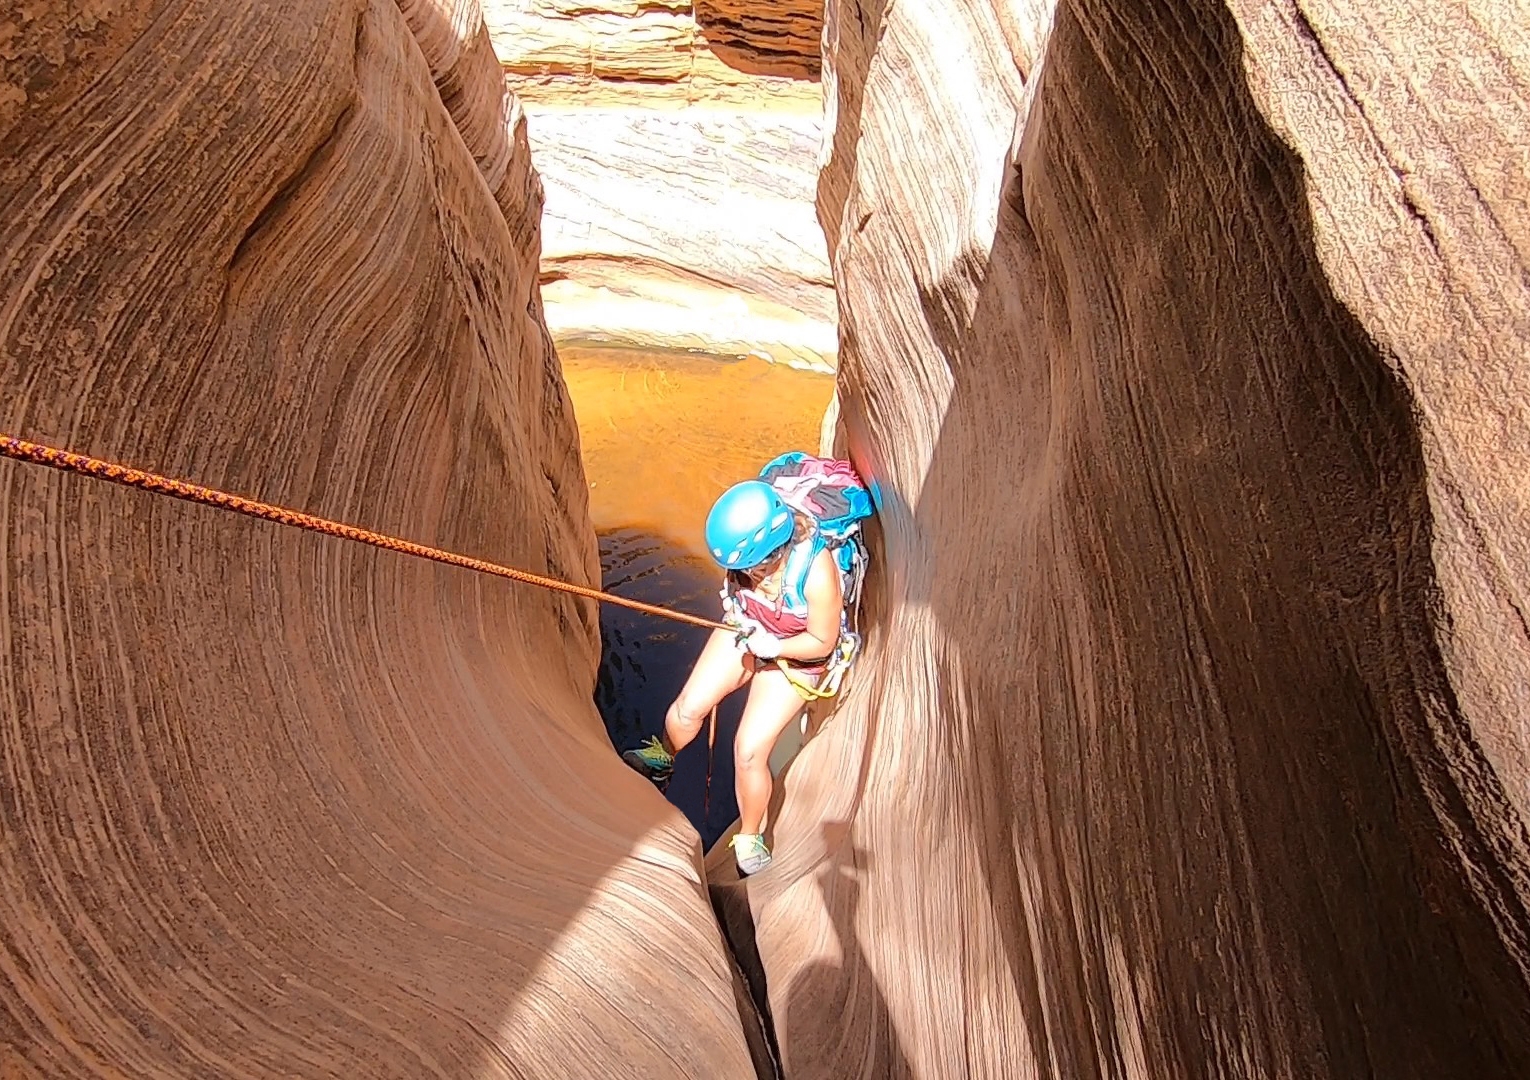
Rappel 6
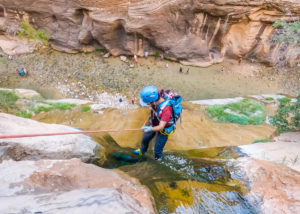
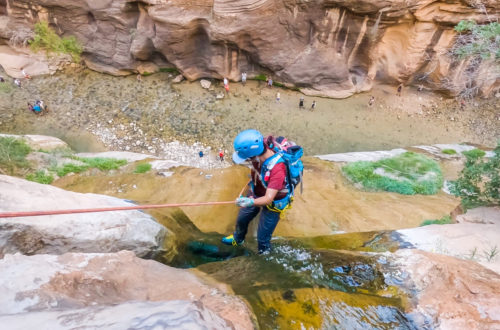
Immediately after Rappel 5 is Rappel 6. It has a single glue-in anchor on the left-hand side. Rappel 6 traverses down a narrow chute and drops down to the pool at the bottom. This pool is a swimmer. This is one of our favorite rappels, next to the 170ft one. Depending on the season, there will be water flowing down this chute. You will be rappelling down a waterfall. When we went, it was dry.
Rappel 7
Rappel 7 is about 80ft after the pool. It is anchored RDC from a small pine tree. It is a shortie of about 25ft. If you want to bypass this rappel, it is very easy to downclimb toward the left.
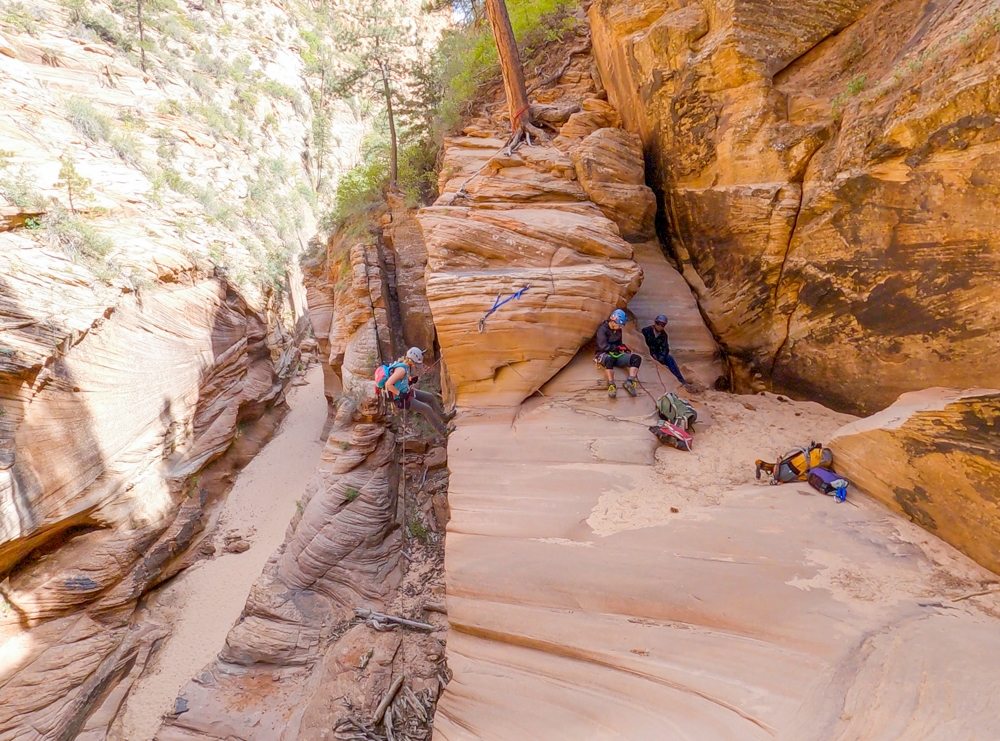
Rappel 8
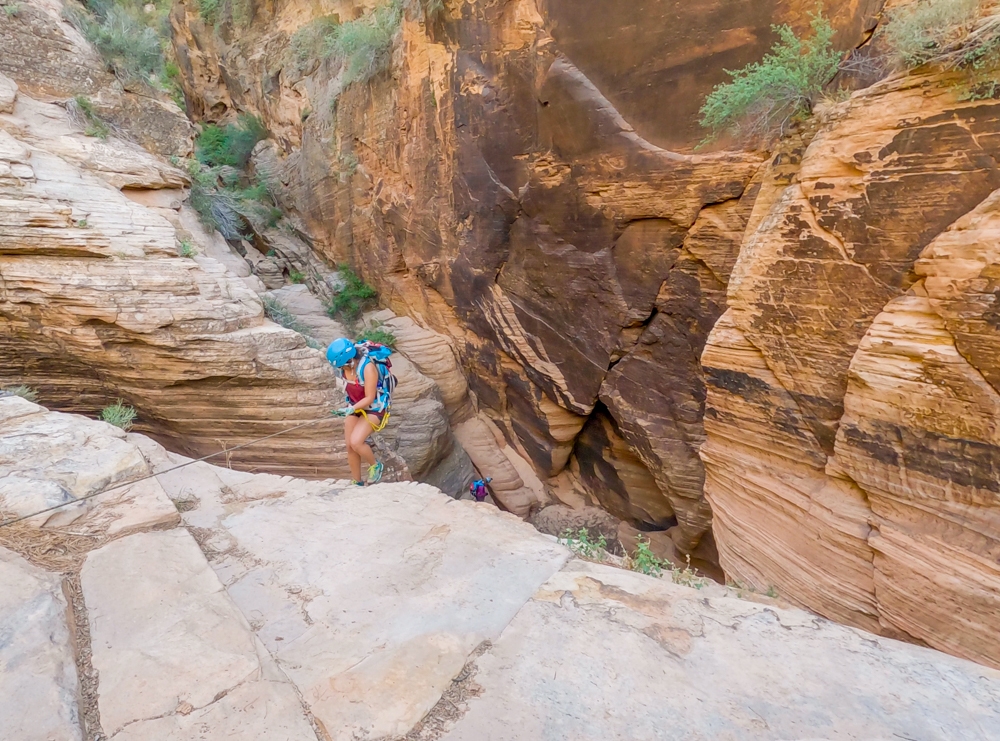
After rappel 7, you’ll cross through a sandy area that leads to another narrow-ish slot. Once you get to the end of the narrow slot, it will be a scramble down to a shelf above the canyon floor. Here, you can find two anchor points for Rappel 8. The first one is two anchors, bolted to the rock. The second anchor is tied to a large pine tree, about 10ft up from the first anchor point. You will need to climb up to get to the pine tree anchor. We used the lower one.
The start of this one is a bit tricky. Since it is sloped down toward the canyon at the start, you should use your safety tether while getting yourself ready. It is about 60ft drop a vertical wall. The bottom half of Rappel 8 is free hanging. However, you are pretty close to the wall, enough for your toes to touch the wall at several spots along the way.
Rappel 9
After Rappel 8, you’ll have to hike down long sandy narrows that resemble a hallway for about 500ft. At the end of the hallway, there is a small ledge you’ll have to climb up. This is where the anchor for Rappel 9 is.
Rappel 9 is a short 15ft drop over some logs into a pool below. The anchor is a single bolted anchor on the wall LDC. Depending on the water level, you can rappel down into a pool and walk/swim out. The pool is only about 10ft across. The water level usually about waist deep. When we went, the water level is a lot lower and the water was pretty gross. Therefore, Anh set up the first half of the guided rappel here, then used the bypass to finish the second half of the guided rappel on the other side for the rest of us.
The bypass is climbing up a steep section of rock RDC and then dropping back down a semi-steep slope to a big pine tree where that anchor for Rappel 10 is.
Rappel 10
Rappel 10 is on the other side of the pool, about 8ft above the slick rock slope. You can find the anchor tied to a large pine tree, about 20ft back. If you prefer, you can climb down a drop that looks about 15ft LDC, where you can find a set of glue-in anchors RDC. We didn’t go this route so we’re not sure if it is an easy climb or not.
From the pine tree, it is about 20ft to the sloping drop-off and another 45ft to the canyon floor. About ⅓ of the way down is the pothole where the glue-in anchors are.
After rappel 10, you’ll follow a slot about 300ft down the canyon. At the end of the slot, there is a big ledge LDC. Climb up on the ledge to find anchors for Rappel 11 LDC.
Rappel 11
Rappel 11 has 2 glue-in anchors on LDC. It is about a 30-40ft drop. This Rappel has a bit of a tricky start. It seemed to work best when you sit down on the ledge and drop down into the squeeze part before pushing yourself back out to go down. It is free-hanging after the squeeze part.
Alternatively, you can bypass Rappel 11 by dropping down into a slot instead of climbing up on the big ledge. It is an easy down-climb, up until the last 6ft or so. The last 6ft can be tricky as you need to stem between the wall. You can use meat anchor for inexperienced people in your group.
Rappel 12
Rappel 12 is about 350ft down the canyon. This is the last one. It is about 500ft up from the sloped waterfall you first encountered on your way in. It’s also run along the Water Canyon trail. Therefore, if you want to bypass this last rappel, you can climb up to the trail RDC, and follow it back to the sloped waterfall, then back to the parking lot. We skipped this one on our last trip because it was cold and late.
The anchors for Rappel 12 are located inside a slot. There are two sets of glue-in anchors, one on the RDC side of the slot and the other is on LDC. It is about 105ft down to a pool, usually it is about waist high.
Once you get down from Rappel 12, there is an optional rappel that you can do. It is about 200ft from Rappel 12, on a ledge. It is about 40ft to the canyon floor. You can easily bypass this one by using the trail RDC.
Exit
Once you get to the sloped waterfall, it is about 0.9 miles back to the parking lot. Follow the same trail you came in
These are the gear that we personally use and find them helpful for this particular adventure. Don’t forget to check out our Recommended Gear section as well.
adventure gear
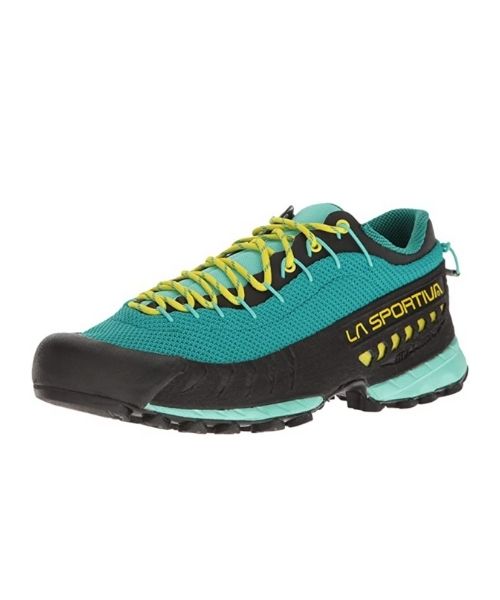
We love these La Sportiva TX3 approach shoes! They have pretty good traction on wet rocks and muddy areas. They also drain well, especially when you have to wade through water.

This is the male version of the La Sportiva TX3.
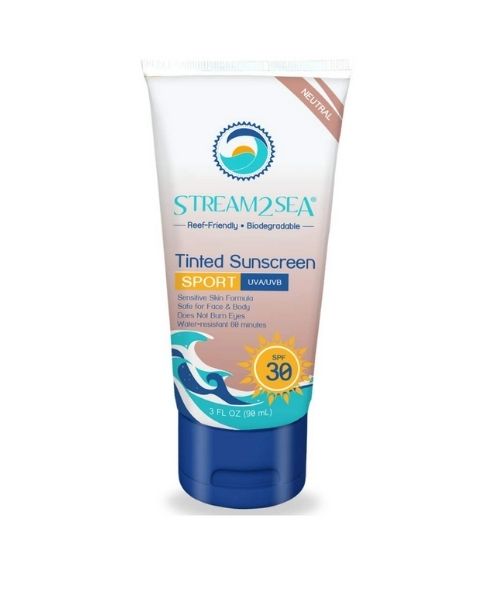
This will be a long day in the sun! We use eco-friendly, reef-safe sunscreen, Stream2Sea SPF 30.

Face sunscreen is also important. We love these tinted, organic All Good Organic Sunscreen Butter.
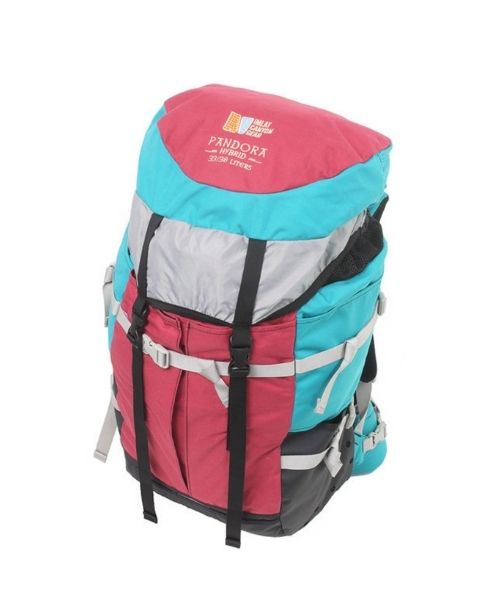
Canyoneering bags are essential, especially for wet canyon. This Imlay Pandora Bag not only has tons of drainage holes, it’s also very well-made. It’s also perfect for shorter people like Vy with heigh range from 5ft – 5ft 4
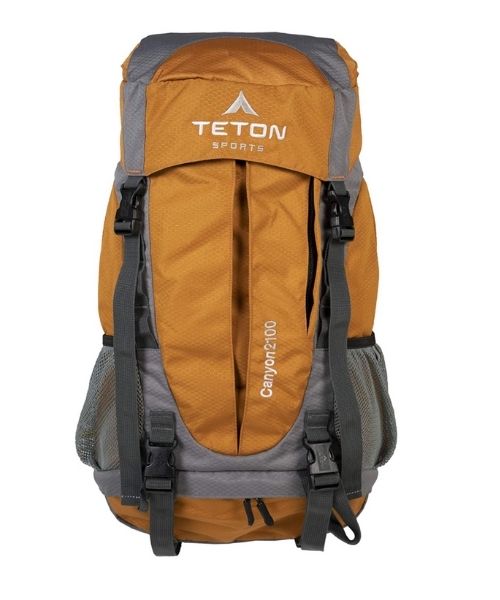
Teton Sport makes a pretty decent beginner canyoneering bag. It has a few drainage holes that will be useful for wet canyons. What we love about this bag is the price and the amount of pockets it has!
If you want something lighter, we love the packable Patagonia Women’s Houdini® Jacket and Patagonia Men’s Houdini® Jacket
We were introduced to this Hoodoo rappel device from our expert canyoneering friends. So far, we love it!
Another popular option for the rappel device is this ATS
Of course, you will need to bring your canyoneering ropes.
So far, our Black Diamond Half Dome helmets have served us pretty well
You will need canyoneering harness. Climbing harness will work too.
Even when dry, you’ll still need dry bags for Water Canyon. There are a few swimming sections. You will need this to keep your items dry.
other things to bring
Always good to bring some snacks with you. For healthy and easy snacks, check out some of our recipes.
camera gear


Related Posts
Save your pins:


