Canyoneering Lower Refrigerator Canyon | Zion National Park
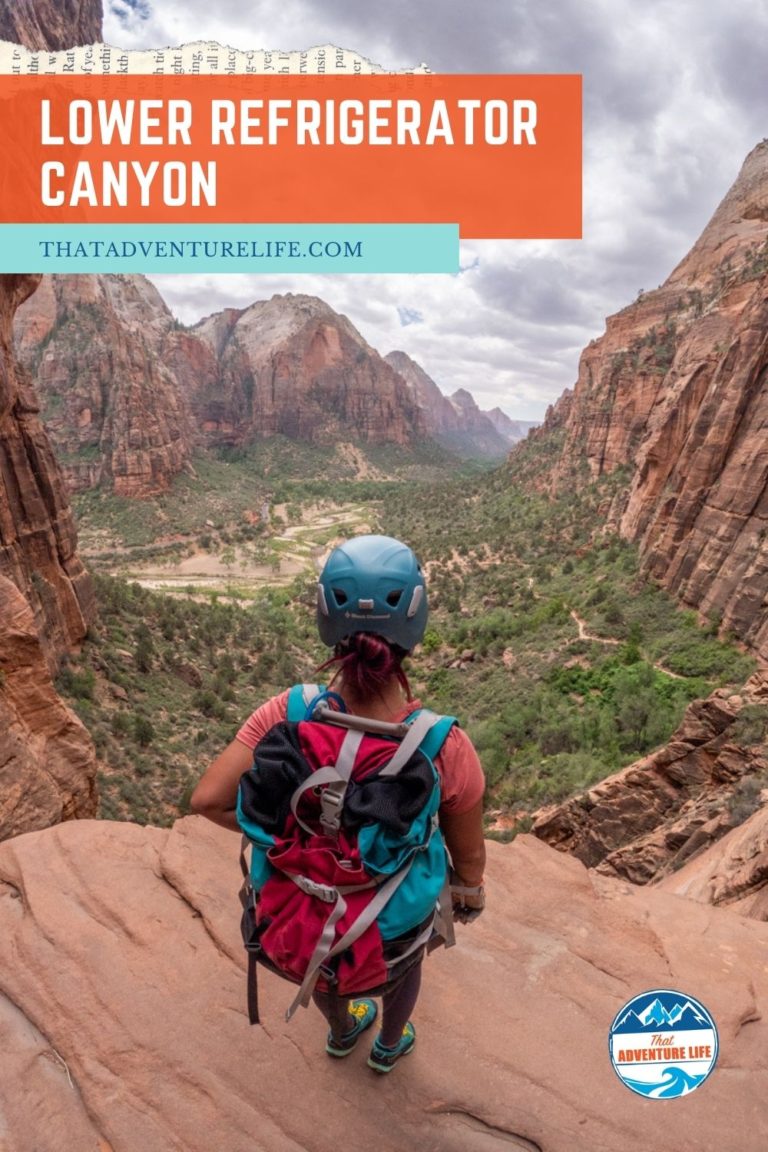
Lower Refrigerator Canyon is a short, beginner-friendly canyon inside Zion National Park. It’s really not so much of a canyon, but rather a couple of over 100ft rappels down a wall. Even though it’s not as scenic as many other canyons in Zion National Park, Lower Refrigerator Canyon is worth a visit. Especially if you’re looking for a short canyon to fill an afternoon. It’s also pretty cool because you’ll get to rappel down the side of the trail getting to Angels Landing. Maybe it’s just us, but we were pretty excited about that fact.
Stats
Where
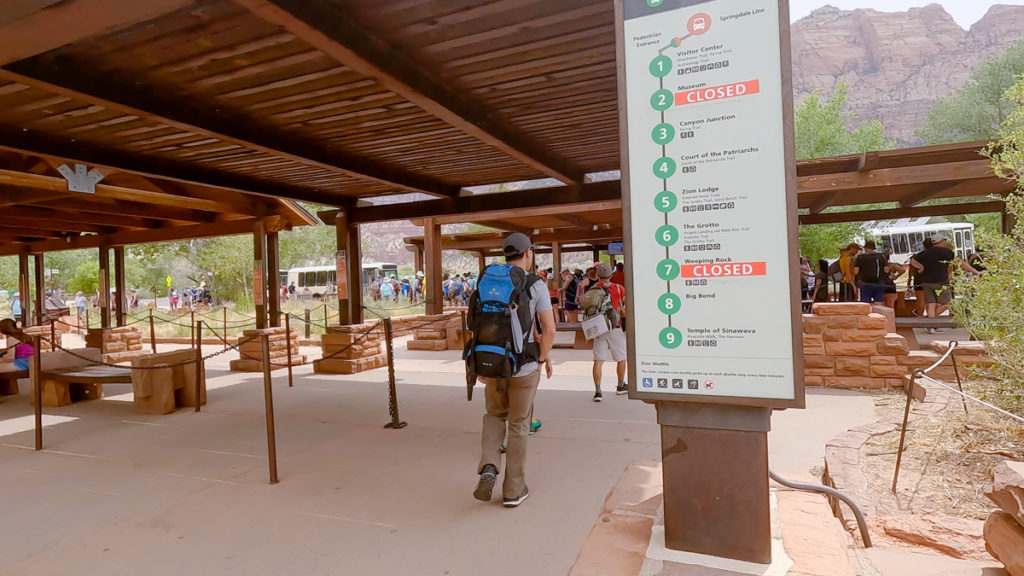
The trailhead starts at the Grotto Picnic Area, shuttle stop #6. It shares the same trailhead with Angels Landing.
Parking
If you’re taking the shuttle, you’ll have to park at the visitor center. If driving in, there are limited parking in front of the Grotto Picnic Area.
Permit and Fee
There is a fee to enter Zion National Park. Please check the park’s website for updated info. You can also use your annual pass such as America the Beautiful Pass here.
You’ll also need a separate permit to canyoneering Lower Refrigerator Canyon. For more info about canyoneering permits,click here.
Weather
Rating
3A II Click here to learn more about canyoneering ratings.
Distance
Total: 1.9 miles
Time
3 – 6 hours (We had 6 people and took 4.5 hours)
Rappels
3-4 rappels. Max is 190ft
Shuttle Required
None
Vehicle
Passenger
Water
Might be one pool (avoidable) at the bottom of rappel 1
Restroom
There are restrooms at the Grotto Picnic Area.
Best Season
Spring, Summer, Fall
Flash Flood
Moderate
Video
Getting There
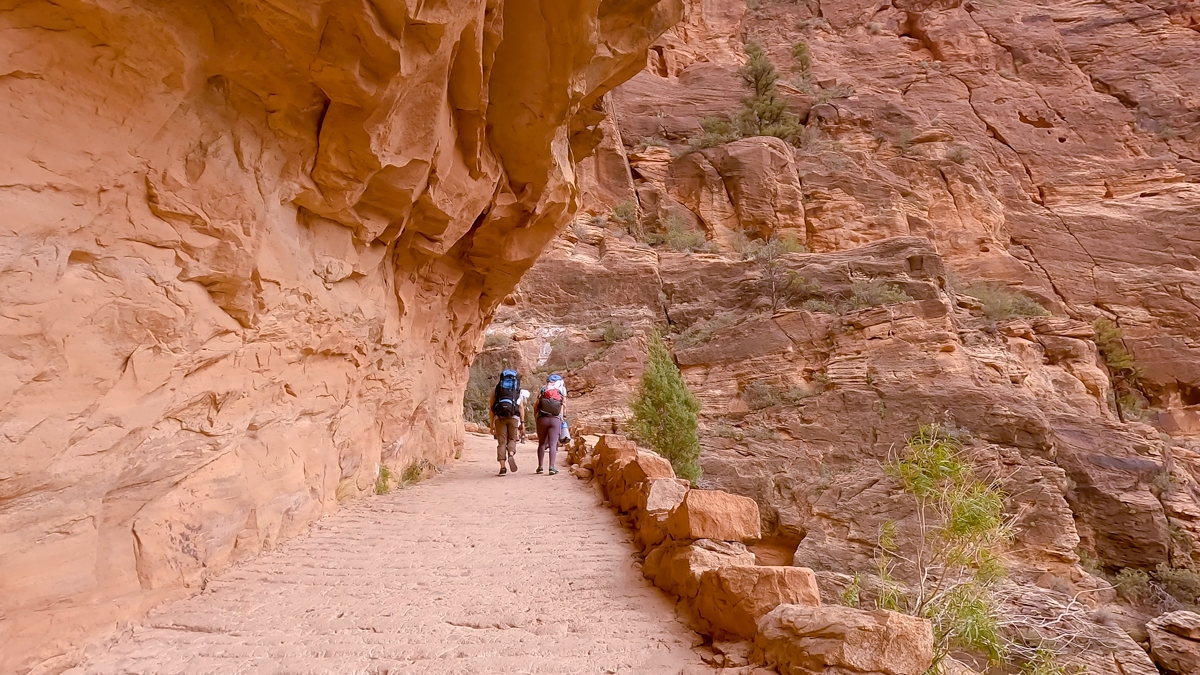
Lower Refrigerator Canyon shares the same trailhead with Angels Landing and West Rim Trail. It is at the Grotto Picnic Area, shuttle stop #6. When the shuttle is running, you’ll have to take the Zion shuttle to the trailhead. For more info about the Zion shuttle, click here.
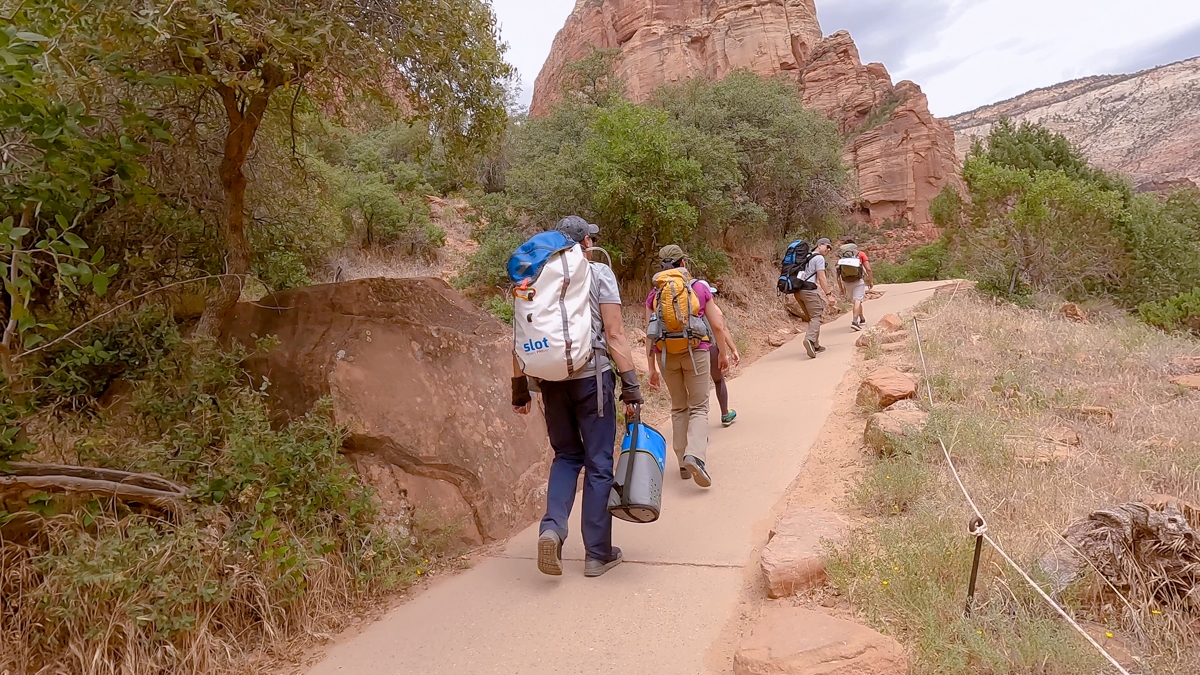
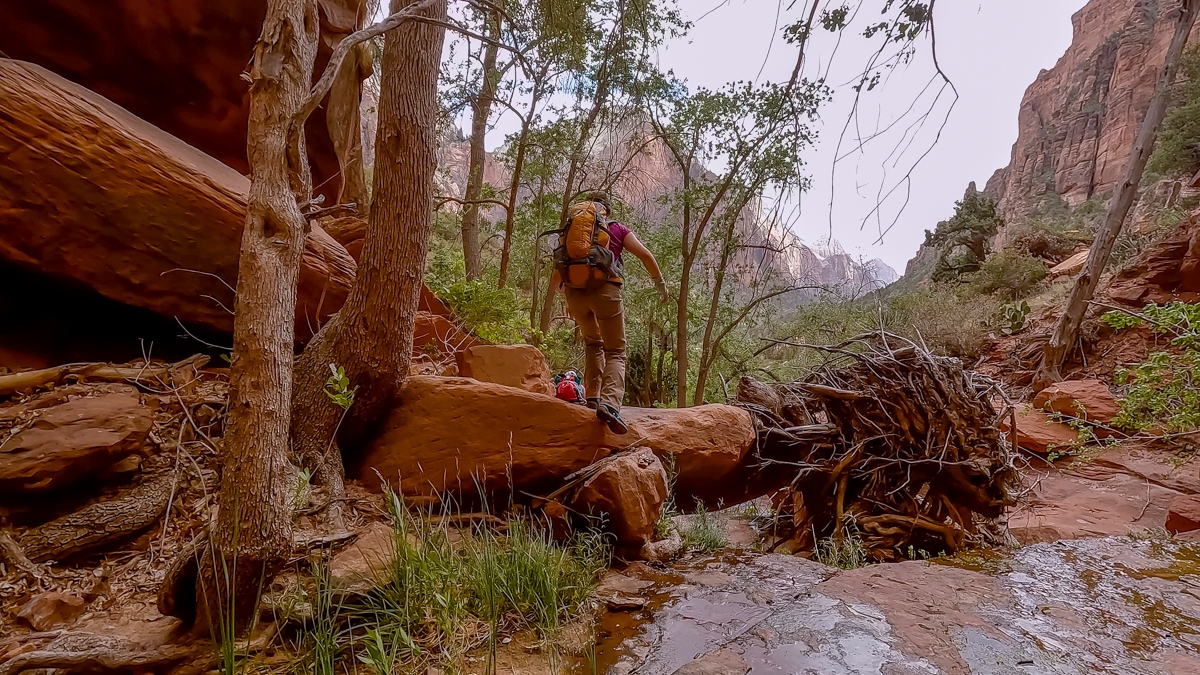
The Approach
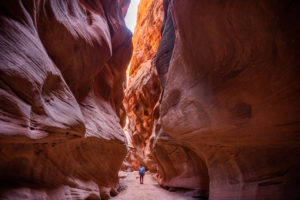
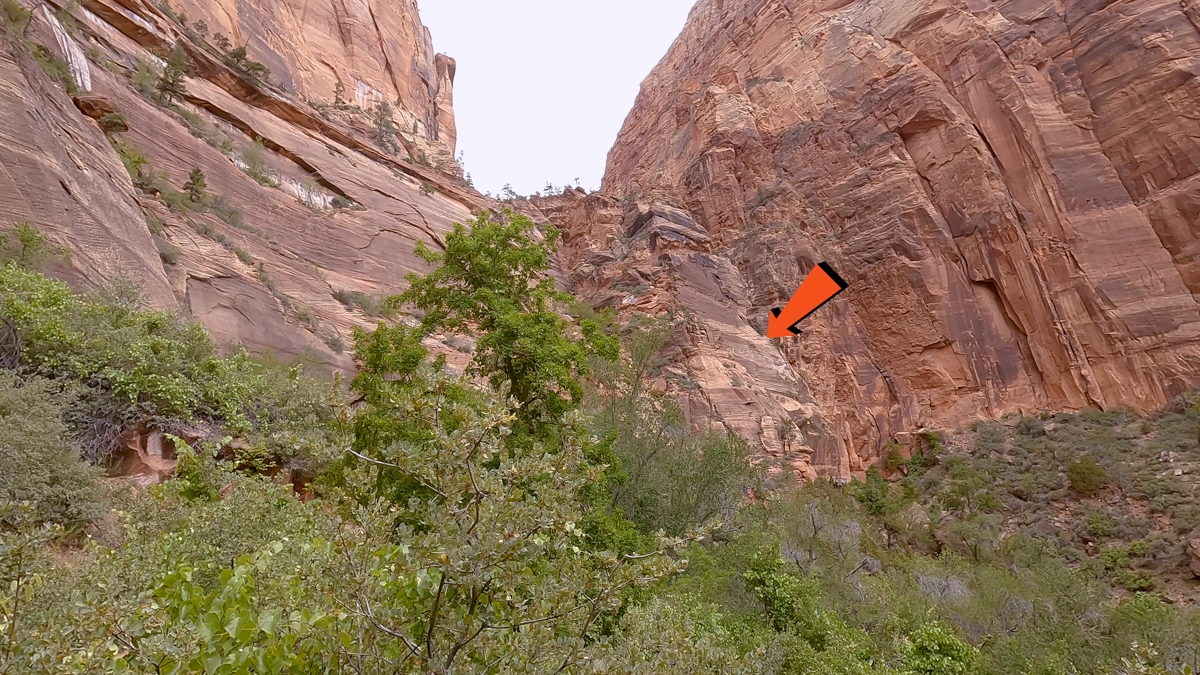
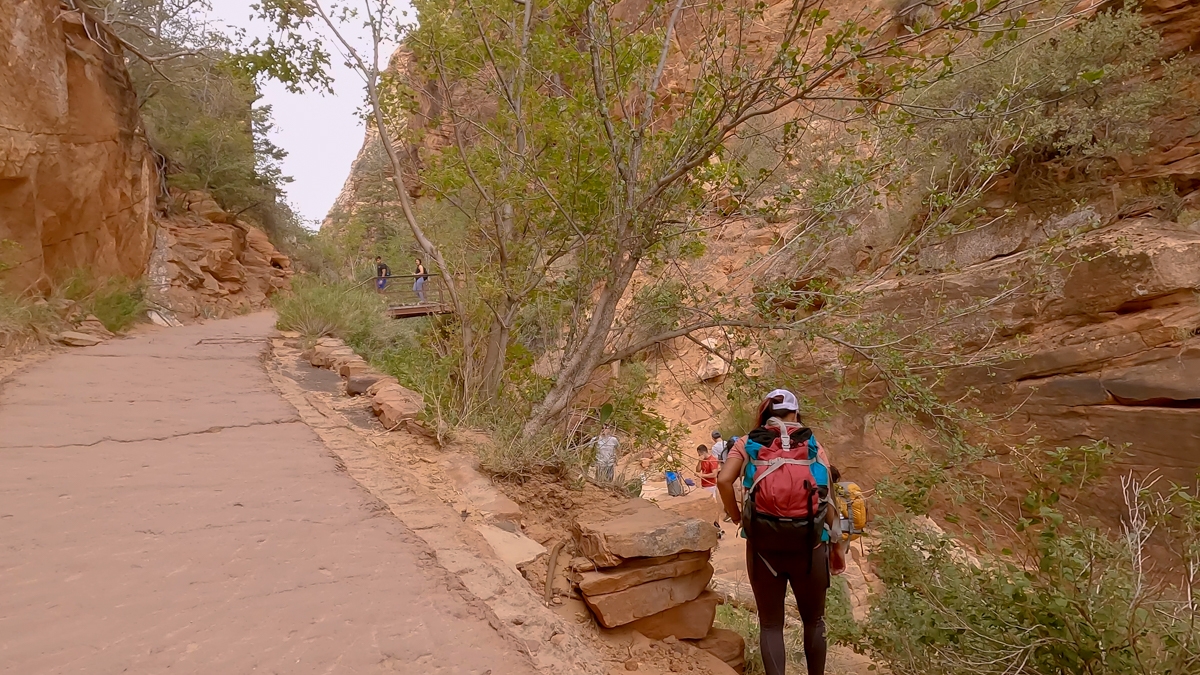
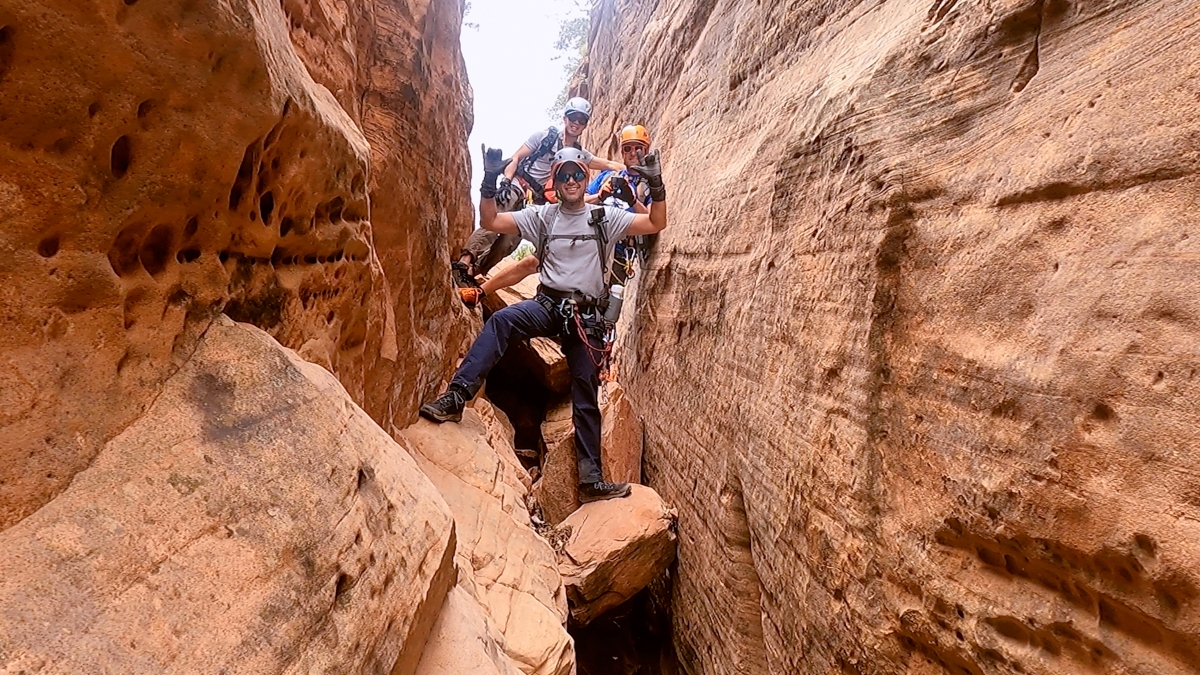
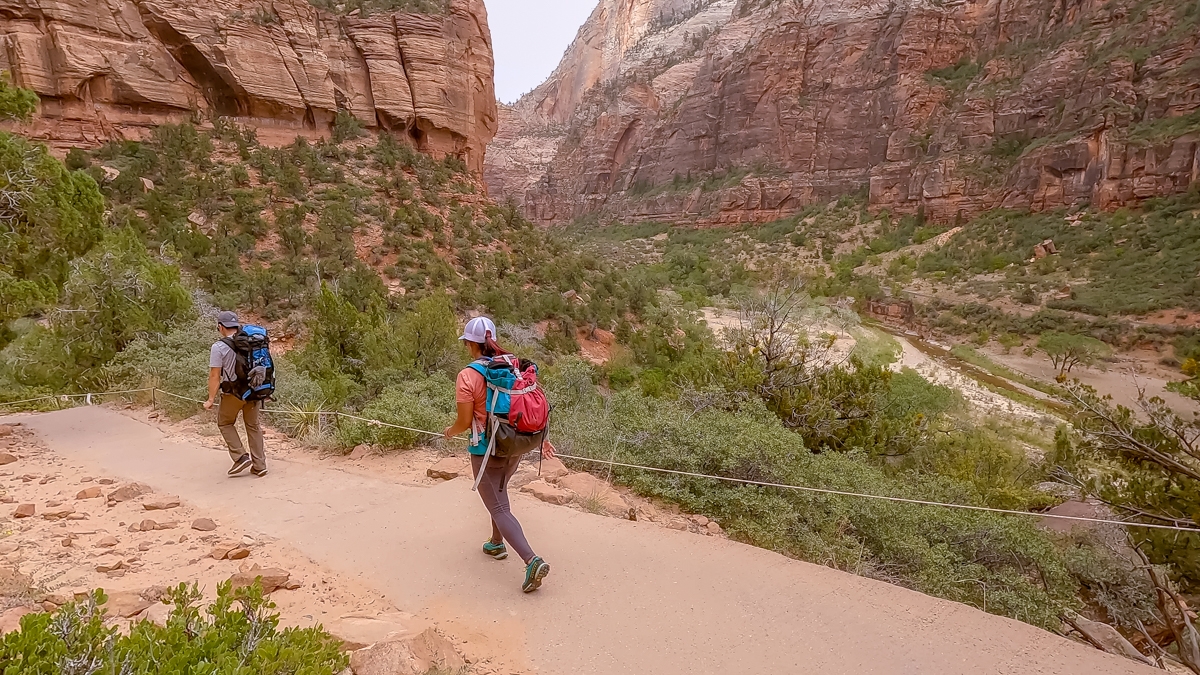
The approach for Lower Refrigerator Canyon is straightforward. After leaving the Grotto Picnic Area, we followed the signs for Angels Landing. The trail quickly gains elevation and turns into sets of switchbacks. No matter how many times that we’ve done this trail, the switchbacks still kick our butts. After about 1 mile, the trail will turn sharp left into the shaded, narrow canyon of Refrigerator. There is a wooden bridge crossing over the canyon below. This is the only footbridge on this trail so you won’t miss it. The start of the descend for Lower Refrigerator Canyon is down in the crevice, right before the bridge. This is where you can gear up. It’s kind of funny that we’ve hiked Angels Landing so many times before but we had no idea that you can rappel off right here. This is why we love canyoneering so much. It takes us to so many unexpected places.
Previous
Next
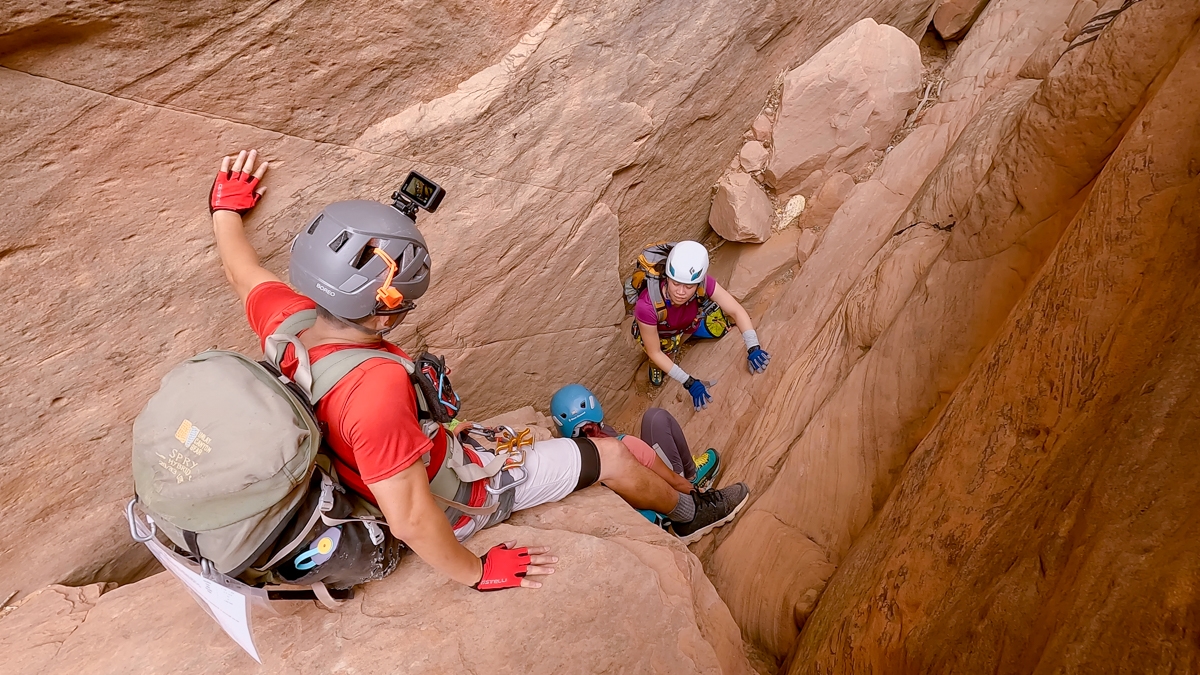
Technical Section
Downclimbing Section/Optional Rappel
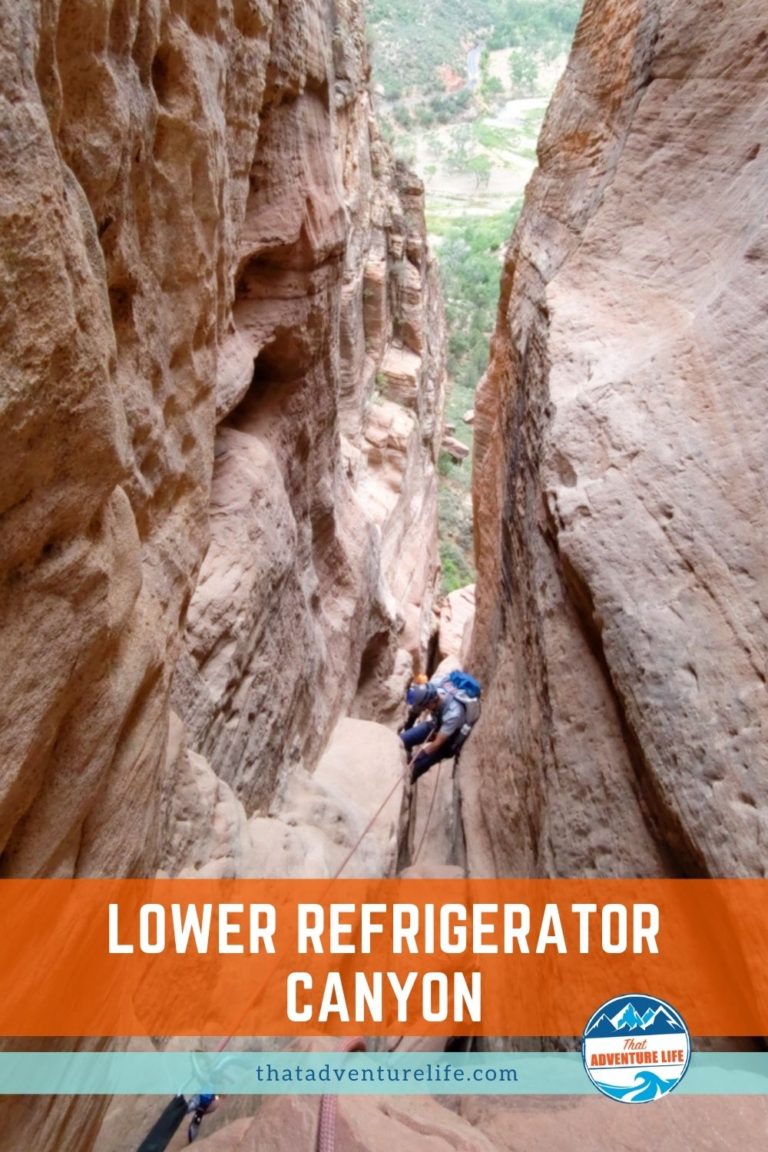
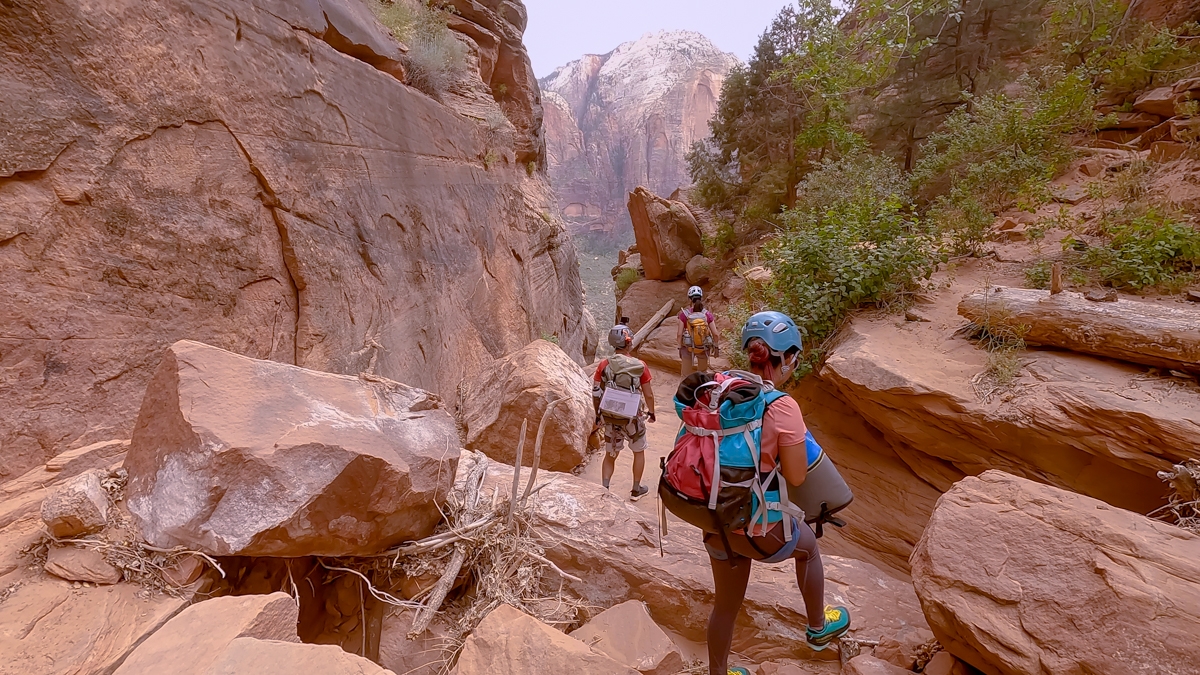
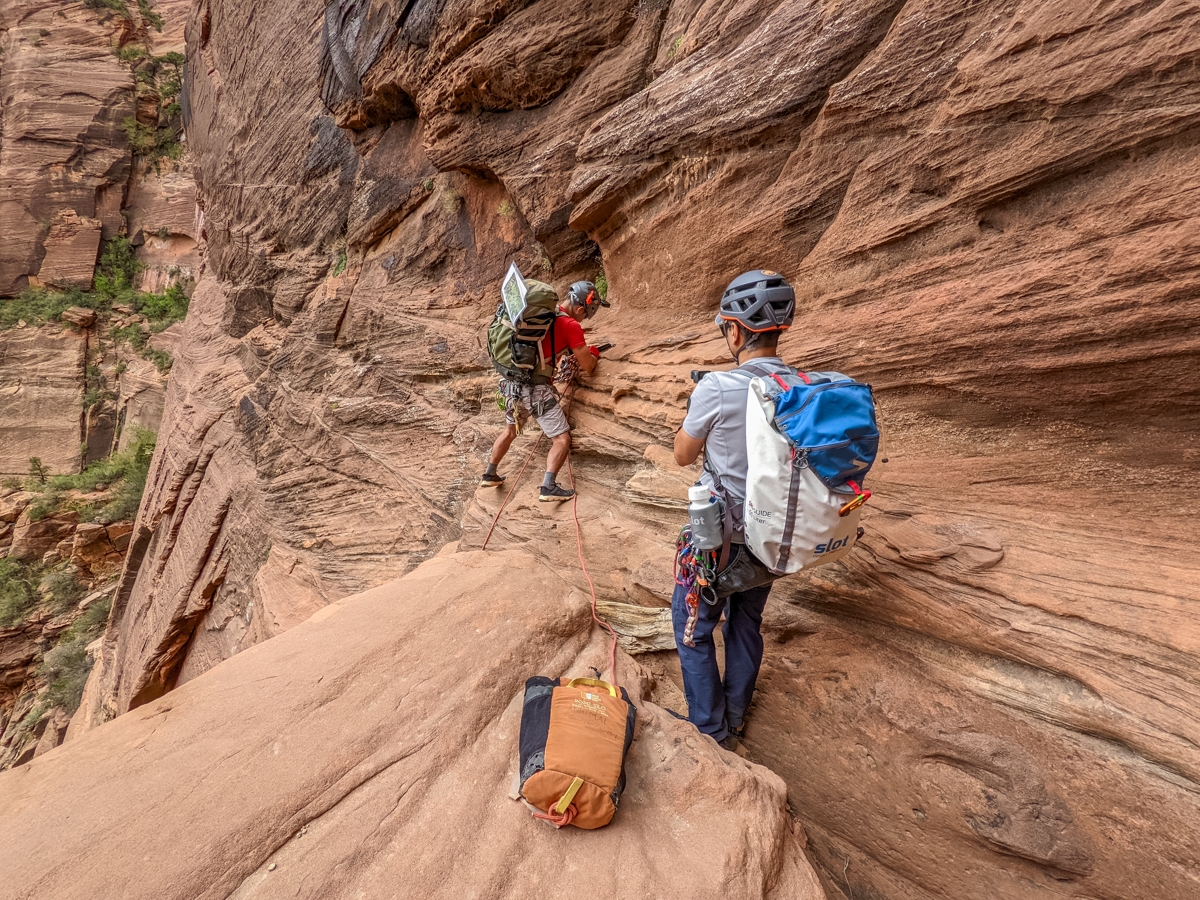
Once we finished gearing up, our group quickly follow the canyon downstream. The wind had picked up significantly so we wanted to finish the canyon as fast as we can. There were a couple of short, narrow sections of down-climbing before getting to the mandatory first rappel. In the last downclimbing section, there is webbing LDC (left-down-canyon) so we decided to rappel down instead of downclimbing.
Previous
Next
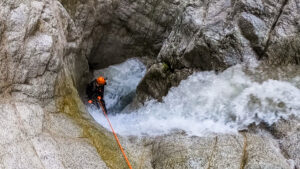
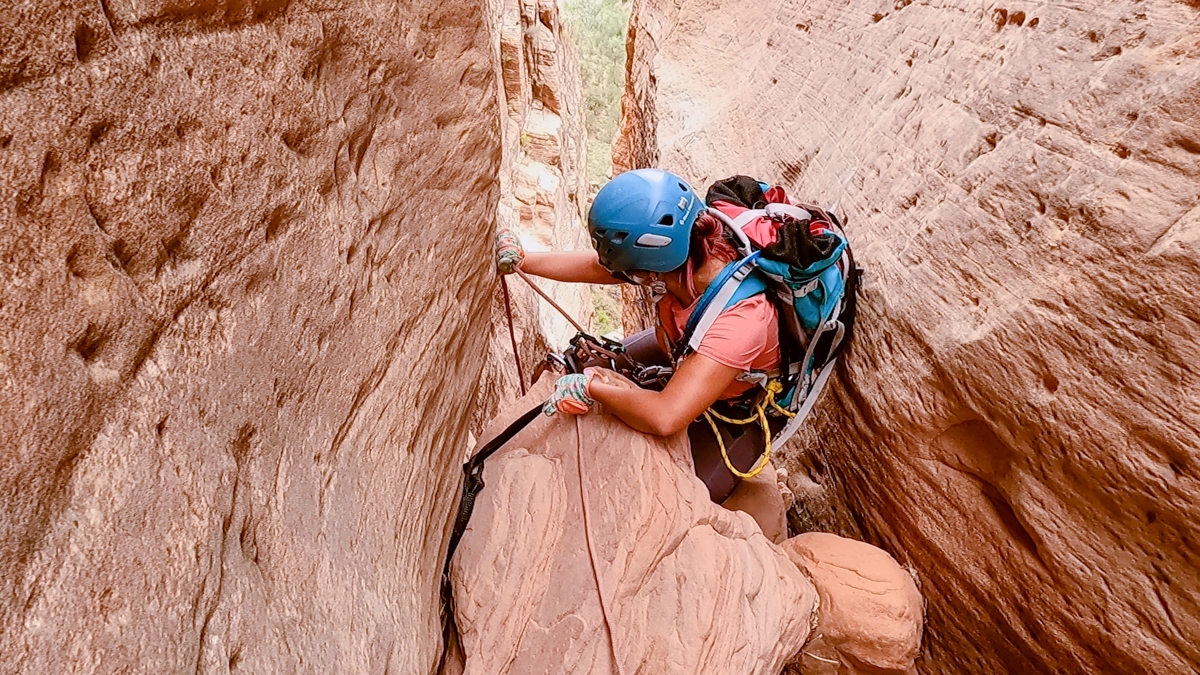
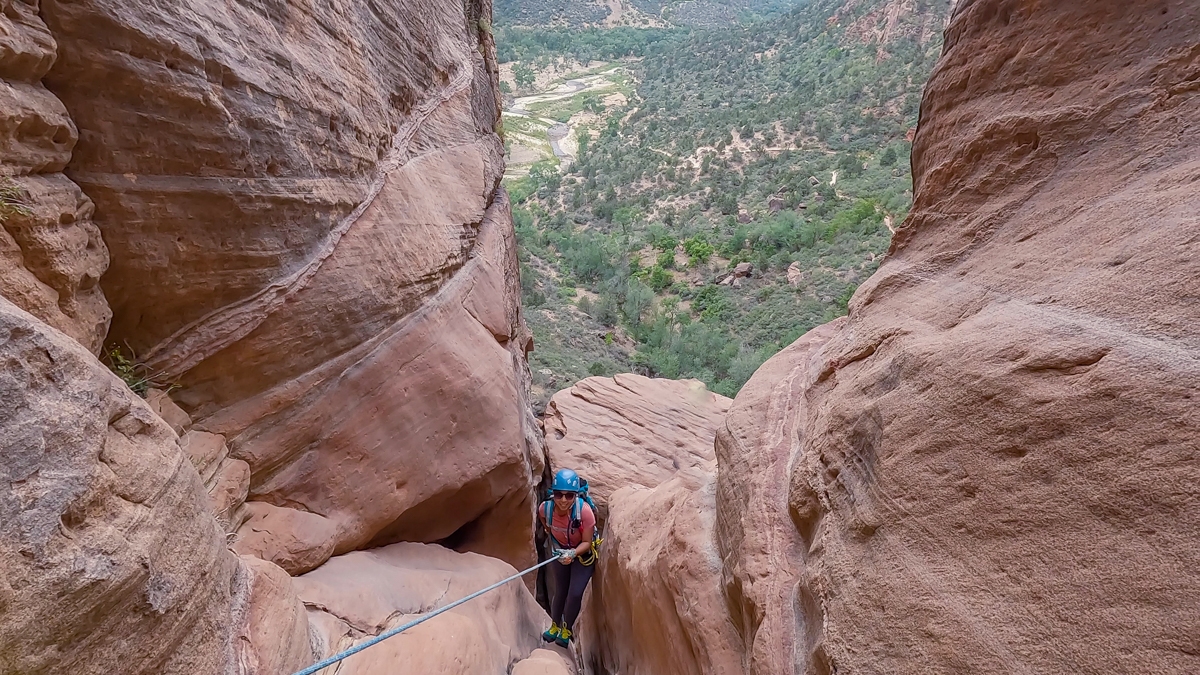
Rappel 1
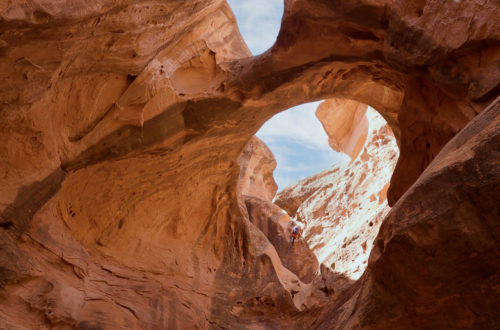
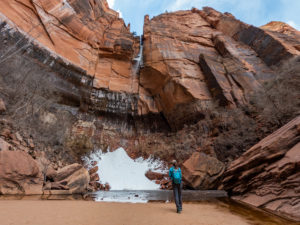
The mandatory rappel 1 is about 30ft with 2 bolted hangers LDC. This rappel drops you off into a pool below. At the time that we went, this pool is bone dry so we actually dropped into it and climb up to the pillar. However, you can bypass this pool by climbing carefully RDC (right-down-canyon) on a small ledge and jumping across to the top of the pillar. After this rappel, we were out of the narrow section and getting for the bigger rappels. The top of the pillar is also a perfect place for that group selfie. It looks out to the beautiful canyon below.
Previous
Next
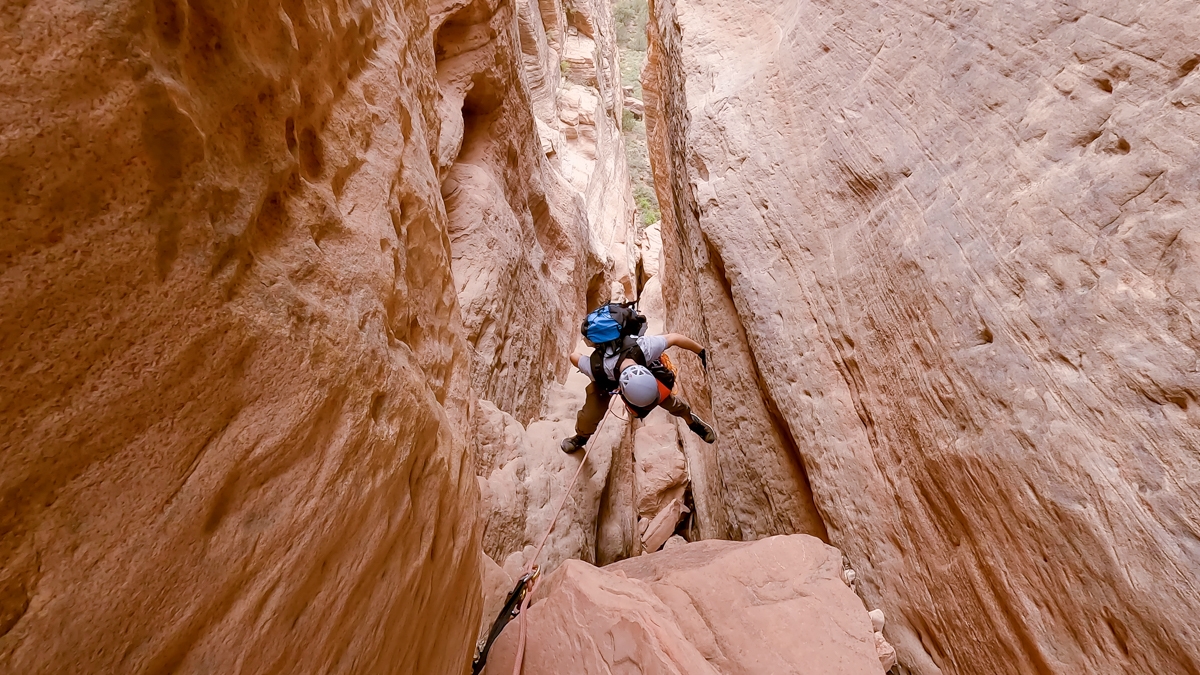
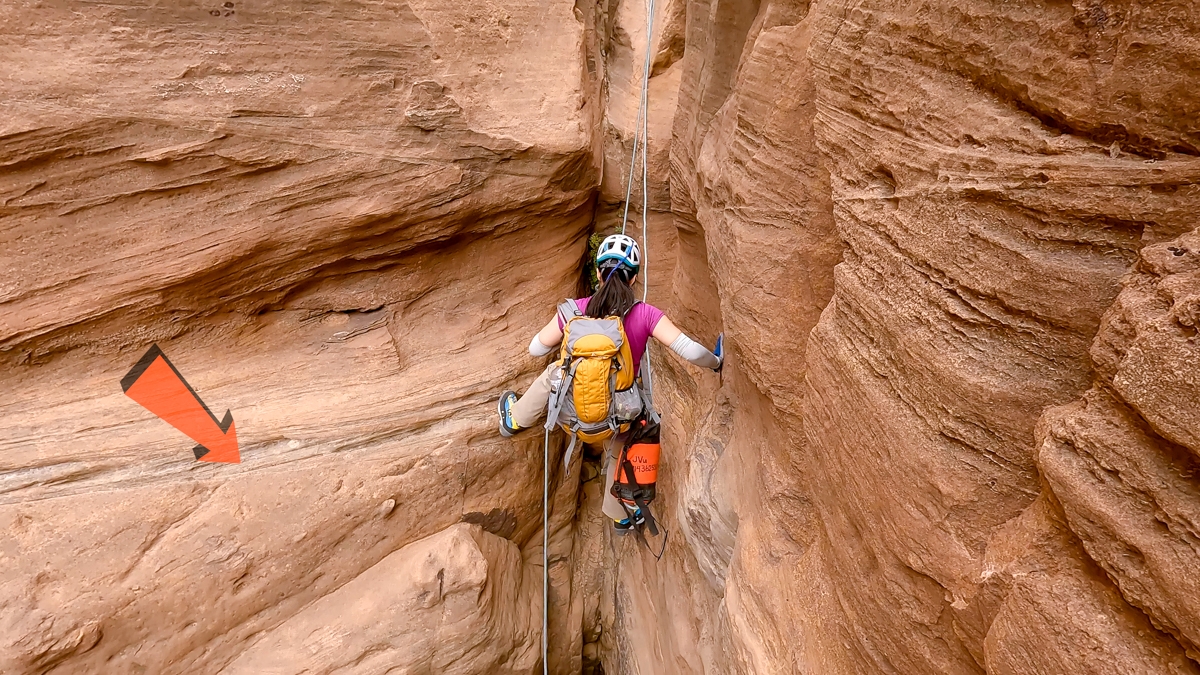
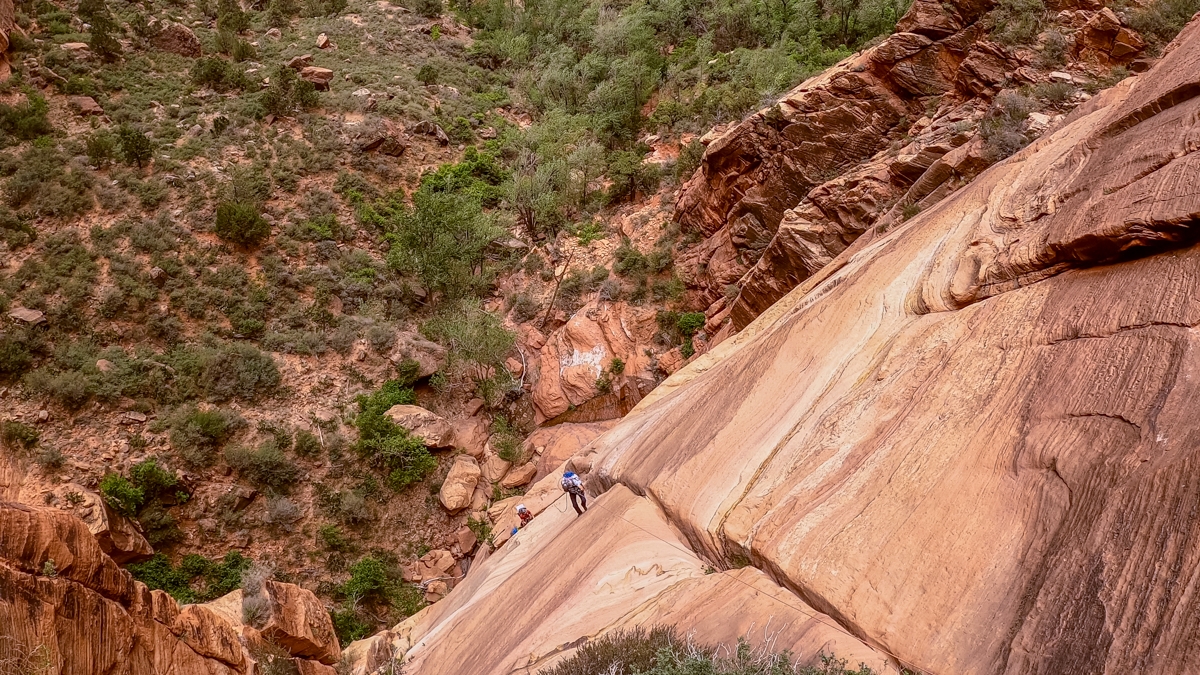
Rappel 2
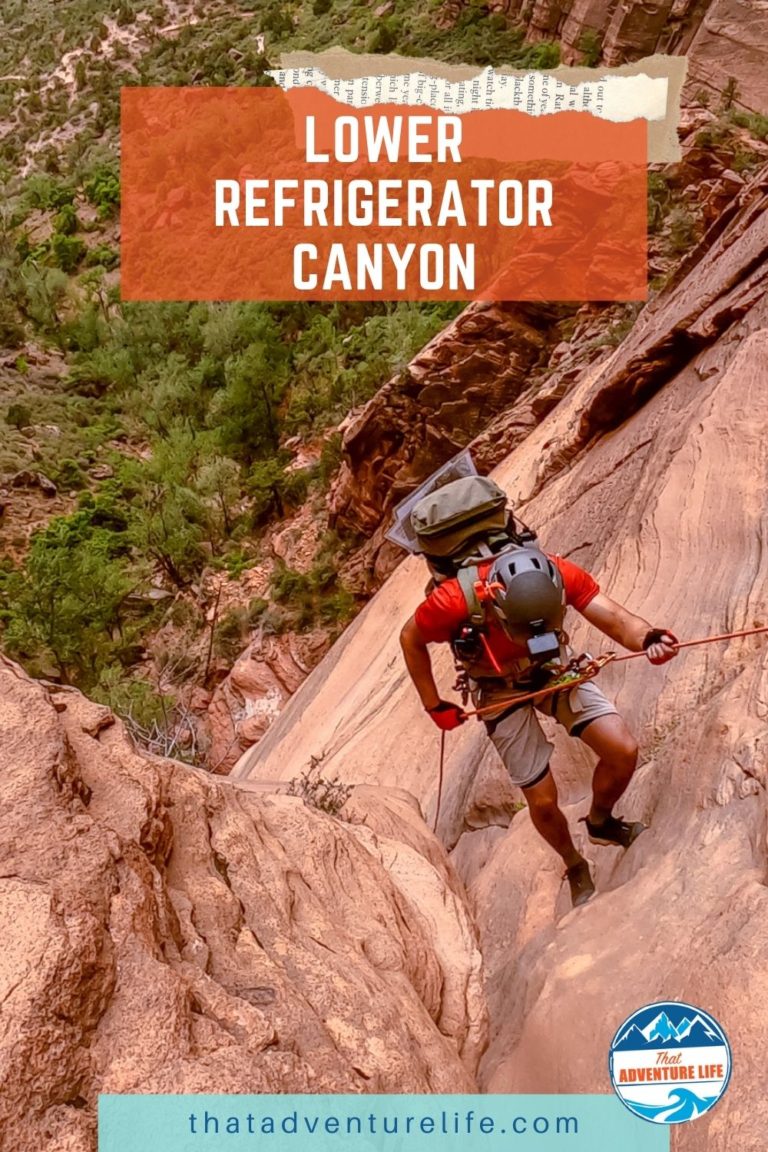
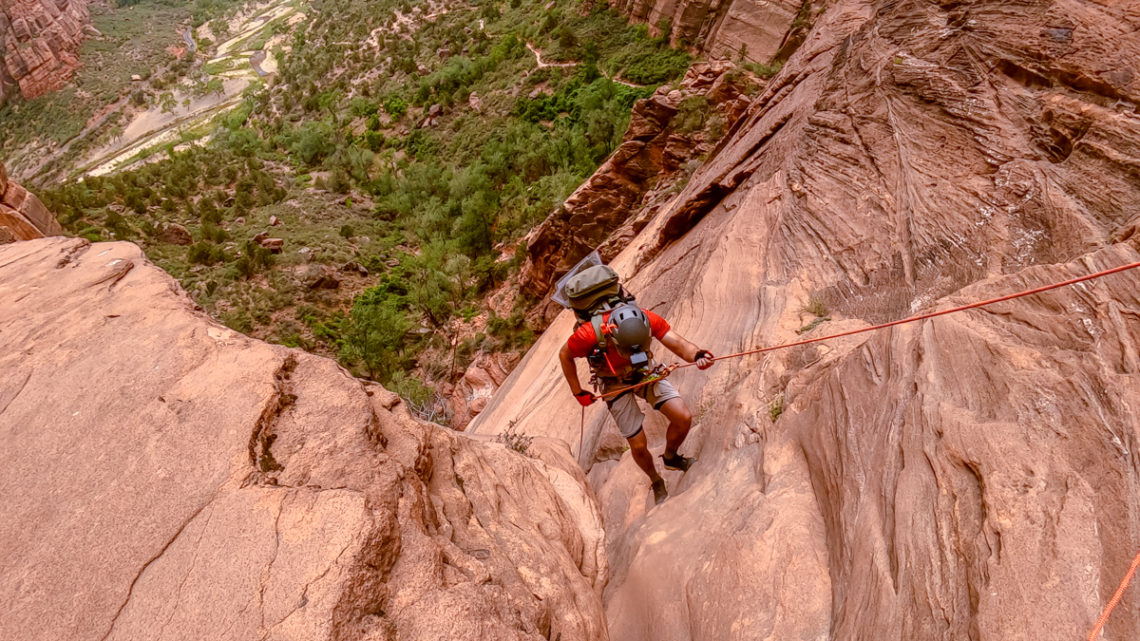
Rappel 2 is about 115 ft with the anchors bolted RDC. Getting to the anchors can be a bit sketchy so make sure to safety-tether in. Since we were out in the open, the wind became a bit of an obstacle. It kept blowing our rope up. Luckily, it calmed down enough for us to set our rope. Anh quickly descended to the small 3-person ledge, where the anchors for the last rappel were located. He then set up the rope and started to direct our group to rappel down one by one.
Previous
Next
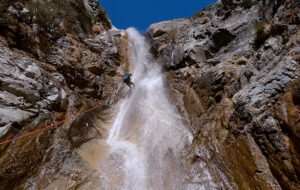
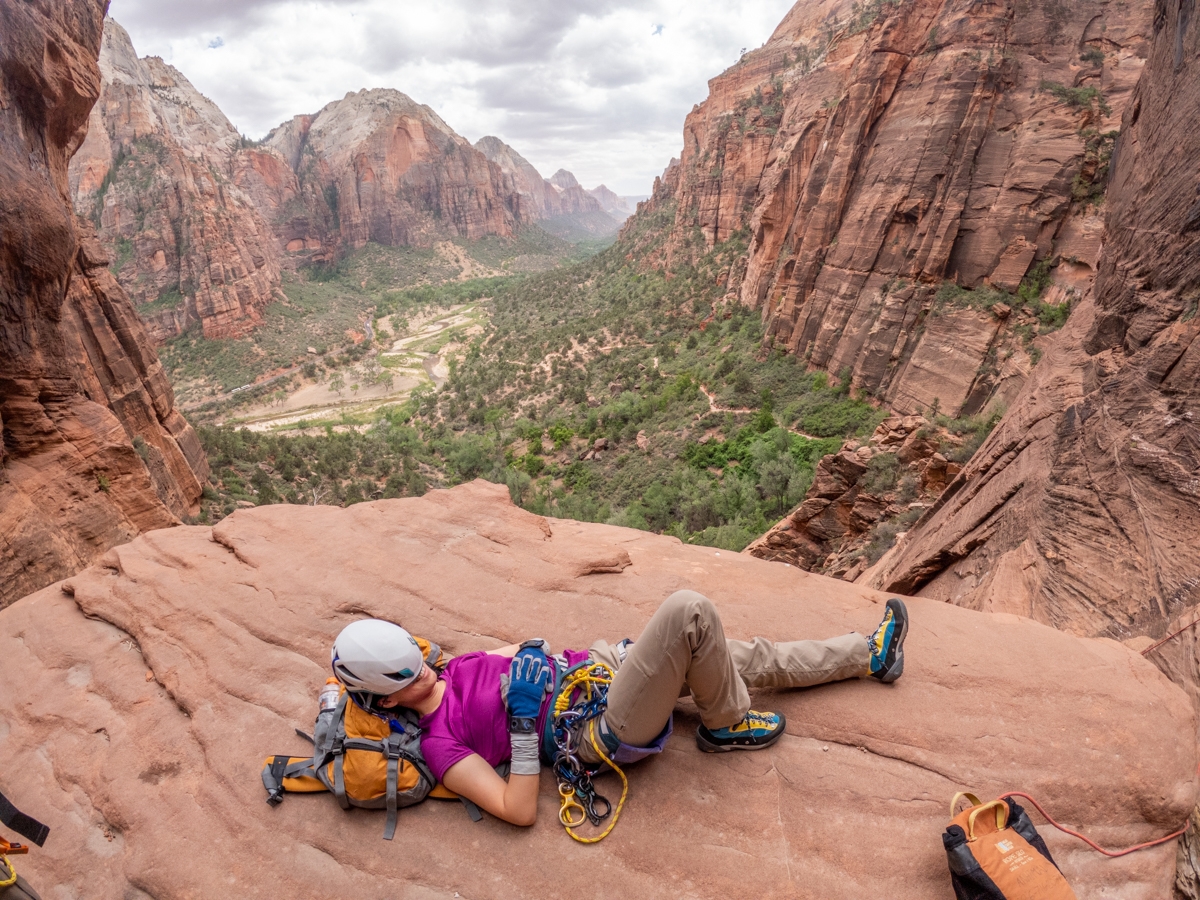
Rappel 3
Rappel 3 for Lower Refrigerator is about 190ft, mostly overhang. Since the ledge is only big enough for 3 people, Anh, being the most experienced one, stayed there to keep the traffic flowing. The rest of us quickly descend one by one as soon as he gave us the signal. This last rappel is my favorite rappel. The overhand was pretty fun. Although, with the 40mph wind, all of us turn into spinning tops as we descended down the rope. Also, watch out for the trees at the bottom when pulling rope.
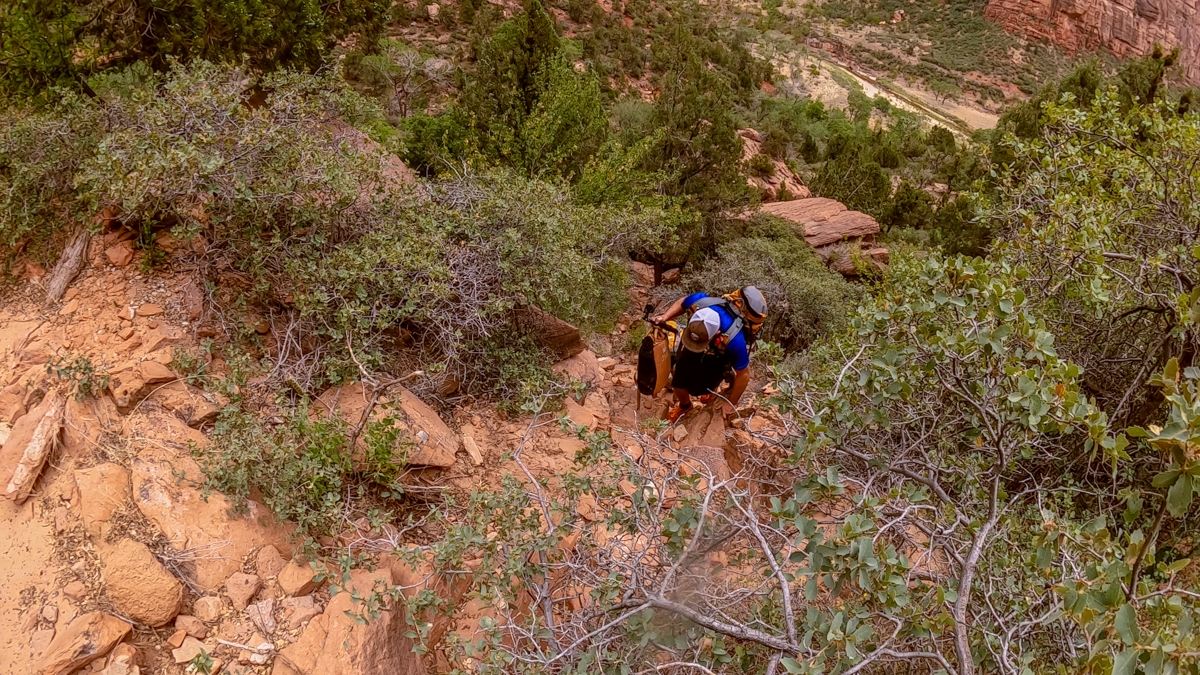
Exit
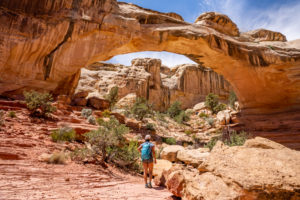
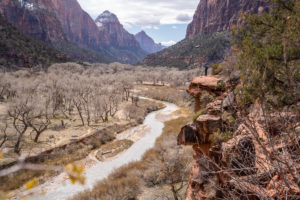
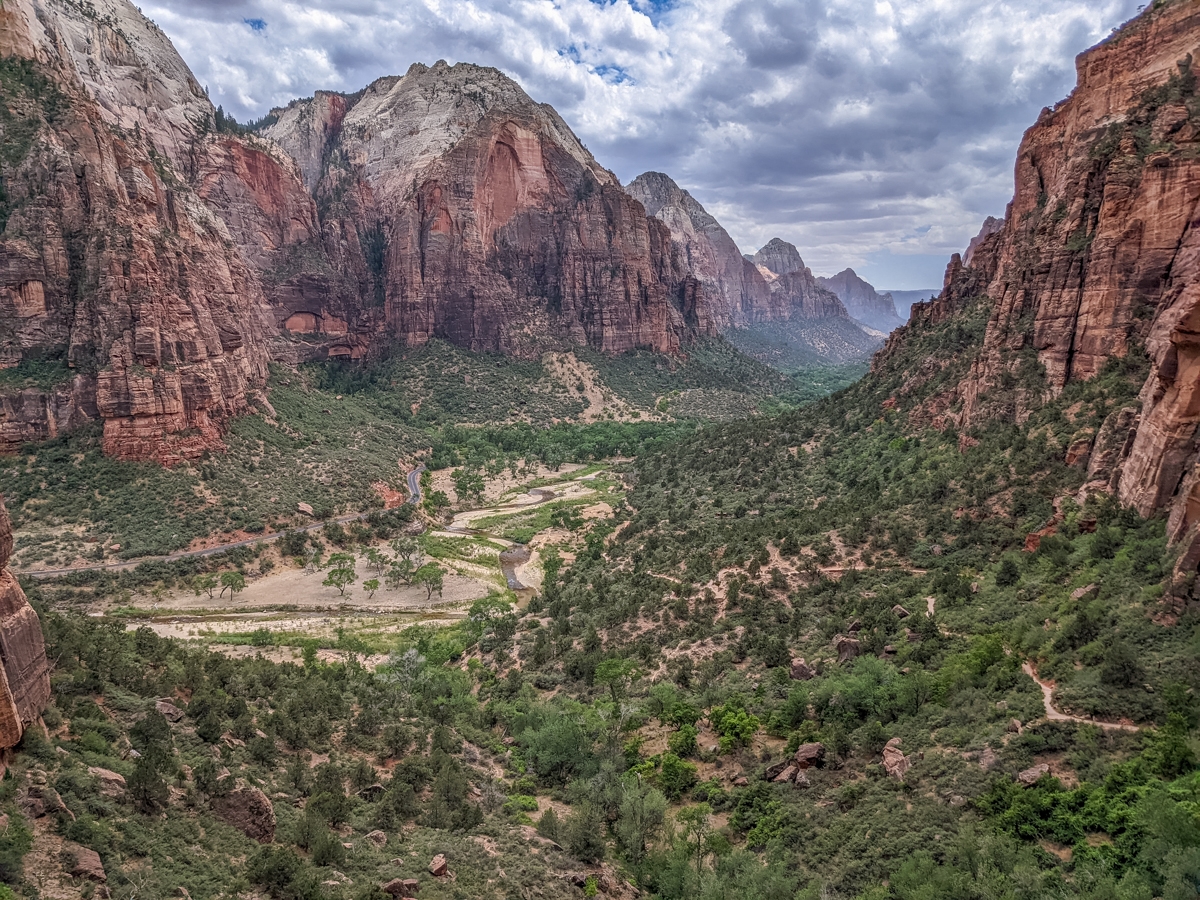
The exit for Lower Refrigerator is short. From the bottom of the last rappel, we follow the canyon downstream. After a short section of boulder hopping, we reached a used trail RDC. This trail continues across an open, grassy area. From here, we can actually see the paved West Rim Trail above, RDC. We then followed the drainage that led us up to the paved trail. From here, it’s a walk in the park back to the shuttle stop.
Previous
Next
These are the gear that we personally use and find them helpful for this particular adventure. Don’t forget to check out our Recommended Gear section as well.
adventure gear
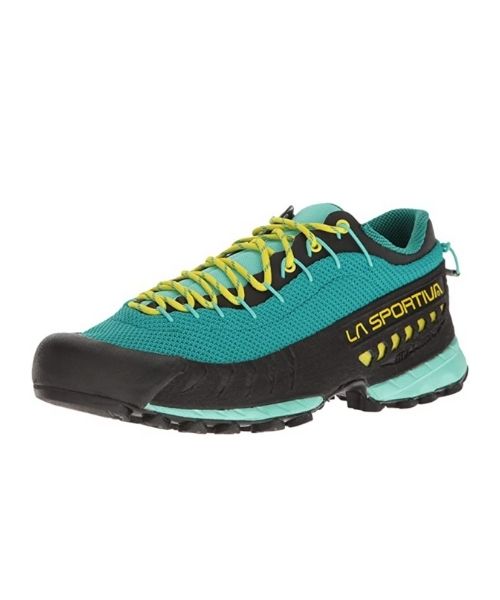
We love these La Sportiva TX3 approach shoes! They have pretty good traction on wet rocks and muddy areas. They also drain well, especially when you have to wade through water.
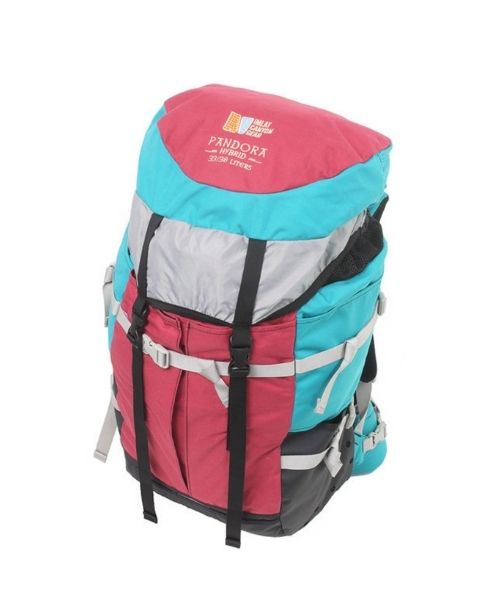
Canyoneering bags are essential, especially for wet canyon. This Imlay Pandora Bag not only has tons of drainage holes, it’s also very well-made. It’s also perfect for shorter people like Vy with heigh range from 5ft – 5ft 4
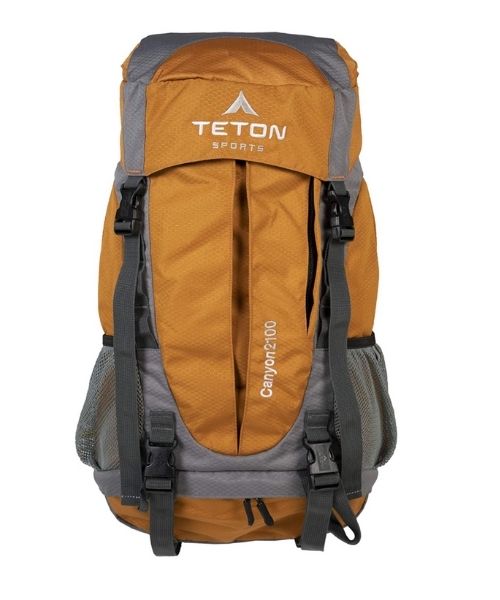
Teton Sport makes a pretty decent beginner canyoneering bag. It has a few drainage holes that will be useful for wet canyons. What we love about this bag is the price and the amount of pockets it has!
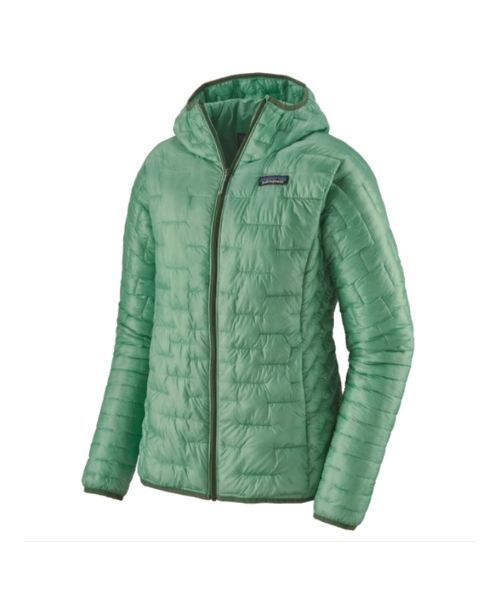
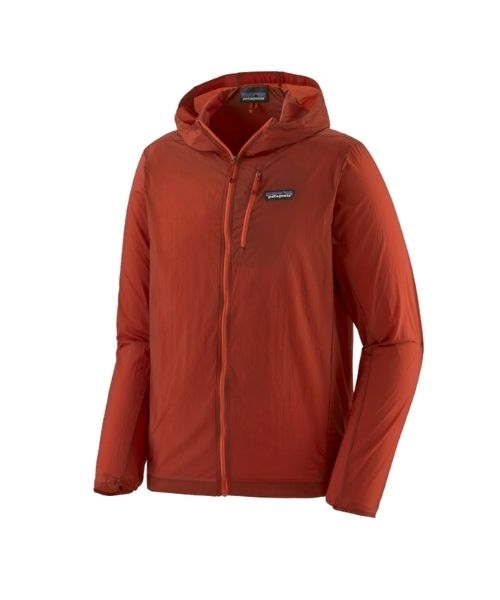
It can get cold when. you’re deep in the canyon or later in the day. We love our packable Patagonia Puff Jackets! You can get Vy’s version here, and Dustin’s version here.


