

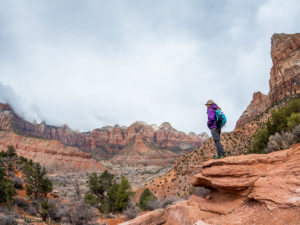
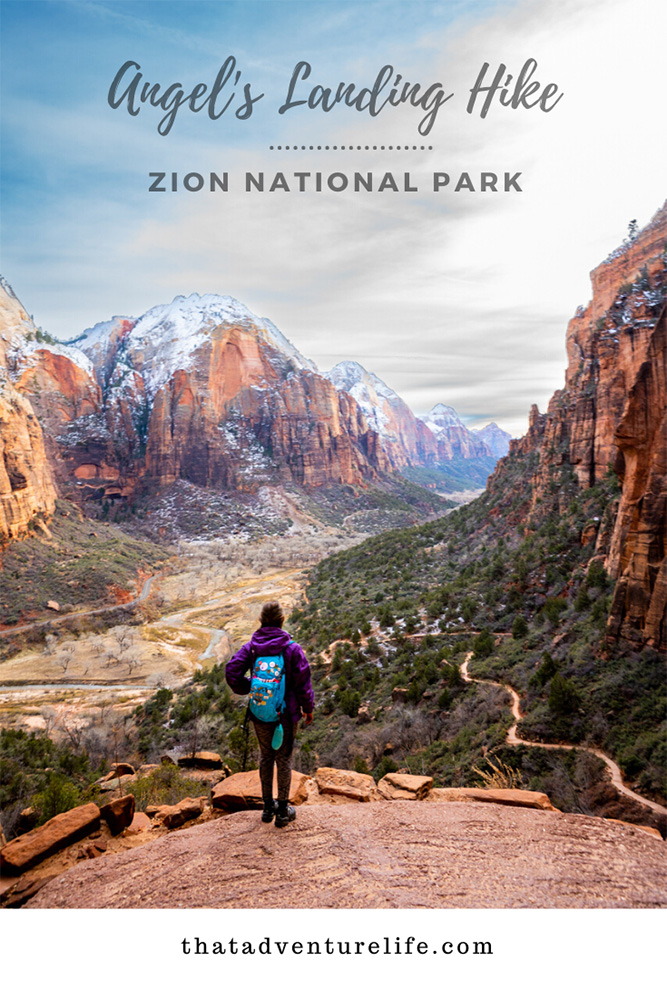
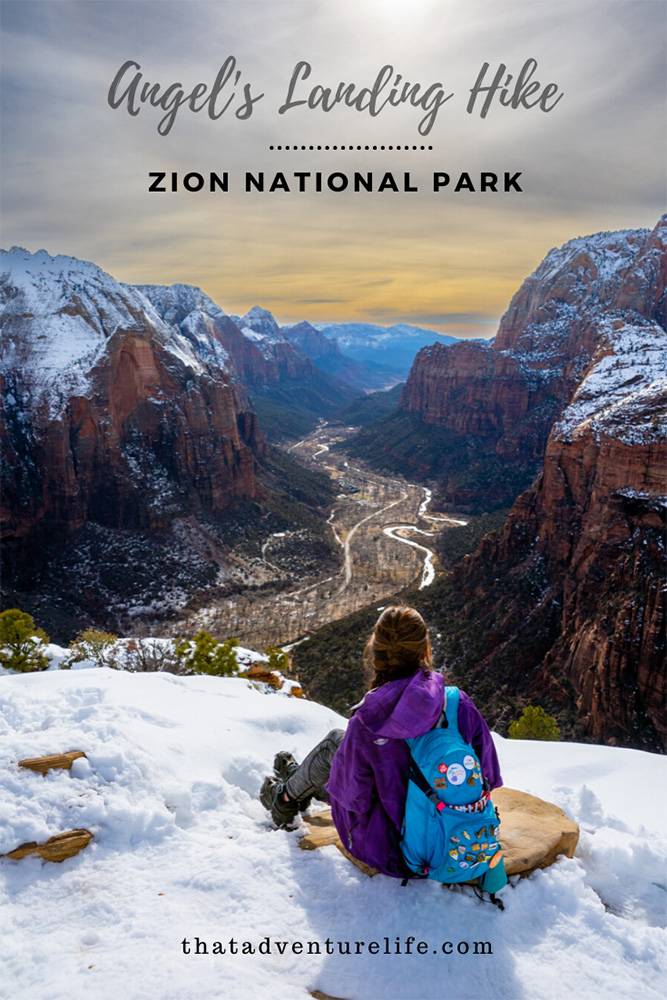
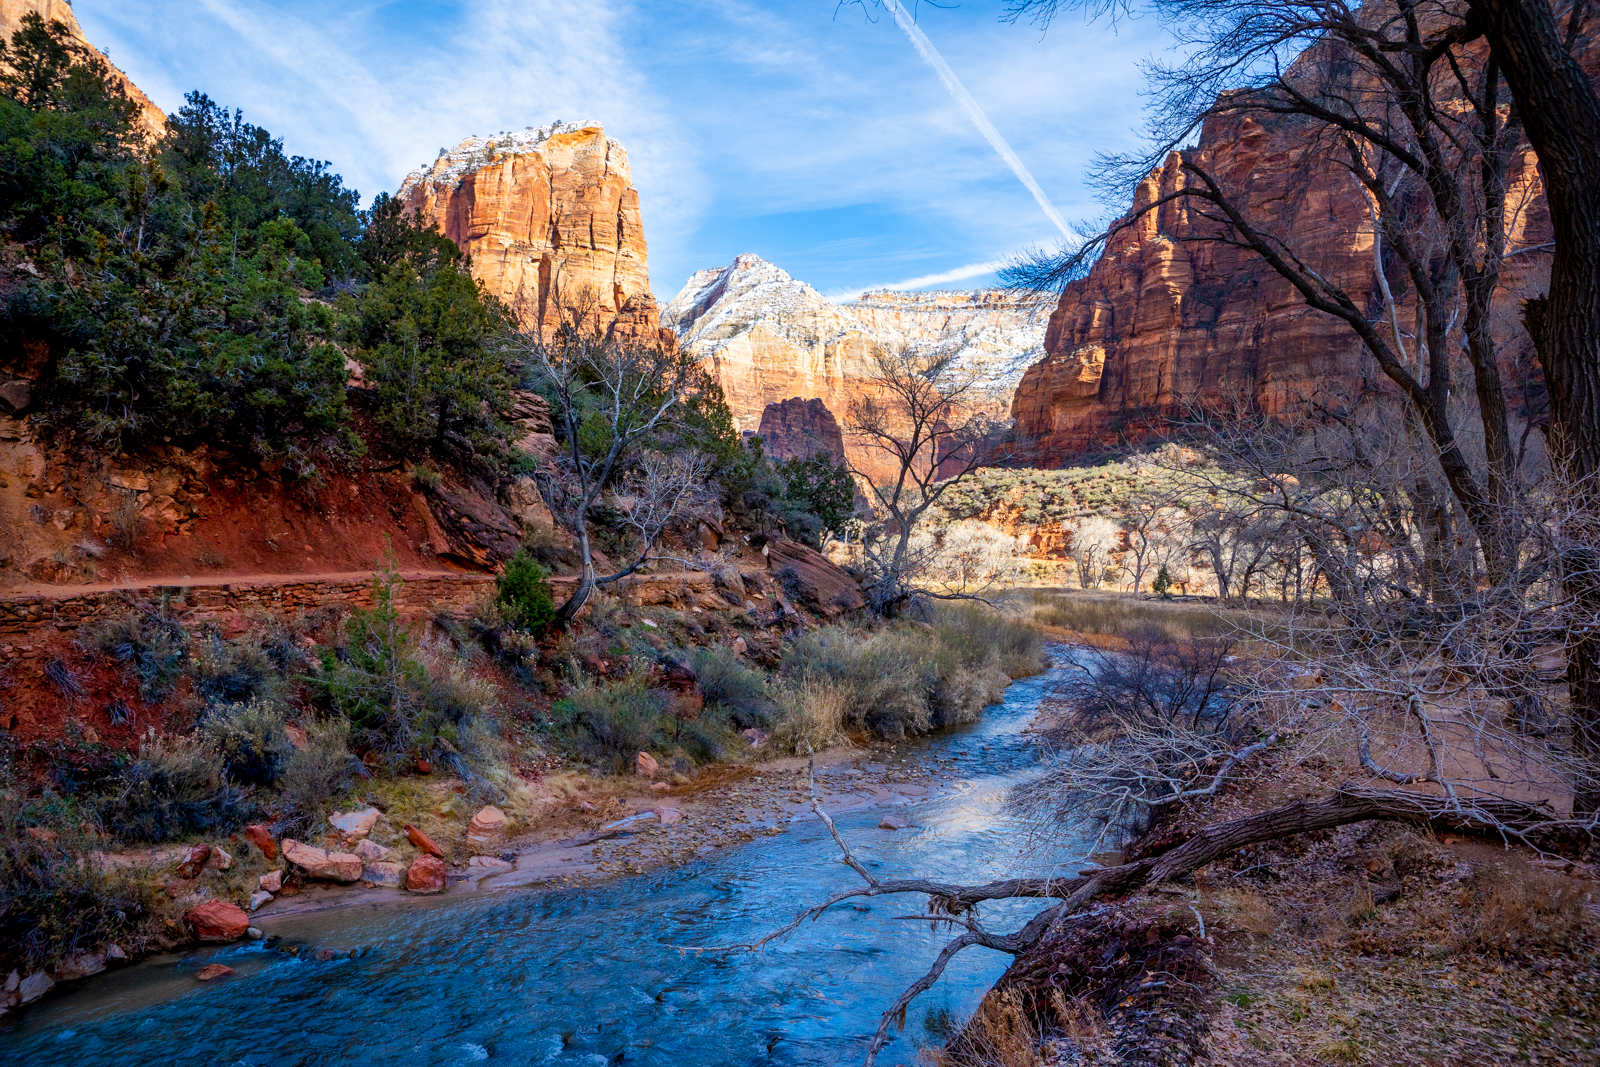
Angels Landing in Zion National Park is one of our top 5 all-time favorite hikes. As many times as we hiked Angels Landing, it is still as beautiful as ever. It is exhausting, challenging, and not for the faint of heart, however, there is something very special about standing on the top, looking down at the gorgeous landscapes below. The view of Angels Landing hike changes constantly, up and down, and never gets old. This hike is beautiful year-round, but extra spectacular in the snow. It is more difficult but oh so worth it!
Note: This hike is absolutely amazing, but it is also dangerous. At least 8 people have died after falling from Angels Landing since 1919. There are parts of the trail that are only about 2 and a half feet wide with almost 1500 ft vertical drops on both sides. This is not a hike for people with a fear of height. Please make sure to respect this beautiful place and the surrounding areas. Always practice LEAVE NO TRACE. This means no loud music, no graffiti, no taking artifacts or fossilized items, and pack out what you pack in! Please help us protect this place for generations to come!
Stats
Where
Angels Landing Trailhead – Grotto Parking Lot
Coordinates: 37°15’33.2″N 112°57’02.8″W
Parking
If you’re visiting during the Spring, Summer, or Fall or anytime when the shuttle is running, you have to park outside the park and take the free shuttle. In the winter, from December – February, there won’t be any shuttles running so you can drive straight to the parking lot. Parking is very limited inside the park, so get there very early if you want to get a spot.
Restroom
There are restrooms at the Grotto’s parking lot and right before Scout Lookout.
Fee
There is a fee for entering Zion National Park. Please check their website for more updated info. You can also use your America the Beautiful Pass here.
Important Things
Starting April 1st, 2022, you will need to have a permit for hiking Angels Landing. This permit is for the chain section only. You don’t need a permit to go up to Scout Lookout.
Distance
About 5.4 miles R.T. The actual chain section is 1 mile total.
Elevation Gain
1488 ft
Level
Strenuous
Time:
4 to 5 hours
Pet-friendly
You cannot bring your pets on this trail
Ideal Time
You can hike Angels Landing pretty much any time of the year. Obviously, Spring and Fall will have better weather. However, there is something special about hiking in the snowy winter. The landscape is much more beautiful.
Weather
Video

How to Get Permit for Angels Landing
Before attempting Angels Landing, make sure you have a permit first. On April 1st, 2022, Zion National Park introduced a permit system to help regulate the crowd on this hike. This permit is only required for the chain section. You won’t need a permit to hike to Scout Lookout. To apply for the permit, you can either enter an advance seasonal lottery program or chance your luck for the day-before lottery. Check out the park website for all the info you’ll need.
Tips for Angels Landing Lottery
- Make sure to create an account on Recreation.gov. You can also download the mobile app if you prefer.
- It costs $6 to apply for a permit. The fee covers an application for up to 6 people (including the person filling out the application). This fee is non-refundable. If you got the permit, it will cost an additional $3 for each person you registered. This fee is refundable if you cancel your permit at least 2 days before your hike.
- The day-before lottery opens every day at 12:01 a.m. and closes at 3 p.m. Mountain Time (MT). Please note that it is Mountain Time, so if you’re coming from another state, make sure to adjust your time zone.
- You will get an email stating whether you’ll get the permit or not after the lottery is drawn.
- Make sure to print or download a copy of the confirmation email and bring it with you on your hike. There will be rangers checking for permits. Mobile phone service is unreliable at the permit checkpoint so be sure to print or download before you arrive.
The Adventure
Getting to Angels Landing Trailhead
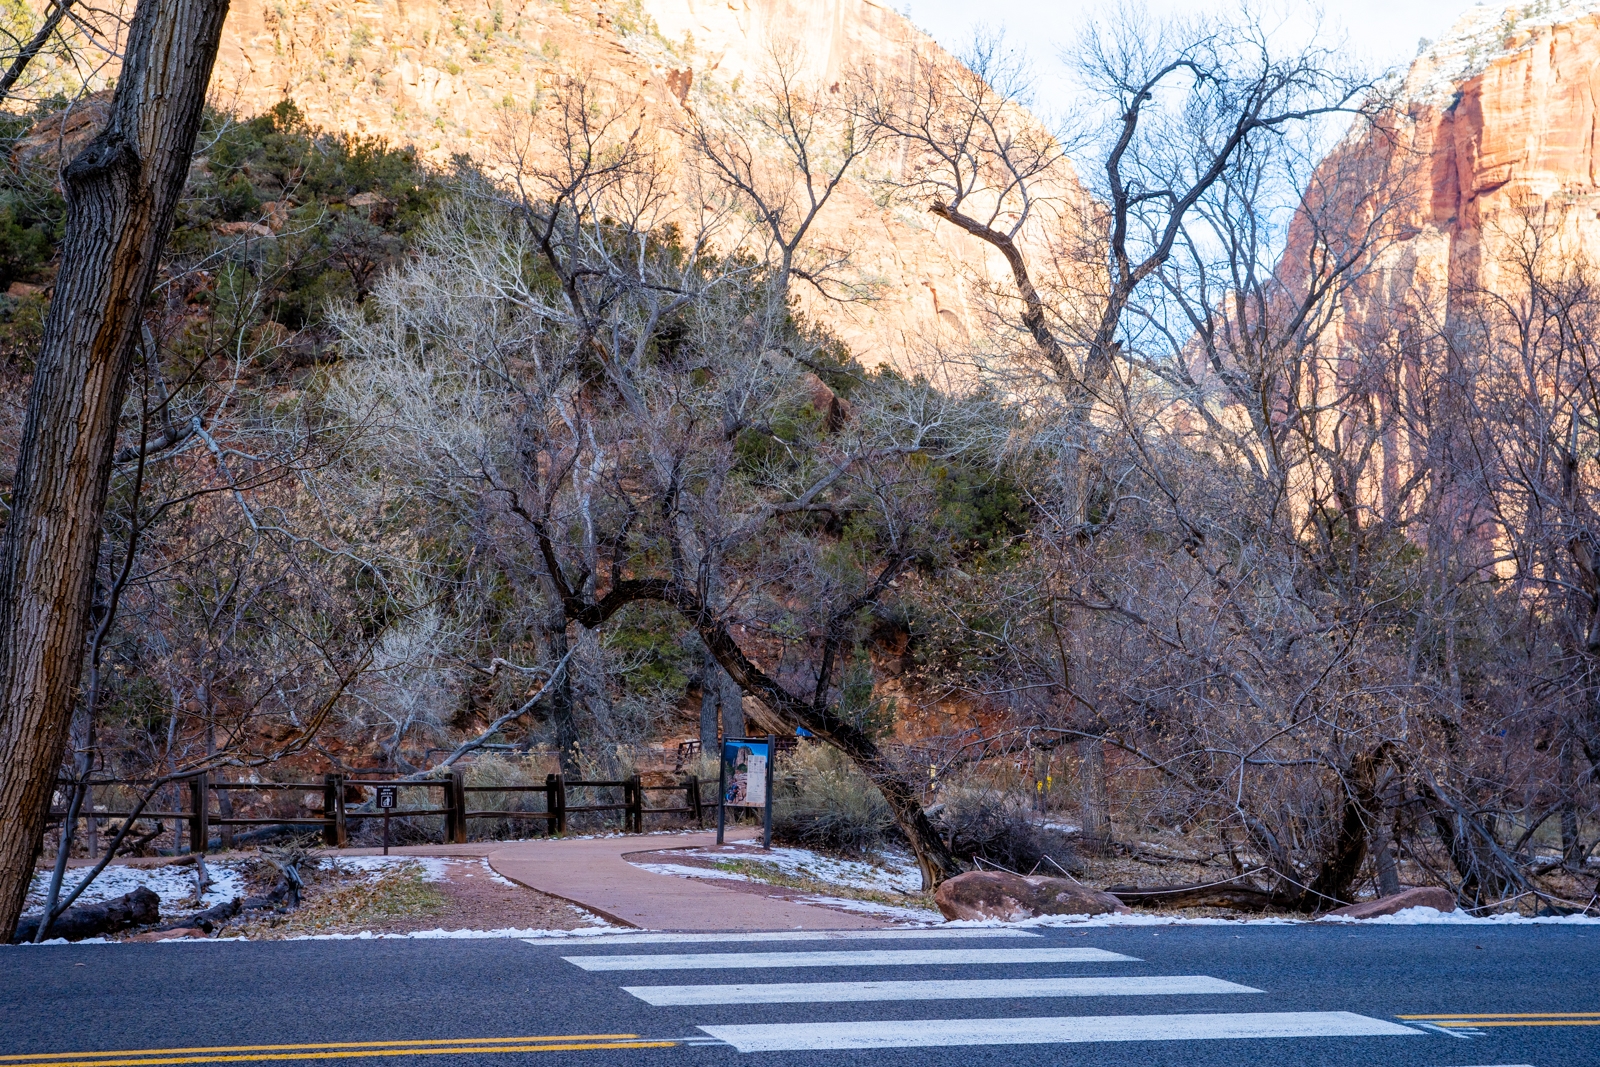
The trailhead for Angels Landing is located across from the Grotto Picnic Area. Most of the year, Zion Canyon Scenic Drive will be closed except for the shuttle. This means you will have to park outside the park (Springdale) and take the FREE shuttle to your stop. When the shuttle is not running, usually in the winter, you can drive to the small parking lot in front of the Grotto Picnic Area. If this lot is full, many people park at the Zion Lodge and hike the extra 0.8 miles each way.
The Start of the Trail:
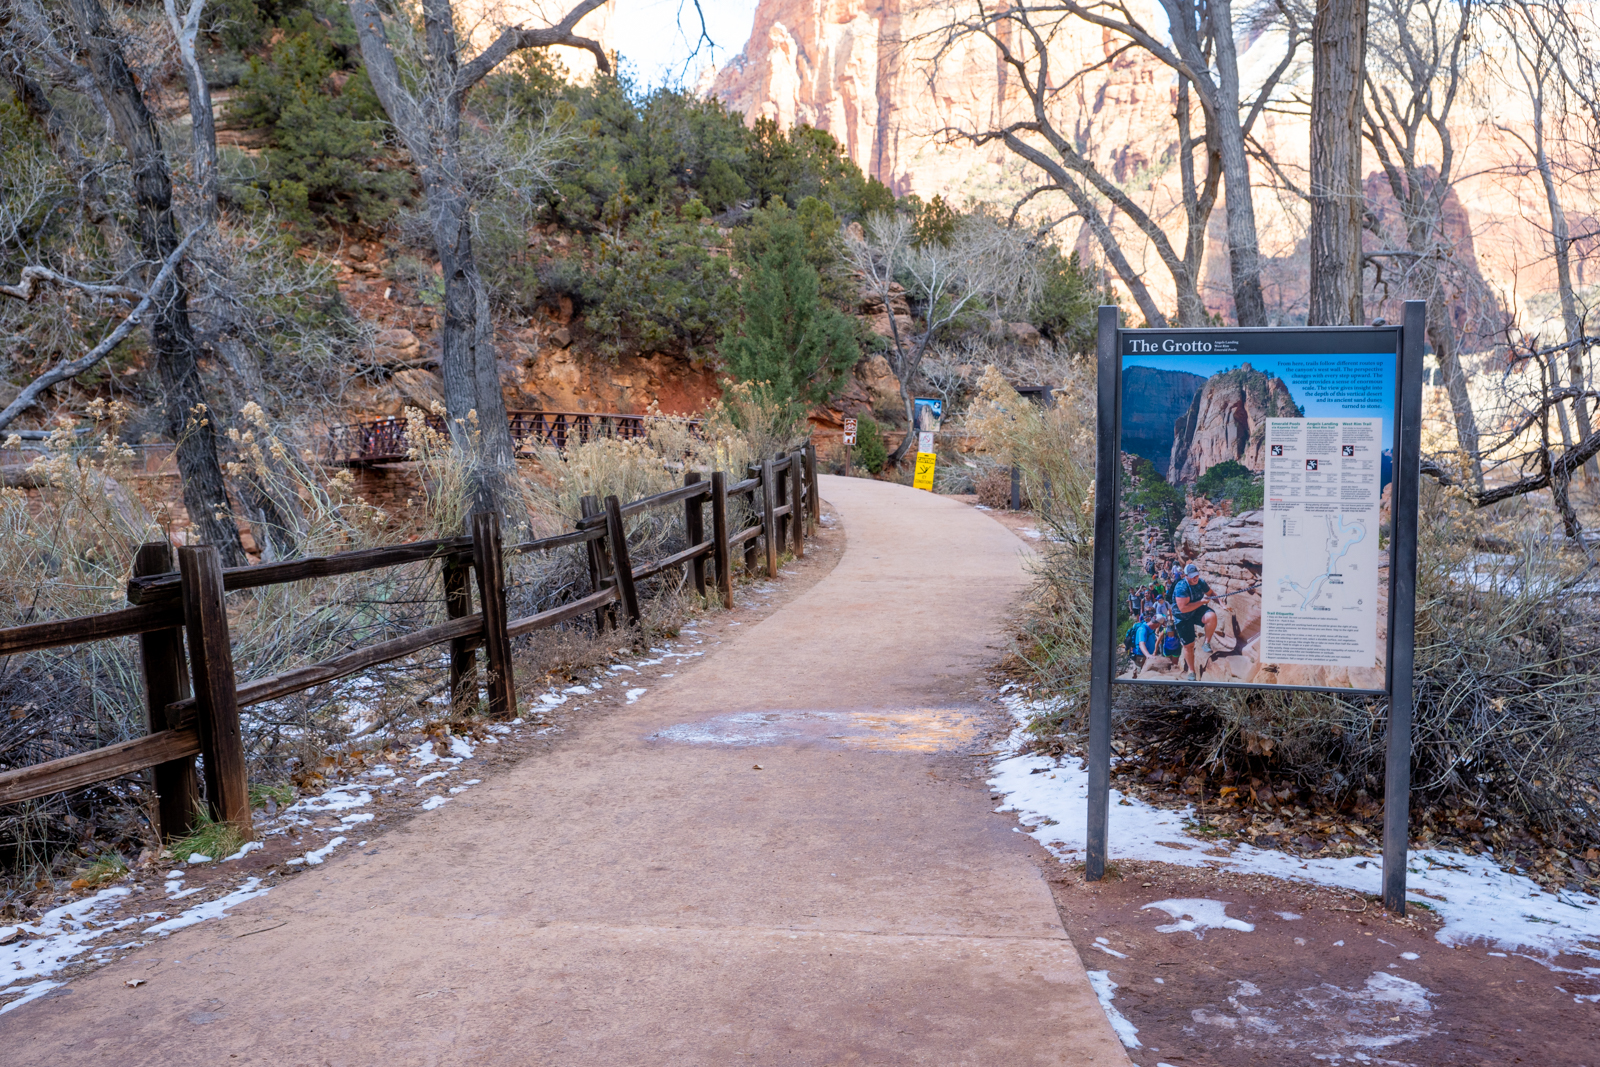
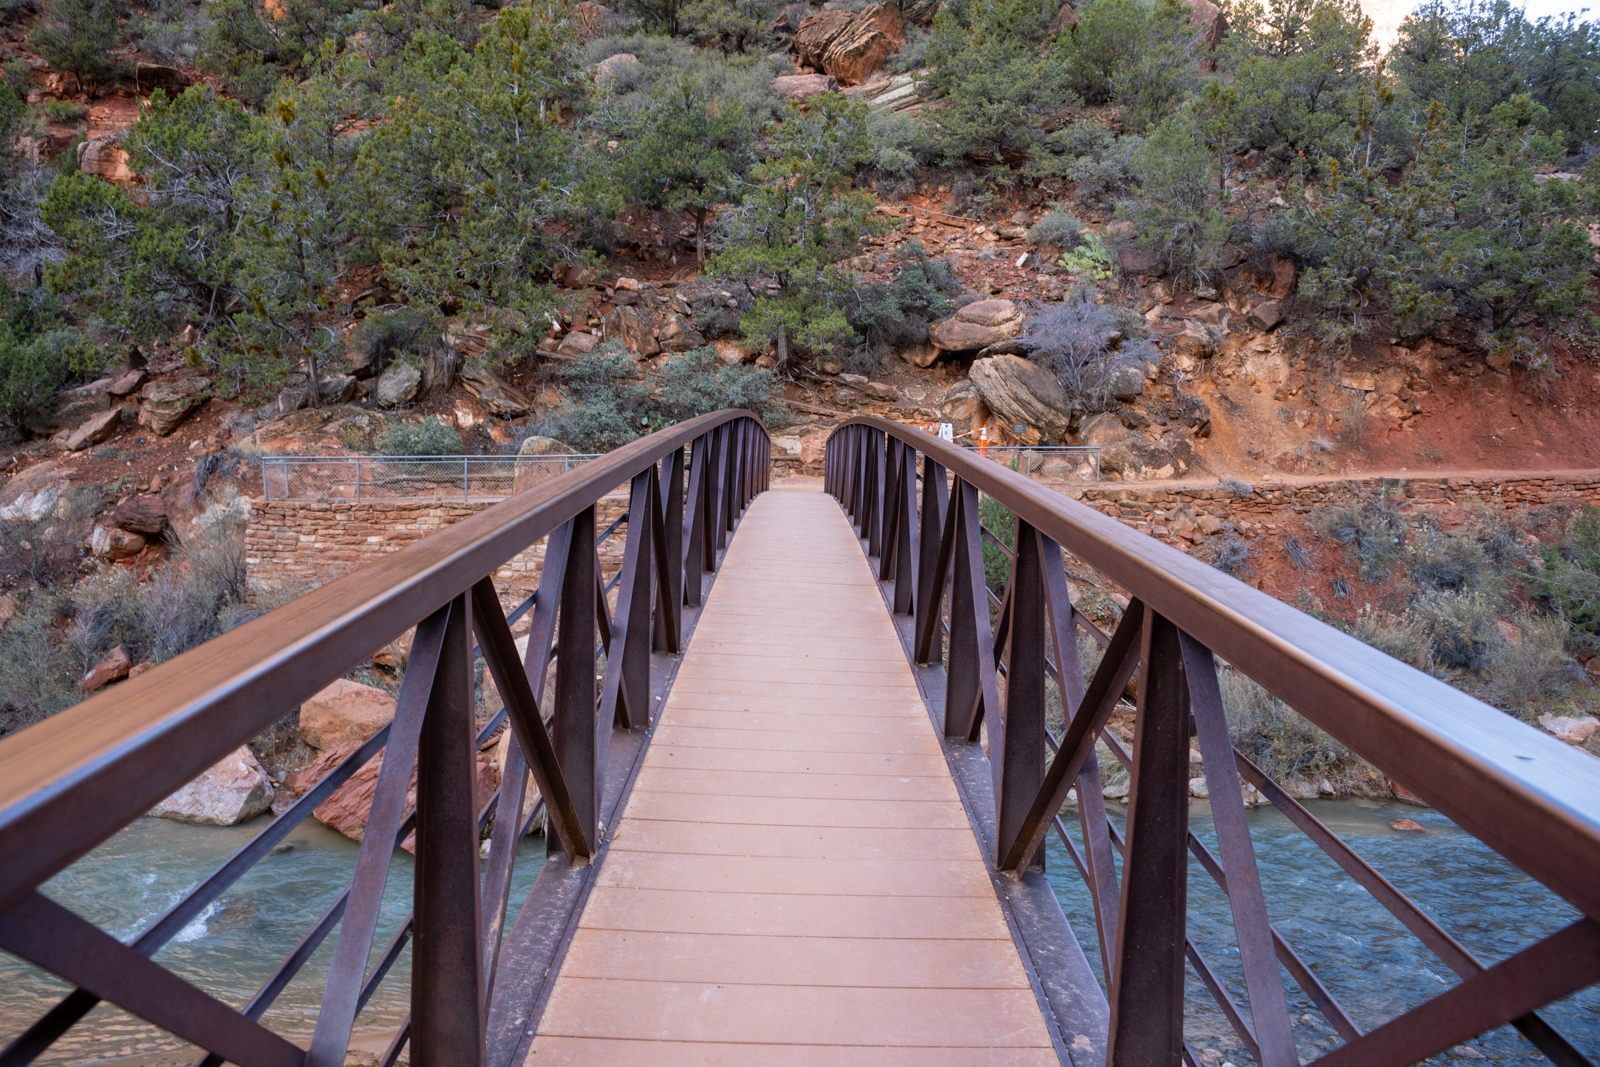
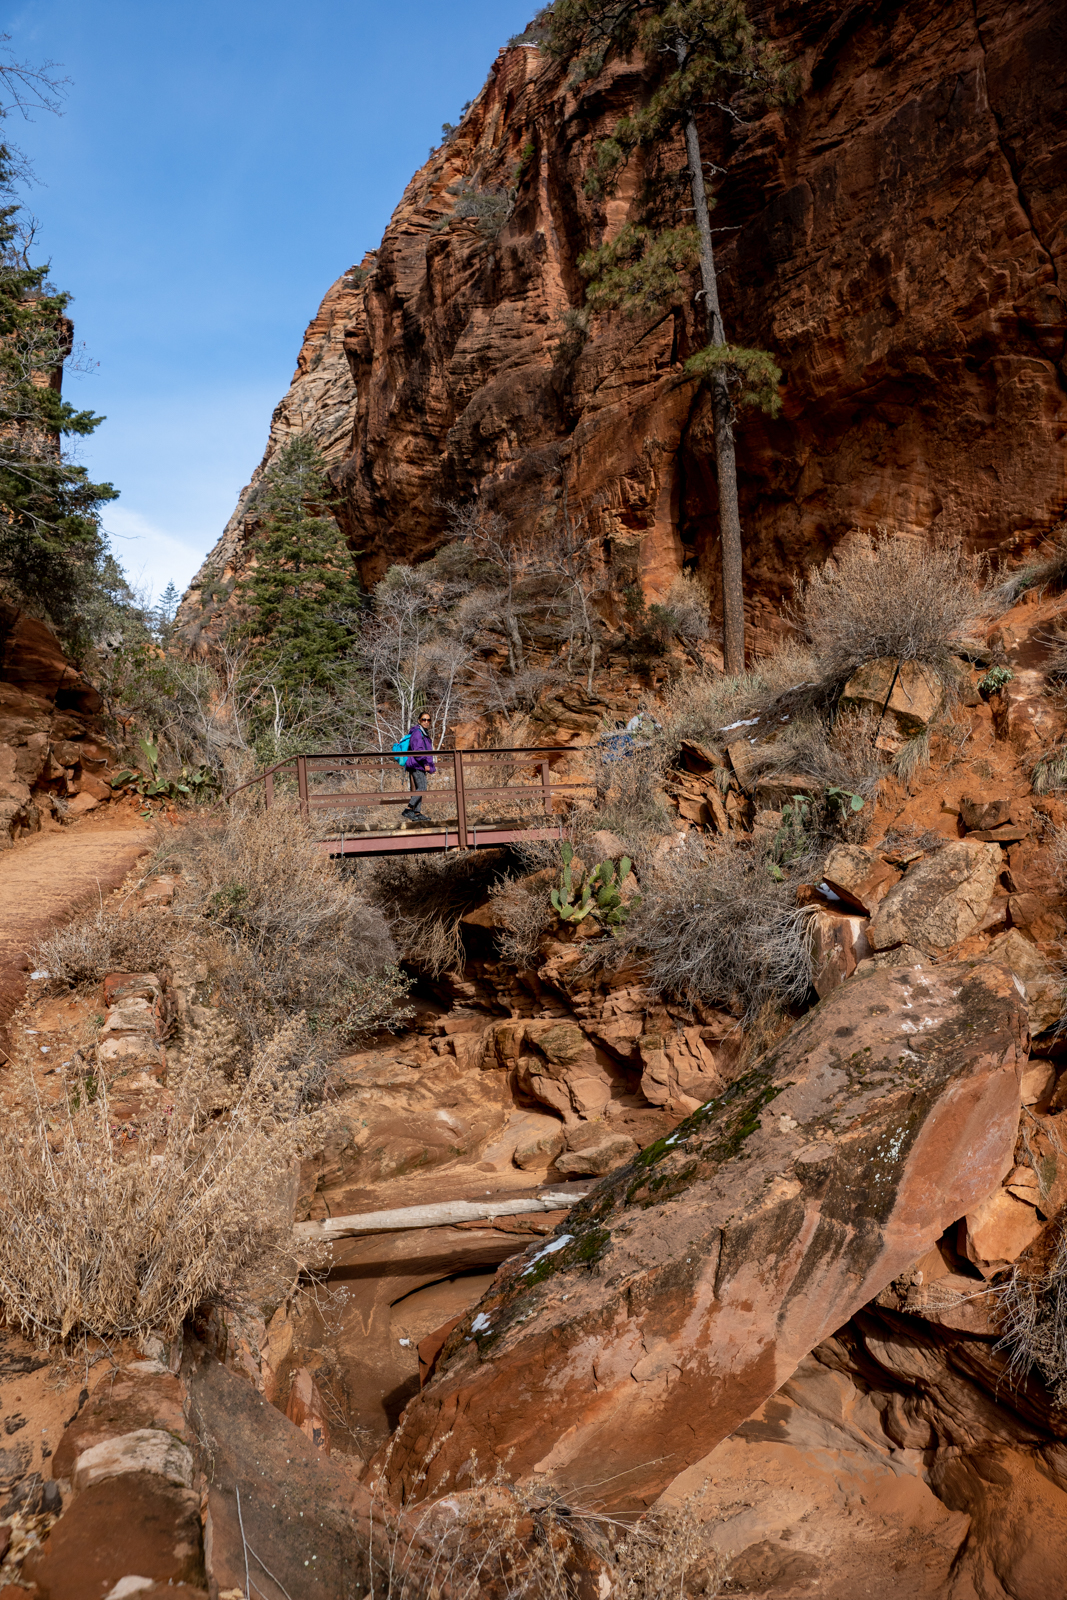
The trail begins as you cross the street from the Grotto’s parking lot. The beautiful views start instantly as you cross the bridge over a rushing river. If you hike in the winter, you need to bring microspikes. It is especially important if there is snow on the top of the mountain.
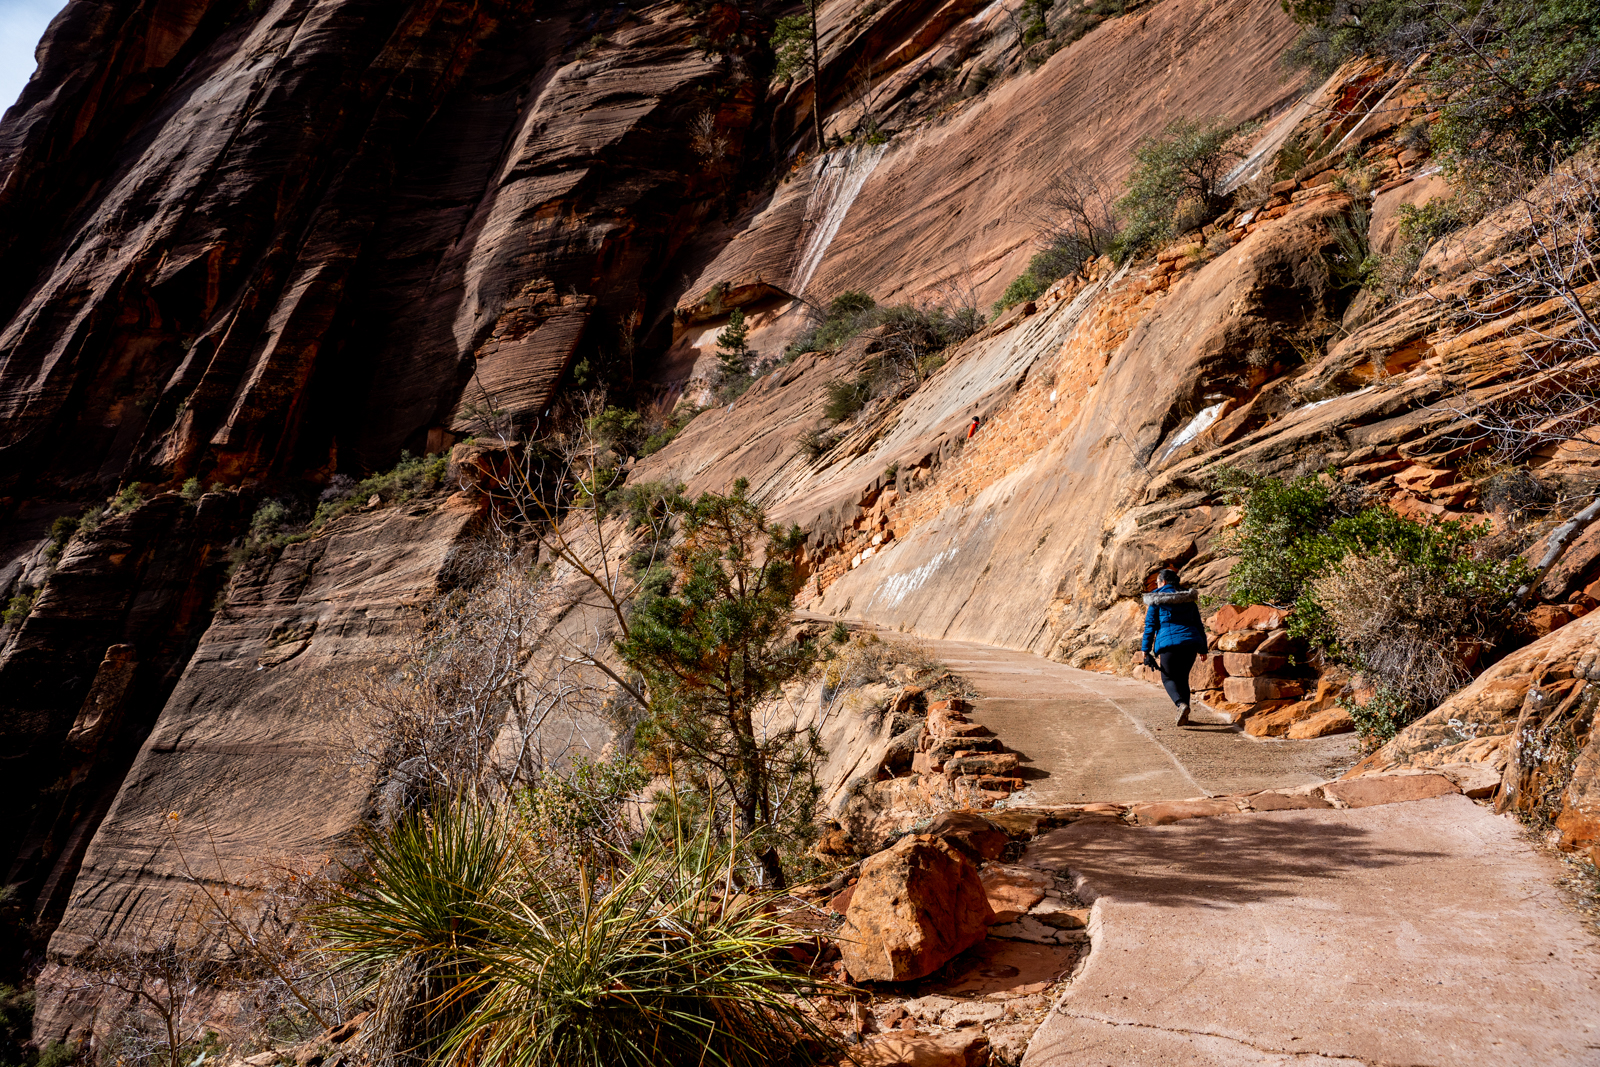
After you cross the bridge and turn right, you will be eased into a small incline around 140 ft in the first half-mile. This will help prepare the calves and lungs for what lies ahead. Right around 0.8 miles, you will be hitting the first set of switchbacks. You will climb 300 ft over the course of the next 0.2 miles. There are only 10 switchbacks but be prepared to take a breather or two on your way up. The view on this set of switchbacks is breathtaking. As you climb higher, you can get a gorgeous angle of the canyon with the trail snaking its way into the distance.
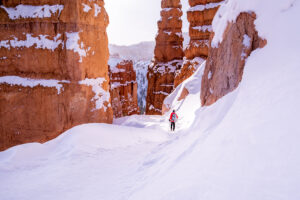
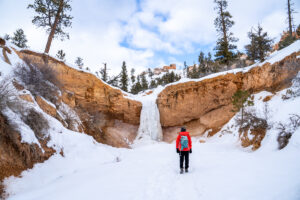
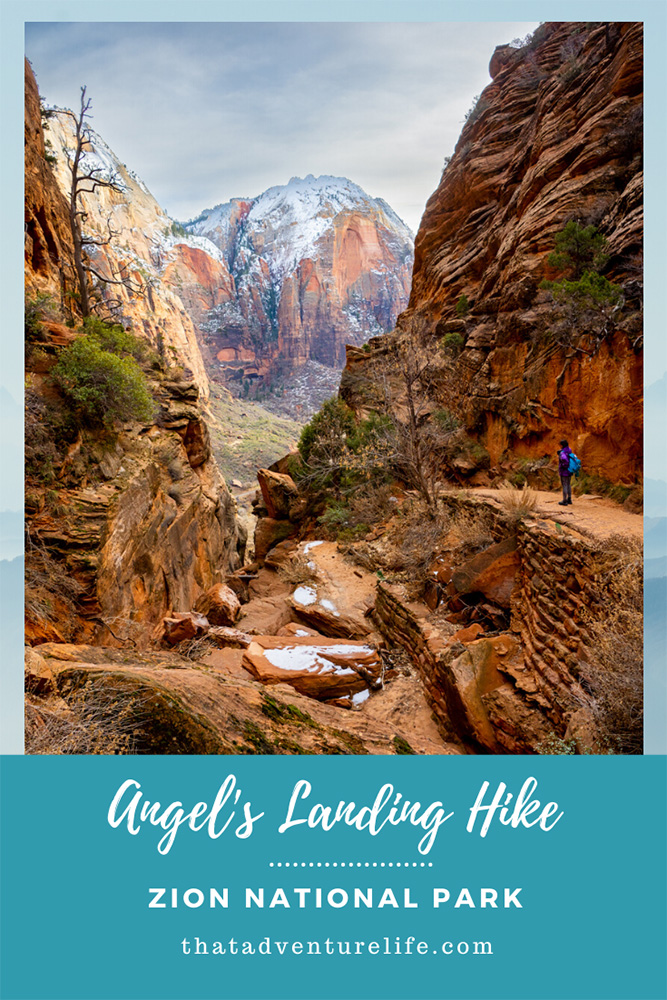
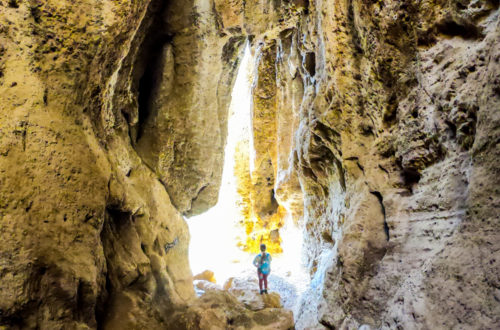
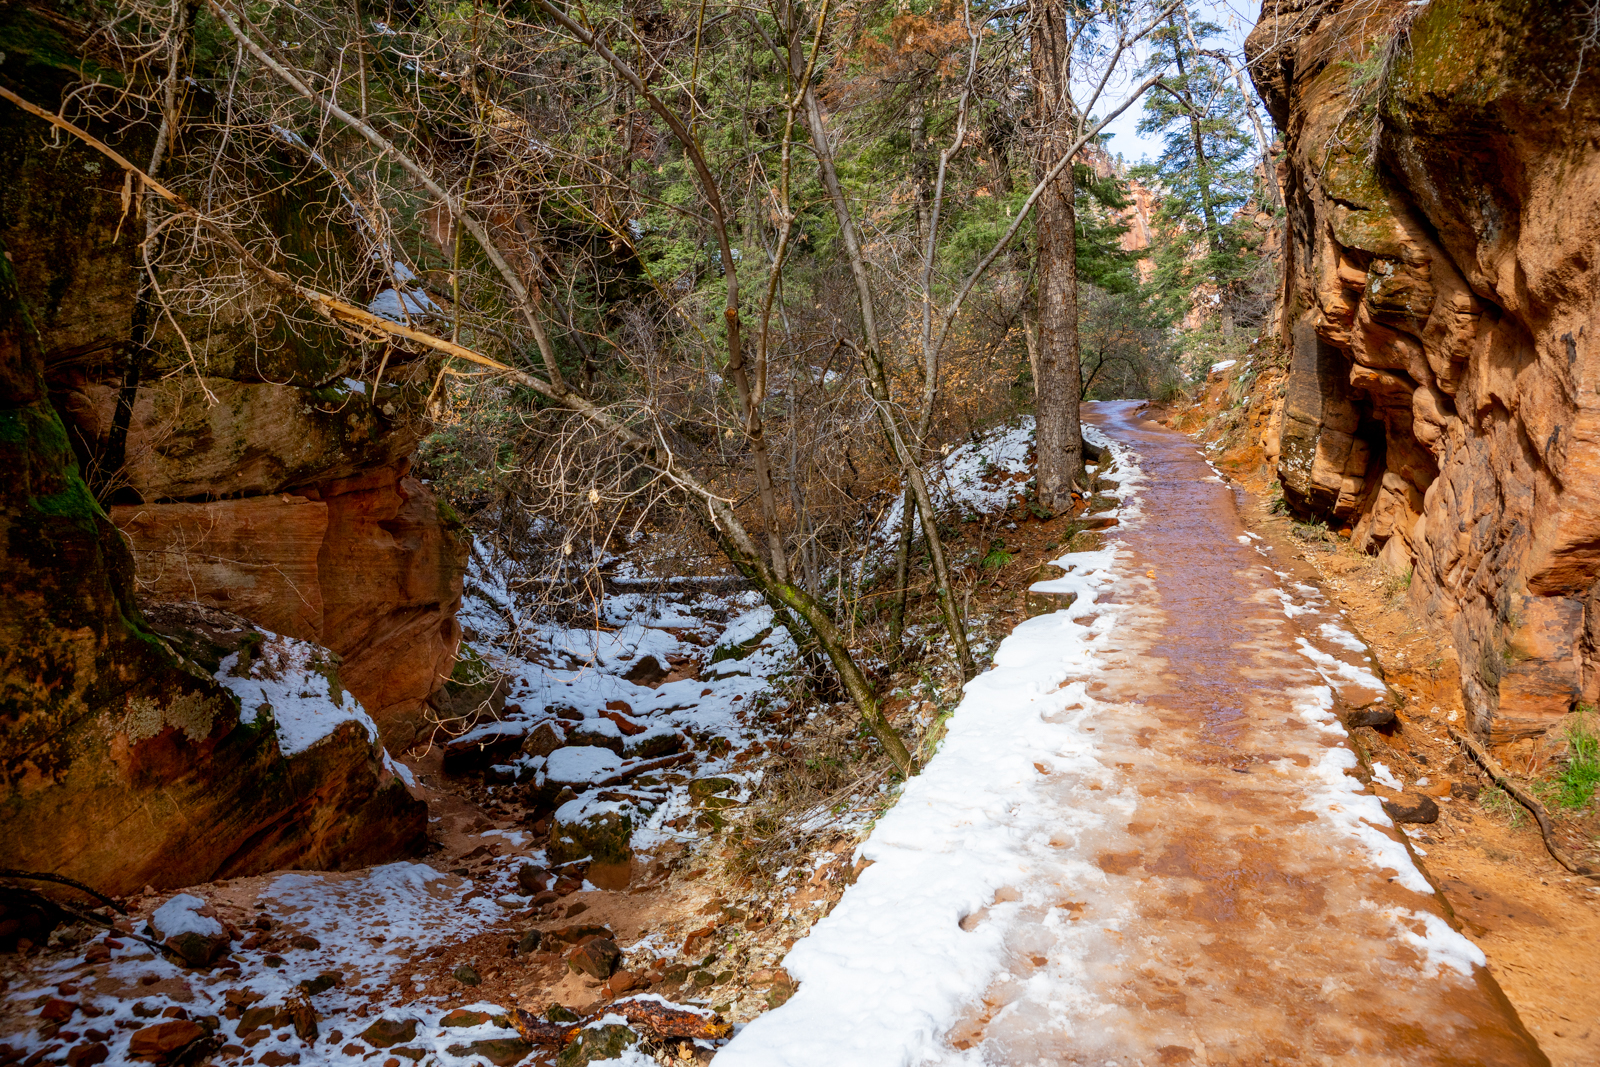
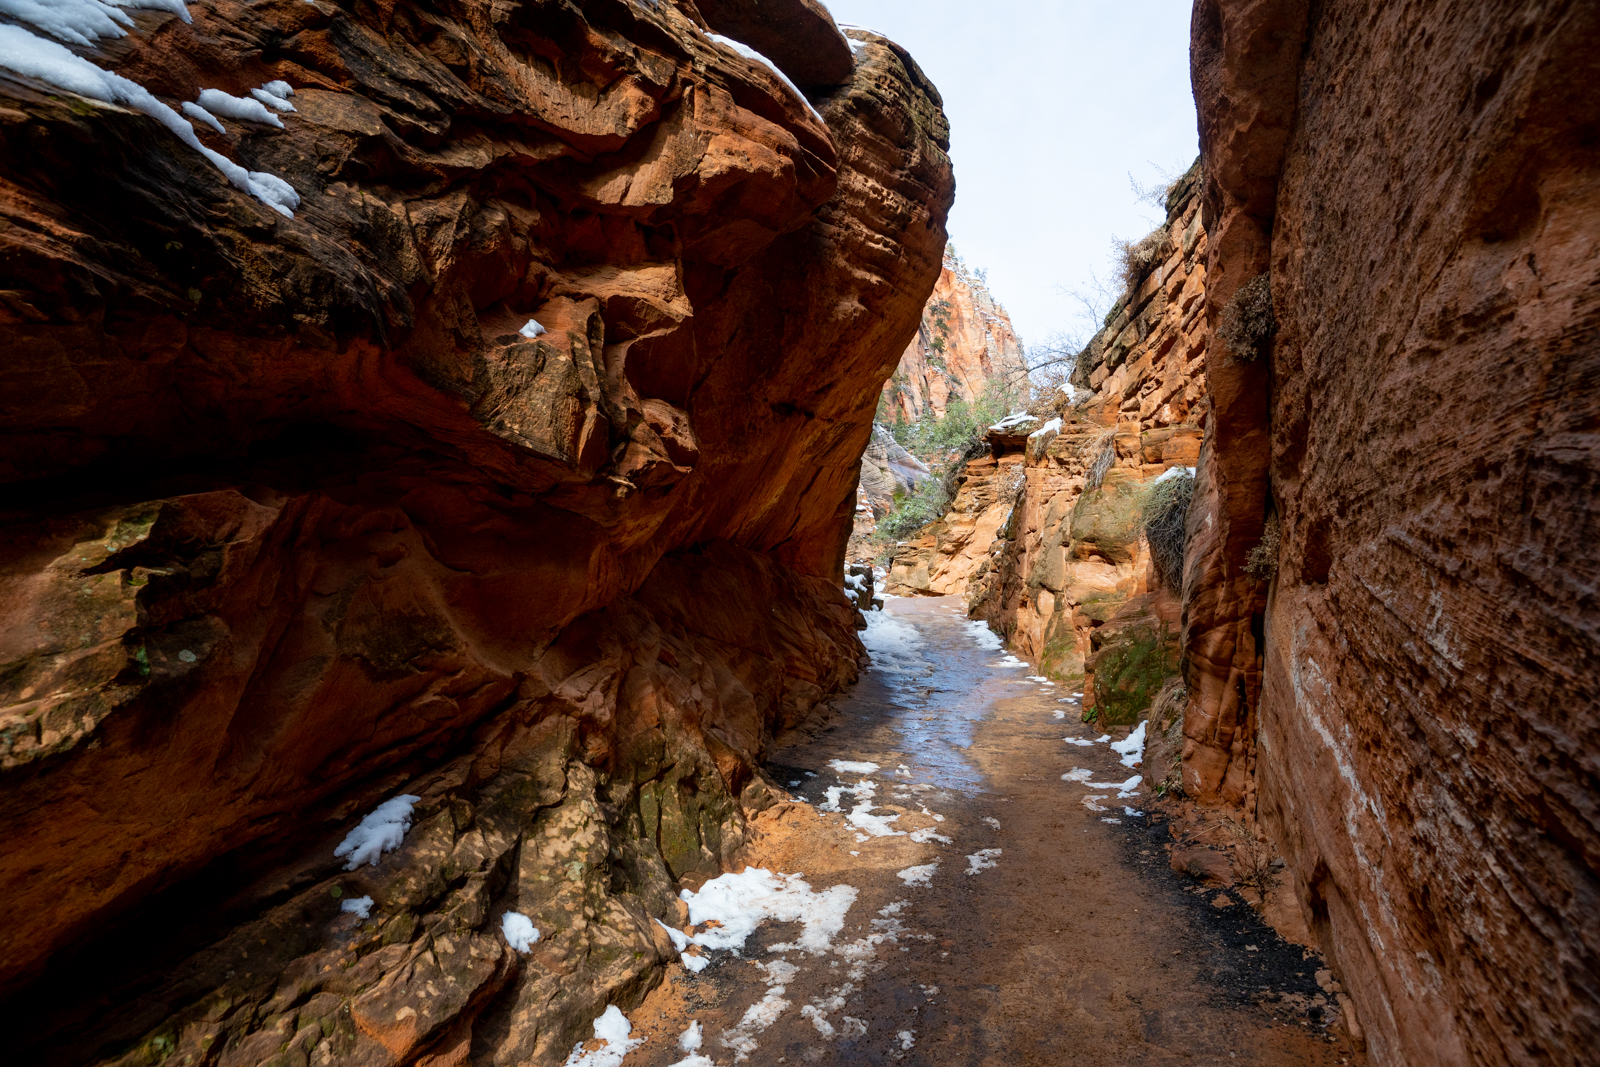
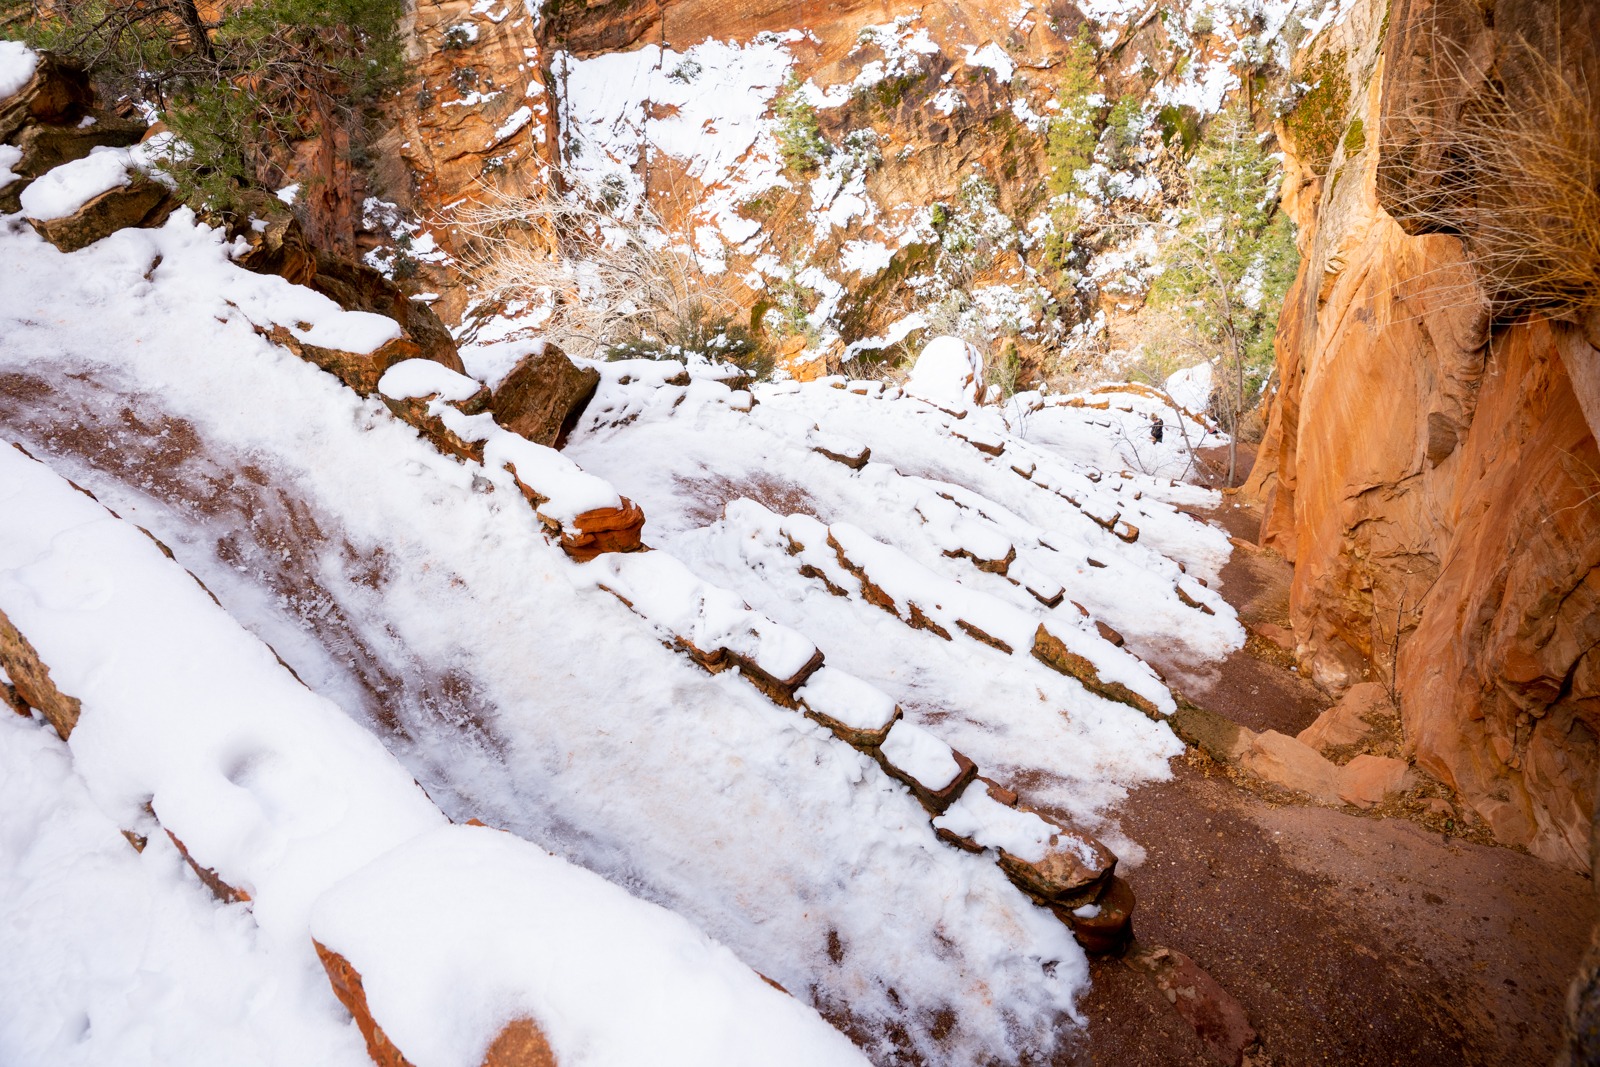
Refrigerator Canyon
Once you get past the switchbacks, the trail eases up for a second. You’ll cross the 2nd bridge and headed straight into a very picturesque valley full of trees, a snowy river, and a slot-like canyon. This area is known as Refrigerator Canyon. This is also where we fittingly had our first encounter with snow on the trail. It wasn’t severe enough to require microspikes just yet but it was a bit slippery in a few spots. The snow became denser as we climbed higher. Depending on the weather conditions when you go, make sure to put on your microspikes as soon as you feel uncomfortable with the ice.
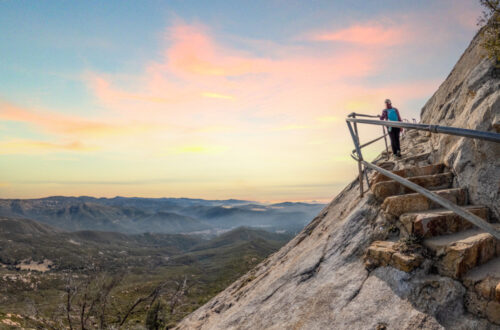
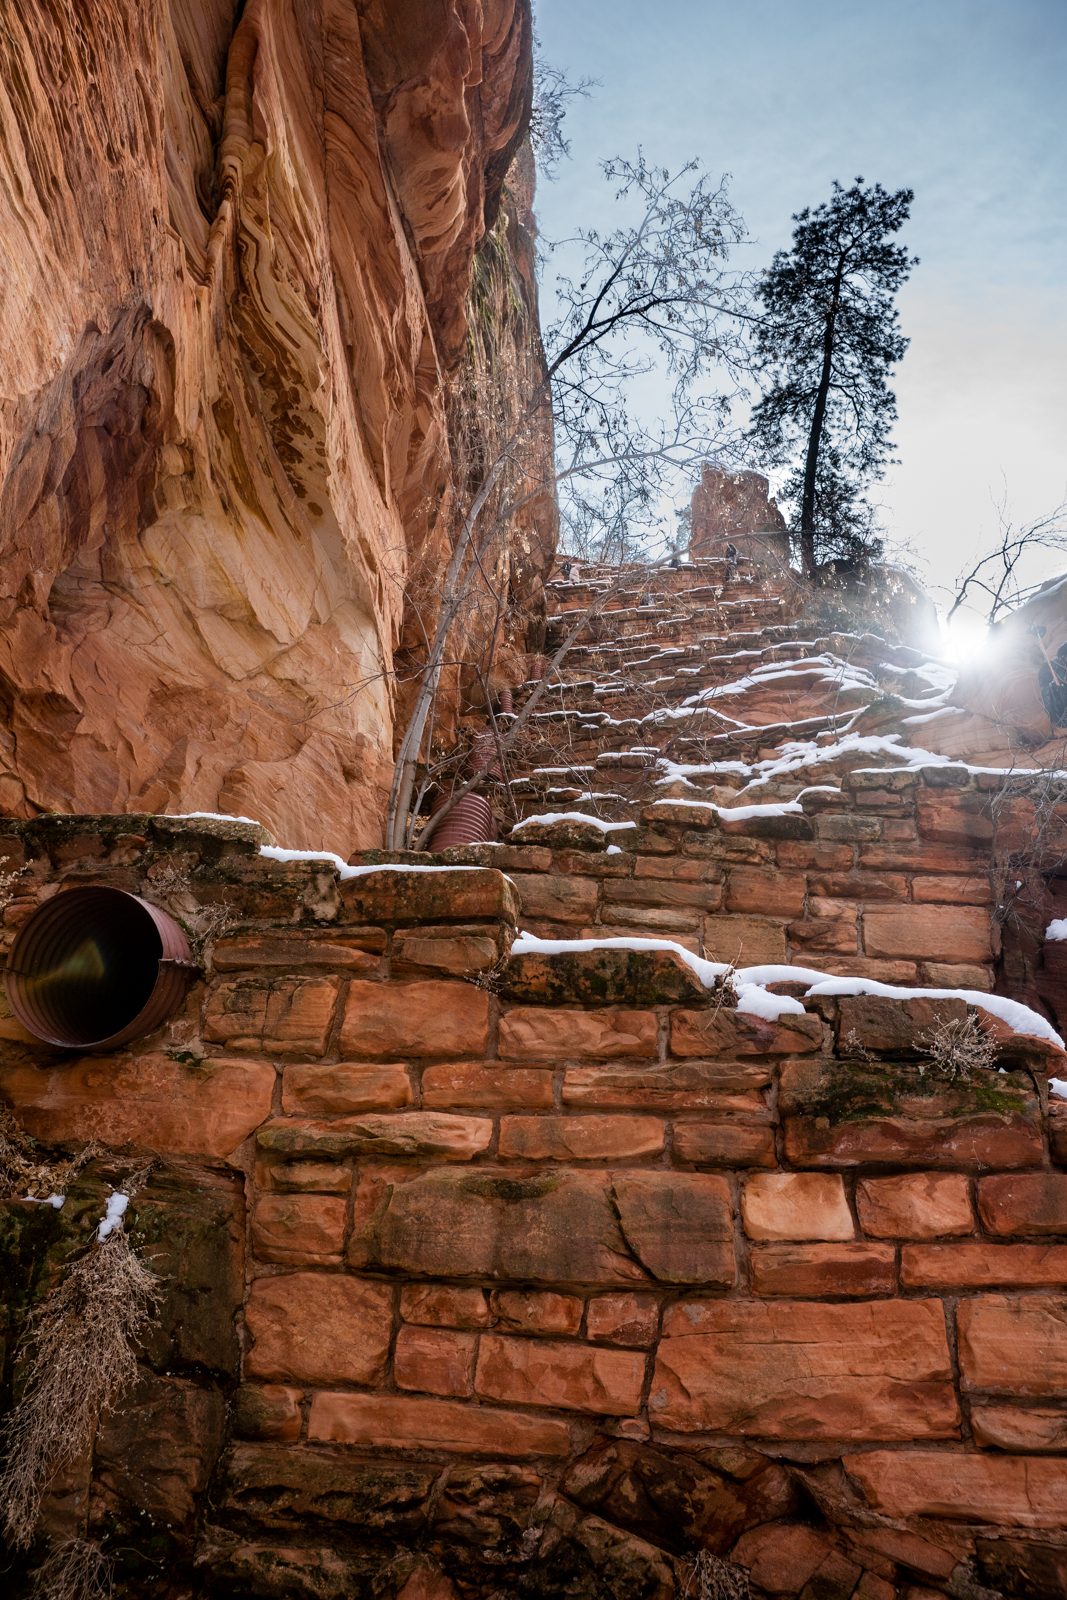
Walter’s Wiggles
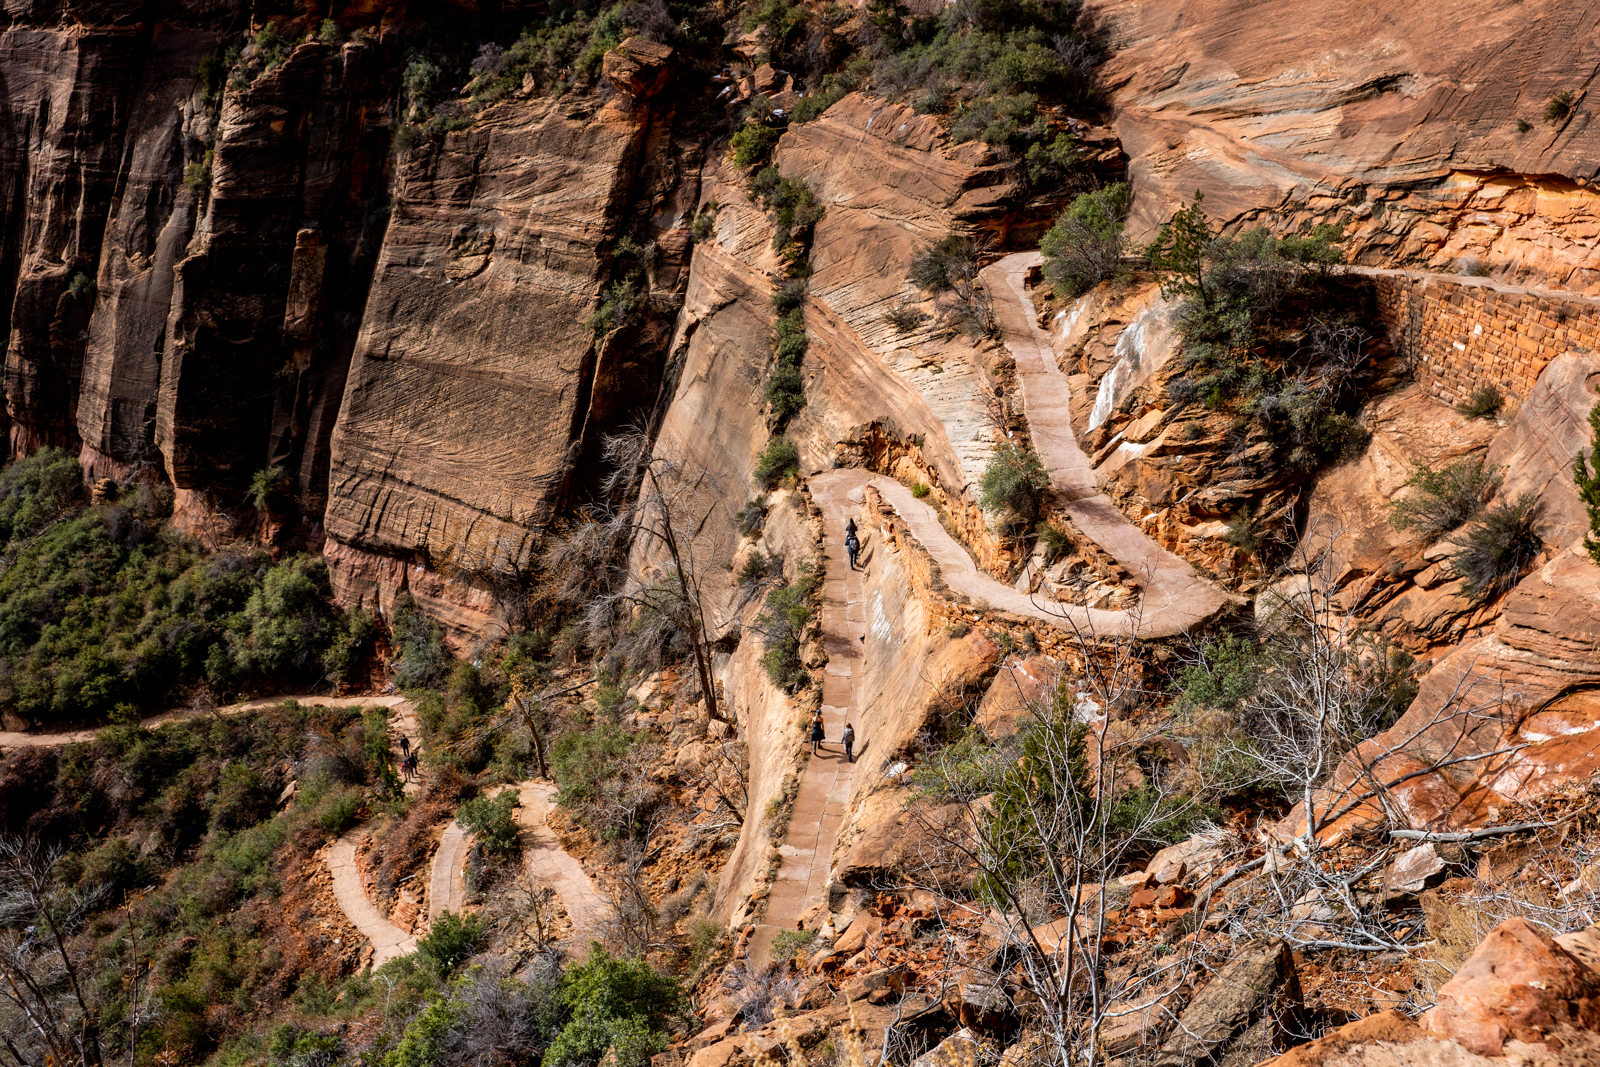
You’ll eventually come up to the most famous, last set of switchbacks here. This portion of the trail has come to be known as “Walter’s Wiggles.” The name “Walter’s Wiggles” is Zion’s way of paying homage to the park’s first superintendent Walter Ruesch. Not only was he the first superintendent but he was also the designer and creator of the Angel’s Landing trail way back in 1925. The trail was originally designed for both people and horses. You might even be able to see some horse tracks in the concrete as you go.
Walter’s Wiggles starts with some easy, rounded switchbacks but once you go around the bend, there are 21 steep switchbacks, all stacked on top of each other. This was the point where the microspikes became very important. We ran into some people that were coming down without spikes. They either struggled and slipped their way down or decided that it was safer to sit and slide all the way down. It looked fun, except for when they came to the corners that had sheer drops. Our microspikes made it easy for us to hike up Walter’s Wiggles. Once you get to the top be sure to take in this view. Those switchbacks and the canyon behind them make for a pretty awesome sight.
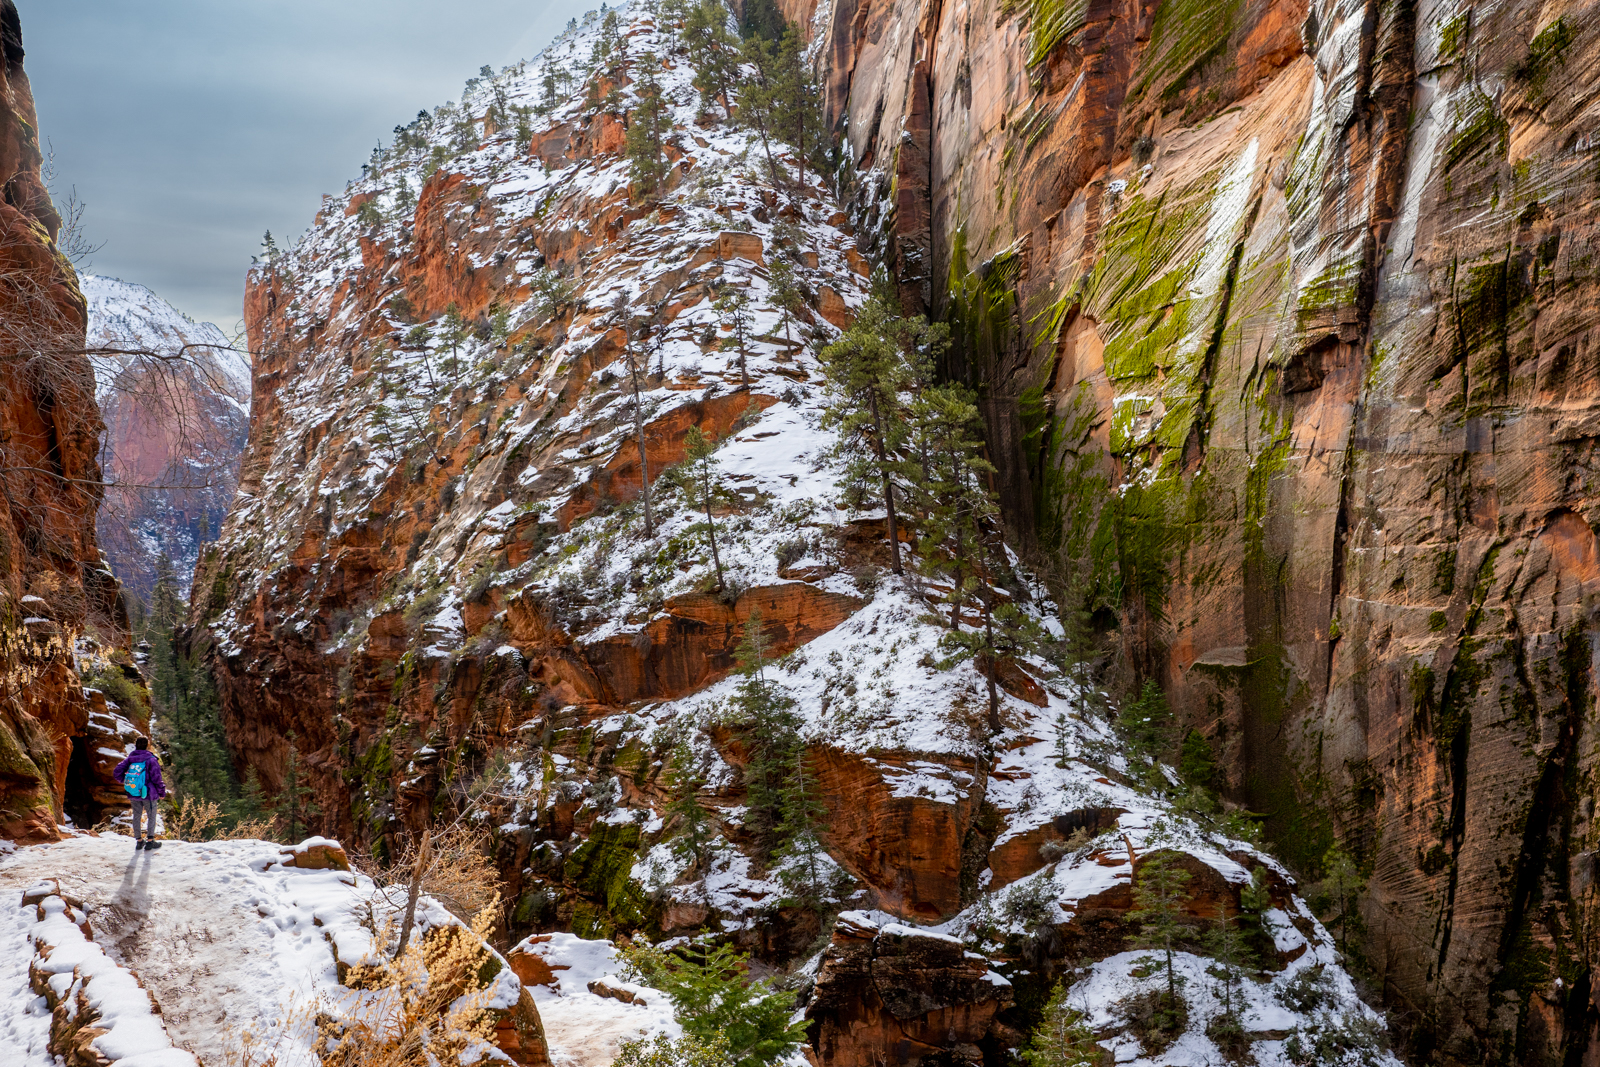
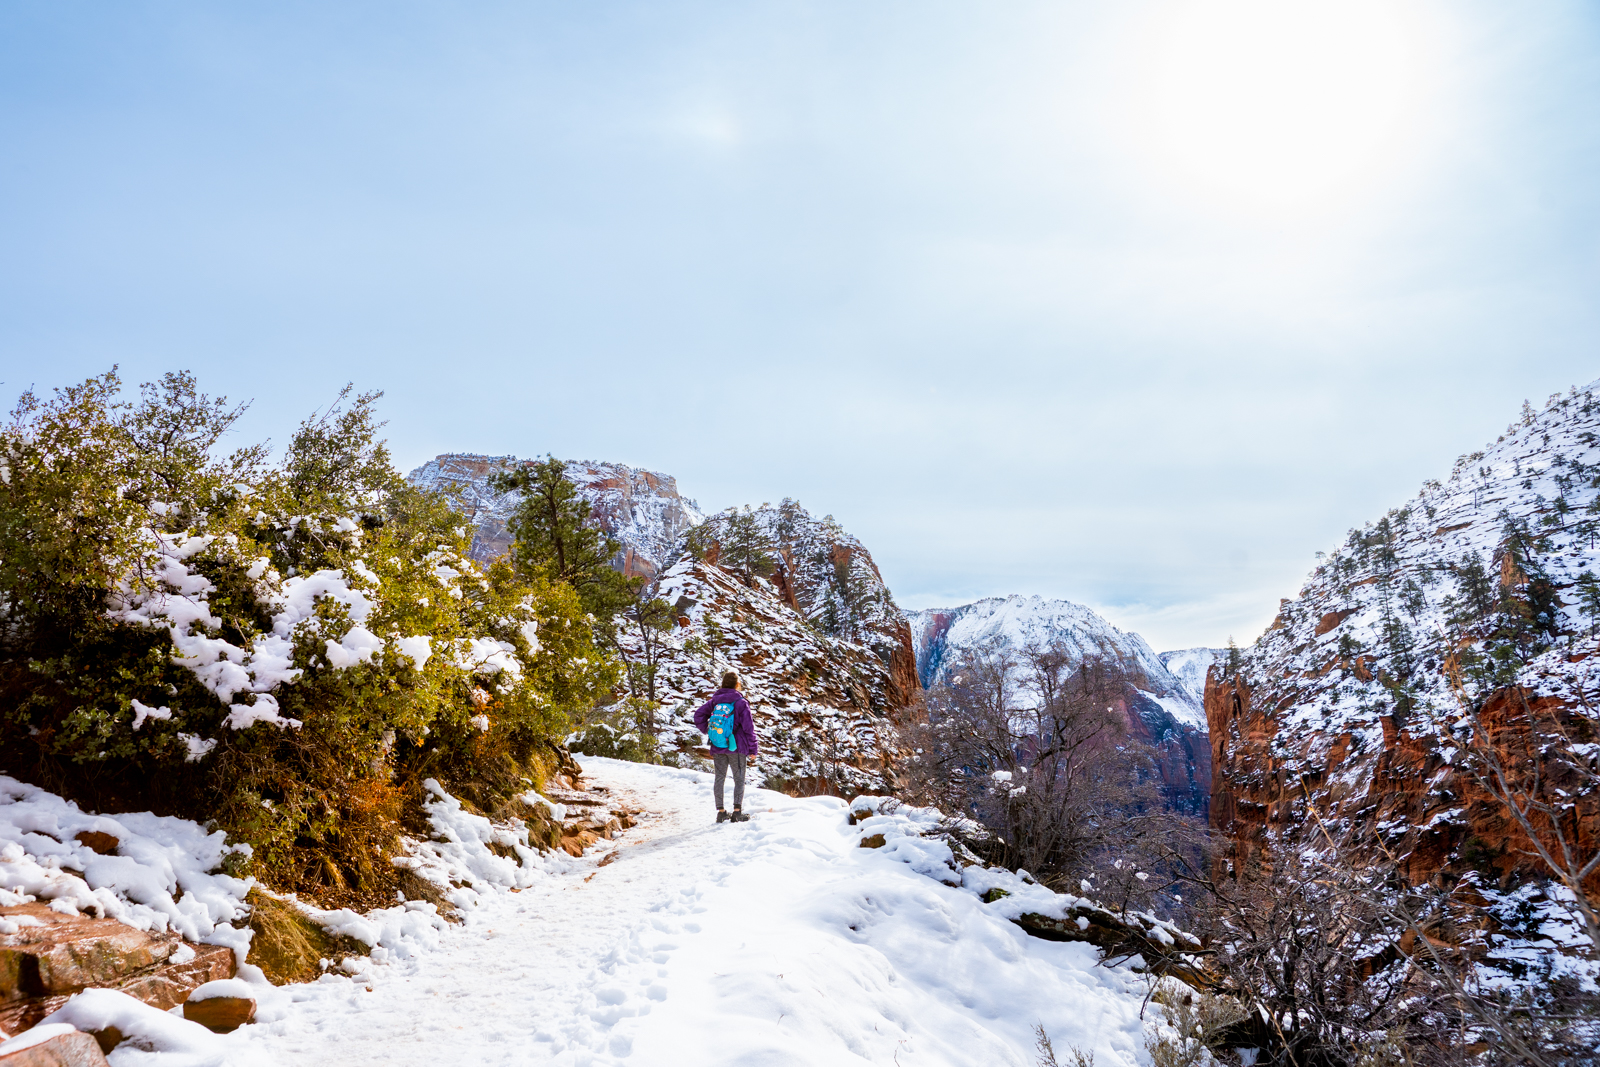
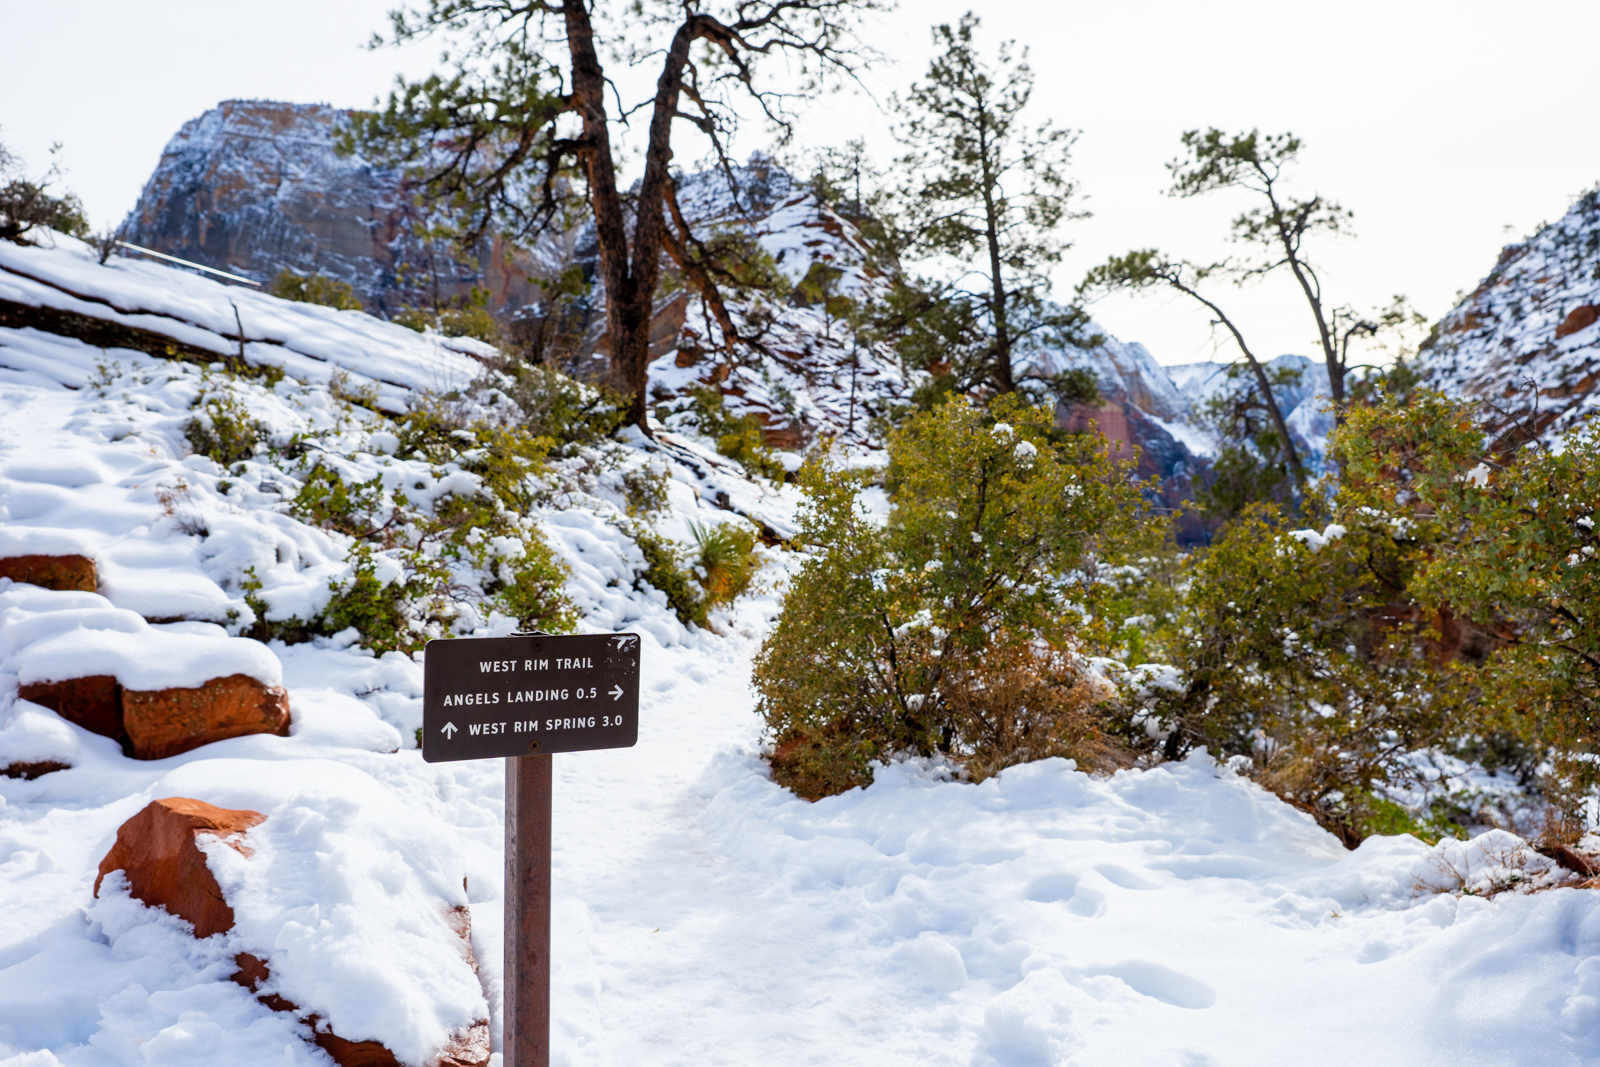
Going to Scout Lookout
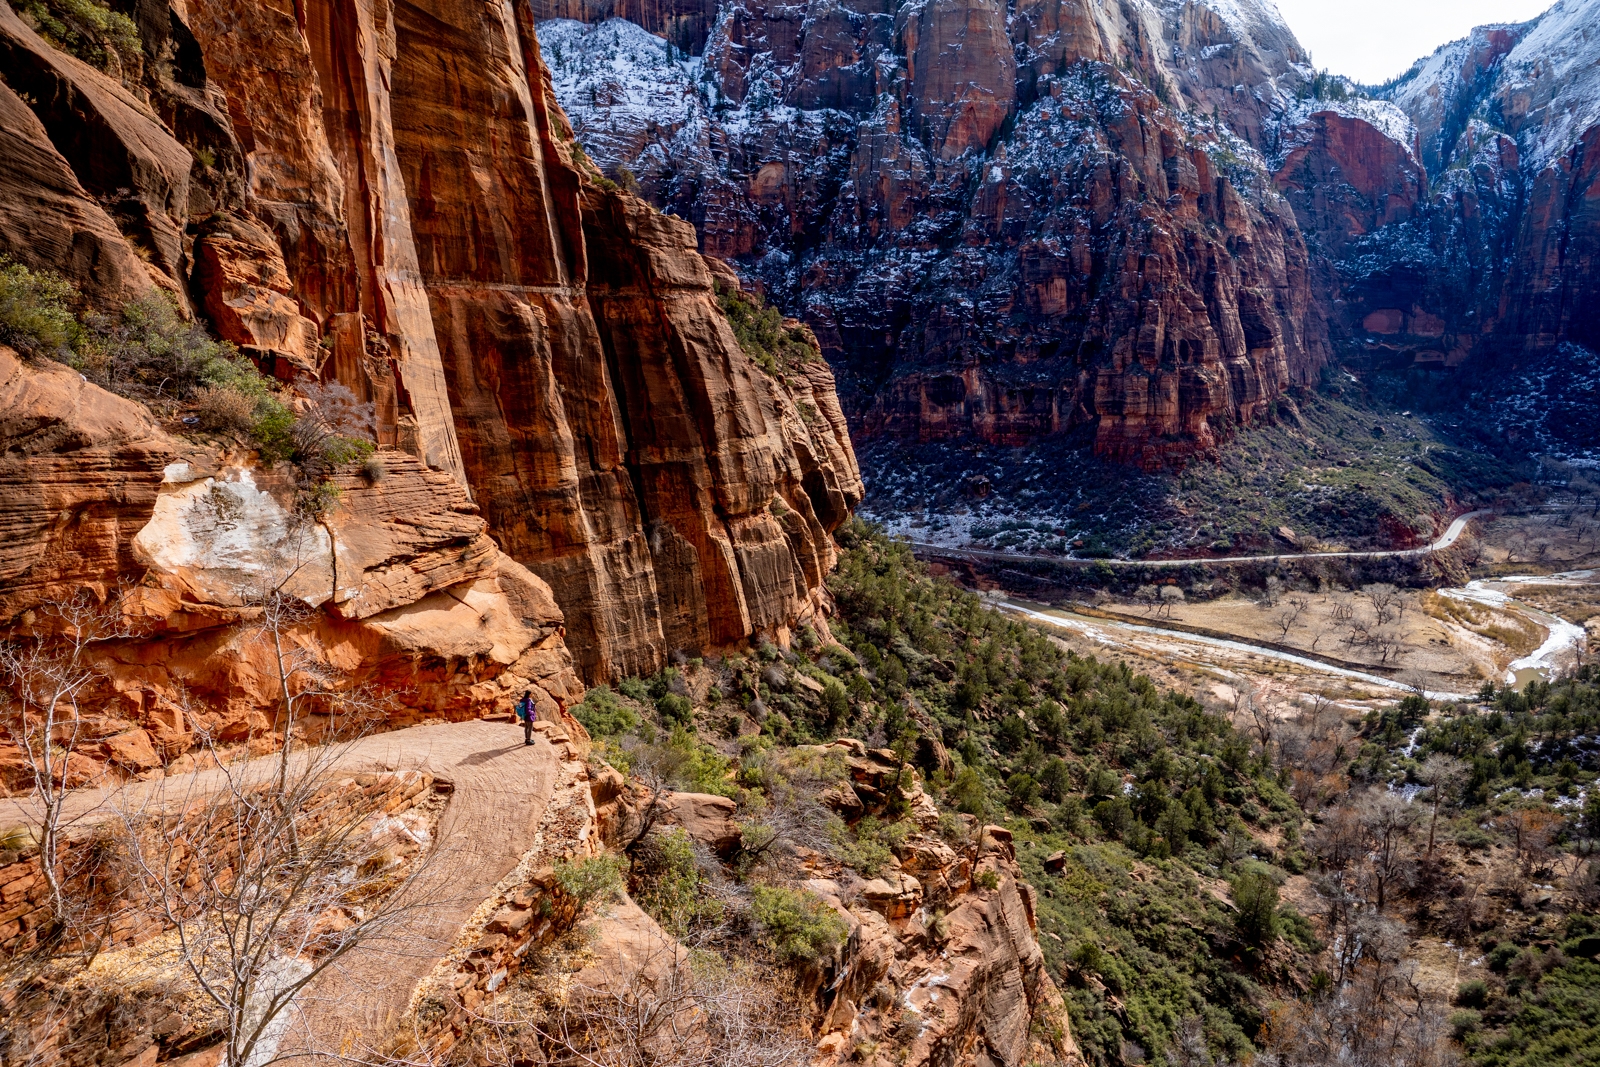
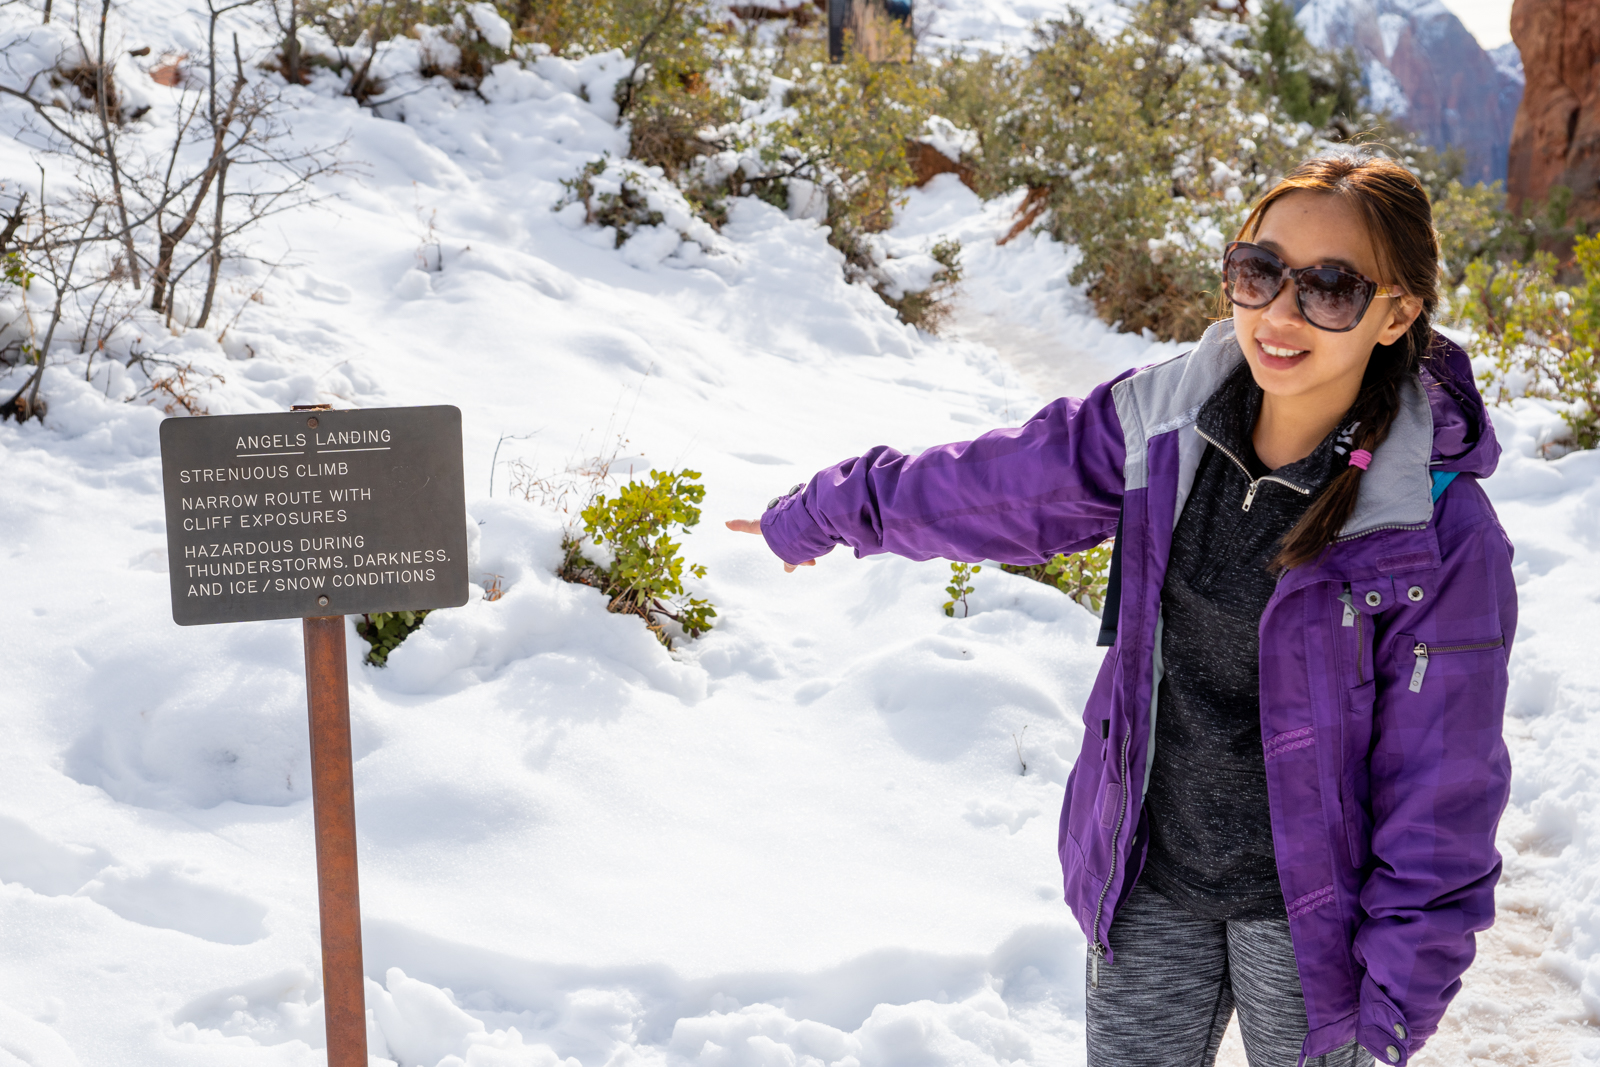
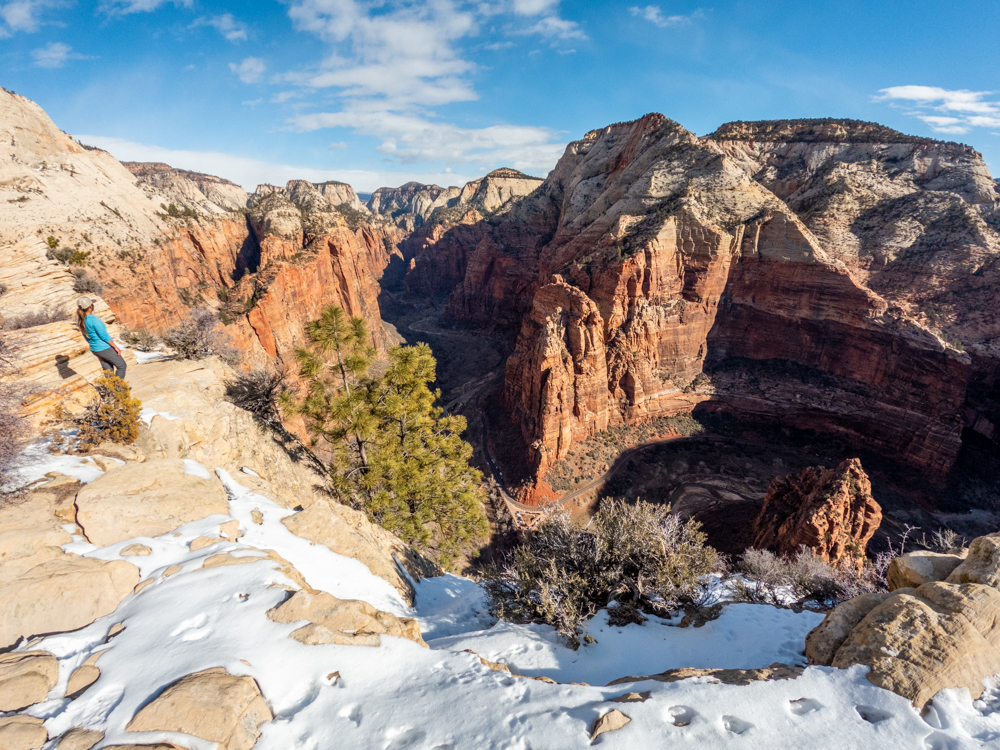
After the Wiggles, the trail flattens out for a short distance. As you round the curve off to the left, the view broadens into the canyon below. You’ll come up to a sign that marks the last 0.5 miles of the trail. This last half a mile is where the actual Angel’s Landing trail starts, meaning, this is where it starts to get fun. At this point, if you don’t want to attempt the climb, you can still make your way to Scout Lookout and enjoy the view from there. After this point, it’s all about hanging onto chains with straight drops down on both sides.
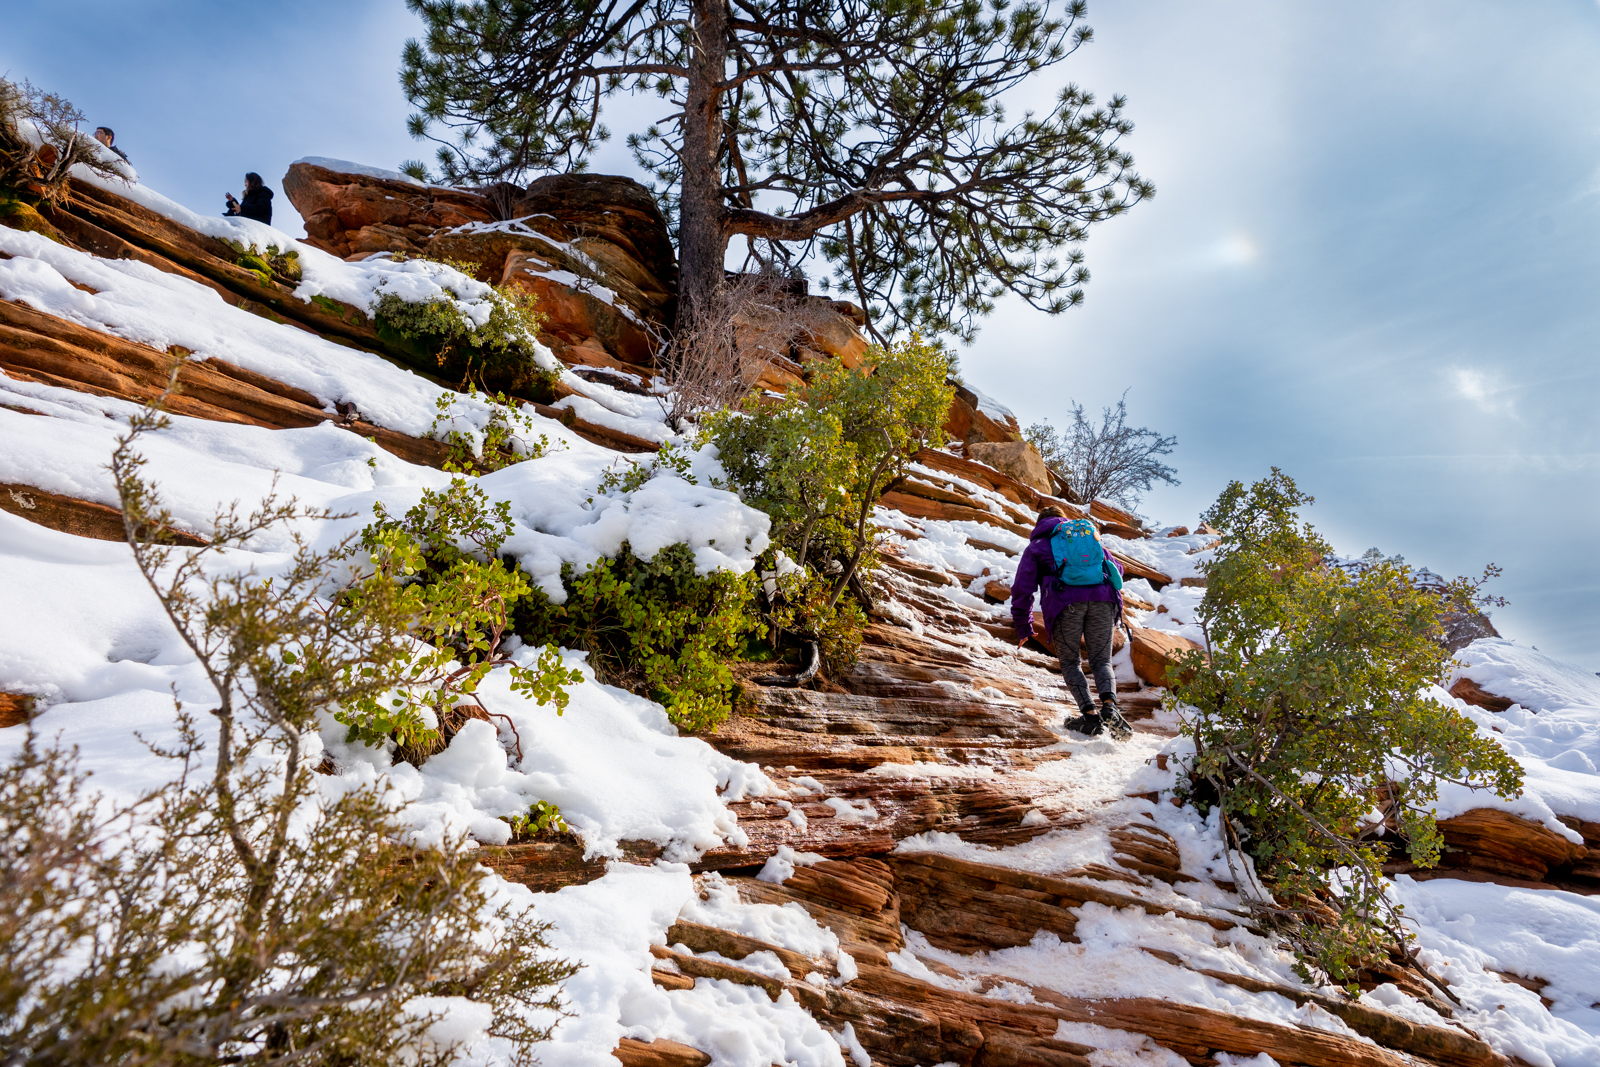
The Start of Angels Landing Hike (the Chain Section)
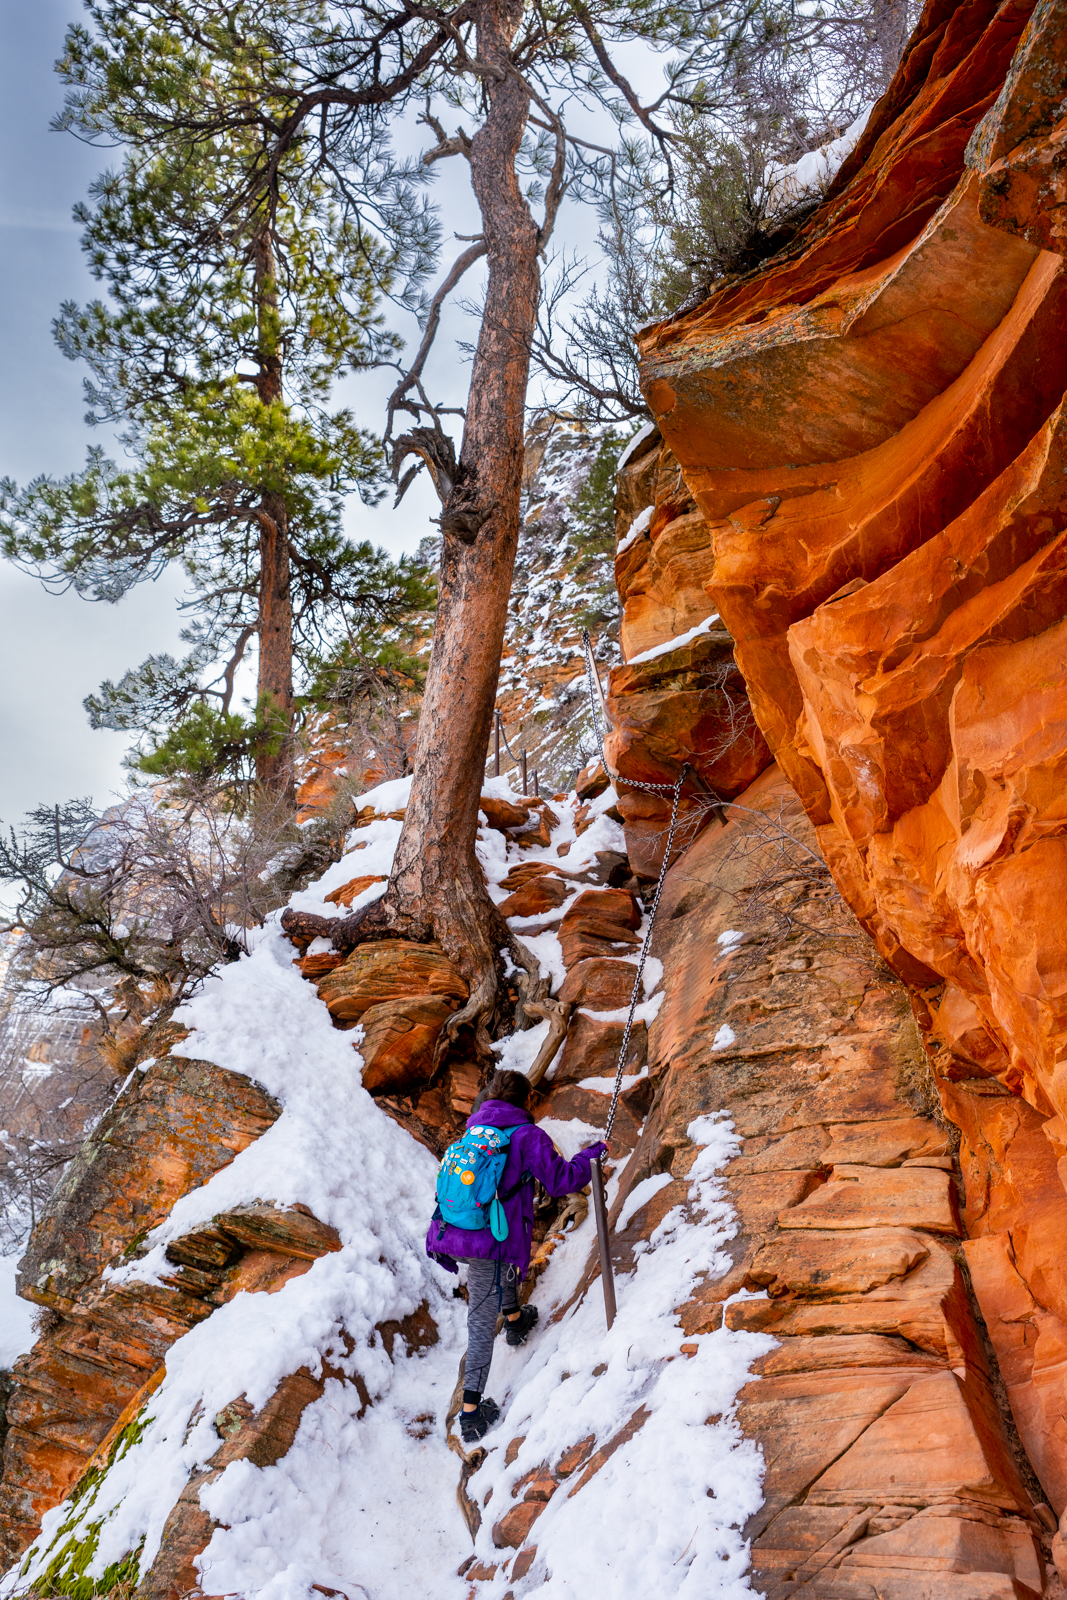
This climb is one of a kind when it comes to hiking trails. There are parts that will have you thinking “there is no way that this is part of the trail” and the crazy thing is, YES IT IS! We can’t stress enough to make sure that you have your microspikes for this part if you are hiking in the winter. It is very slippery and dangerous without it since parts of the trail slope down towards the cliffs. We came across at least 15 people up there with footwear ranging from hiking boots to Converse. We saw one guy that slipped and almost slid off the cliff. He was very lucky that he had a good grip on the chain! Please come prepared for this one. It is seriously a matter of life or death!
Before the chain starts, you’ll come to a warning sign of how dangerous Angel’s Landing is. You will also be climbing around 300 feet in less than a half-mile. Shortly after the second sign, you will meet one of your new best friends, the thick chains that line the most dangerous sections of the hike. I know they look very sturdy but I’ve always had trouble putting 100% of my weight on something that’s been out there in the weather 365 days a year for who knows how many years. I will say however that it appears that the park does keep everything in really good condition.
The Start of the Chain Section
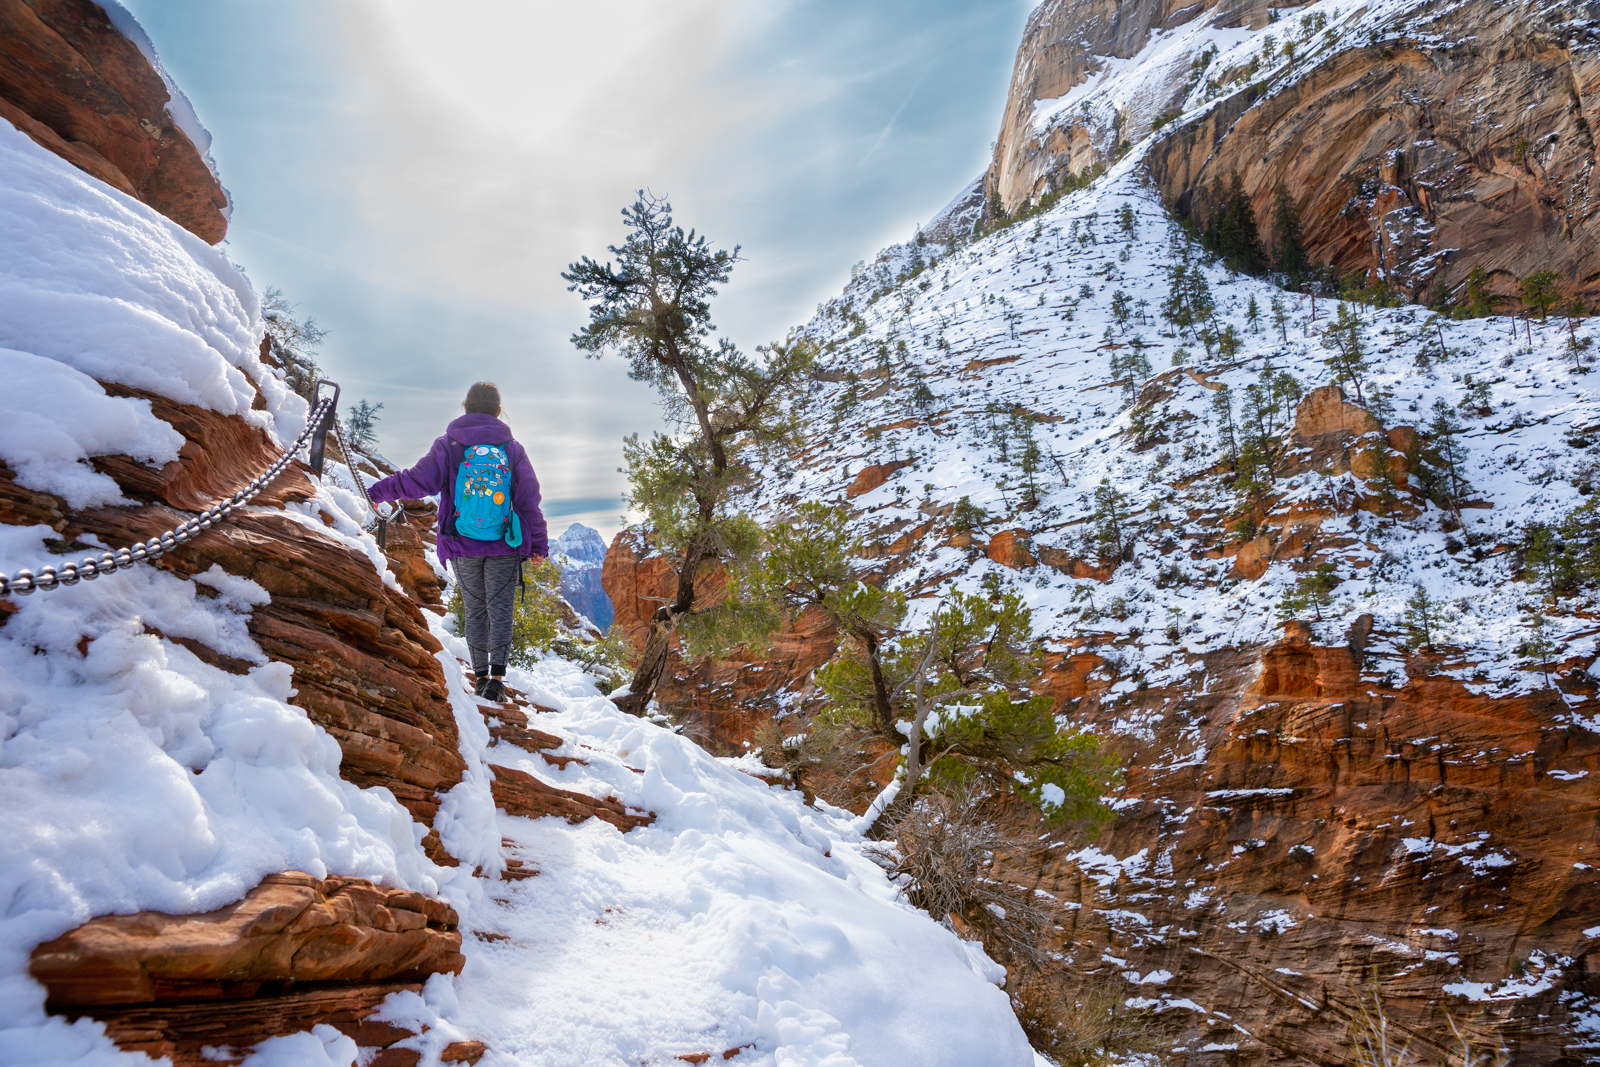
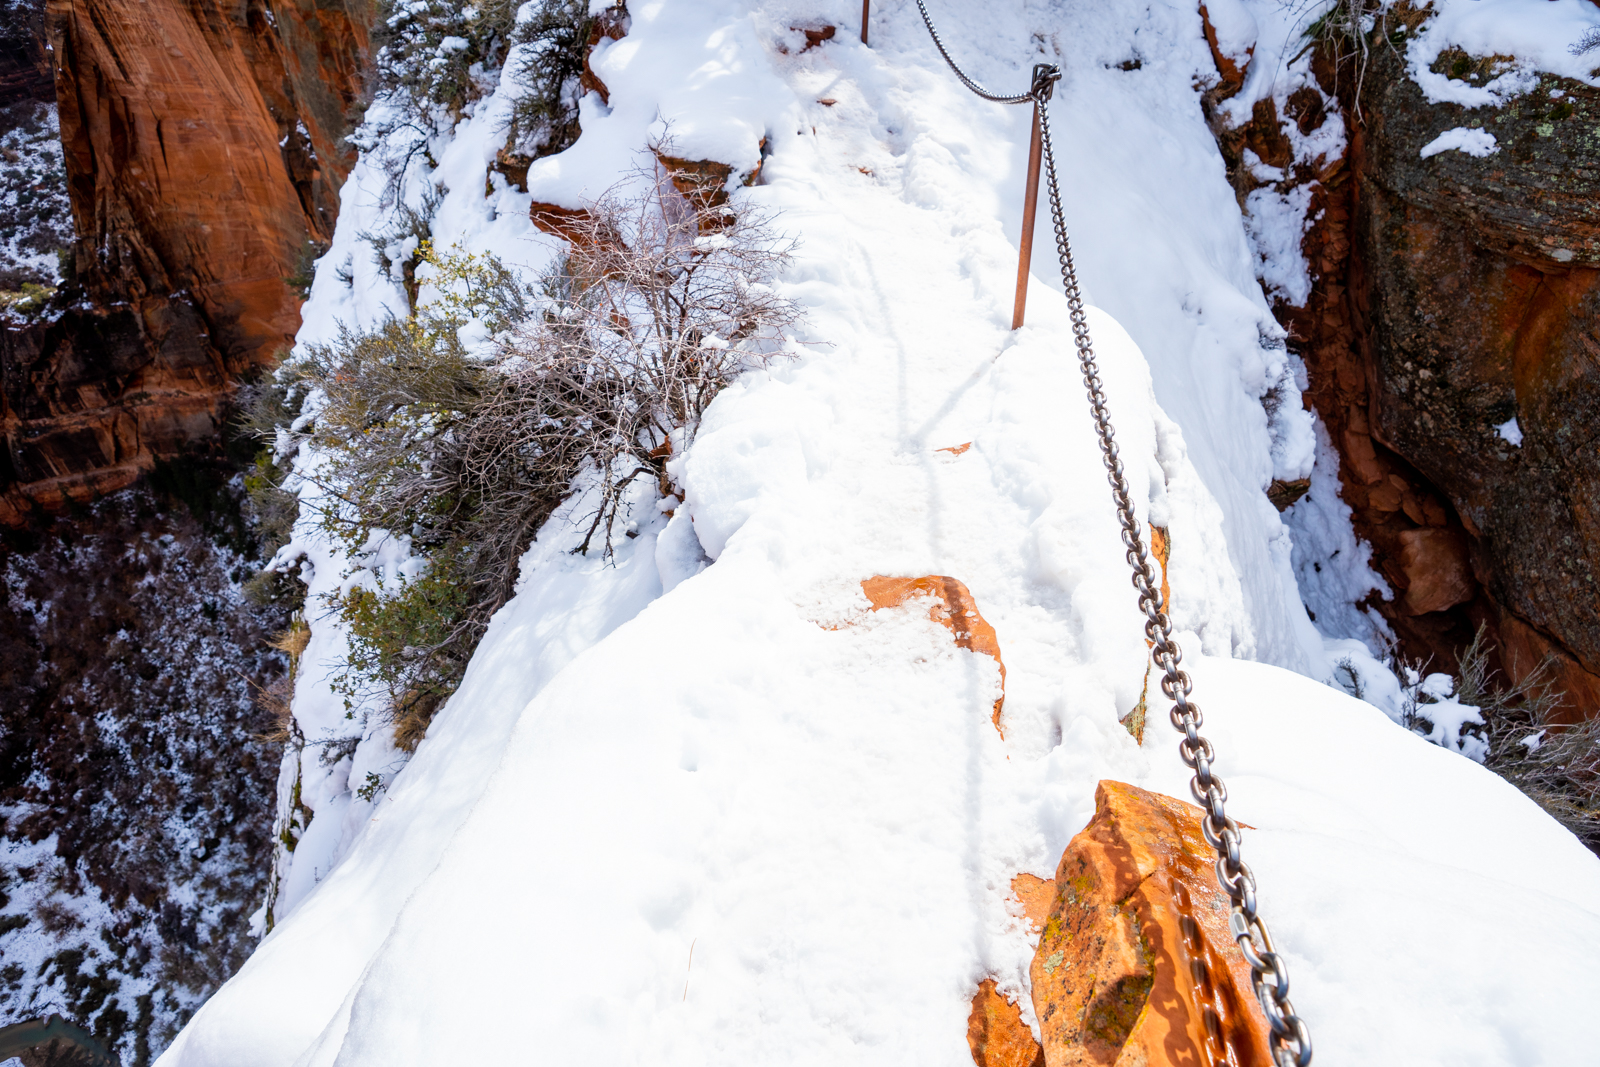
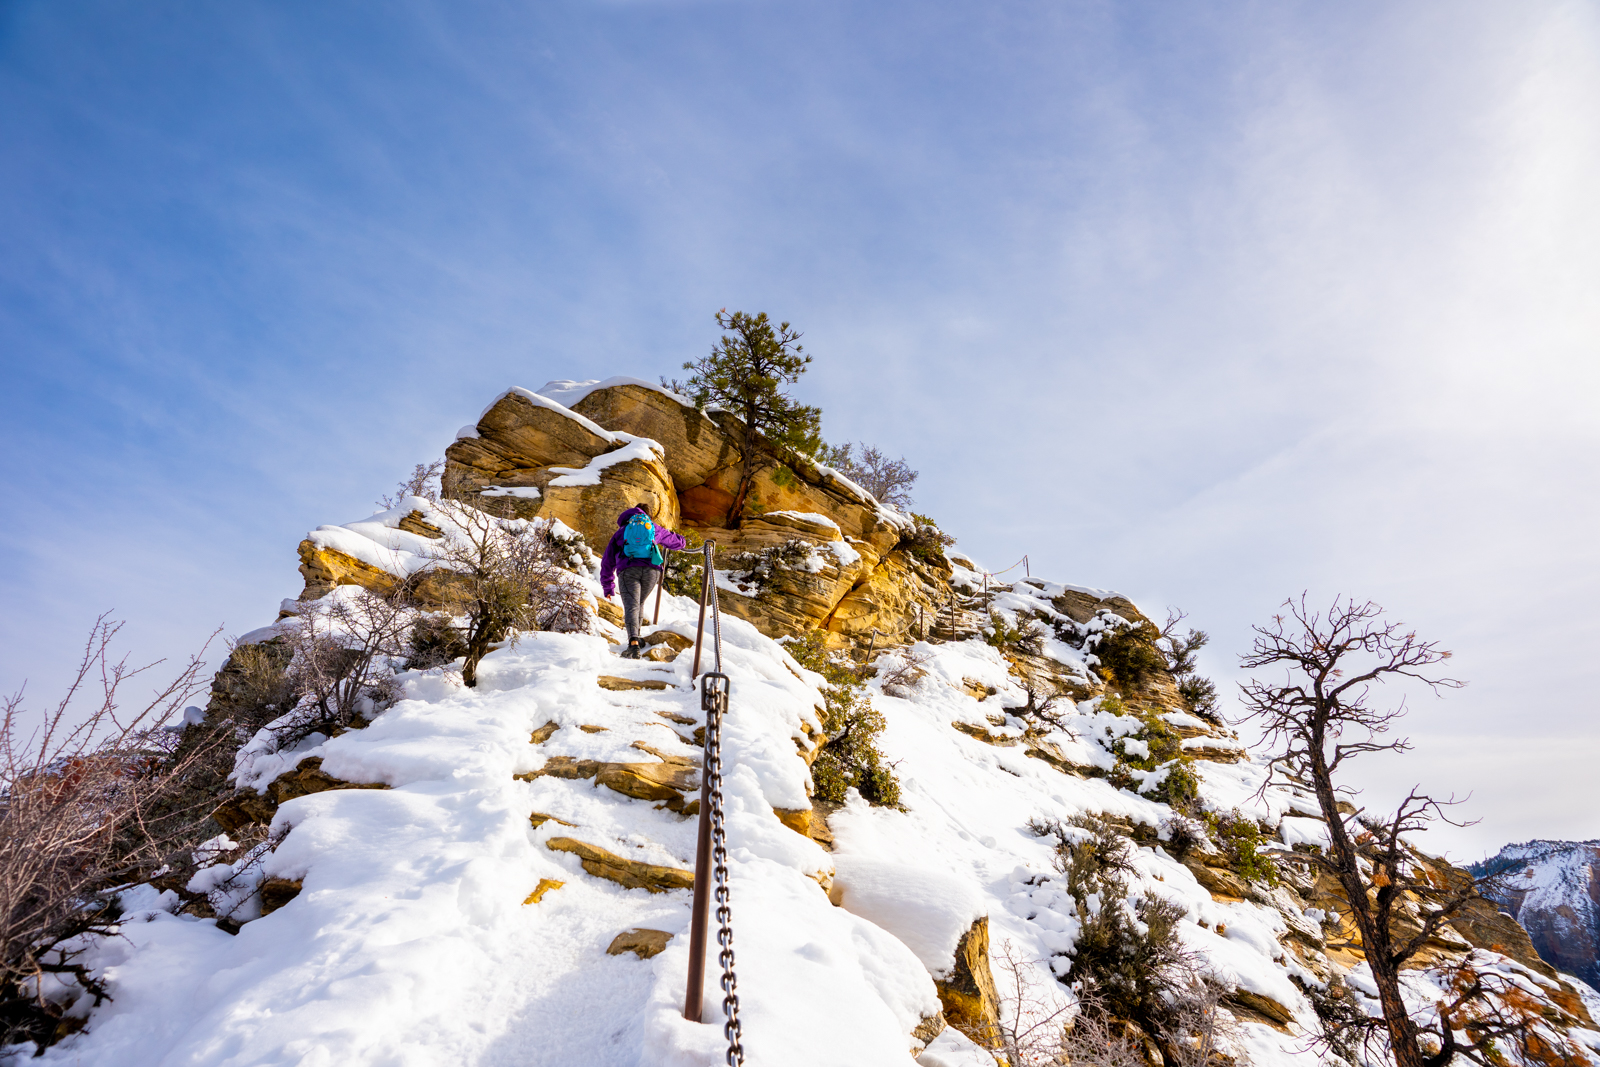
As soon as the chains started, we began our climb up a steep, slippery, and very narrow ridge. The trail is mostly straightforward except for one part right after the initial climb where it gets a bit confusing. Once you reach a slabby area with no chain that looks like it’s going up, the trail actually follows along the edge of the ridge instead. Shortly after, there was a spot where it looked like the trail had washed away and left a good-sized gap that forced you to hold on to the chain to get across. Not to scare you away from attempting this hike, but this is just the beginning.
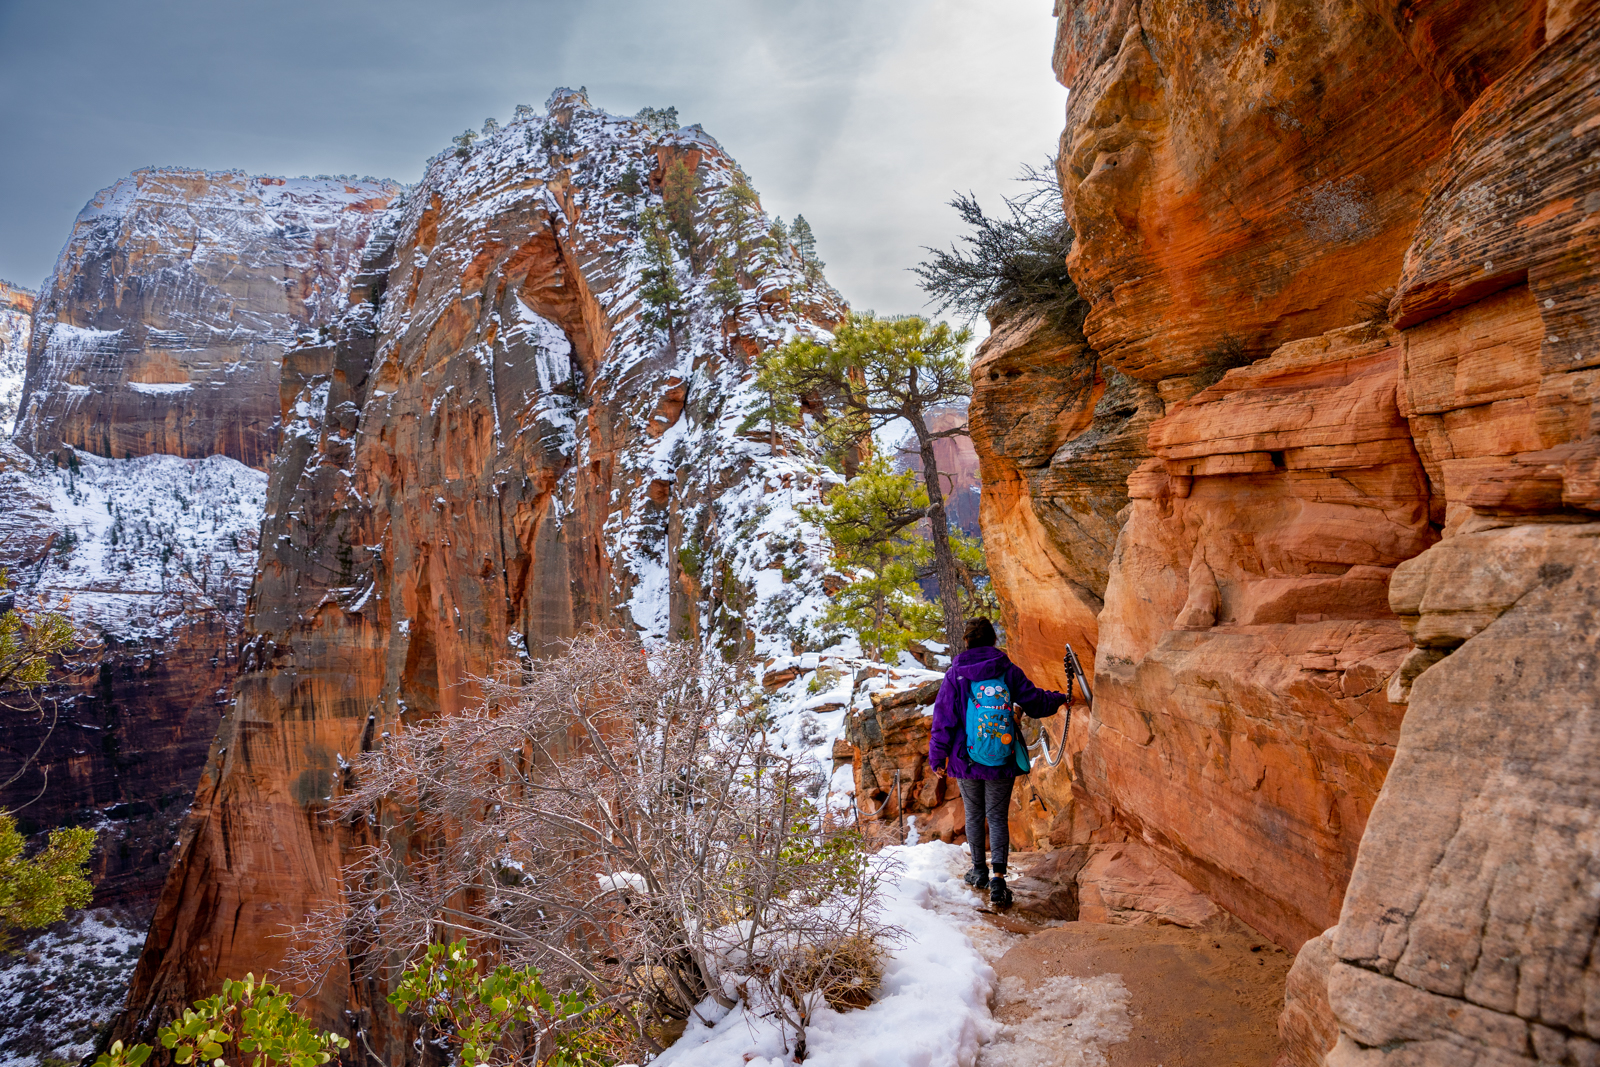
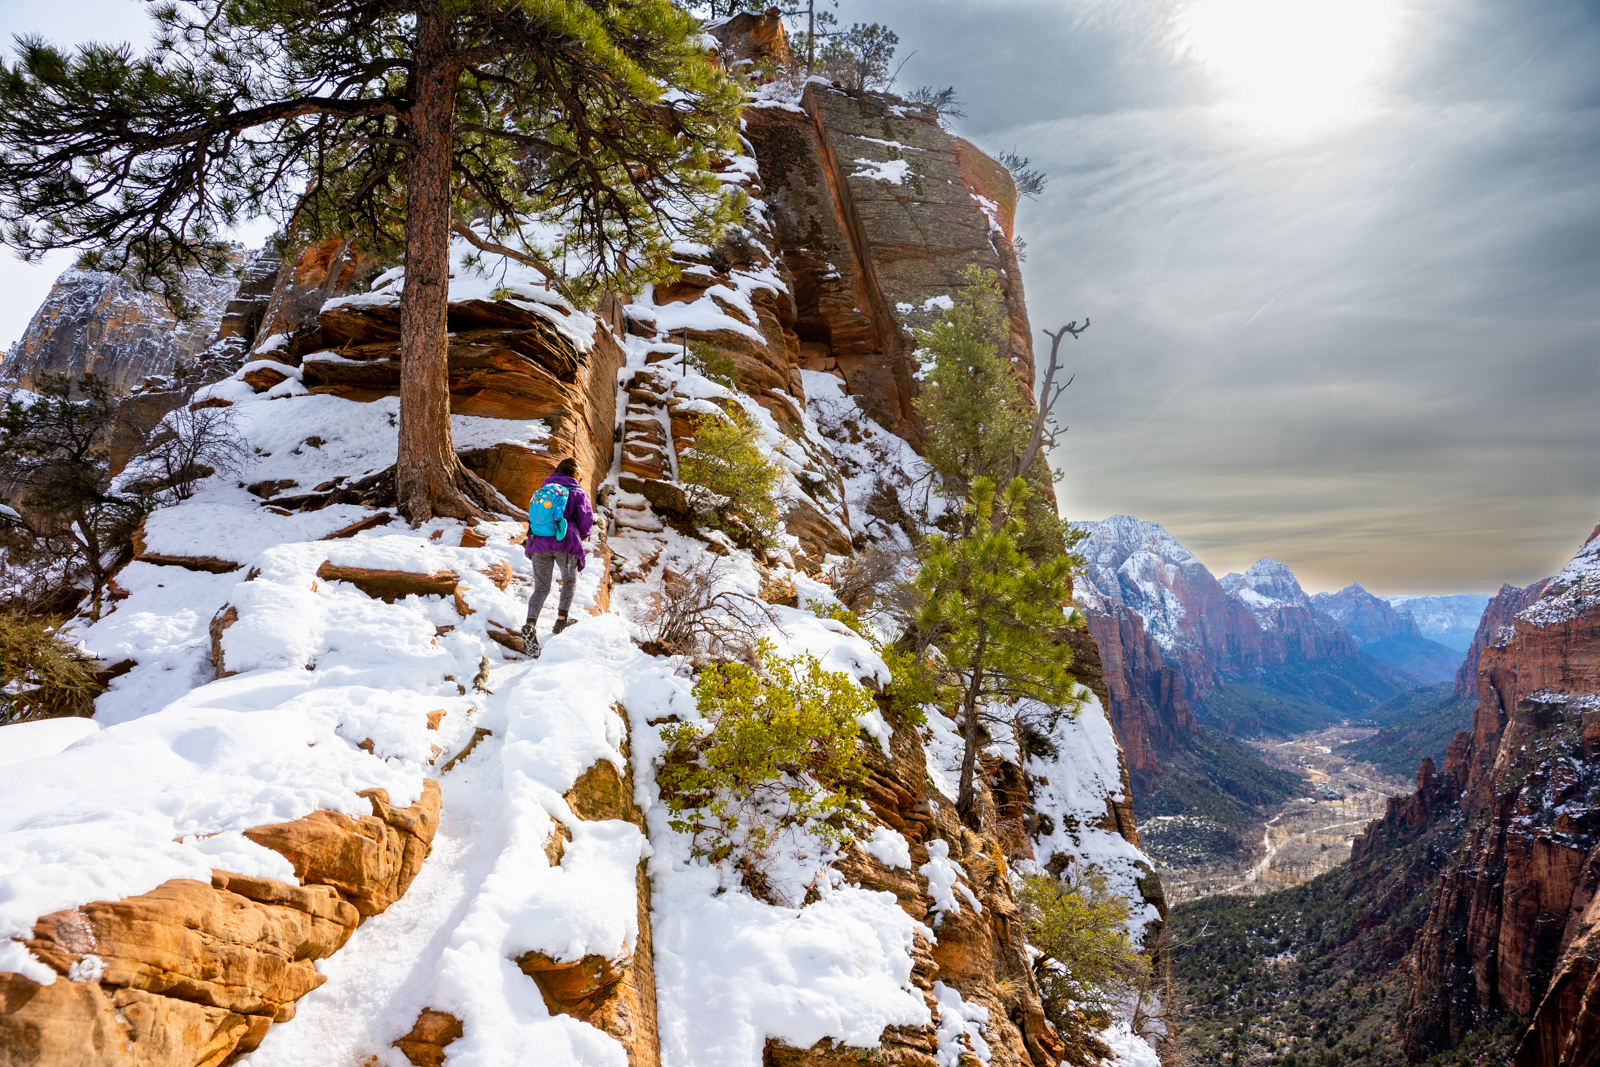
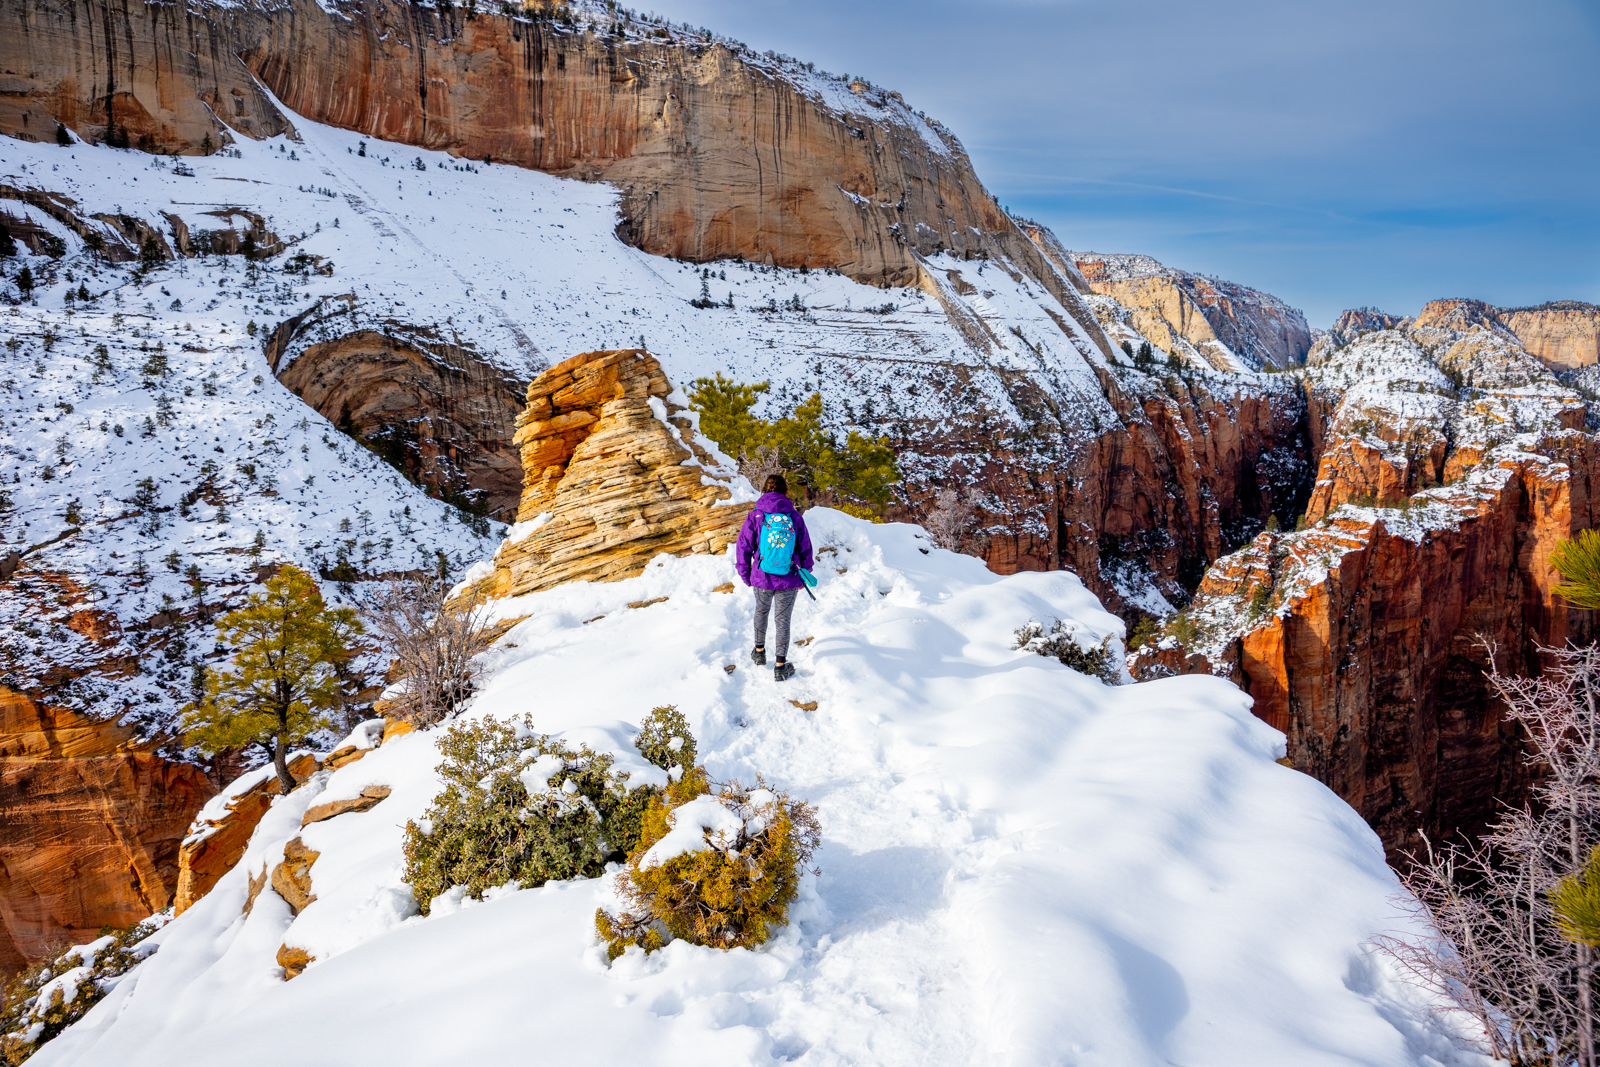
The Narrow Ridgeline
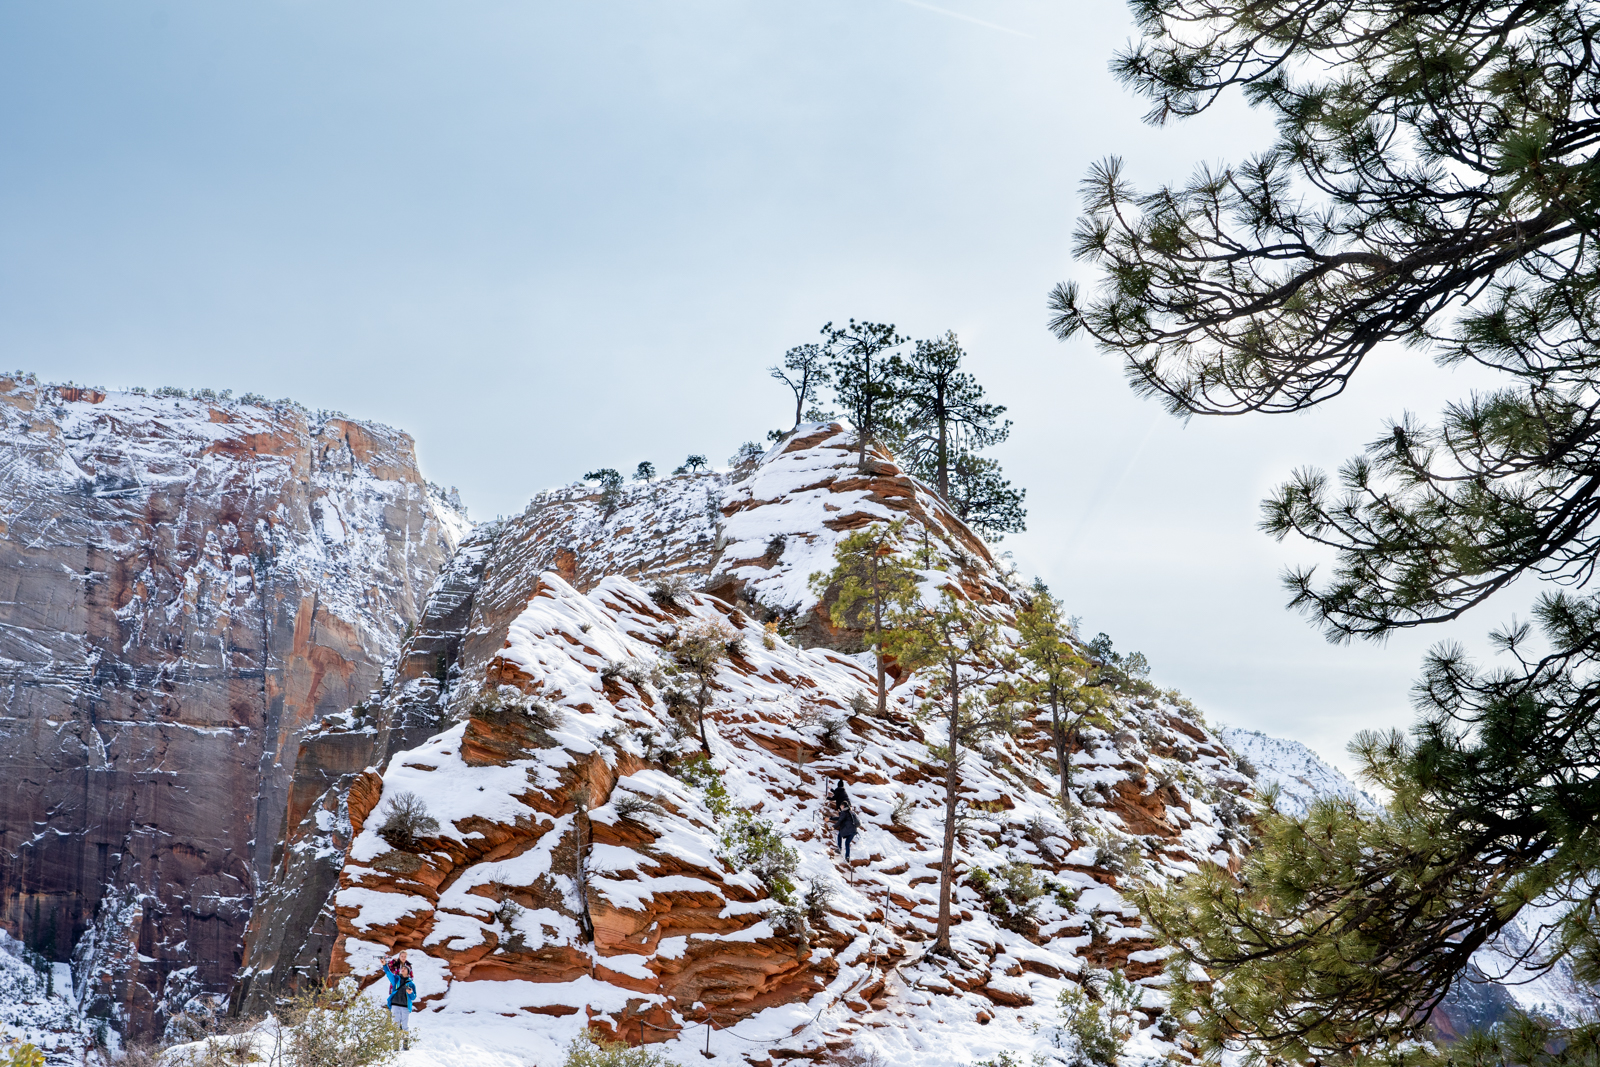
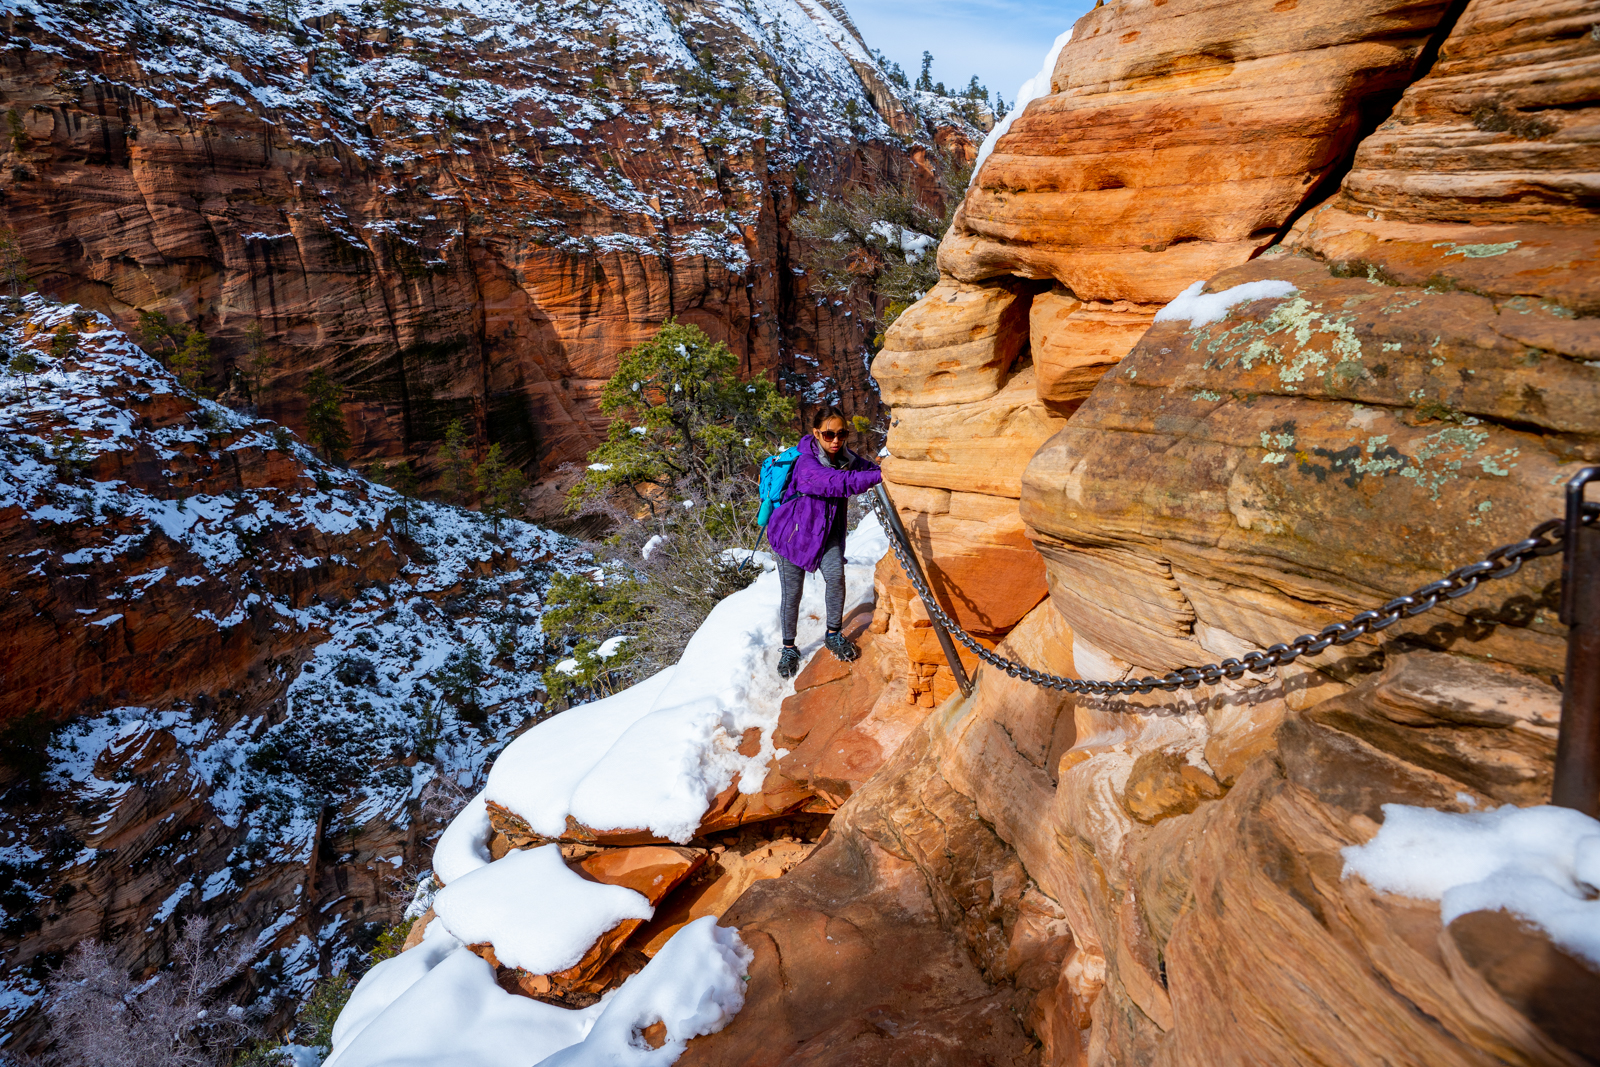
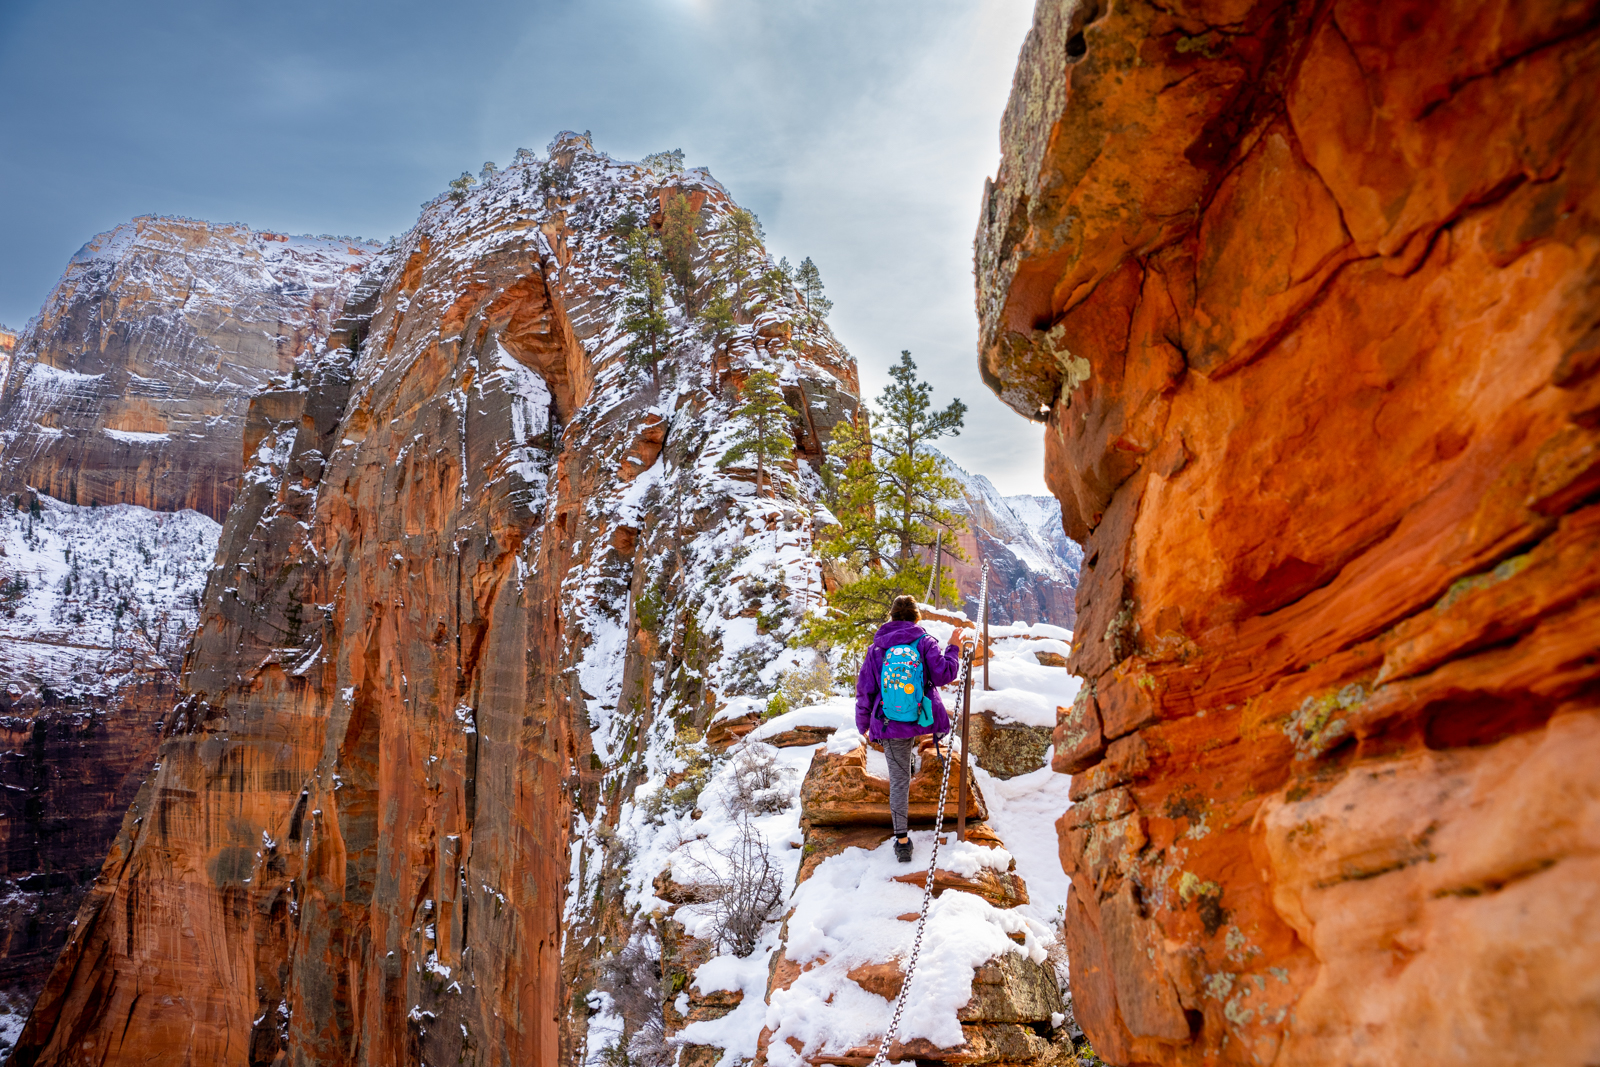
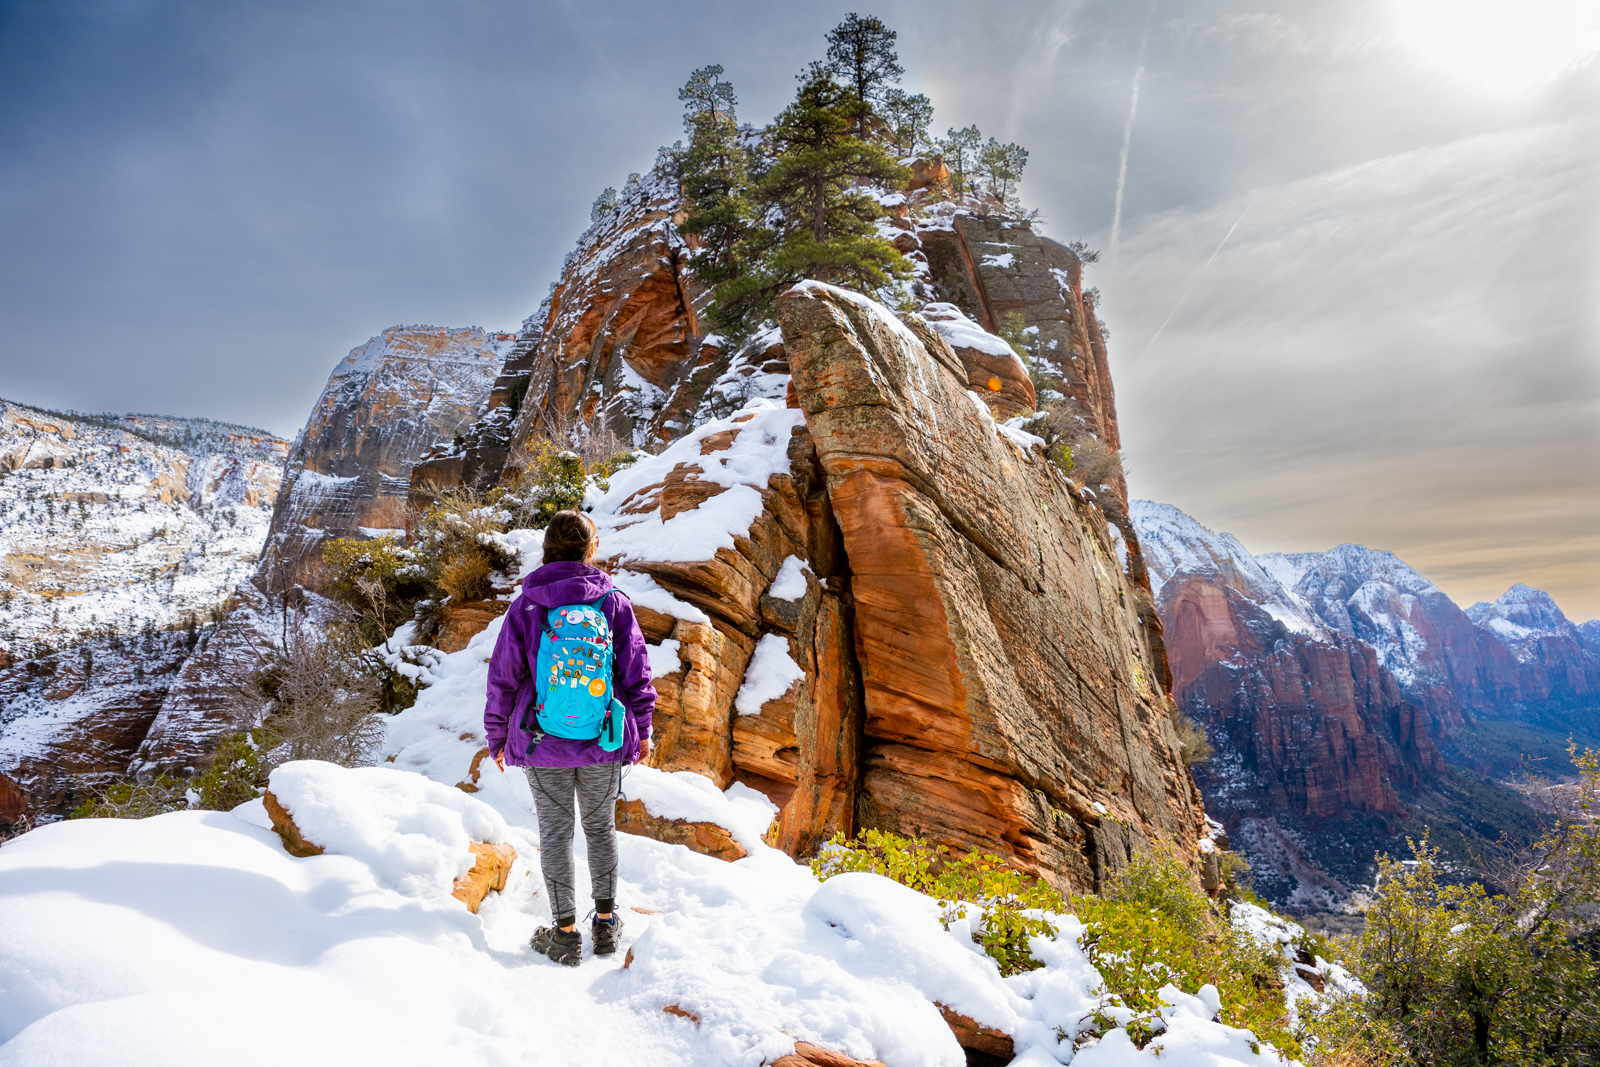
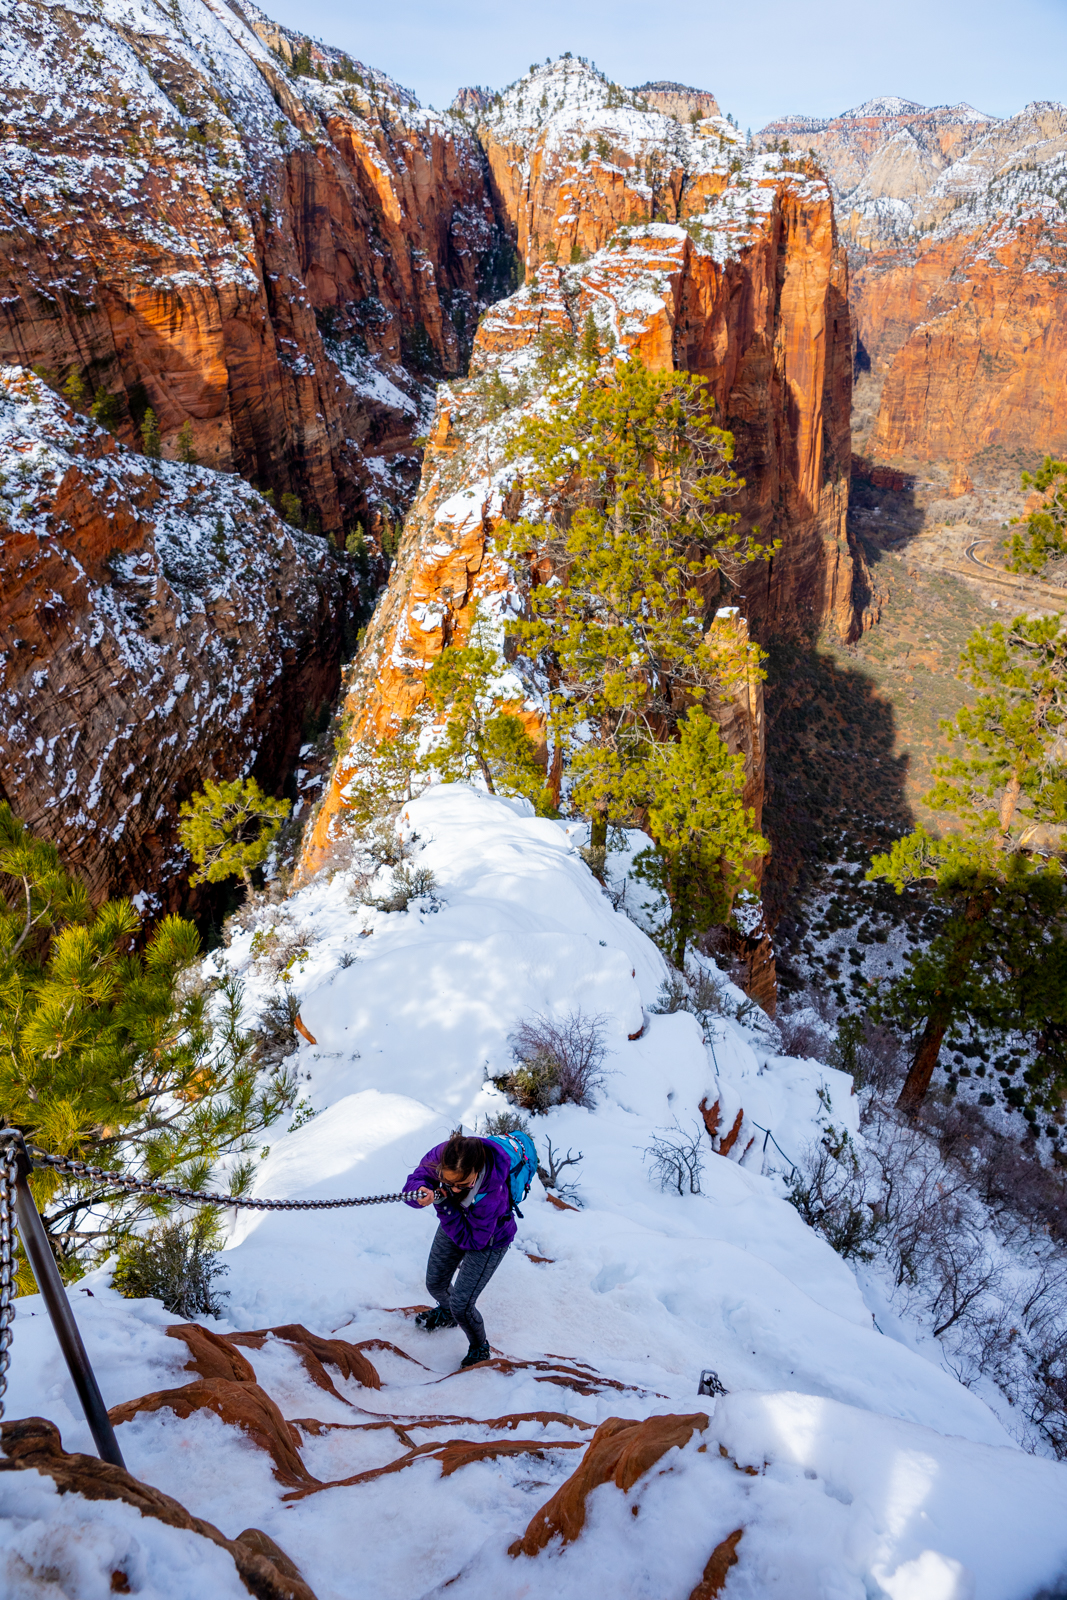
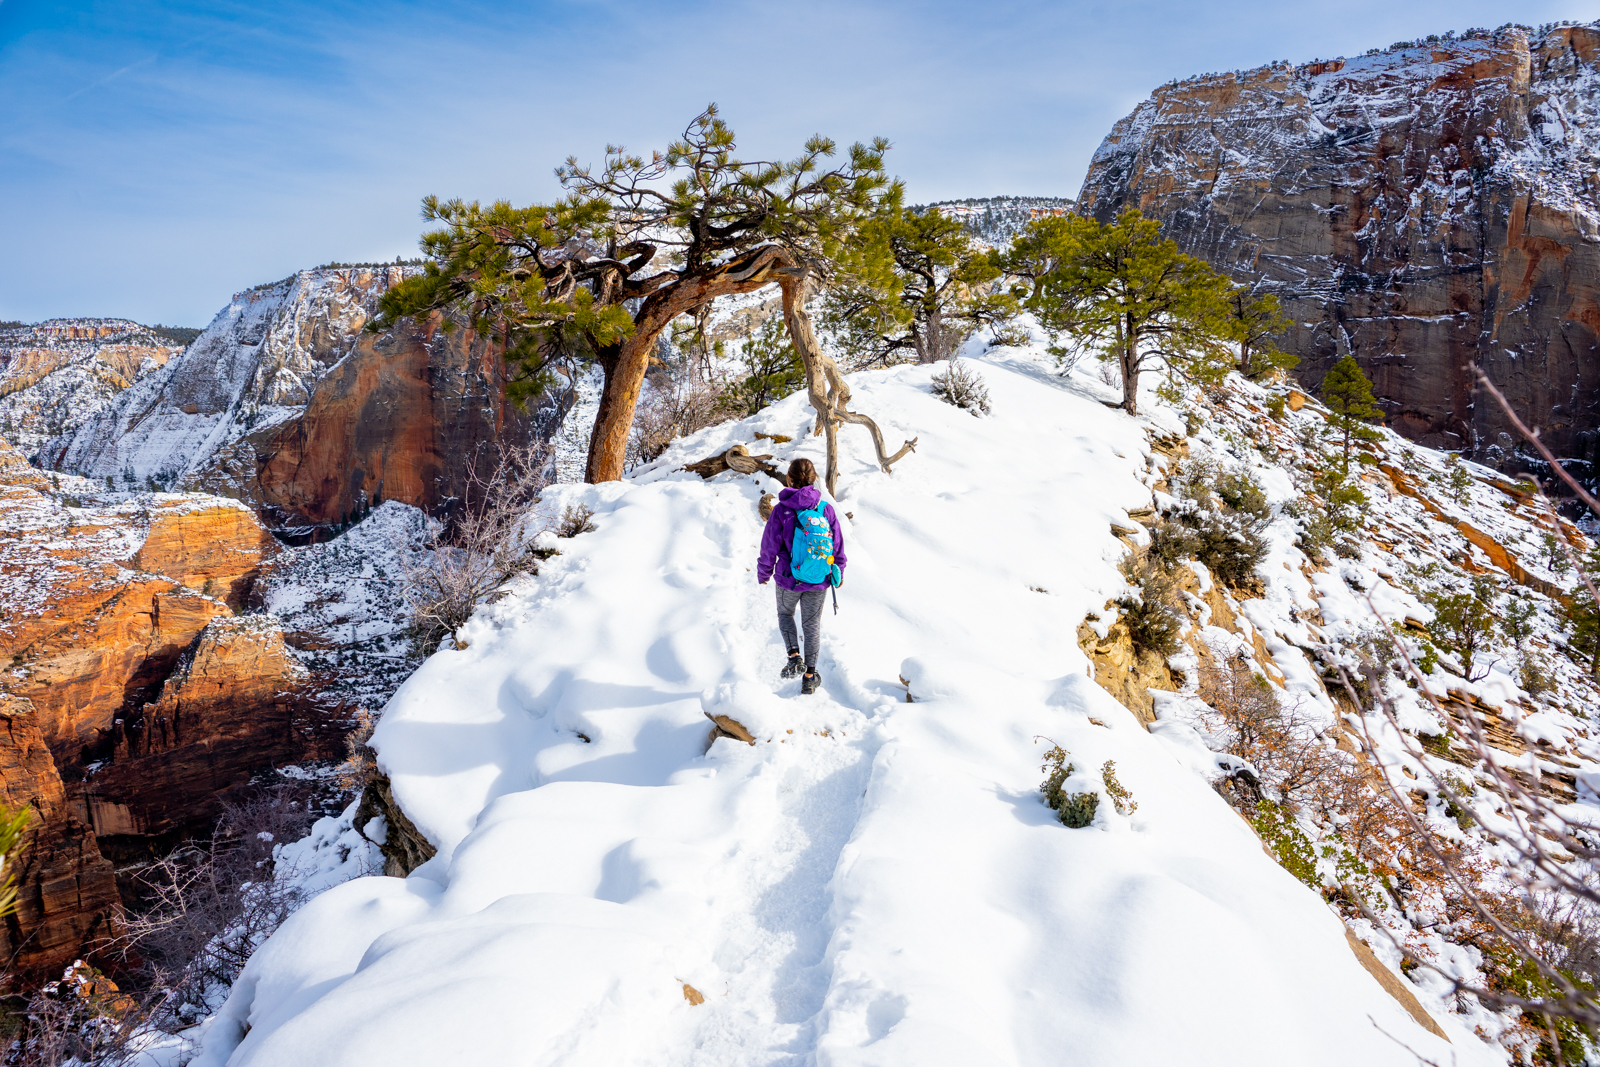
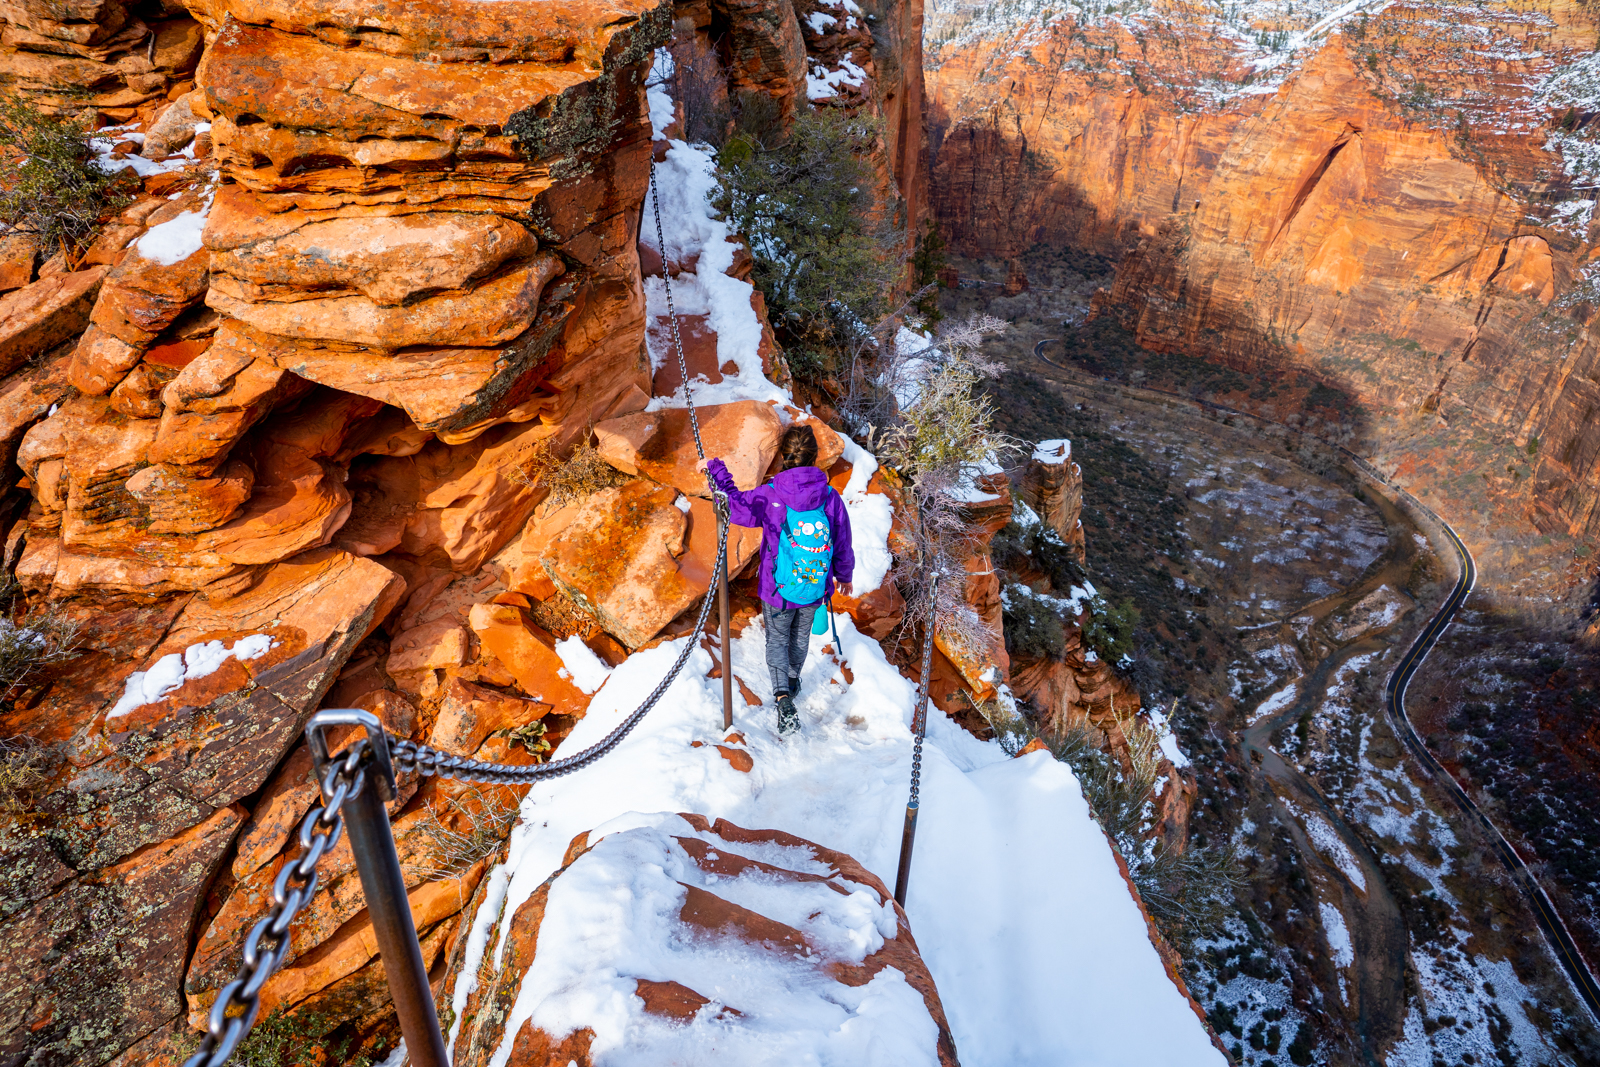
After navigating your way over that gap, you will round the corner to a sight that is pretty much sure to take your breath away: Angel’s Landing in all her glory. At first glance, the trail doesn’t look possible. You have to cross over a narrow ridge with straight drops from both sides and make your way up an equally narrow and steep climb. The trail glistened with all of its power and slippery ice made it all more challenging.
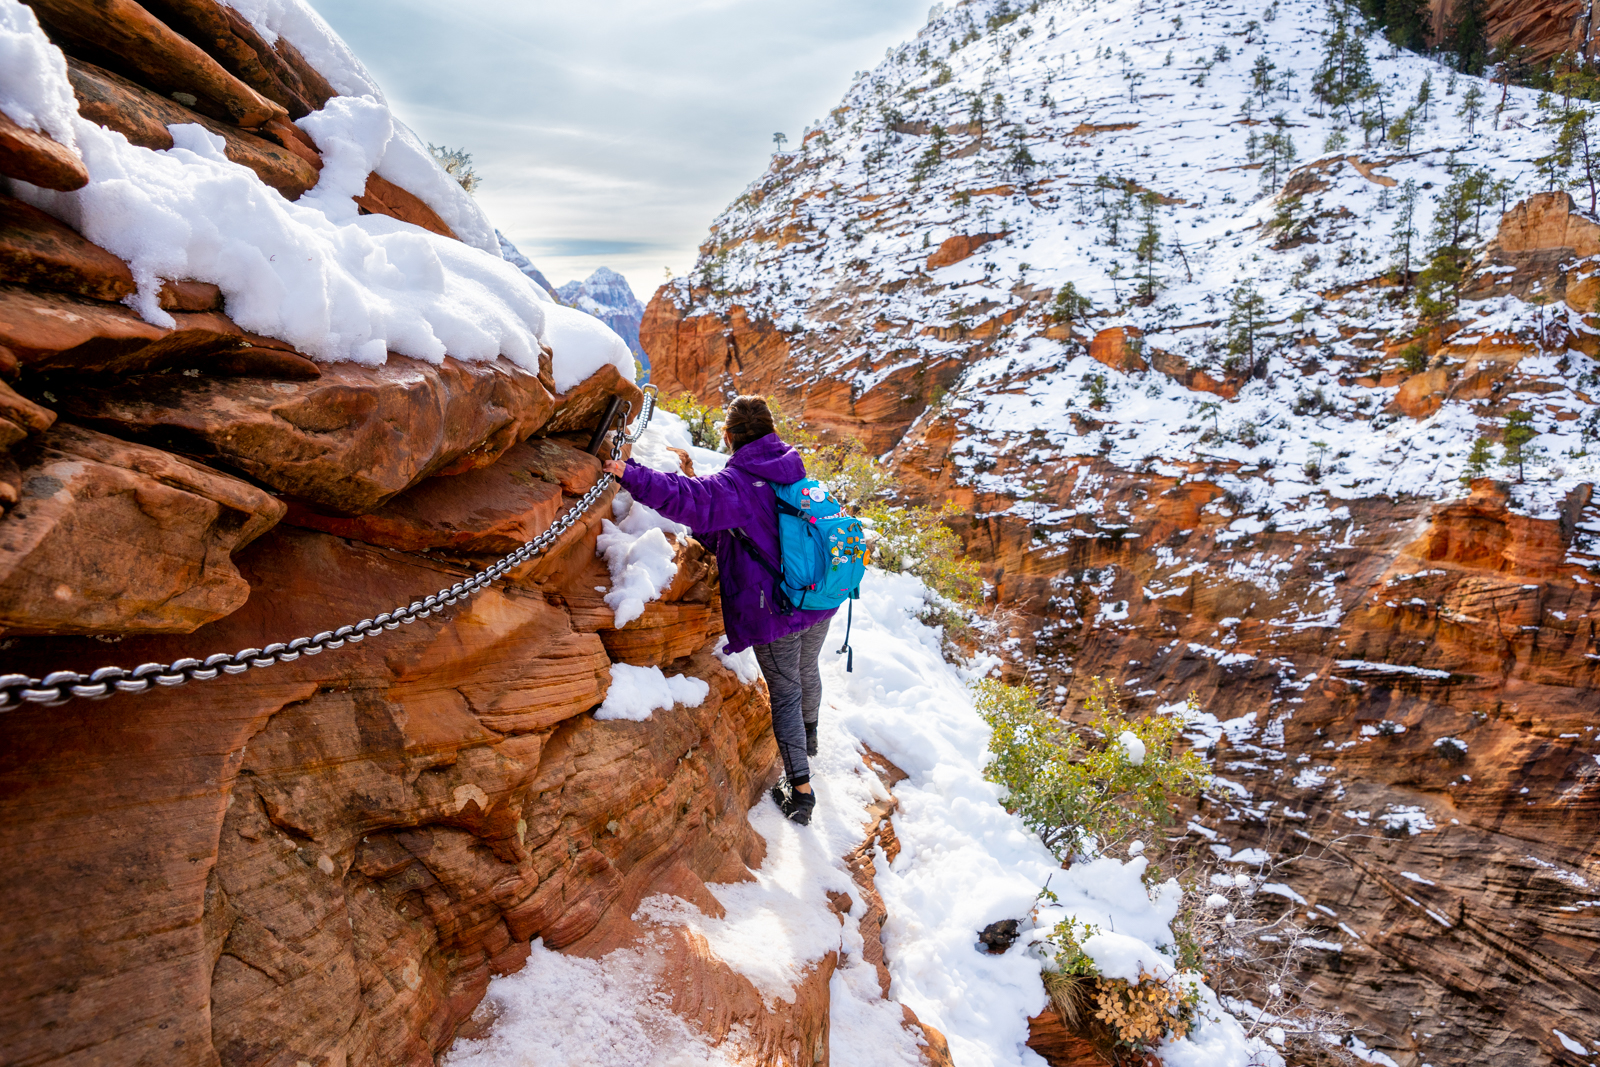
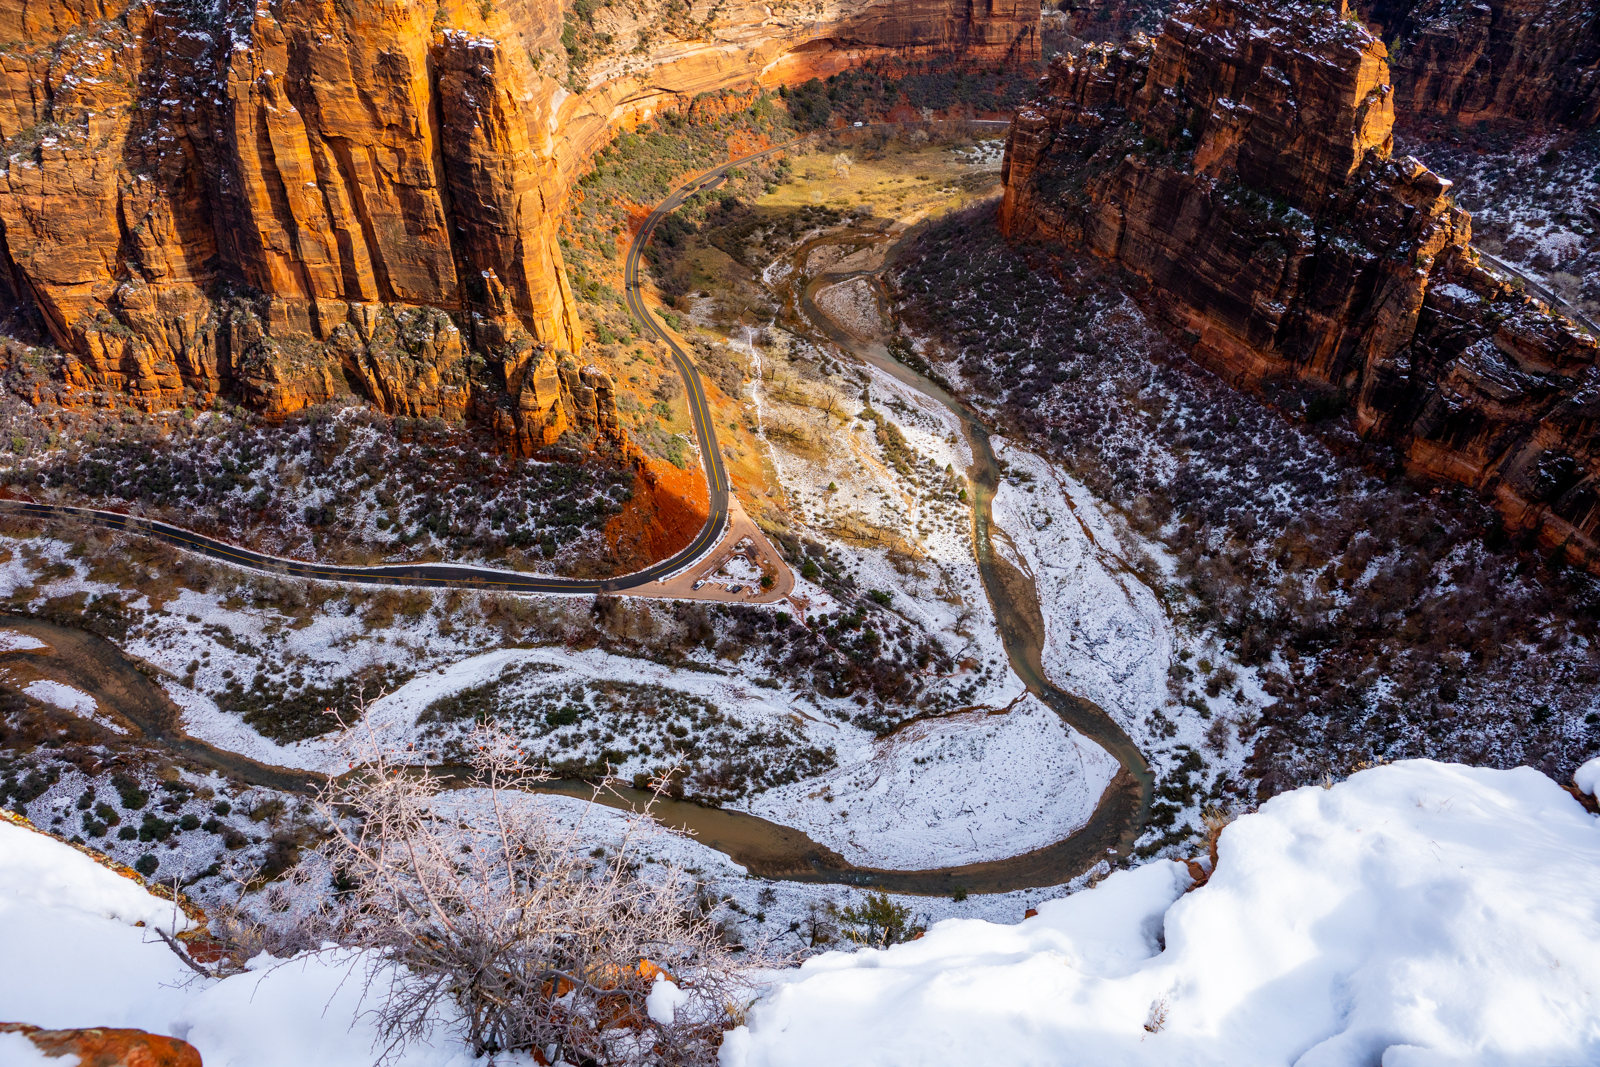
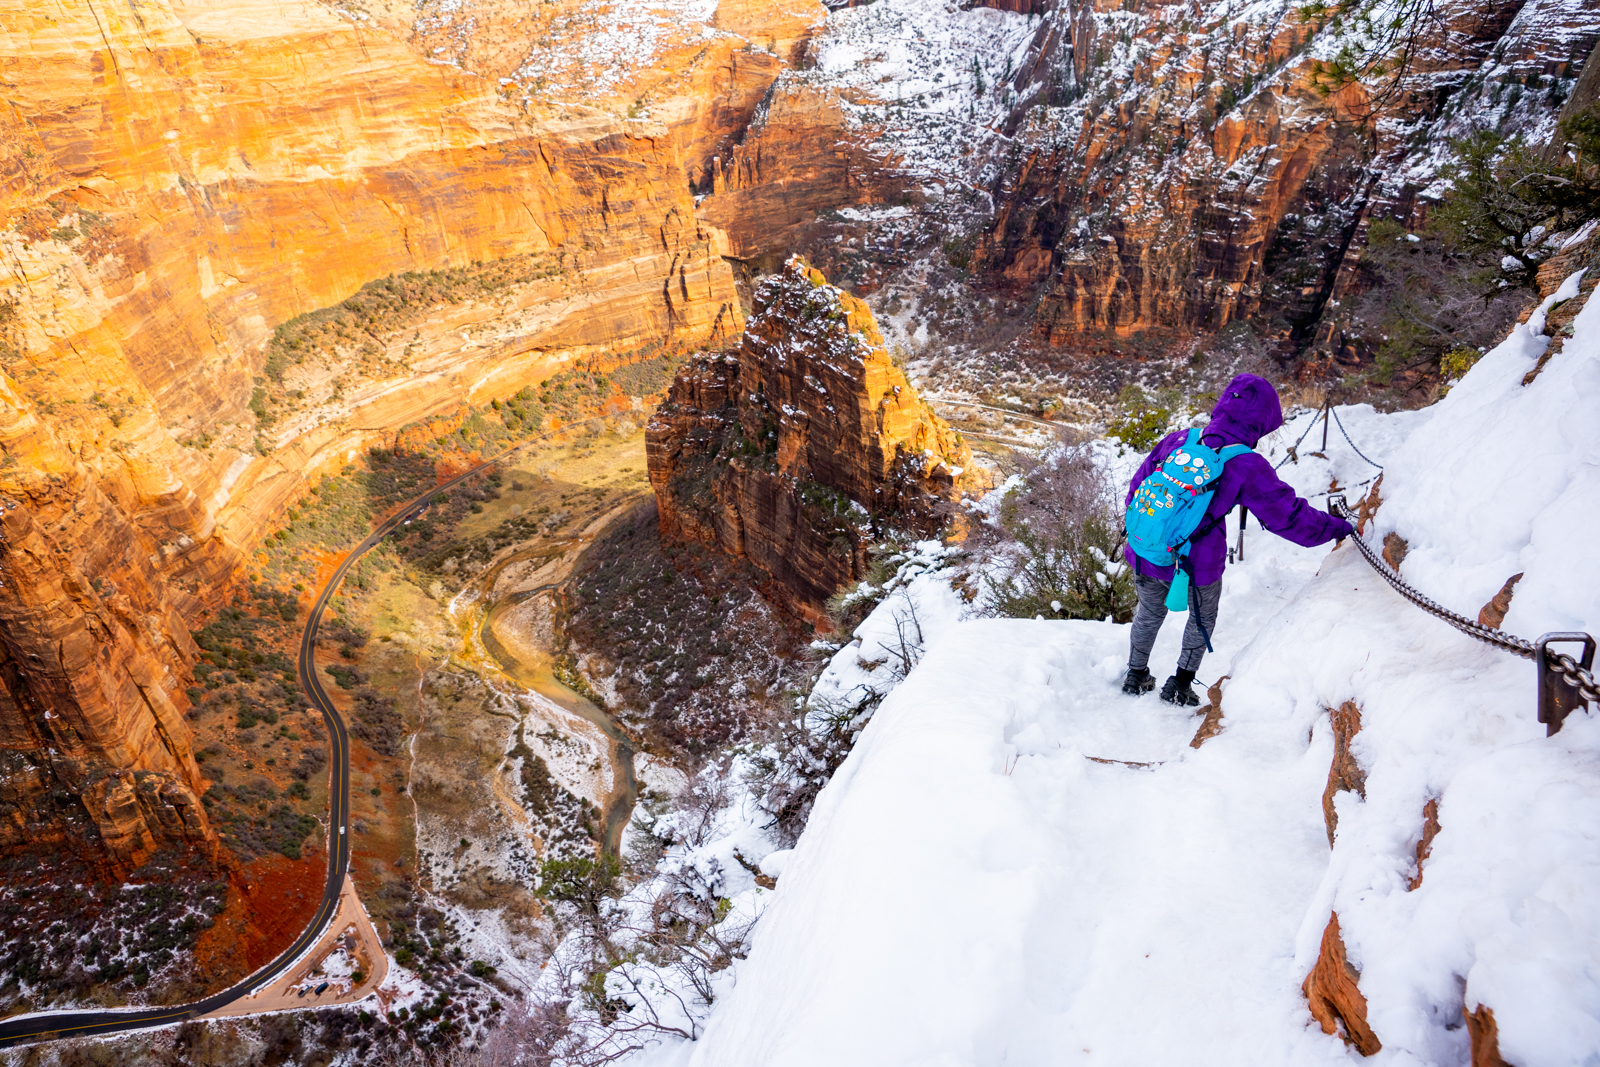
Before you start the main part of the climb, you must first work your way into a crack and then hoist yourself up onto some stairs. After that, you will cross one of the most narrow parts of the hike, a ridgeline that connects the two mountains. Luckily, there are chains to hold on to because it is exposed on both sides and the trail itself cannot be more than 3 feet wide. Then comes the steeper, near-vertical climb. The one thing in our favor at these points is that the rock seemed to form some stairs to help us out. The view from this point is almost surreal. On the right-hand side, you can see the beautiful snowcapped mountains lining the valley. On the left-hand side, you can see the road following the river.
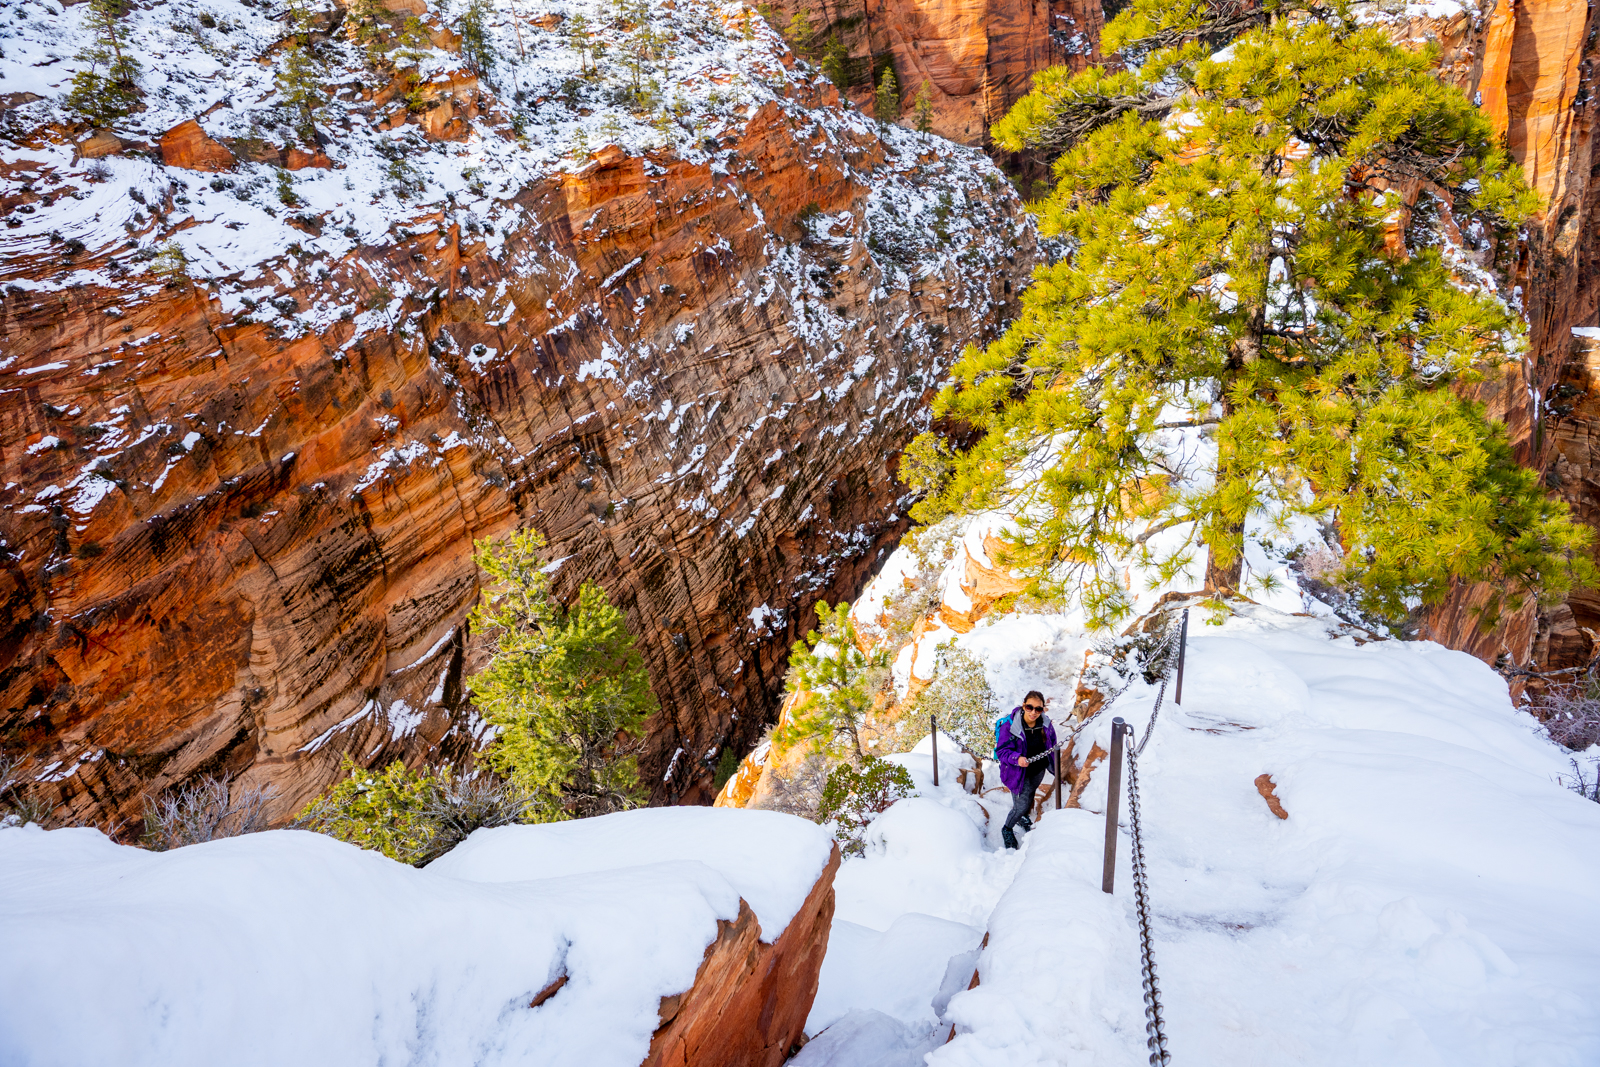
More Climbing
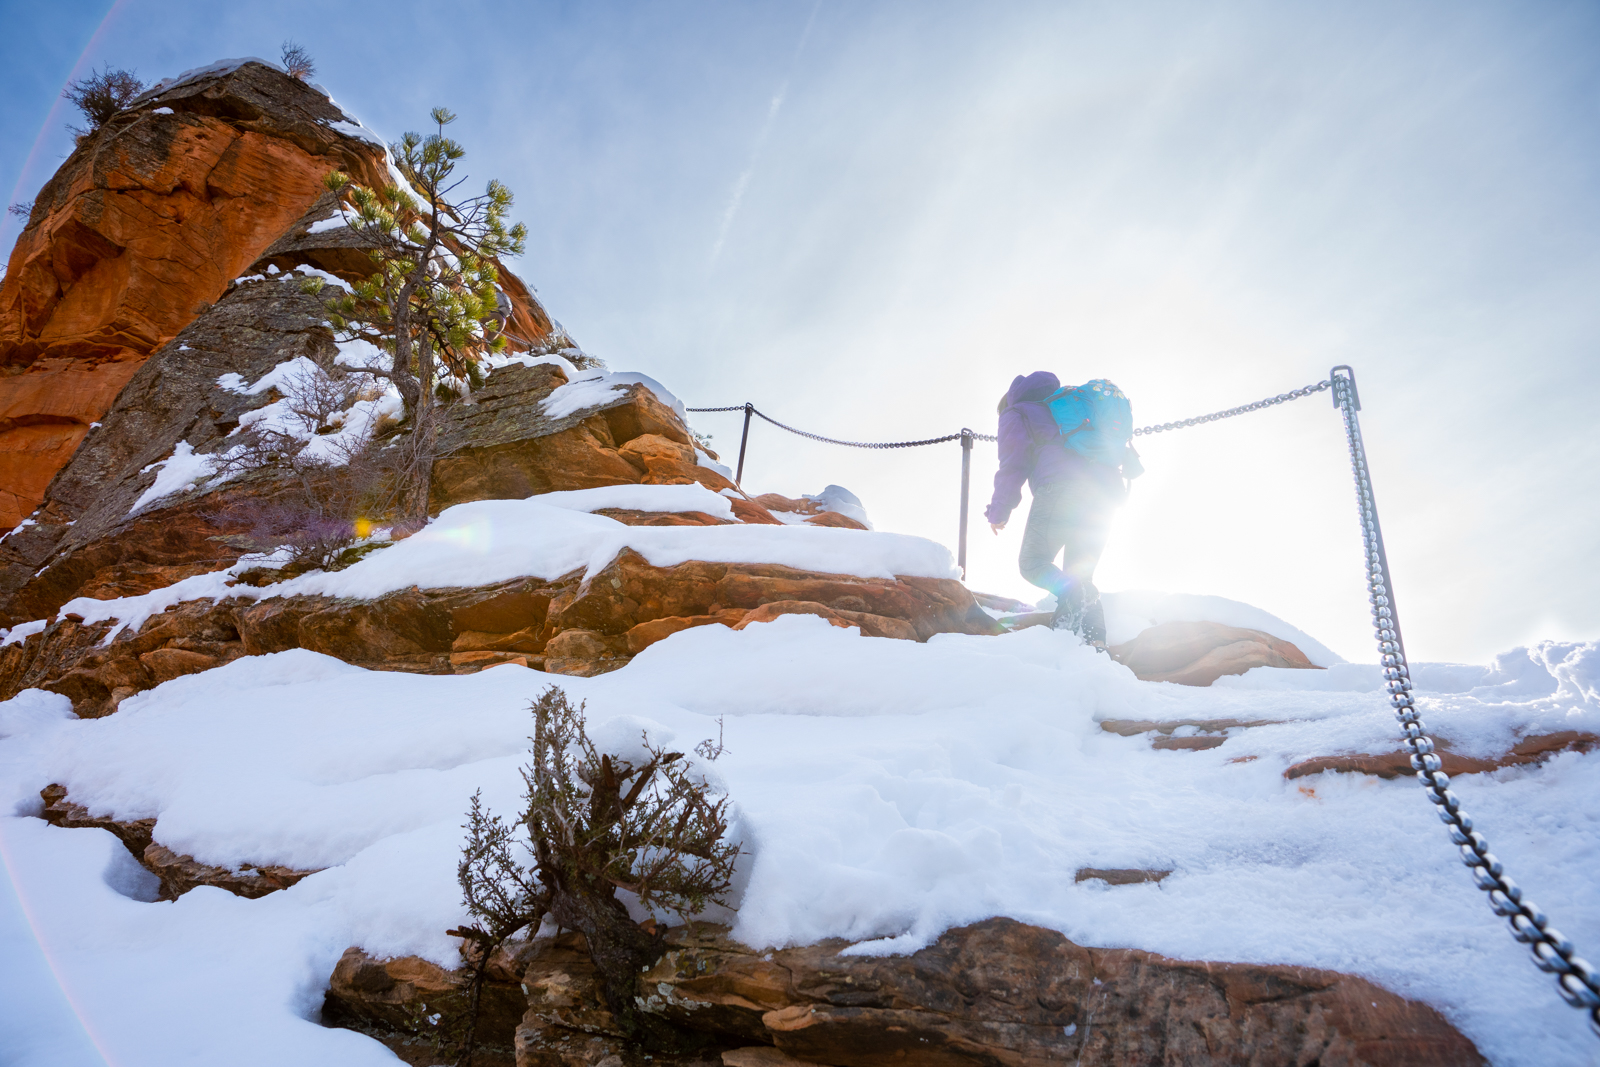
The trail gets a bit more challenging from here with more switchbacks, vertical climbs, and sheer drops, while being very slippery. Make sure to take it slow, and keep a solid grip on the chains. You’ll eventually come to probably one of the steepest and sketchiest parts of the trail. Again, this part is almost a vertical climb. however, it is also very slippery with a straight drop on the side where the chain is at.
As we reached the base of the climb, there were two 20-ish-year-old hikers that were trying to make their way down. Both of them were wearing sneakers and were seriously struggling. At one point, the guy lost his footing and shot under the chain. Lucky for him, he had a good grip on the chain or he seriously would have died. Dustin ended up having to climb up to help them down. Unfortunately, we could only help them so far. We did see them when we were back down near the car so we know that they made it down safely. Once again, please be wise with your footwear choice on this hike. It was very scary watching those two.
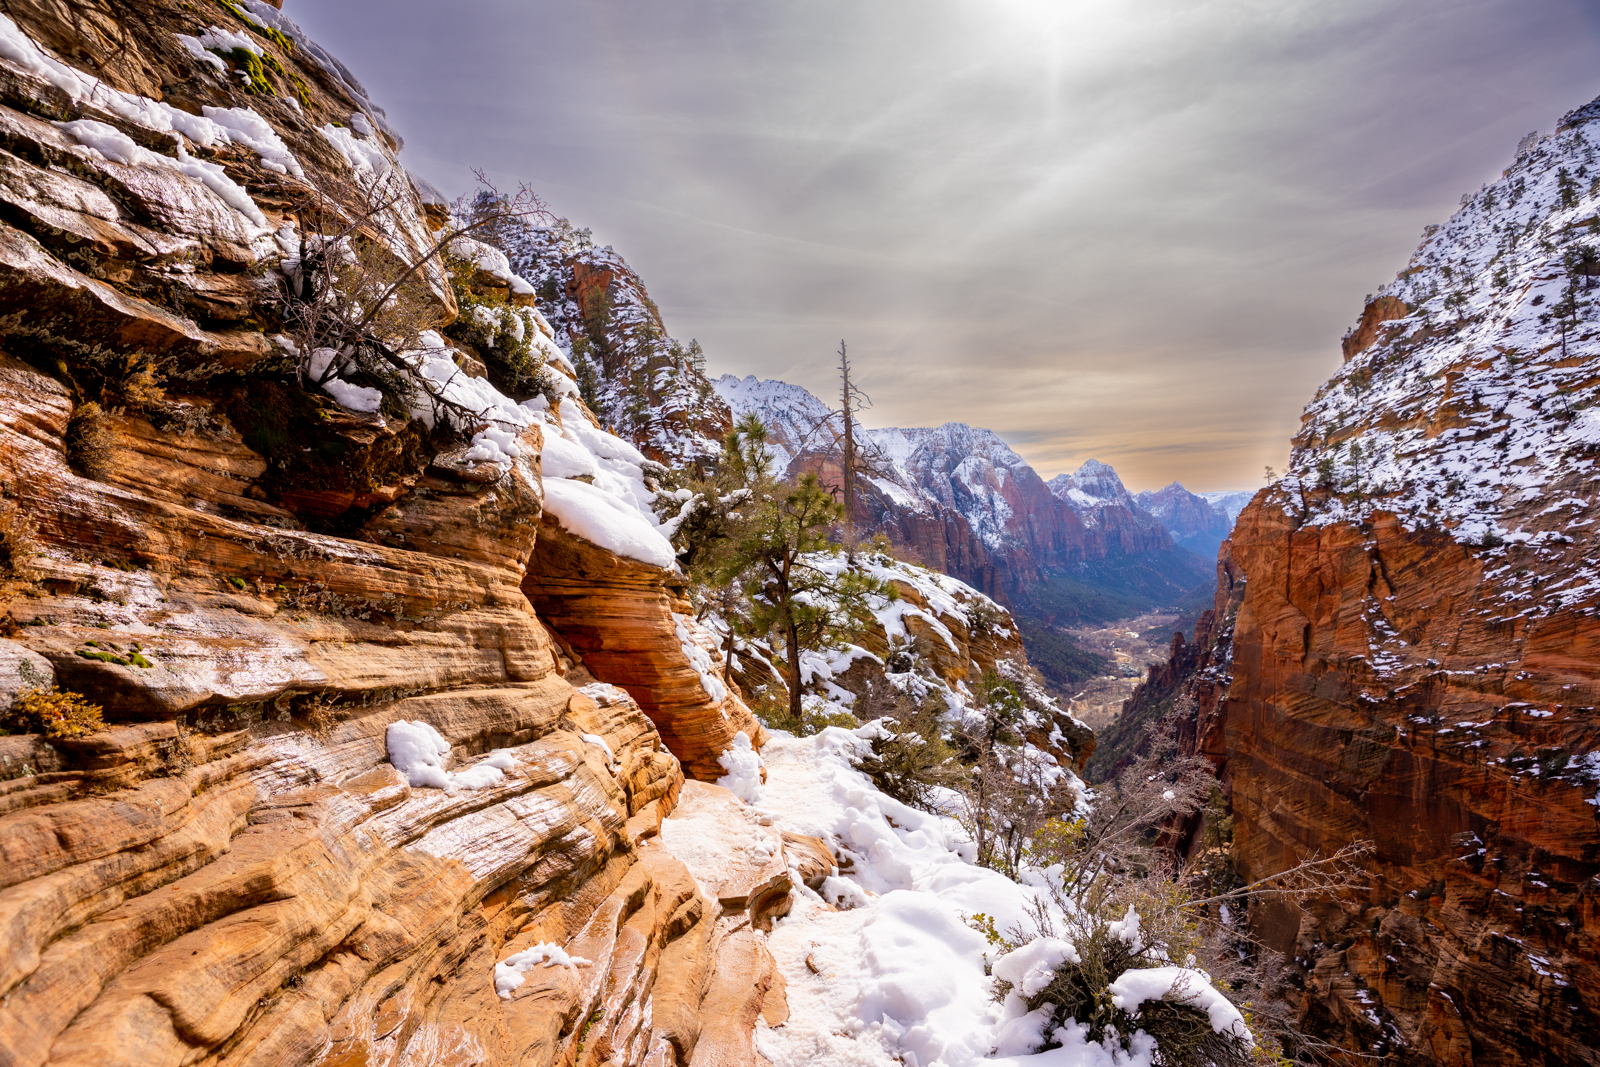
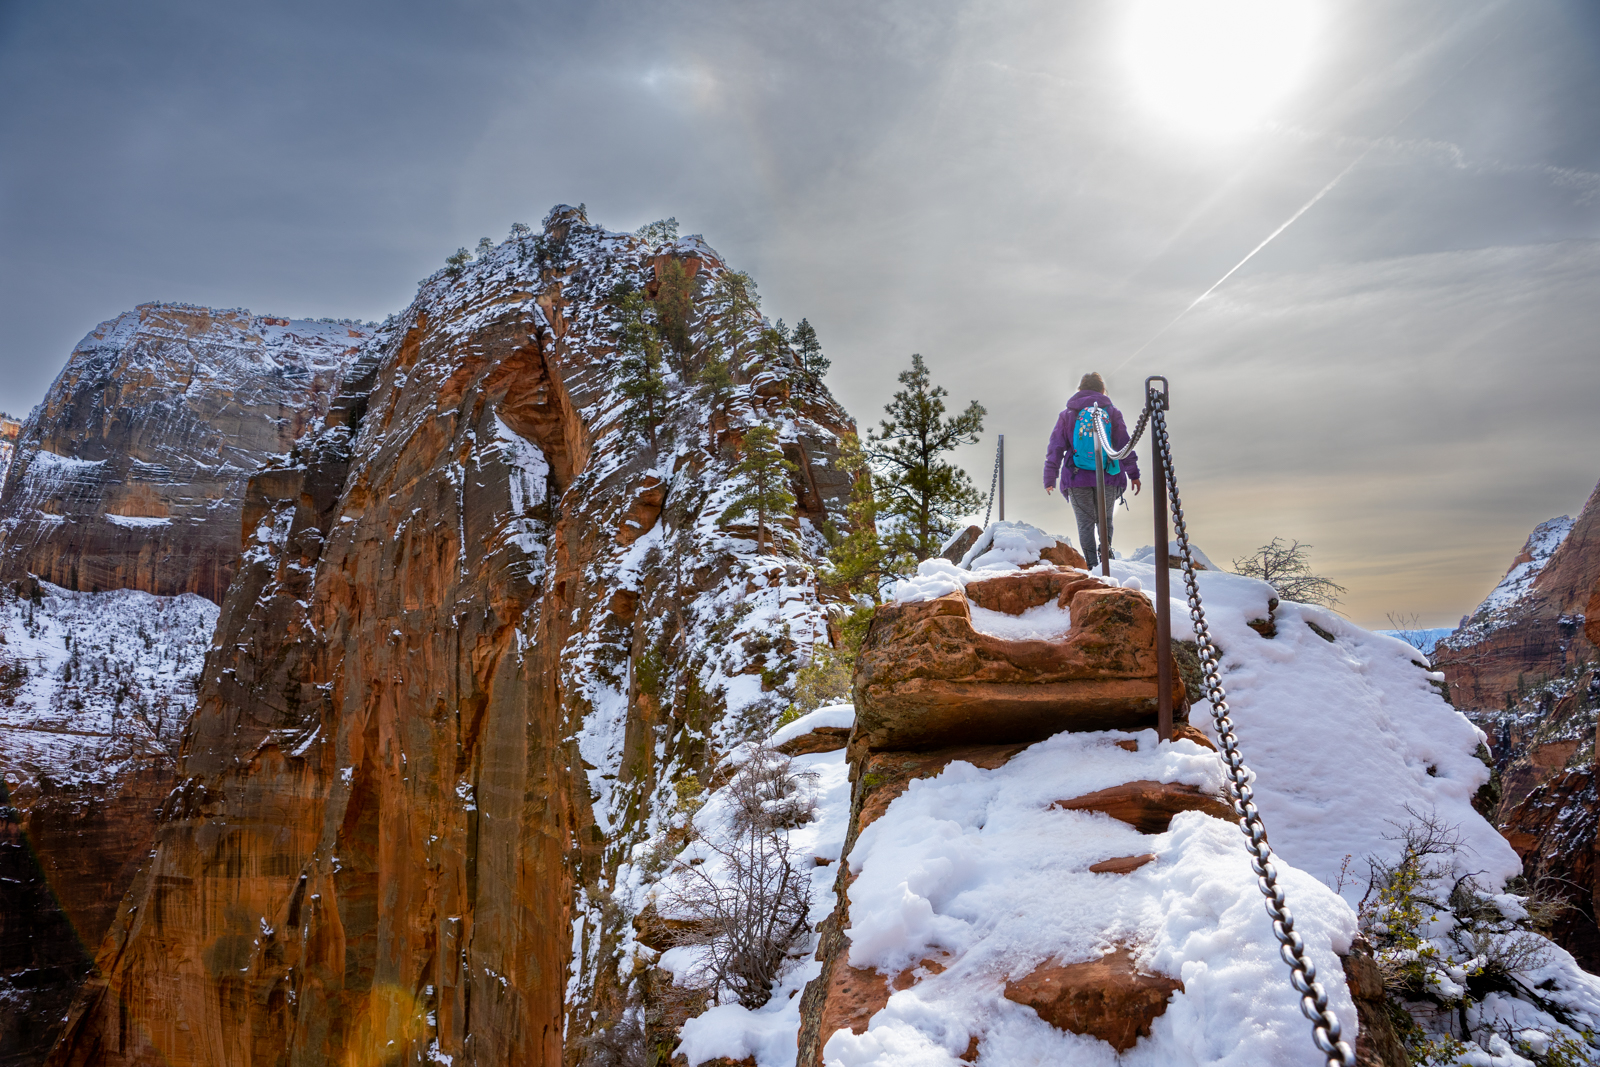
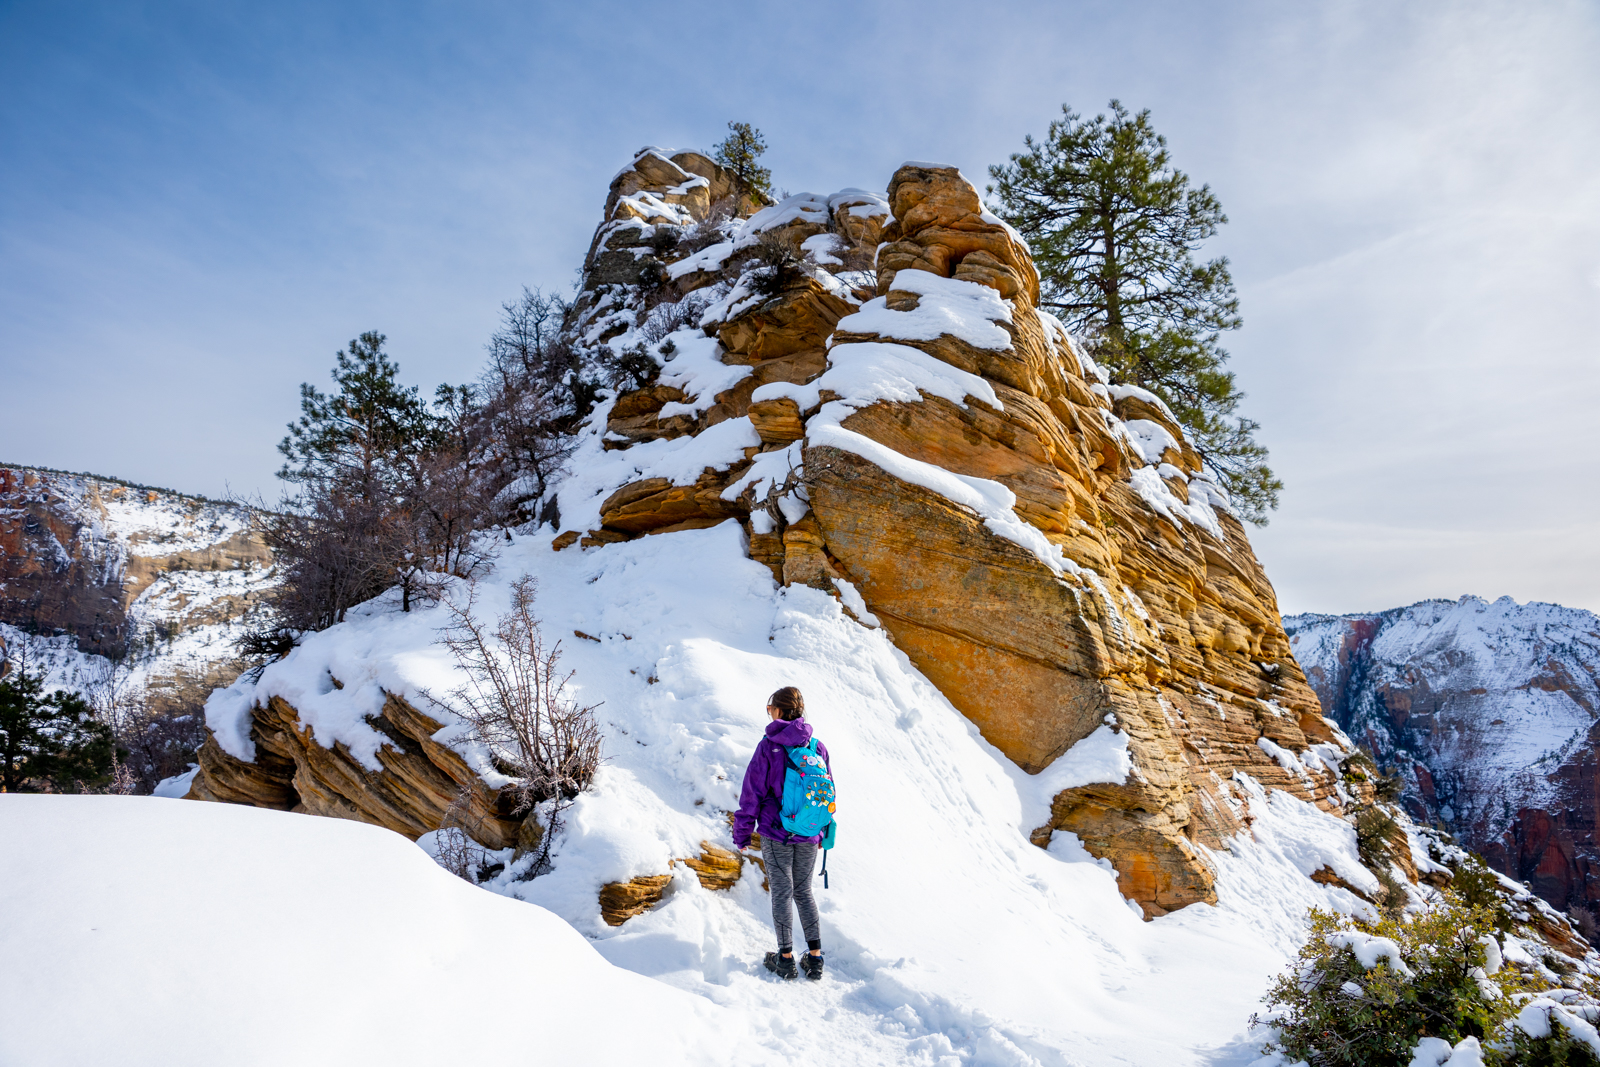
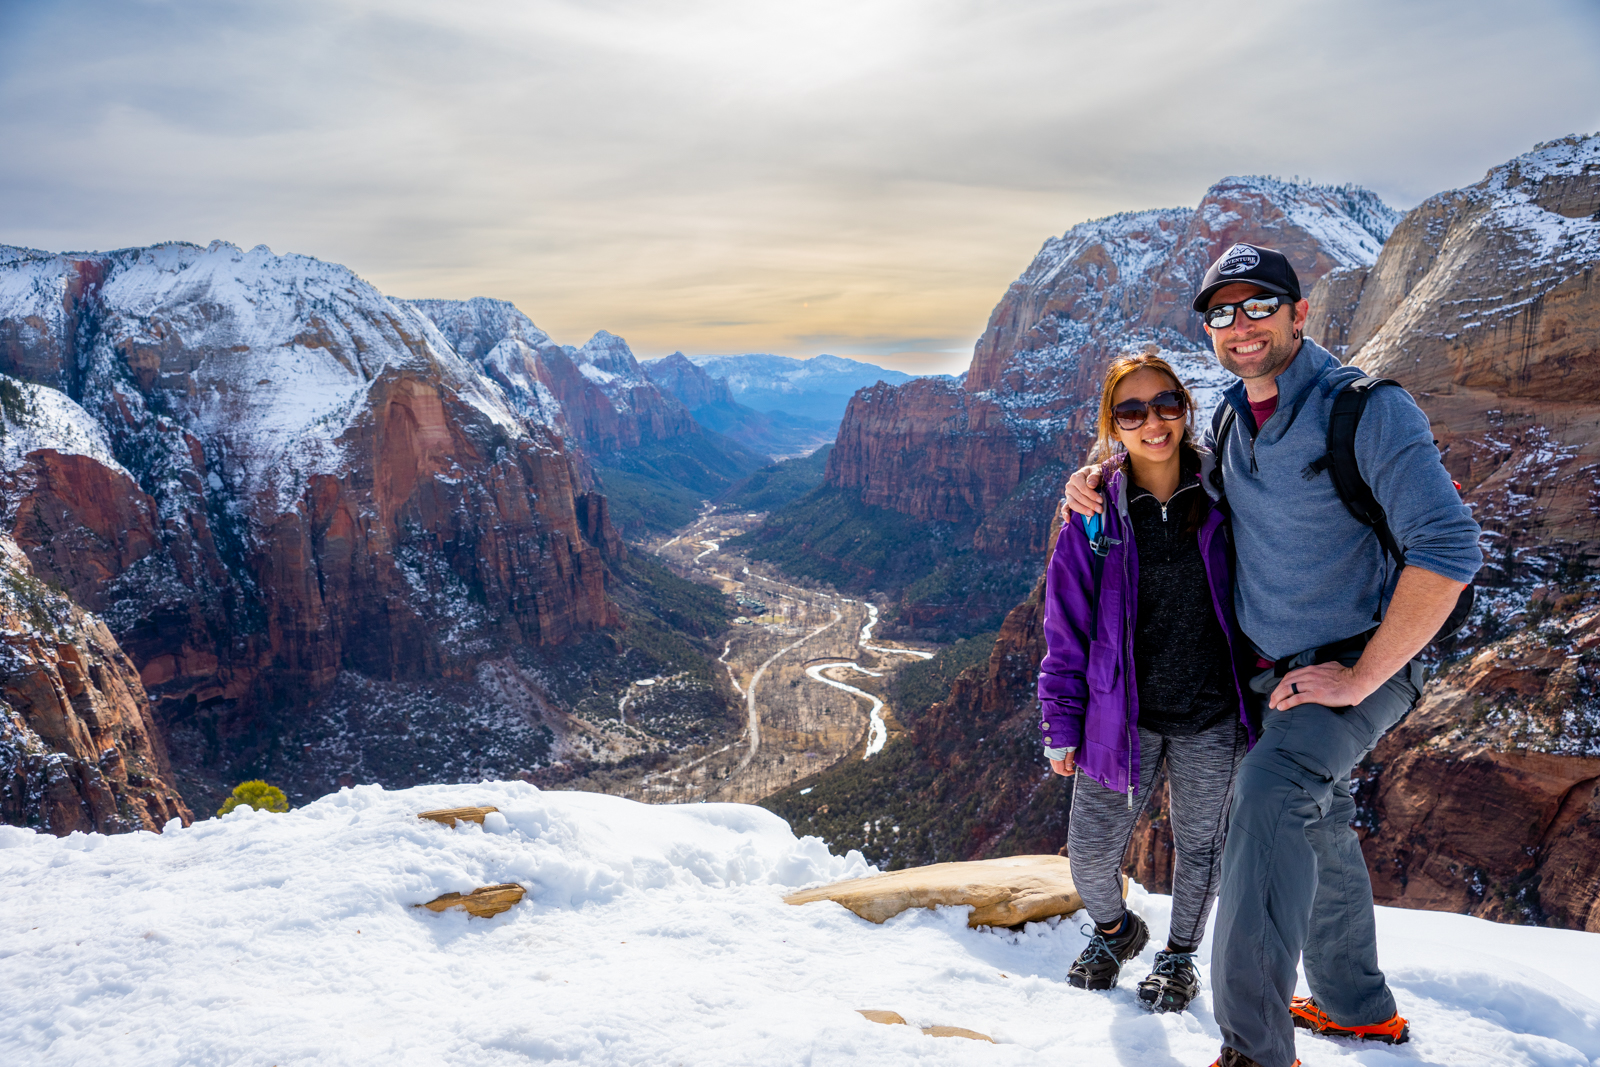
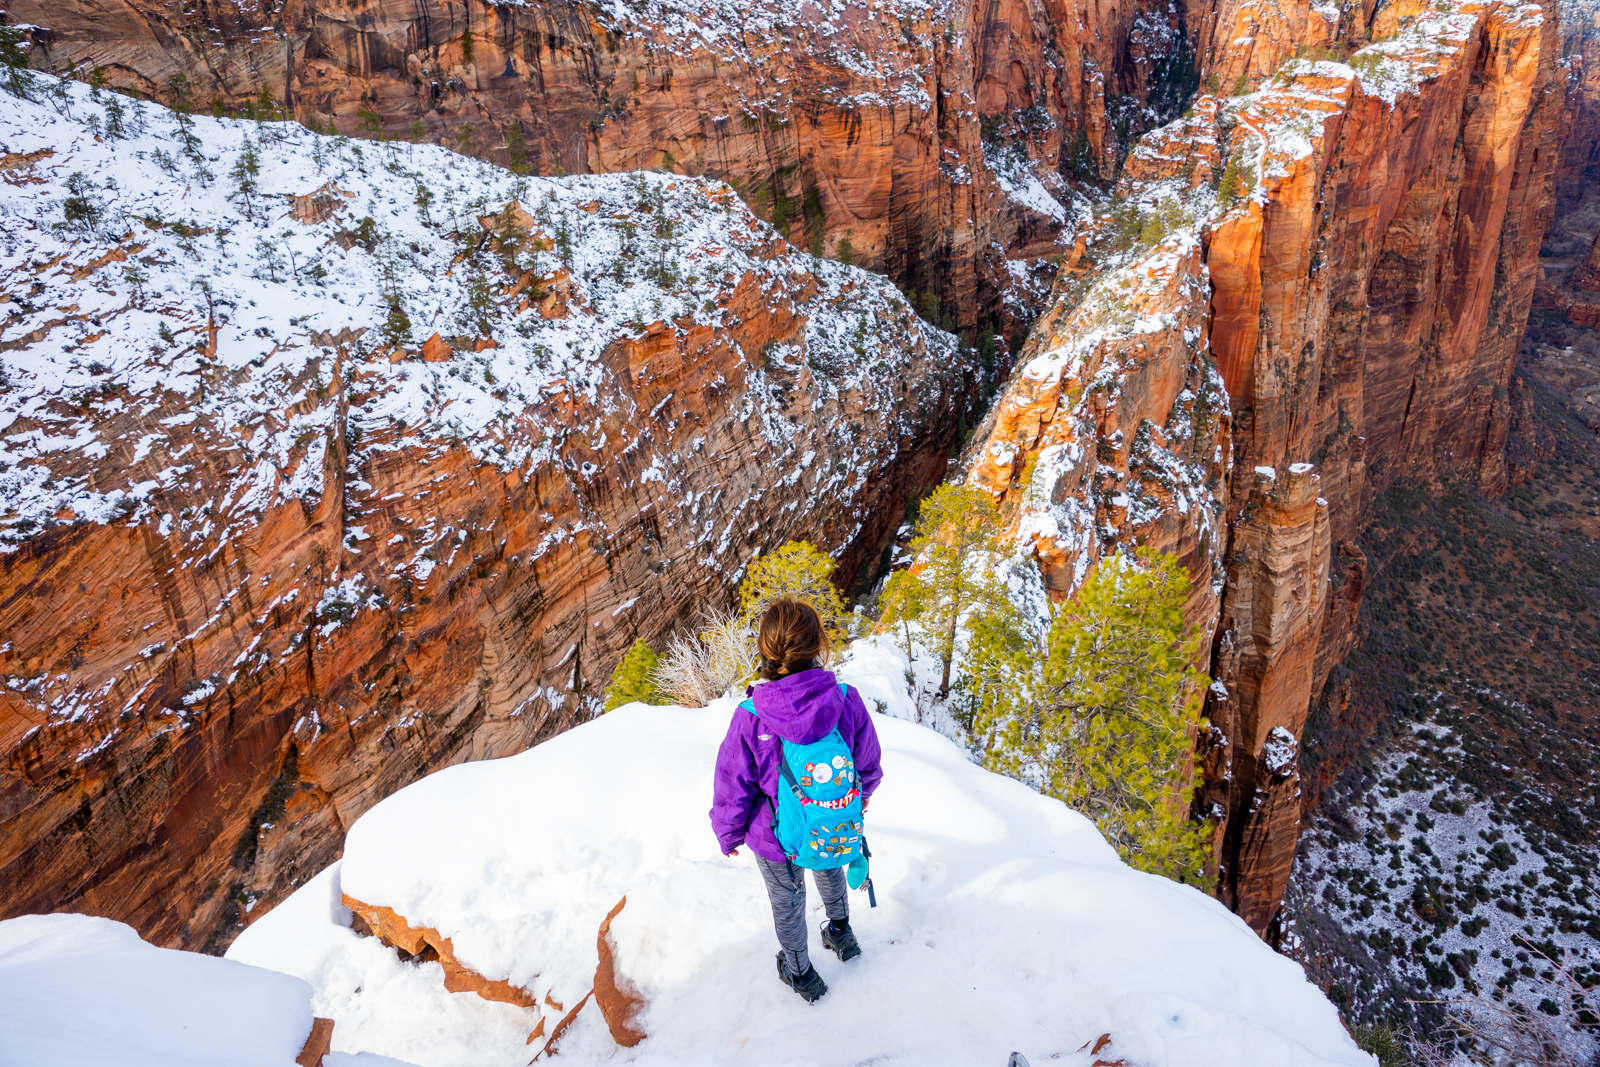
The Top of Angels Landing
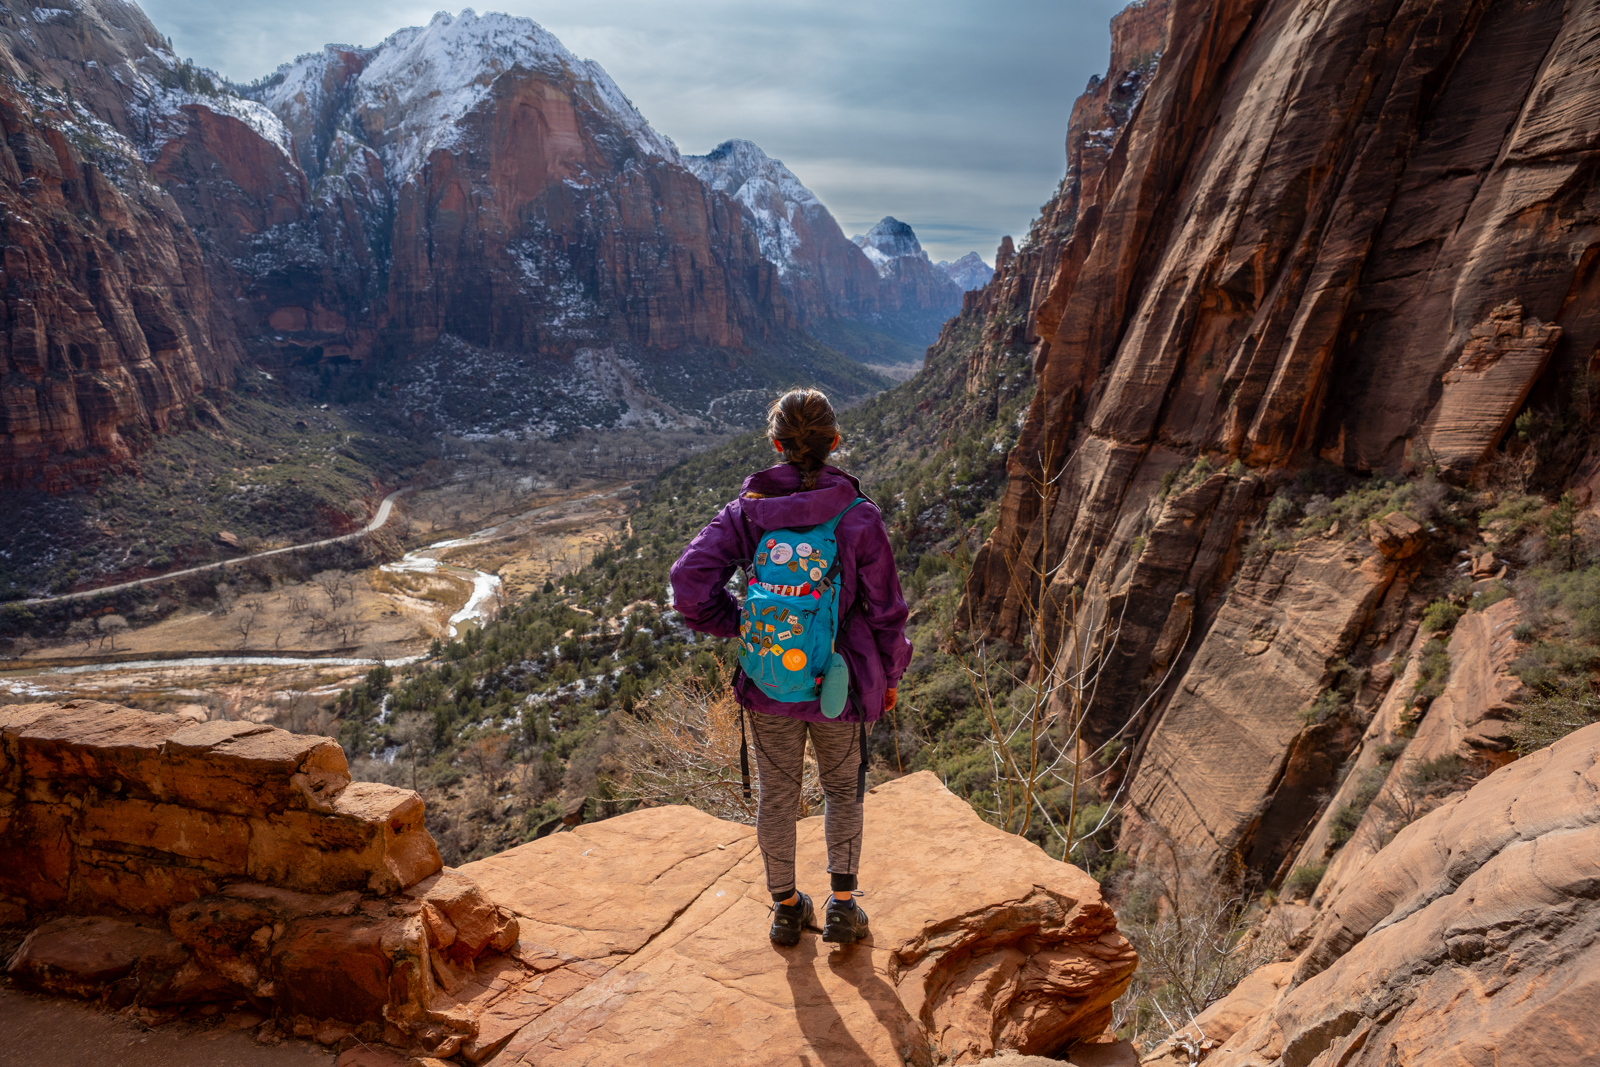
After climbing up the top of the steep hill, you’ll come to what looks like the finish line. However, there’s still another short climb to go before you reach the actual Angel’s Landing. I think it is called Angels Landing because I swear that I could practically hear the angels singing as we triumphantly summited the top of the mountain. From there, it is a leisurely 0.1 miles out to the main viewpoint. The ridge on the top is nice and wide so you can take a break from the insanity for a little bit. This is an amazing spot to eat lunch or just to hang out and take in the magnificent view. It is something straight out of a movie. It seems almost Jurassic Park-like that I was half expecting to see a Brontosaurus migration down in the valley or a Pterodactyl up at the top.
The Way Down
Once you’re done with this breathtaking view, it is time to head back down. If you think the way up is hard, the way down is way trickier! It was a lot easier for us to hold the chain tight to the side and kind of rappel our way down the steep sections. We were really relying a lot on our microspikes. Honestly, we can not imagine attempting this hike in the snow/ice without them. Even with the spikes, there were a few portions of the trail that made us a little nervous. There were a couple of parts where we ended up sitting on our butts and inching our way around tricky corners and such. Once you hit Walters Wiggles, the rest is quite easy as it was downhill the whole way.
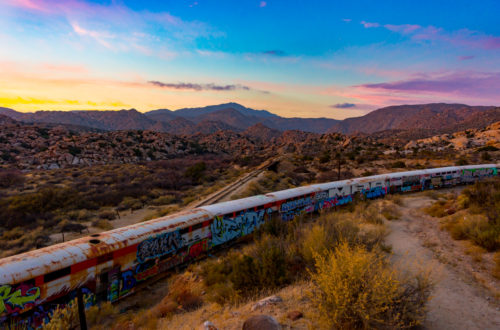
Hiking Angel’s Landing in the snow secured its place even more on our list of all-time favorite hikes. I think it is definitely a first-place tie with the Moanalua Middle Ridge hike. Getting to experience it in these insane conditions just made its place in our hearts that much more solid! If you are up to challenging yourself and putting your fears on the shelf, you should give this hike a shot. Also, as we mentioned in the beginning, you are not that far from Bryce Canyon. It is another must-do any time of the year, but especially in the winter. Check out our blog on the Navajo Loop/Queen Garden Trail in the snow.
These are the gear that we personally use and find them helpful for this particular adventure. Don’t forget to check out our Recommended Gear section as well.
adventure gear
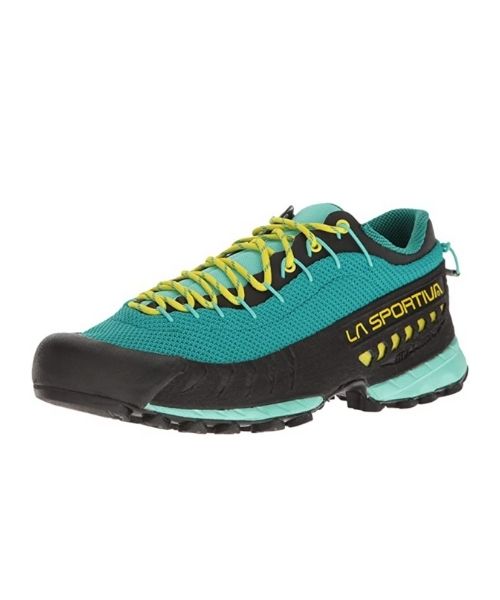
Make sure to bring hiking shoes with great traction! This is our favourite hiking shoes. We use them for canyoneering as well. Lots of traction. Vy’s version.

Dustin’s version for La Sportiva shoes

Make sure to use lots of sunscreens! We use eco-friendly, reef-safe sunscreen, Stream2Sea SPF 30.

Face sunscreen is also important. We love these tinted, organic All Good Organic Sunscreen Butter.

You should always bring plenty of water. Vy loves the Camelback L.U.X.E.
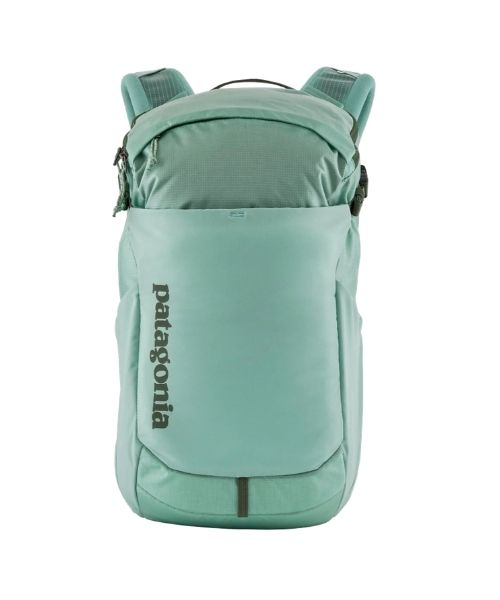
For shorter hikes, the Patagonia Women’s Nine Trails Pack 18L is perfect to hold water and your essentials.
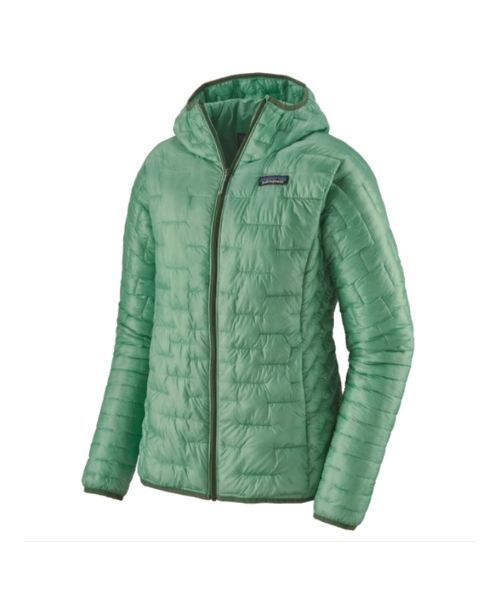

If you want something lighter, we love the packable Patagonia Women’s Houdini® Jacket and Patagonia Men’s Houdini® Jacket
other things to bring
• Crampons or Microspikes:
You only need this if going in the winter. We can not stress this one enough! If you are going to be doing this hike in the snow, this is a must! We saw a couple of people almost die because of poor footwear choices that day. We use the Springk traction cleats.
• Lunch and snacks
It is a long hike. Snacks are good for that extra fuel. There are also a few pretty spots up there for a quick lunch stop as well. For healthy and easy snacks, check out some of our recipes.
• Gloves
Always good to throw in a pair of warm gloves in the colder seasons. It gets cold up toward the top.
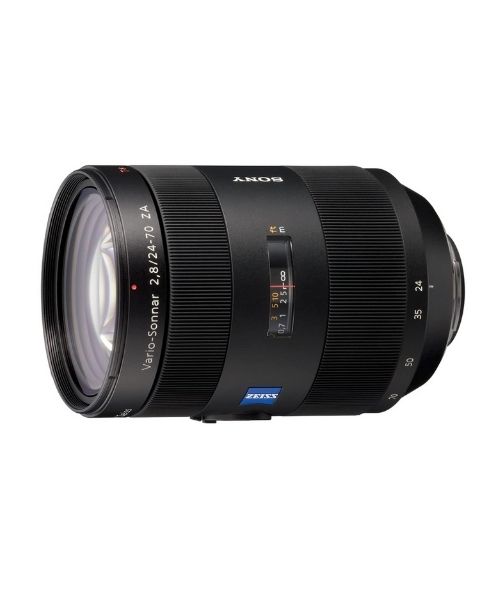
camera gear


Related Posts
Save your pins:


9 Comments
Christine
What month did you hike angel’s landing while there was still snow throughout the trail?
Vy
Hi, we did this in February.
Christine
What month did you do angel’s landing with snow? Thank you for the informative guide.
Joycelyn
Thanks, it is very informative
Jessie
Thank you for the great article
Chasity
Thank you for the terrific article
Dewitt
Thanks for the wonderful manual
Vy
Thank you Dewitt! We are glad that you enjoyed it! Hopefully, it will help you experience it for yourself! It is incredible!!