
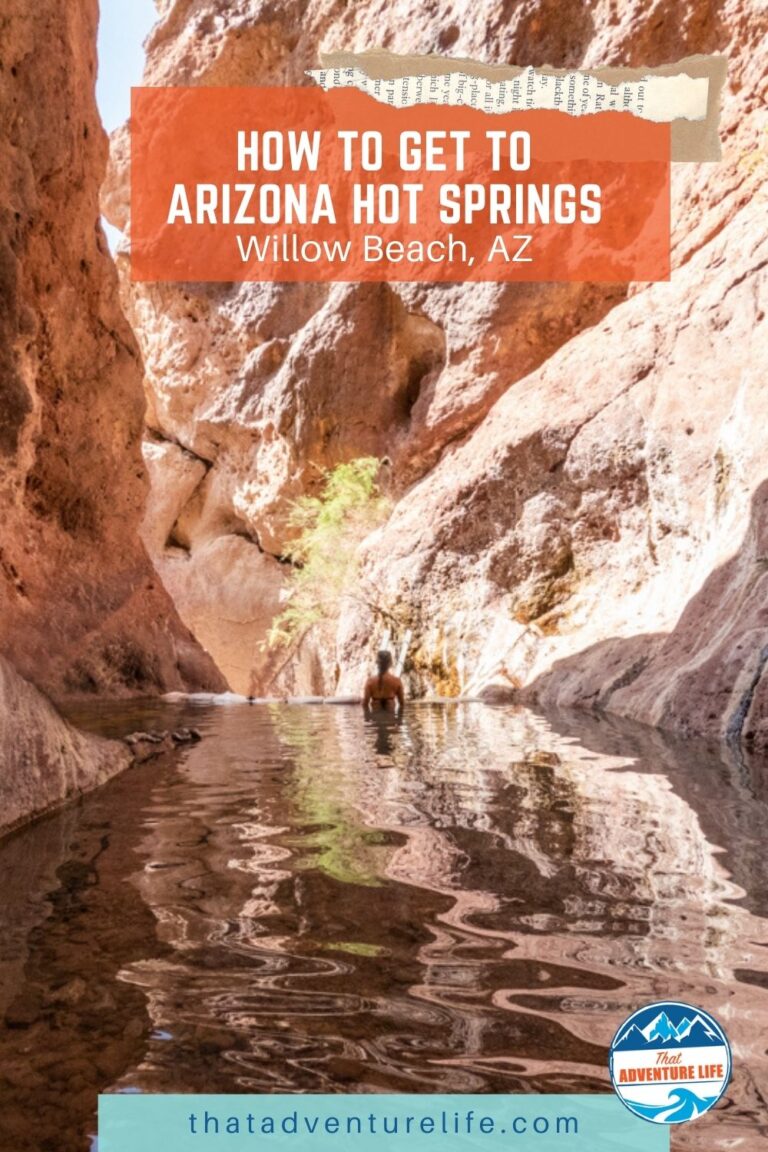
For the longest time, we had no idea that the area around Hoover Dam has so many awesome hidden gems, one of which is the Arizona Hot Springs also known as Ringbolt Hot Springs. If you’ve done Gold Strike Hot Springs, the Arizona Hot Springs trail is a lot easier, but the views are also spectacular. While Gold Strike Hot Springs is located on the Nevada side of the Colorado River, Arizona Hot Springs, as its name suggested, is located on the Arizona side. You’ll have to work for it to get there, but you’ll be rewarded with gorgeous views of the clear blue water from the Colorado River, colorful slot canyons, and beautiful pools of therapeutic hot springs.
WARNING: Don’t put your head in the water of the hot springs. The hot springs here have a rare and lethal amoeba called Naegleria fowleri. The amoeba enters the body through the nose only; it will not harm you if swallowed. Keep your head above water to prevent any infection.
Stats
Where
Arizona Hot Springs Trailhead
35°58’48.3″N 114°41’50.7″W
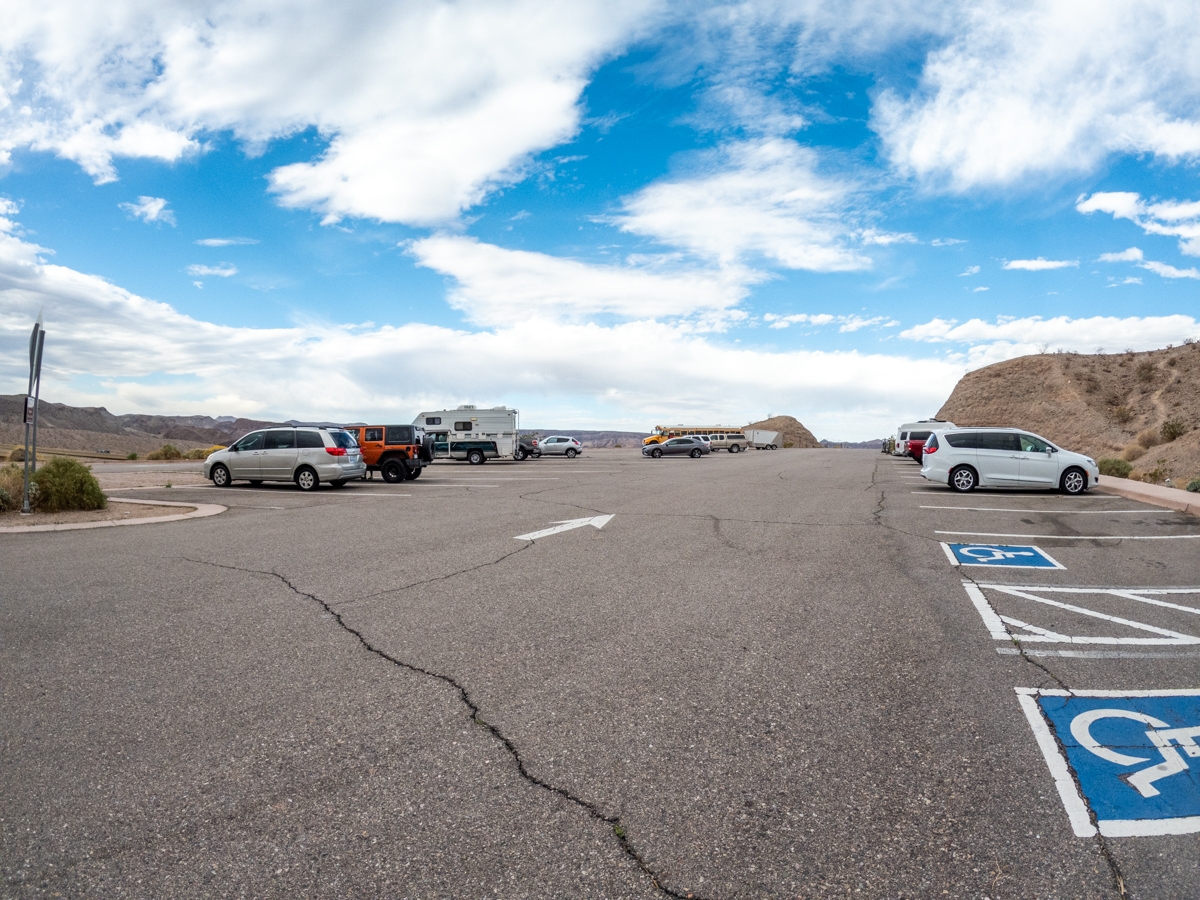
Parking
There is a decent sized paved parking lot.
Restroom
There is no restroom
Fee
Since it is located inside Lake Mead National Recreation Area. There is a fee to enter. You can also use the America the Beautiful pass.
Important Things
- Arizona Hot Springs trail is closed May 15-Sept. 30. Summer temperatures can exceed 120F and the trail is exposed. Please DONOT attempt this hike when it is closed!
- It is a canyon hike so there is flash floods risk. Do not attempt this hike if there are rain or thunderstorms in the area.
- Watch out for rattlesnakes along the trail.
- The ladder might not be there.
- No cell service in the canyons
Distance
About 5.2 miles+ R.T. depending on the route.
Elevation Gain
1000ft+ depending on the route.
Level
Difficult
Time:
3.5-6 hours + time to enjoy the hot springs. (this depends on your hiking level)
Pet-friendly
We don’t recommend bringing your pups to the hot springs.
Ideal Time
Winter and Spring are the best season to go. We recommend going early in the morning if you want cooler weather and to enjoy the springs with less crowd.
Weather
Video
Getting to Arizona Hot Springs Trailhead
Arizona Hot Springs trail is located right off U.S. Highway 93, about 40 minutes from Las Vegas. From Lake Mead Visitor Center, follow U.S. Highway 93 east toward Hoover Dam. About 8.4 miles (4.2 miles past Hoover Dam) turn left to follow an unknown road to a paved parking lot. There should be signs pointing to the trailhead. If you’re coming from Kingman, AZ, the trailhead is about 0.2 miles before mile marker 4. You can also use the coordinates above to map your drive. Arizona Hot Springs trailhead is at the end of the parking lot.
Hot Springs Etiquette
Arizona Hot Springs is a popular spot. Therefore, the impact of visitors on this place is significant. This means that if you’re visiting, please make sure to follow Leave No Trace guidelines to help preserve this beautiful place for the future.
- Pack out ALL of your trash. This includes used toilet paper. There is a disgusting amount of used toilet paper in this area. They don’t break down properly and I’m sure you don’t want to be sitting near a pile of TP. So, bring a ziplock bag and take it home. If you need to use the restroom while at the hot springs, there is a pit toilet down on the beach, next to the river. USE IT! Please don’t pee in the pools. Also, use the pit toilet instead of digging a hole. Again, because of the arid desert environment, the wastes don’t break down properly.
- Don’t use soap in the hot springs or the nearby river! If you’re wearing sunscreens, rinse them off before getting into the springs. This will help to avoid polluting the water.
- No glass bottles. You don’t want broken glasses in the pools
- Leave it as you found it. This means leaving everything the way you found it. The pools here are built up with sandbags and rocks. Please make sure to leave them be, since moving them around can affect these pools.
- Check the water temperature before entering. It’s always wise to check the hot springs’ water temperature before going in. It can get boiling hot.
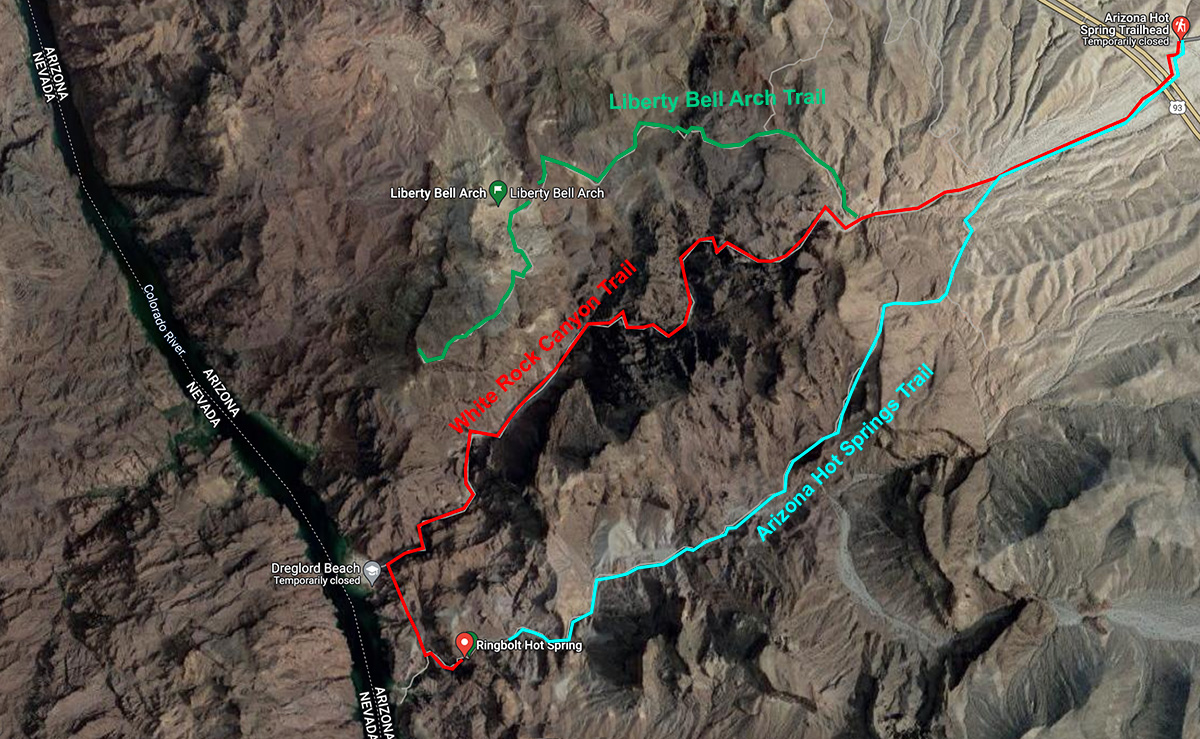
Arizona Hot Springs Routes Explained
It can get a bit confusing trying to figure out how to get to Arizona Hot Springs since there are multiple trails to get there. To be exact, there are 3 main routes that you can take to go to the springs. Please note none of these routes are easy. They are all moderate toward strenuous.
Arizona Hot Springs Trail
Distance: 5.2 miles R.T. | Elevation: 1,150ft | Out & Back
This is the shortest and easiest route to the hot springs. However, unless you climb down the ladder, you will miss the beautiful views of the river. Also, if you want to do Liberty Bell Arch on the same trip, you won’t be able to.
White Rock Canyon Trail
Distance: 6.6 miles R.T. | Elevation: 1840ft | Out & Back
This is the hardest route. White Rock Canyon is full of gravel and loose rock so it’s not fun to hike back up through here. It also has a lot more elevation gain than the other routes.
White Rock Canyon Trail & Arizona Hot Springs Trail
Distance: 5.9 miles R.T. | Elevation: 1,500ft | Loop
This is our favorite route. It is a loop hike, connecting the two trails together. This hike is not as long or as steep but you’ll get the best of both worlds. We usually start this hike going counter clock-wise. This means going through White Rock Canyon first and then climbing up the ladder to enjoy the hot springs pools. Then, you can finish the trail by going back using the Arizona Hot Springs trail. This way, we can loop in Liberty Bell Arch, see the river AND enjoy the hot springs altogether. The reason we prefer a counter-clockwise direction is that White Rock Canyon trail is ALL gravel and loose rock. So by starting it first, you’ll be going downhill through the loose gravel and then back uphill on the Arizona Hot Springs, a mostly maintained trail.
The Adventure
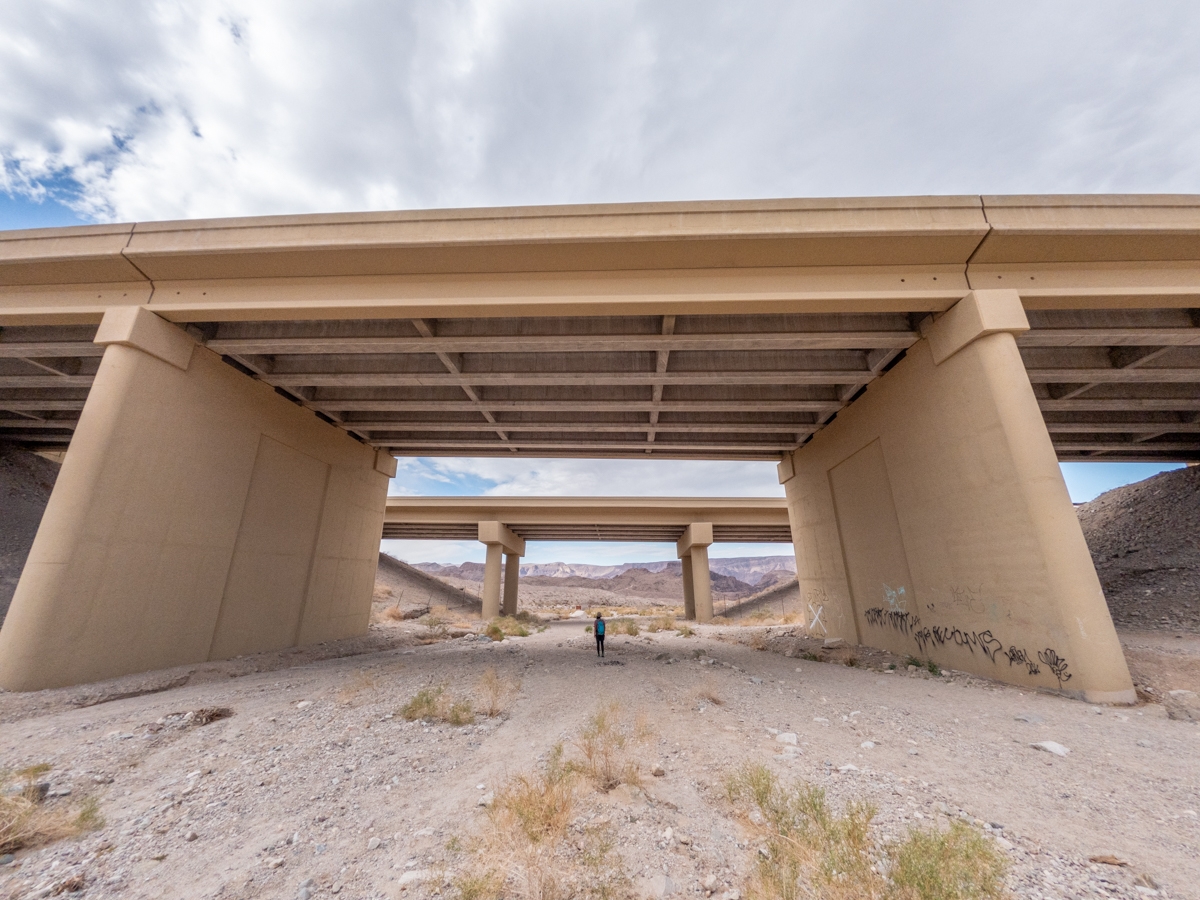
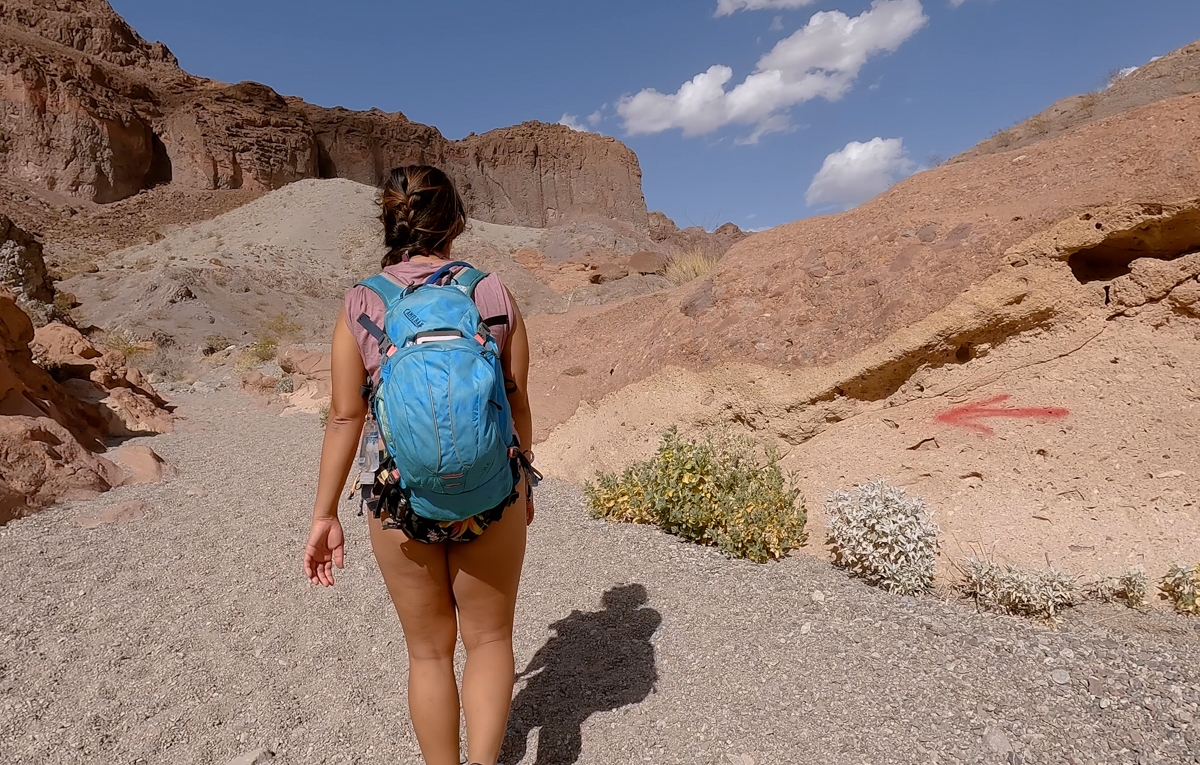
The Start of the Trail
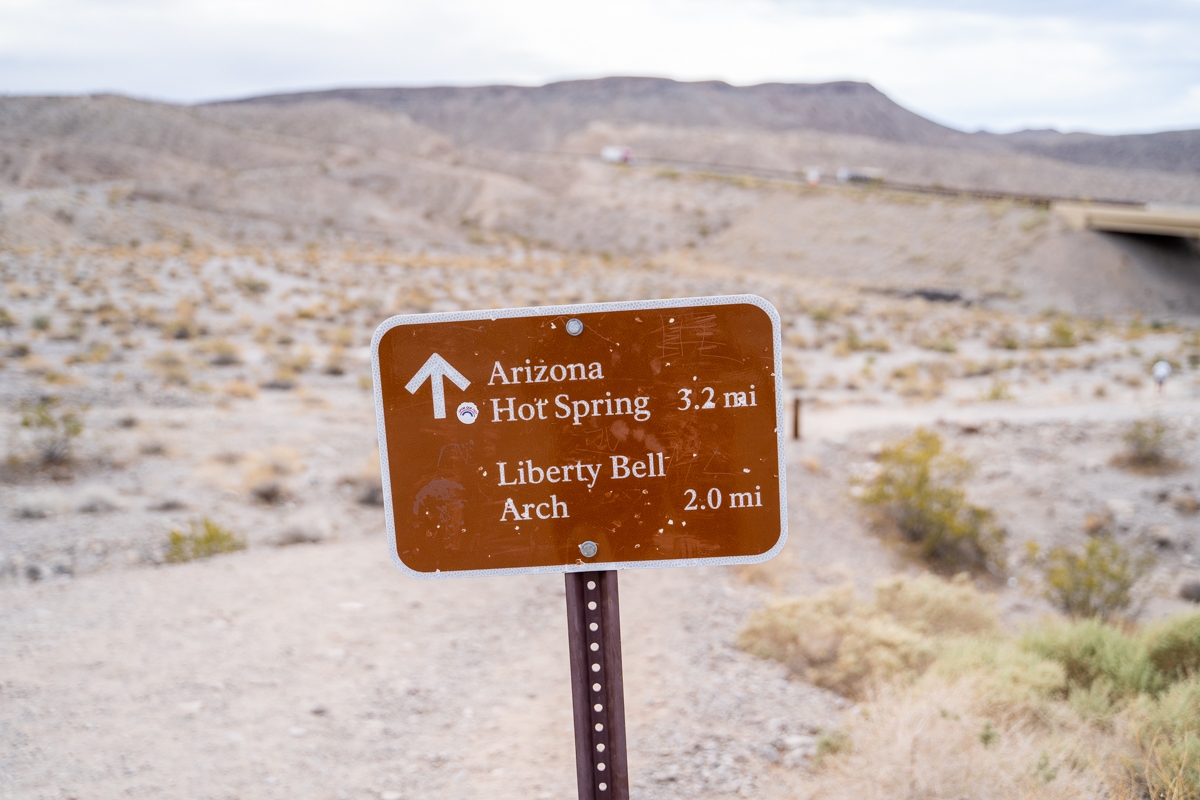
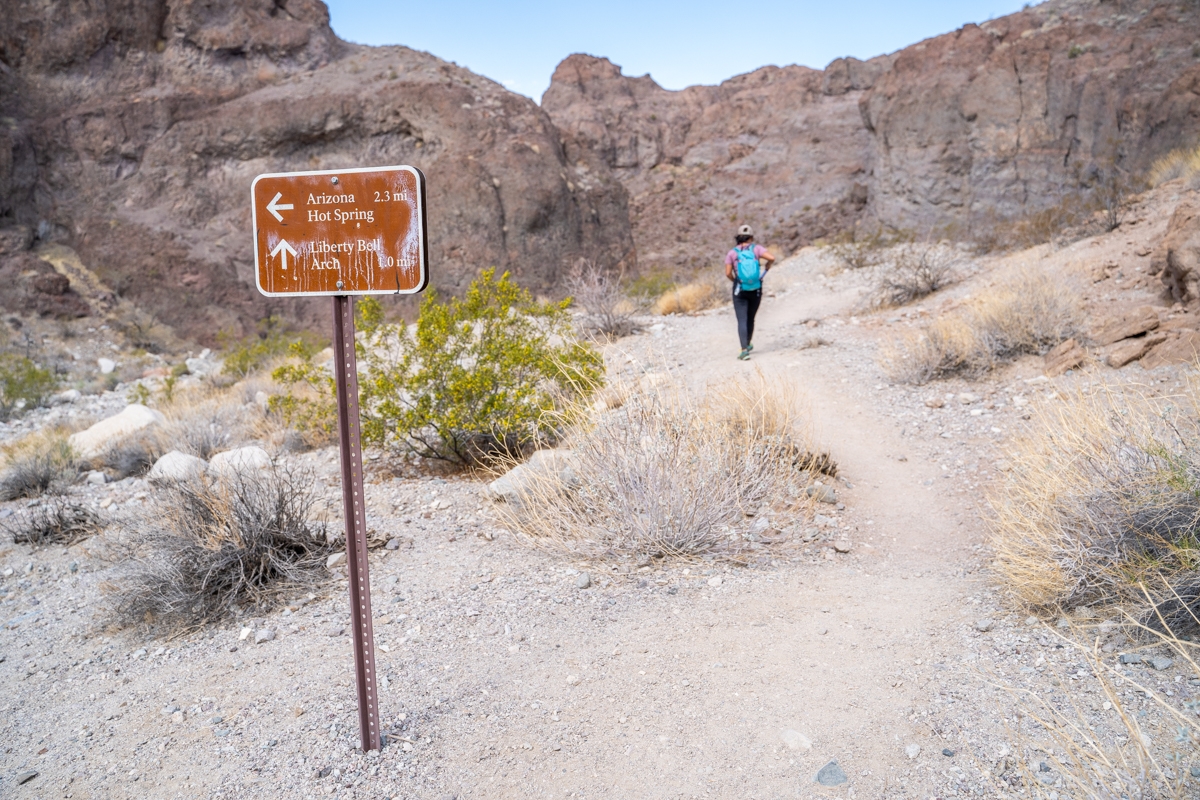
After parking our car, we headed toward the trailhead at the end of the paved parking lot. The trail started down the wash, heading under the highway bridges. We followed the wash for a short distance before coming up to a small directional sign. At this point, if you only want to do the Arizona Hot Springs trail route, you can go left up the hill. Since we wanted to do the loop route, we followed the arrow for White Rock Canyon trail. This trail continues straight on the gravelly wash.
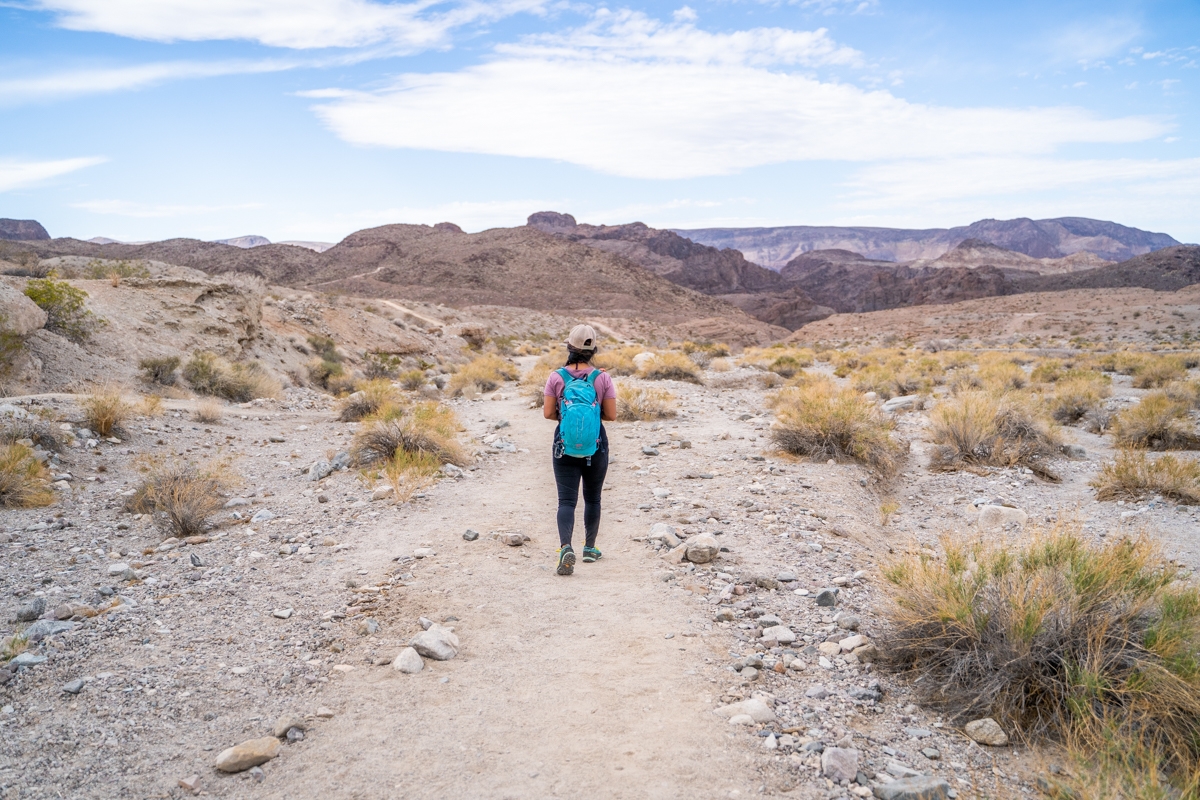
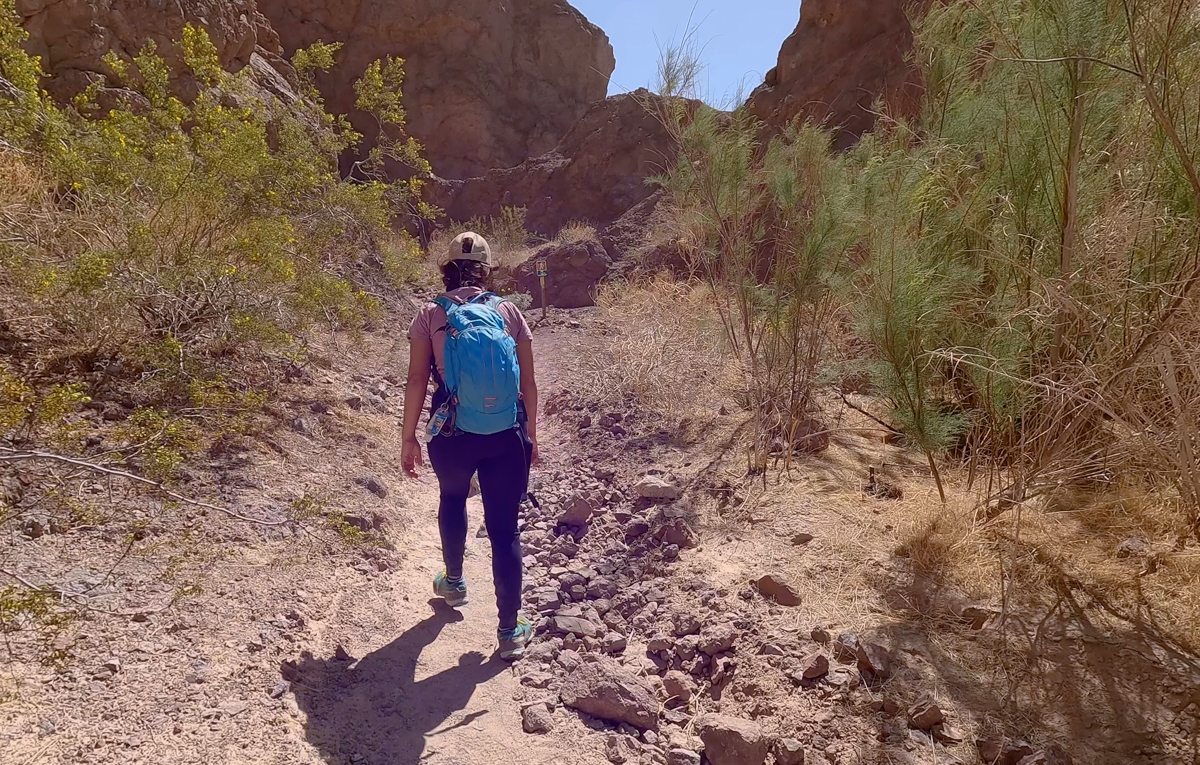
White Rock Canyon Trail
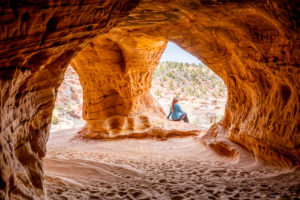
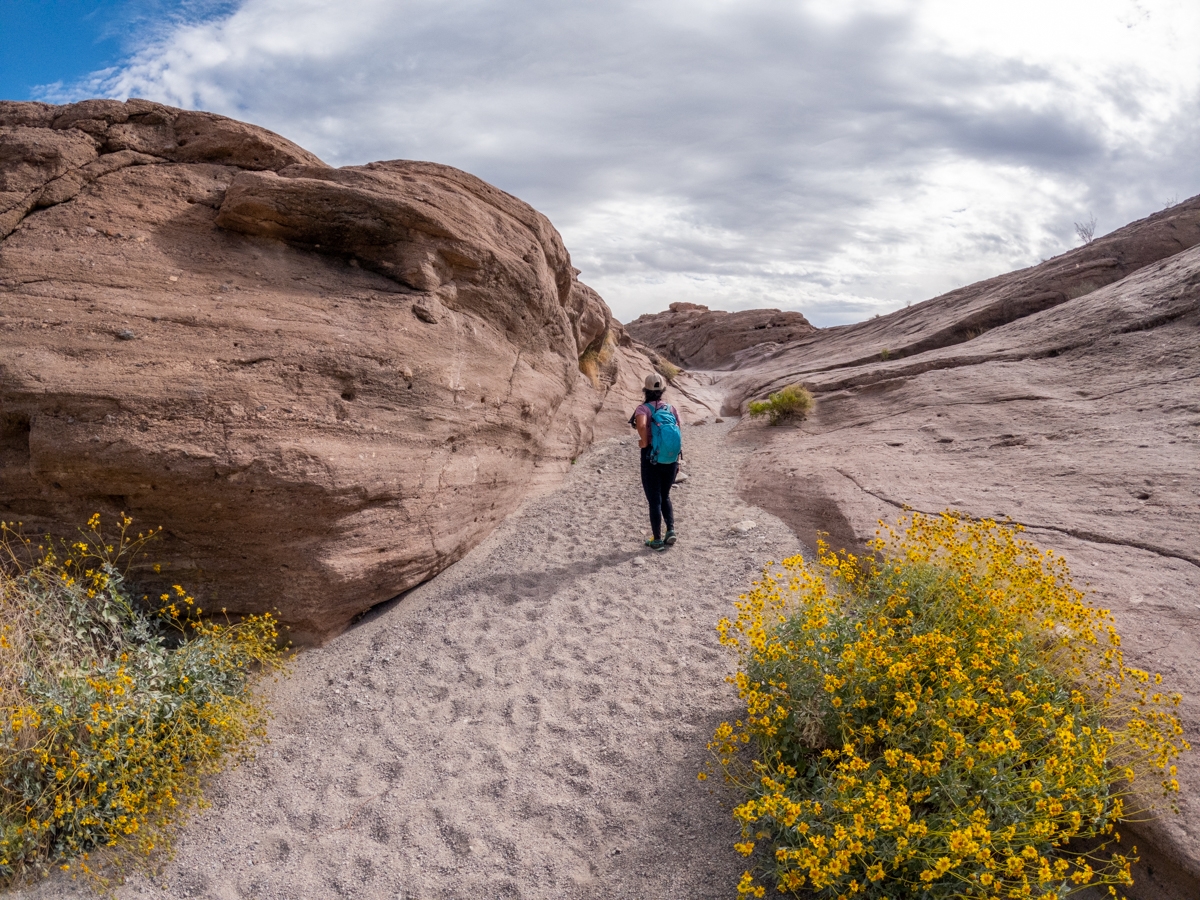
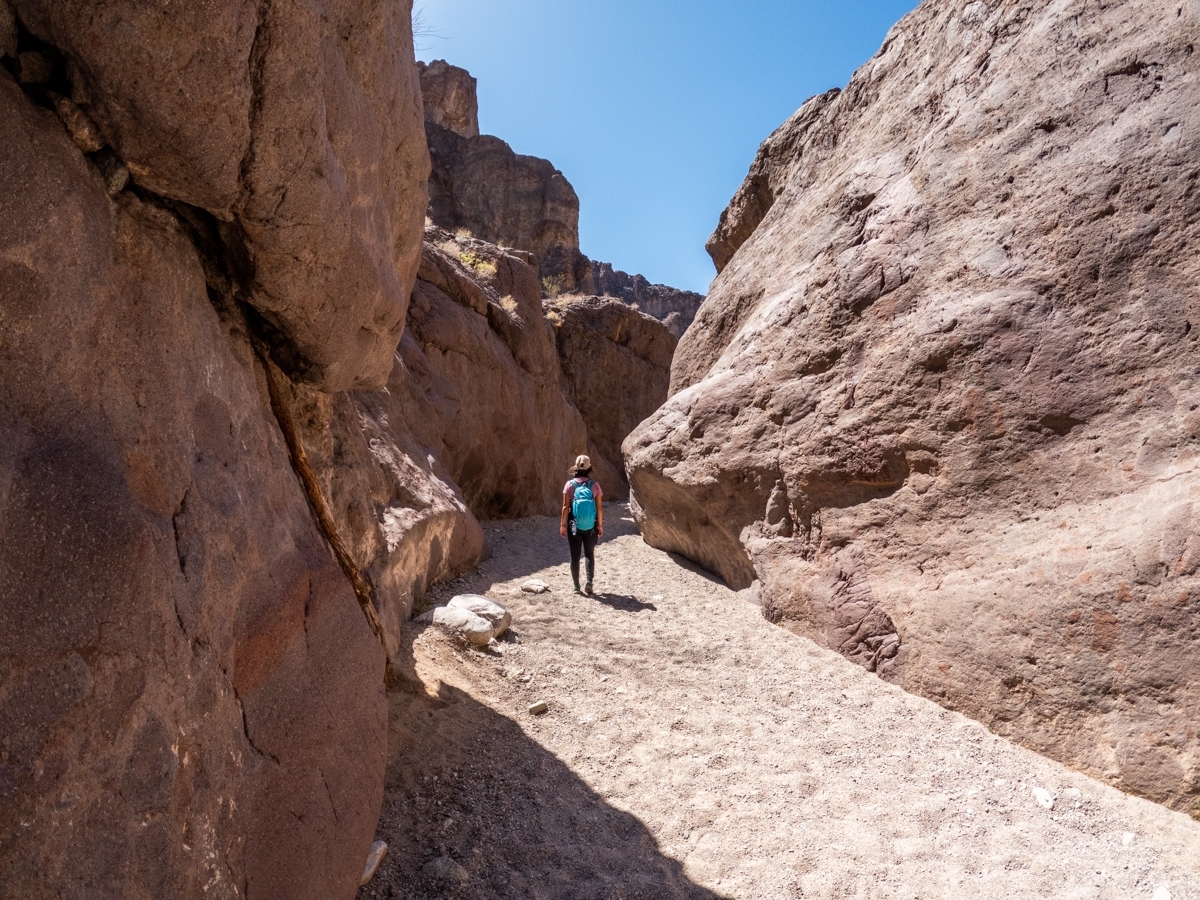
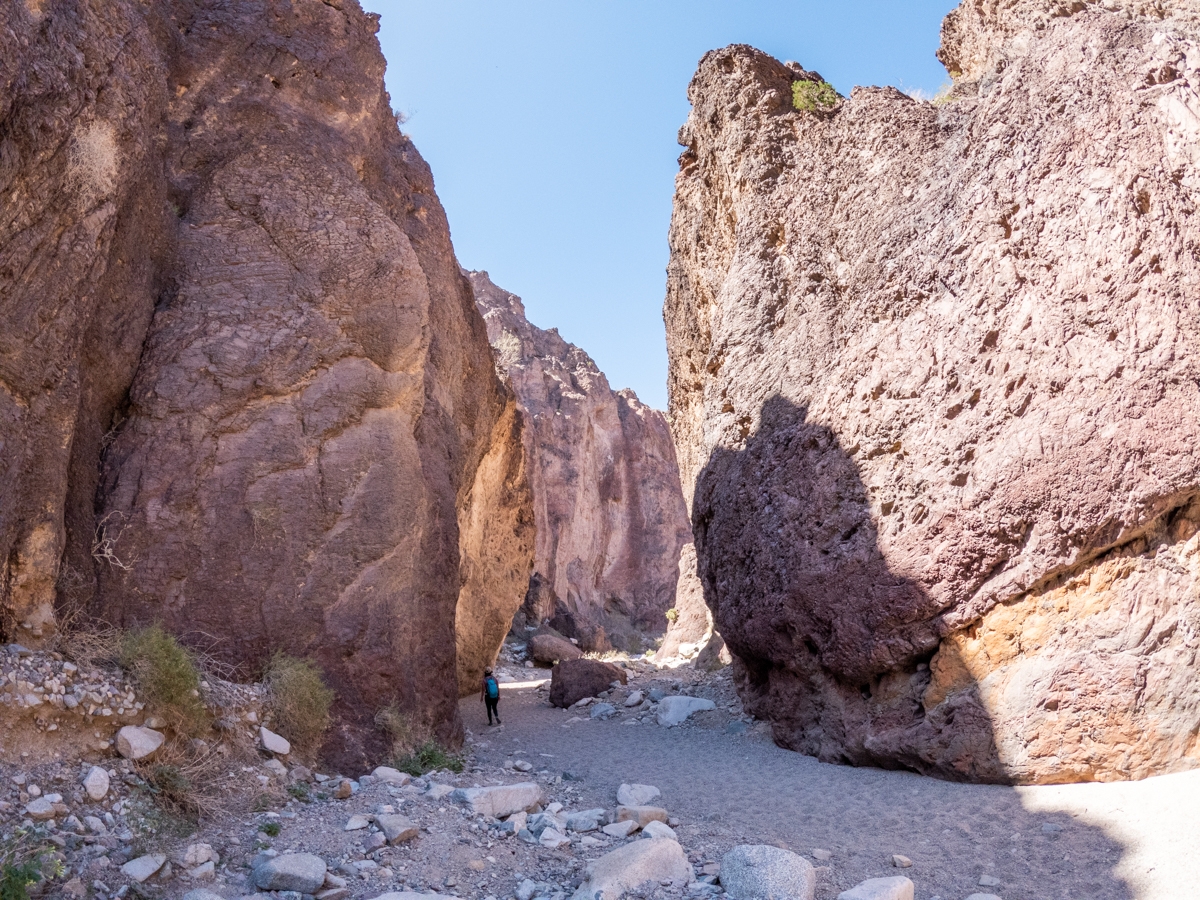
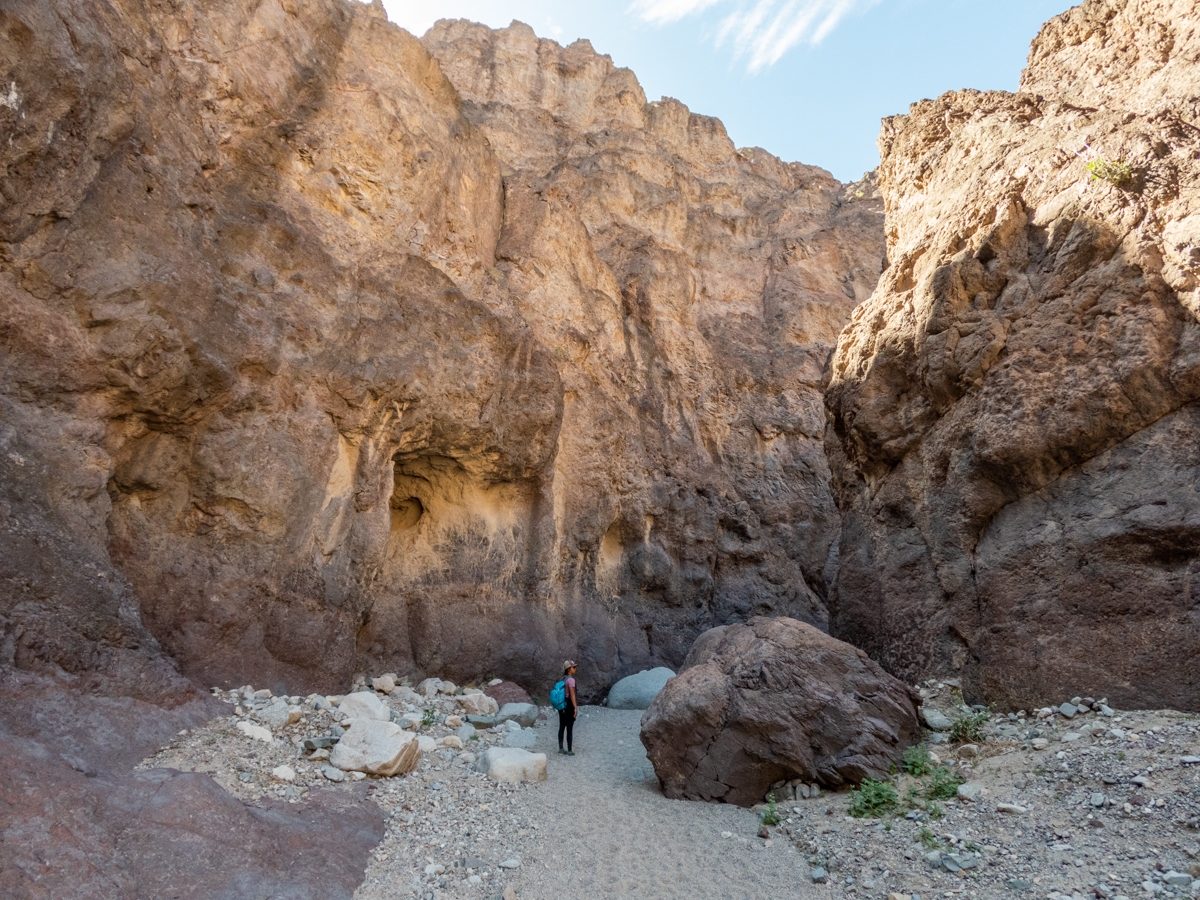
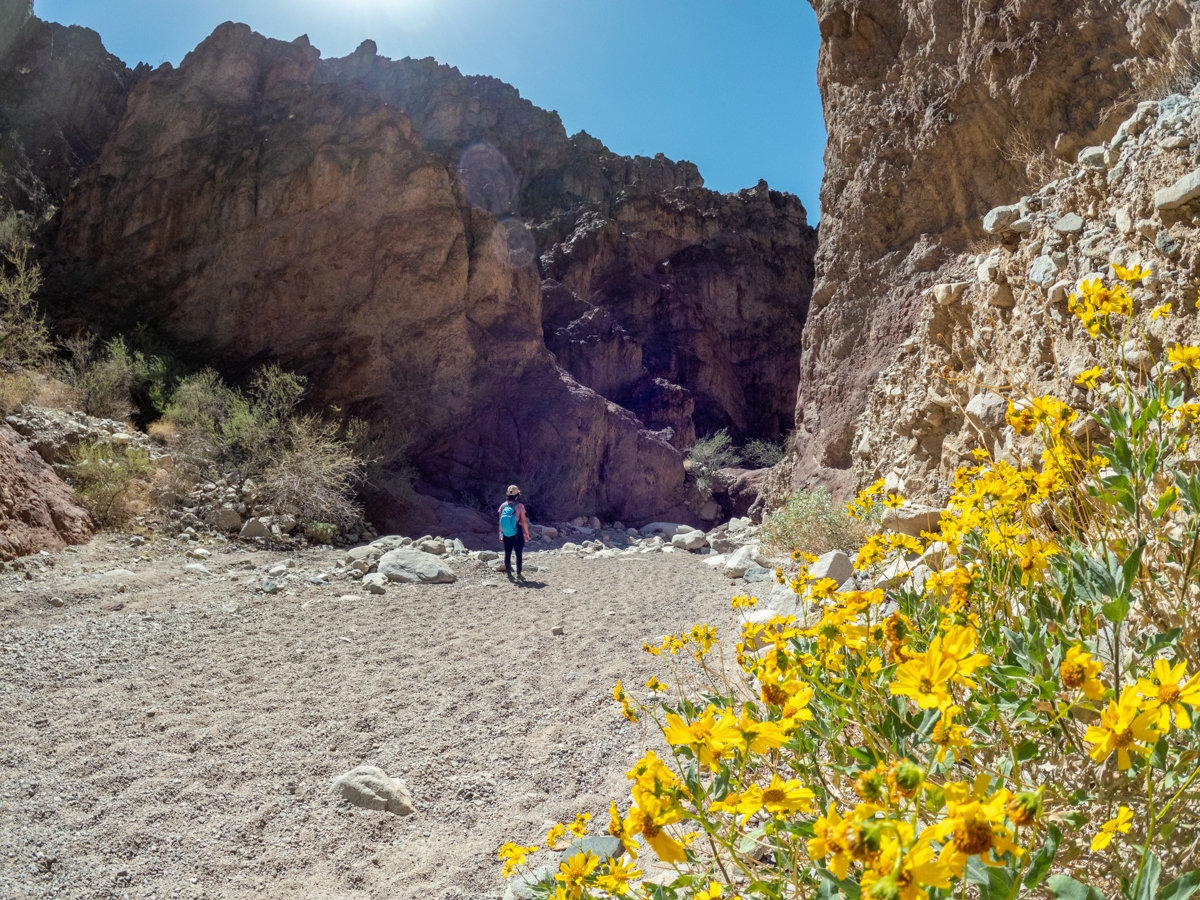
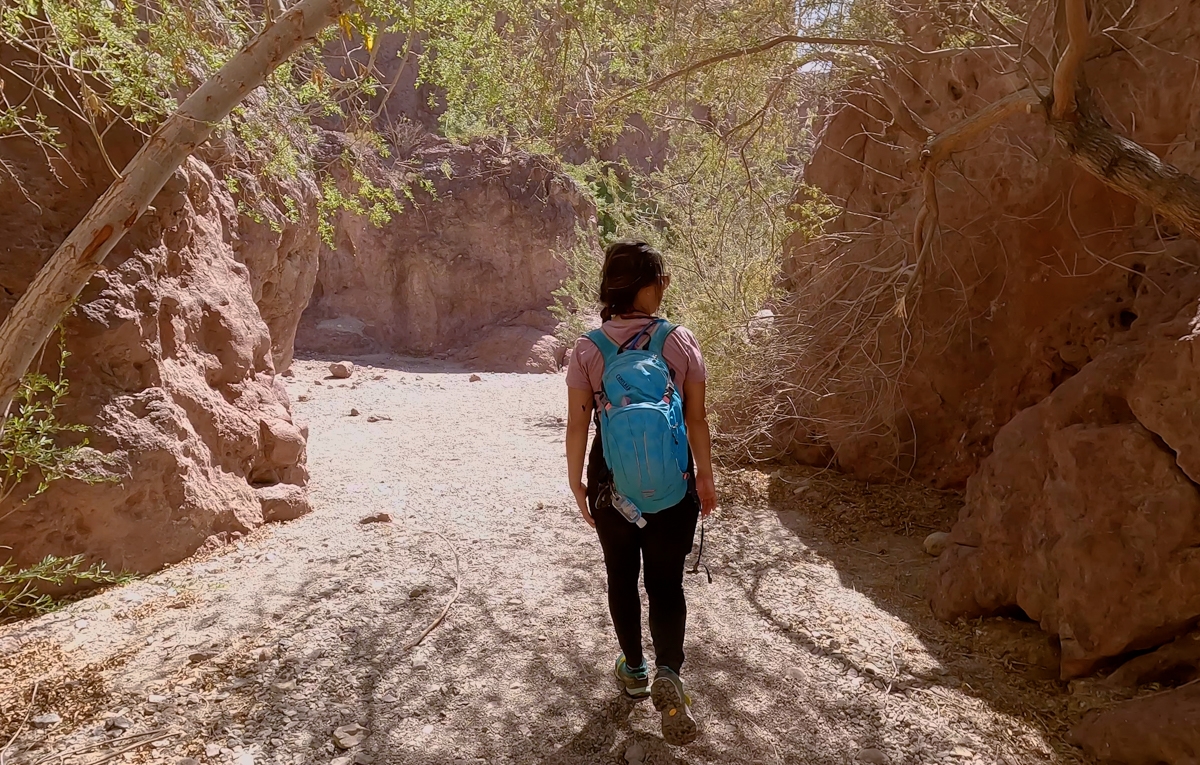
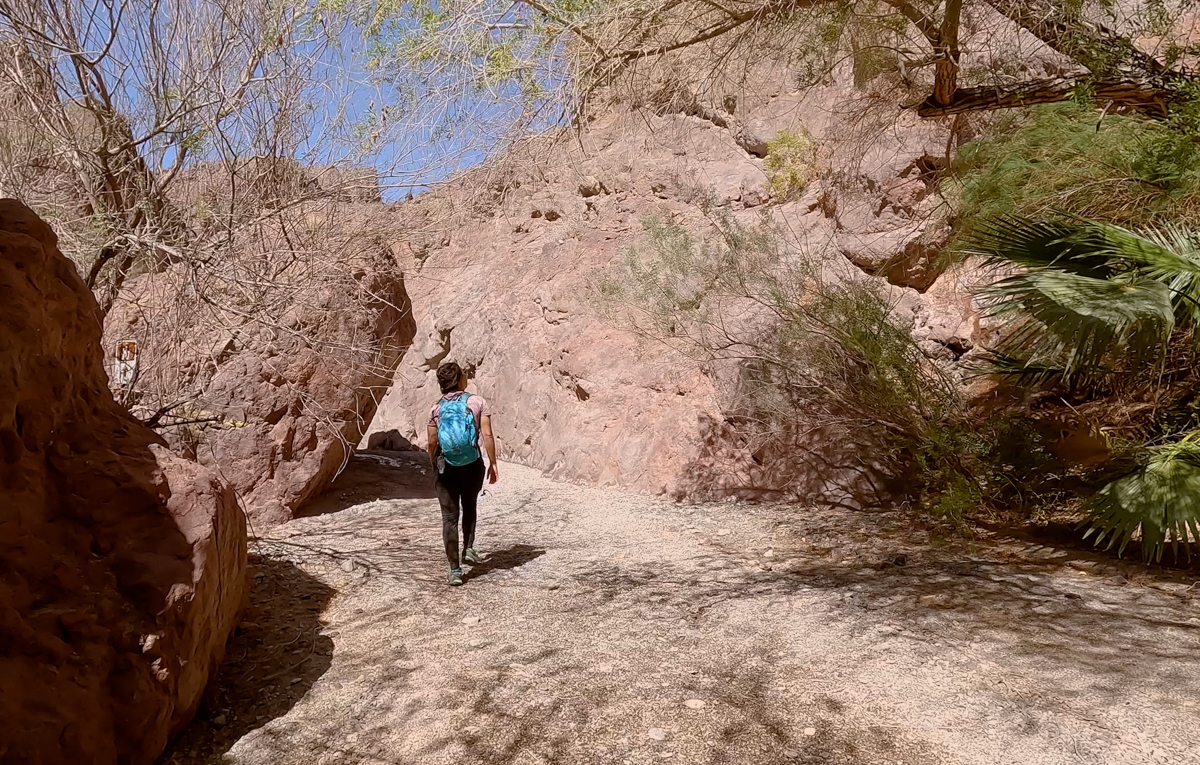
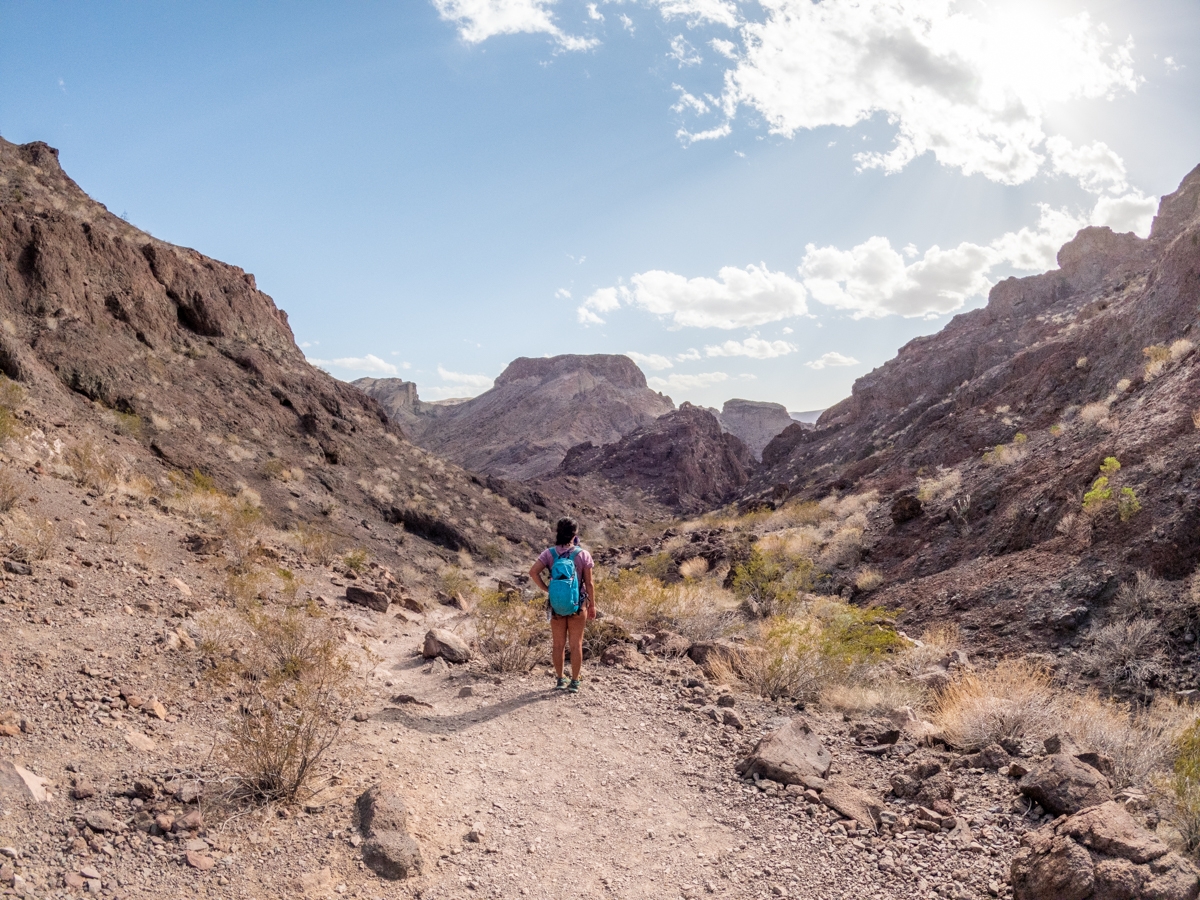
White Rock Canyon trail leads toward an open canyon with short walls. At the time we went, there were wildflowers dotting the desert landscape. It was quite beautiful. If you love slot canyons, there is a small off-shoot slot on the right side of the trail that you can explore on the way. It was short but very pretty.
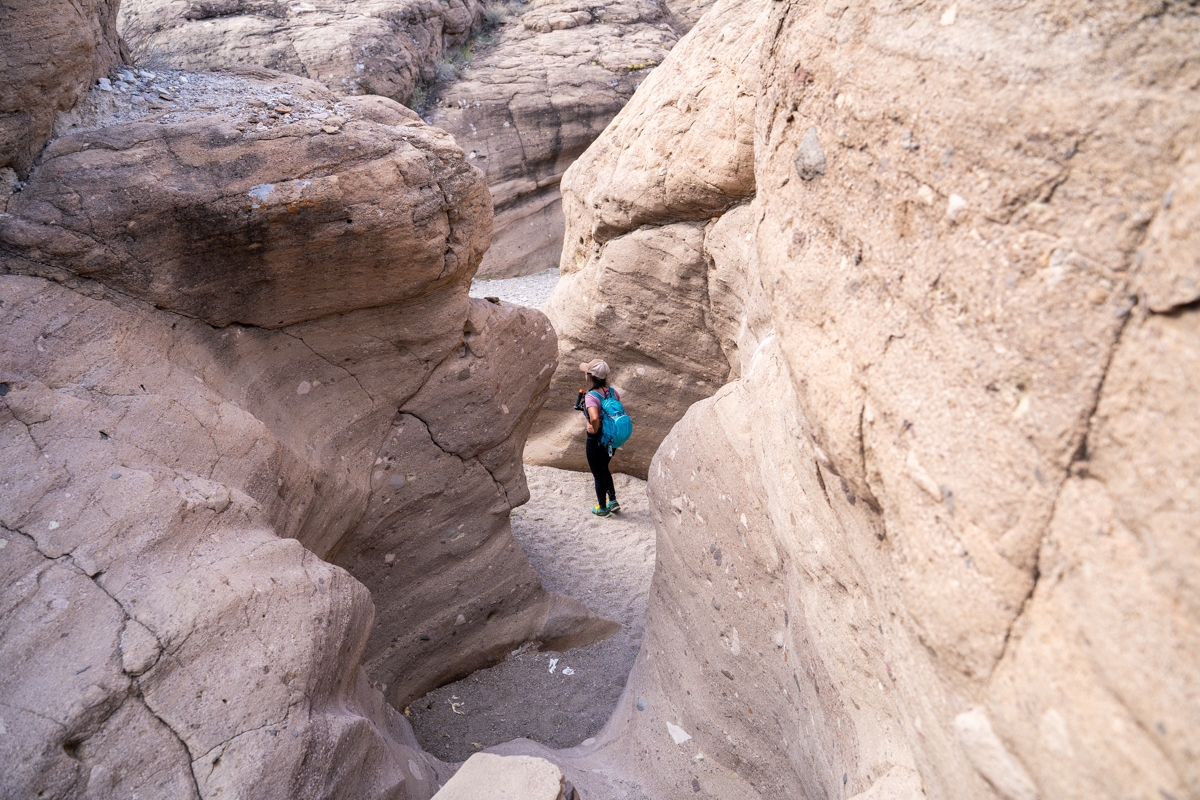
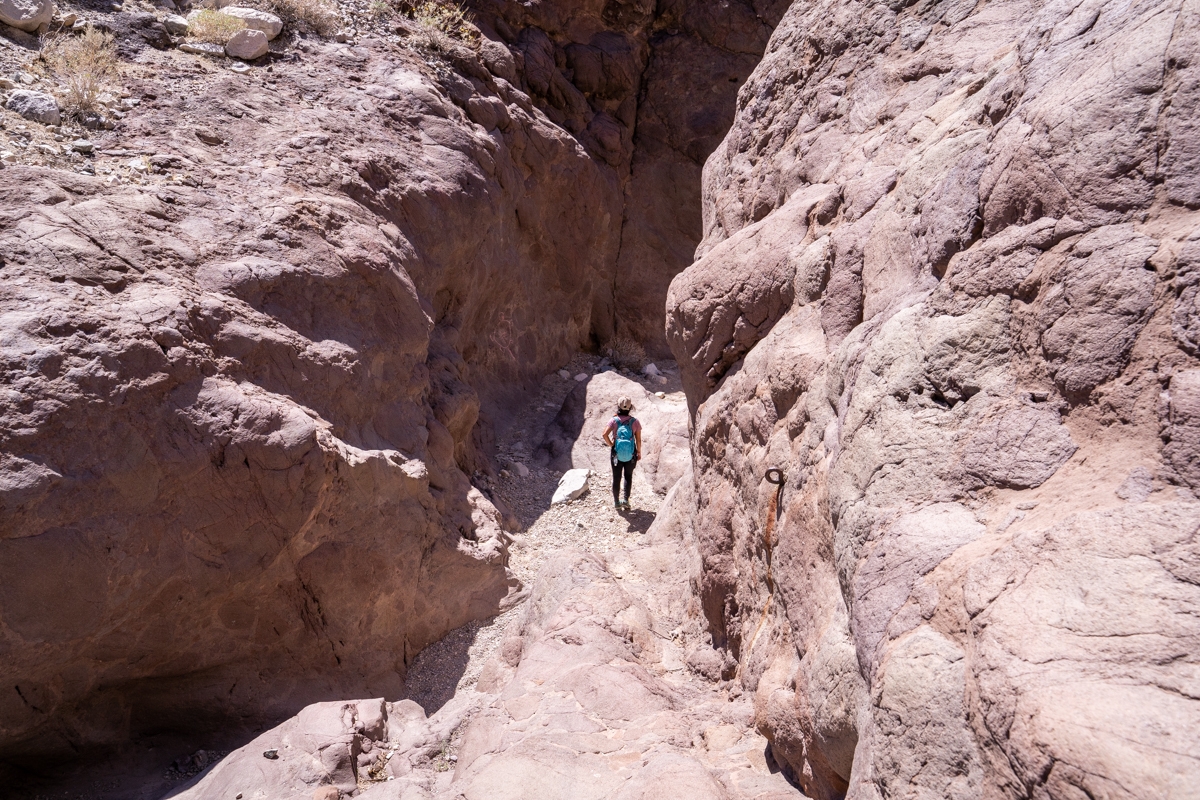
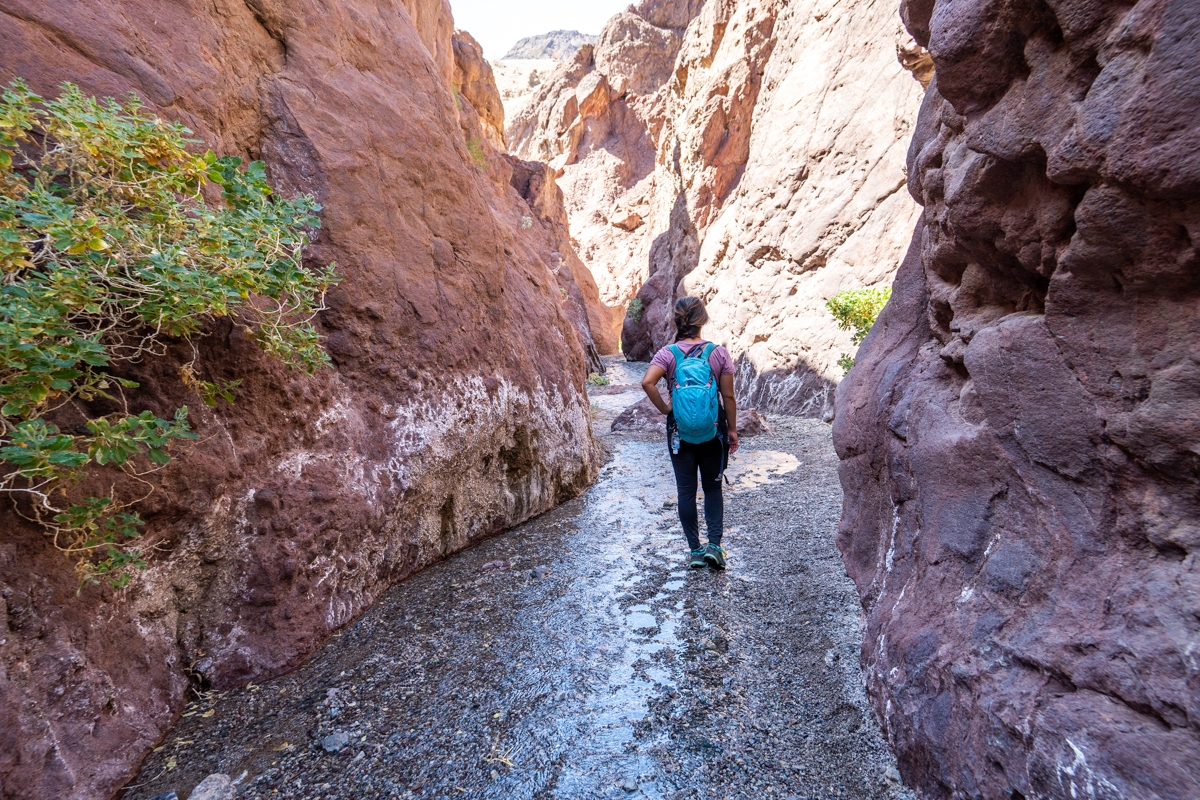
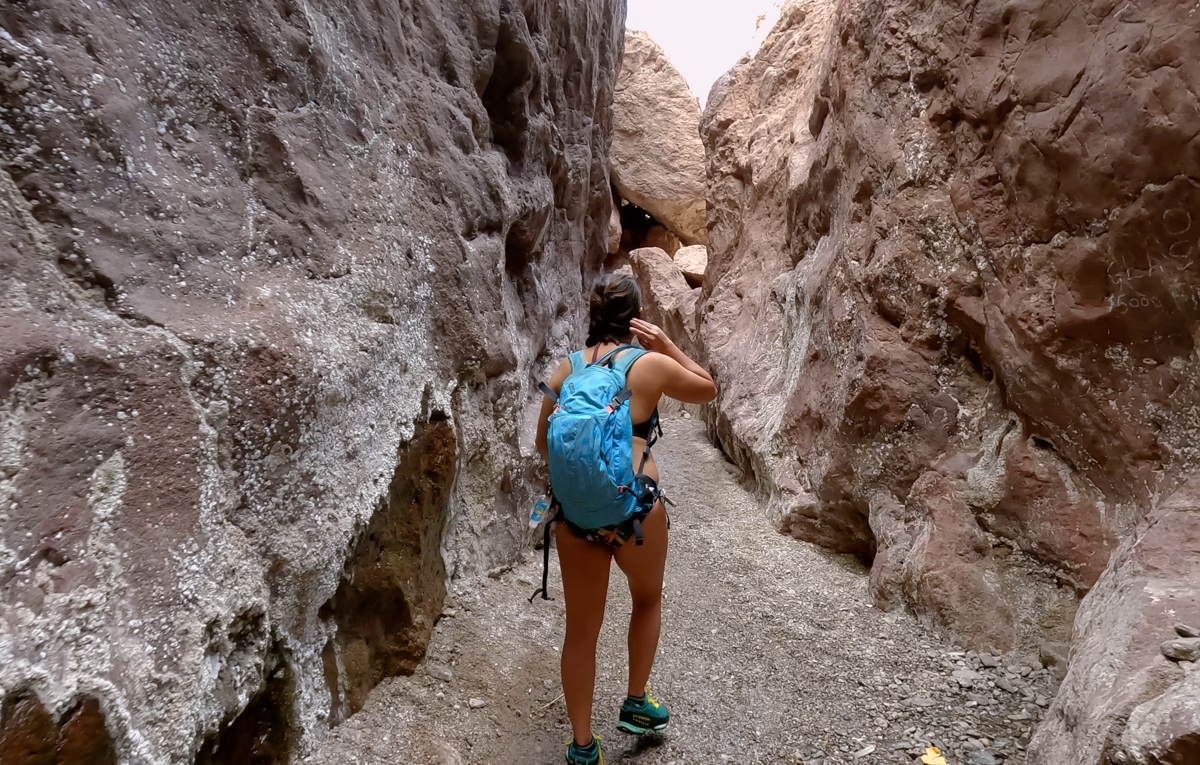
At about 0.9 miles, you’ll come up to a split. It’s not really distinctive so you might miss it. At this split, if you want to see the Liberty Bell Arch, you can make a detour to go right, up the hill. Otherwise, keep staying straight inside the canyon. If you add on Liberty Bell Arch like we did, it would be about 9.43 miles. After the split, the canyon gets narrower and the walls become a lot taller. It was also getting a lot more beautiful. We kept stopping to take photos.
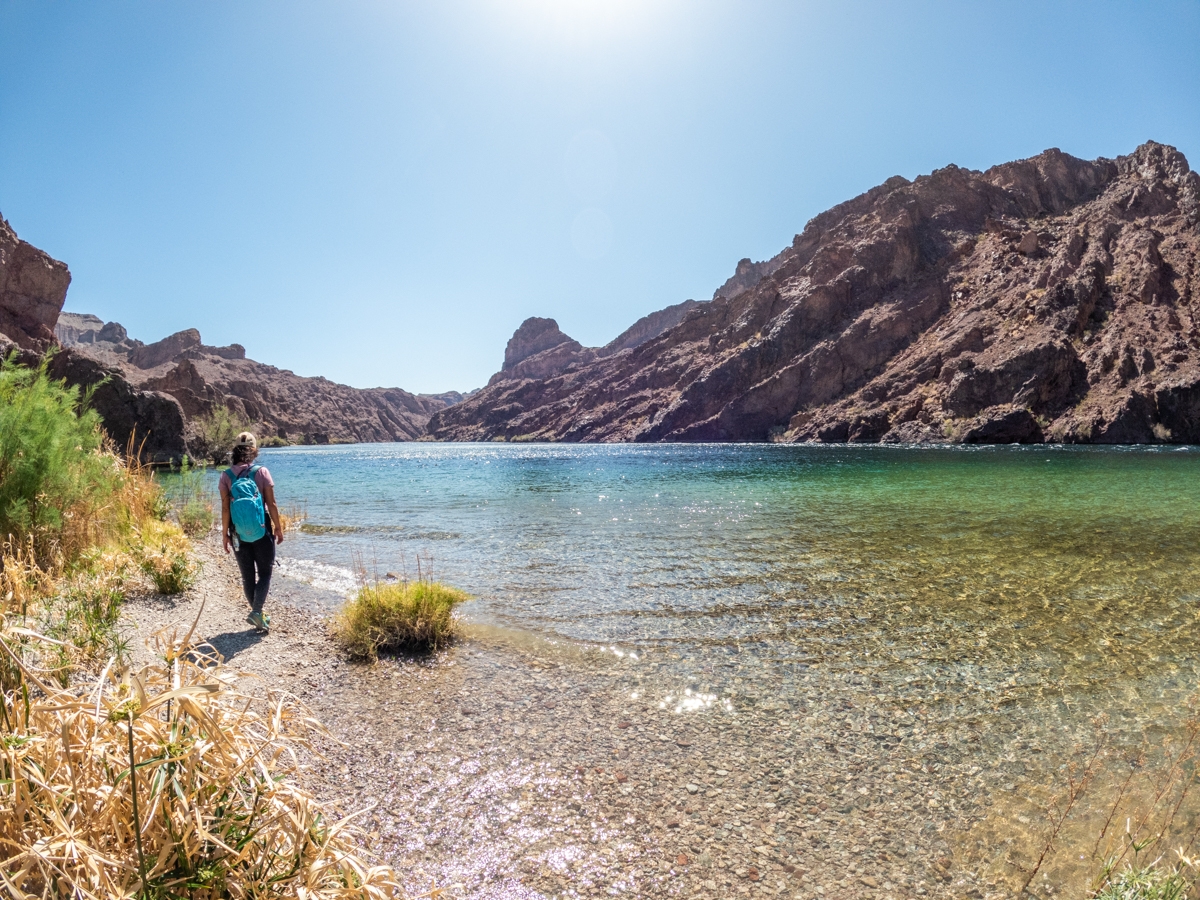
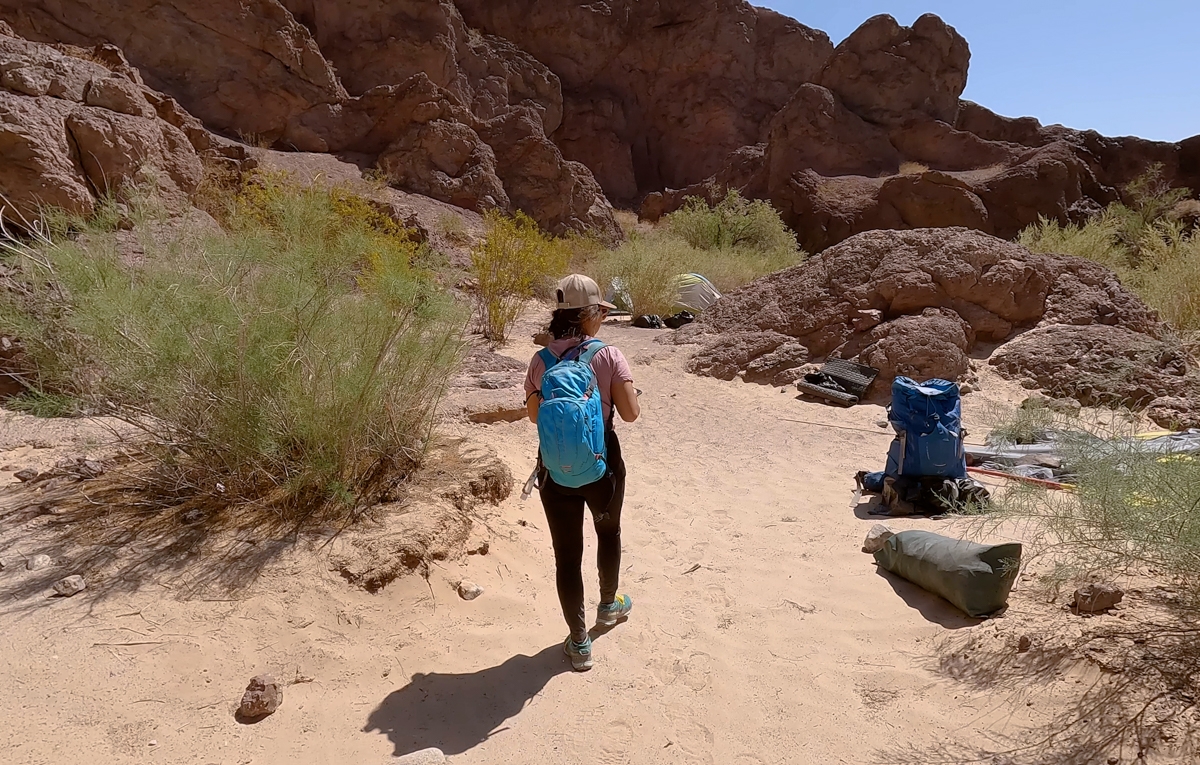
The Beach Area
After about 2.8 miles of gravelly wash, we came upon a small beach looking out the scenic Colorado River. The water here is super clear and has that beautiful emerald color. This beach area is a popular campsite for backpackers as well as kayakers who want to spend the night. This is the end of the White Rock Canyon trail. If you’re camping here, please make sure to follow the Leave No Trace principles.
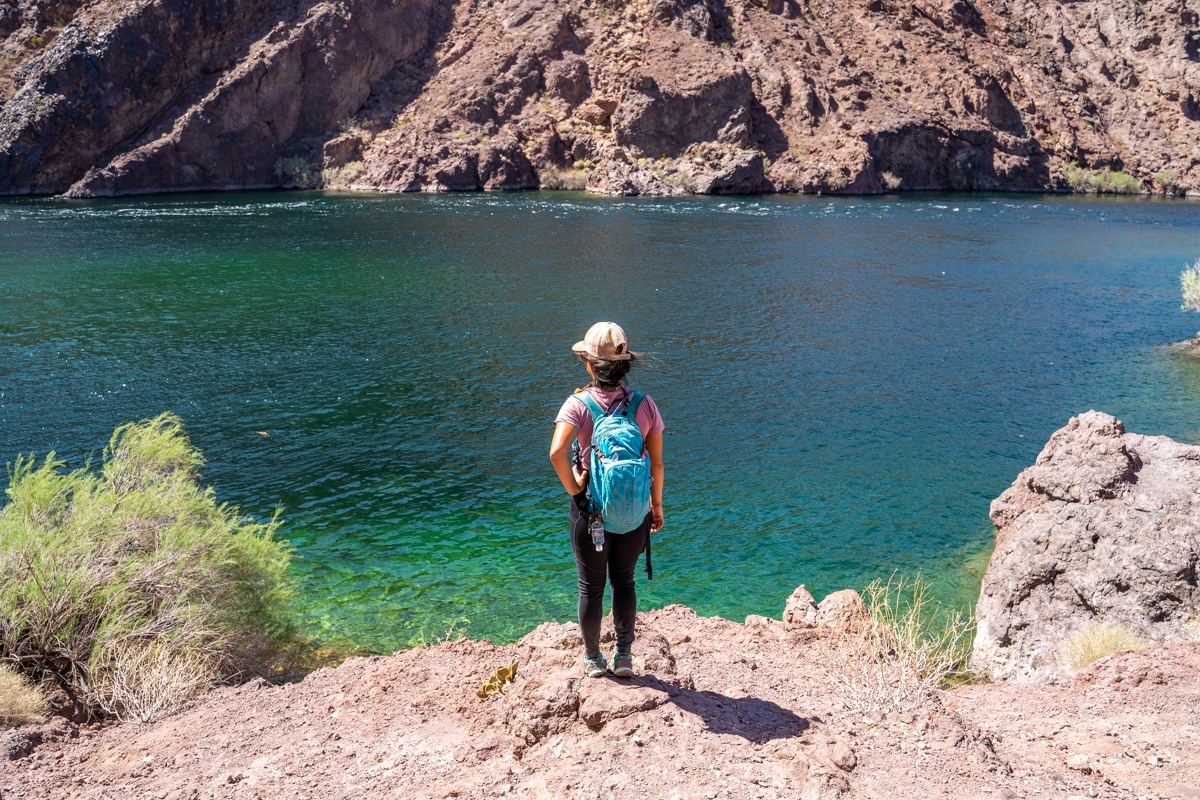
Connecting to Arizona Hot Springs Trail
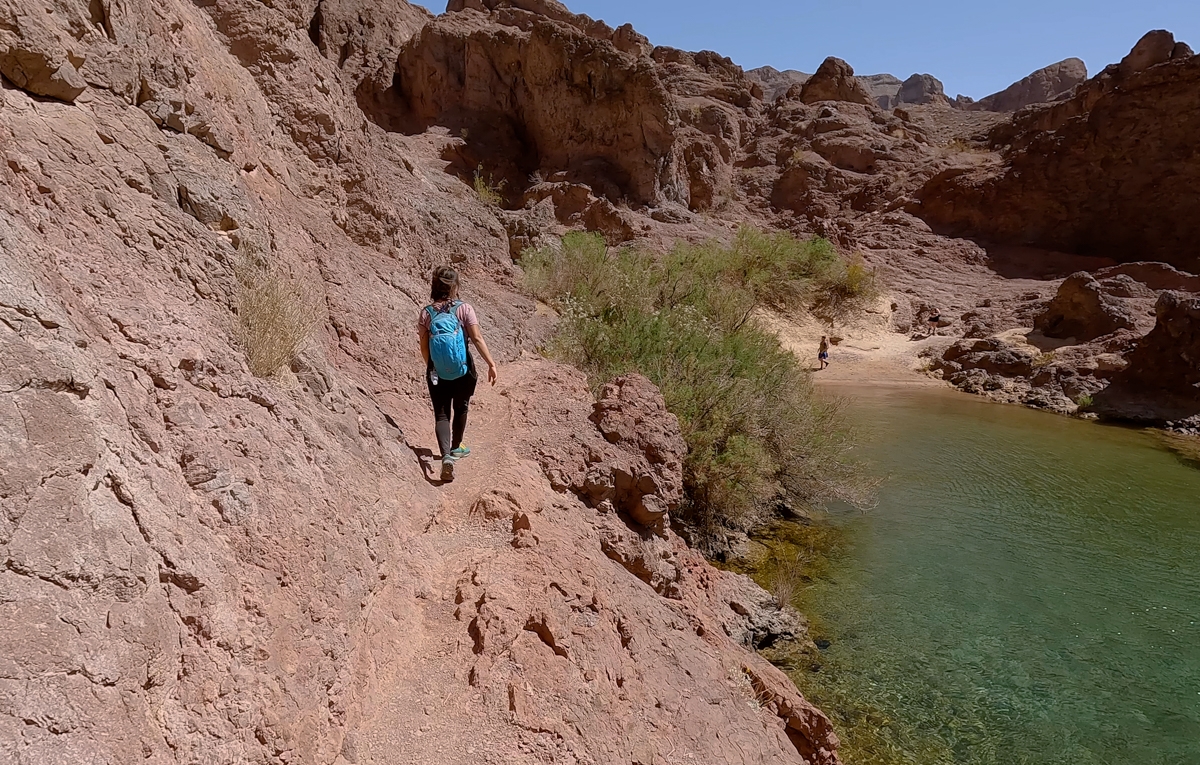
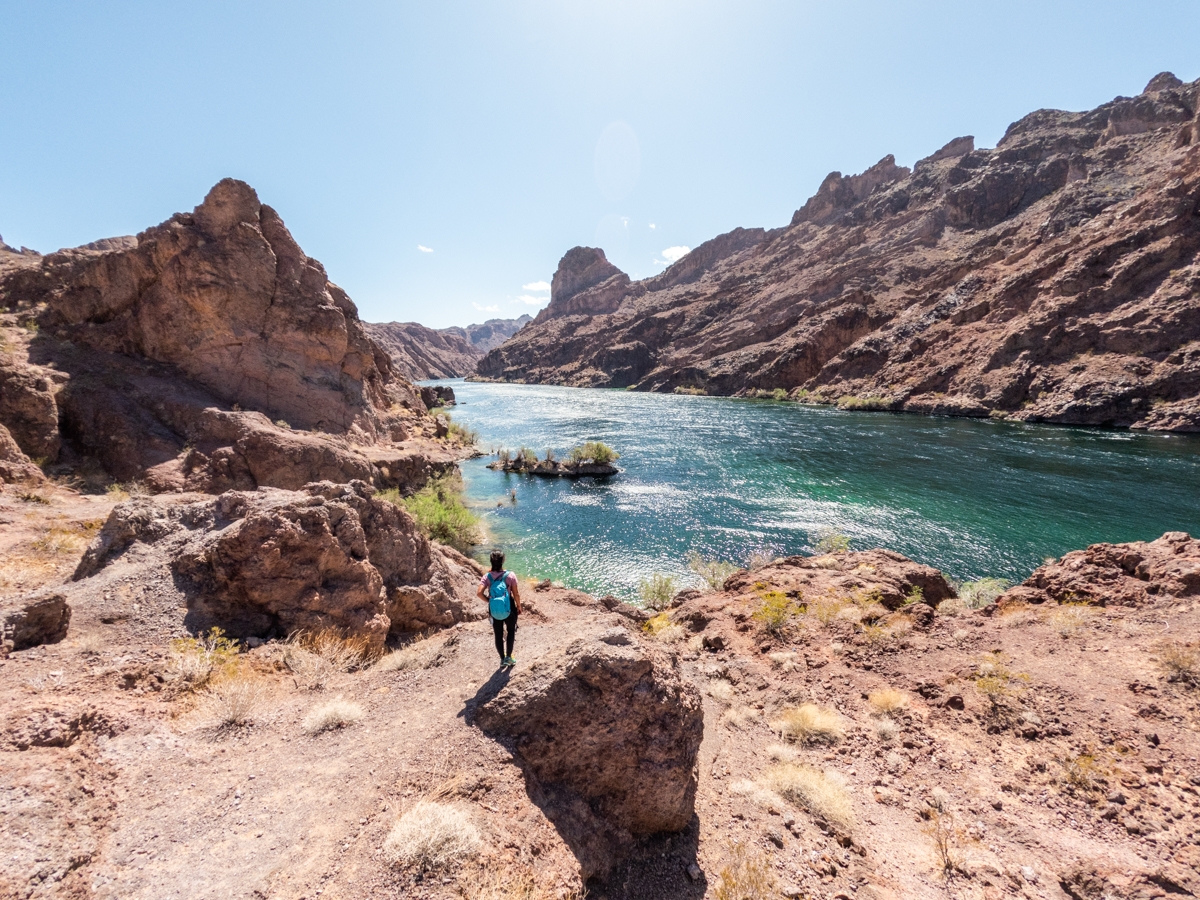
From here, we have to connect over to the Arizona Hot Springs trail. This part is a bit confusing since there aren’t a lot of signages or distinct trails. First, you need to go to the left to cross over the campsite to a small, worn trail. Follow this trail to go up the hill. You should see a sign with an arrow pointing. There is a beautiful viewpoint here to look down to the river below. To continue on, you’ll need to keep going left to follow the trail alongside the mountain down to another small beach below. There were a few people swimming here. Dustin also jumped in but not for long. The water was very cold.
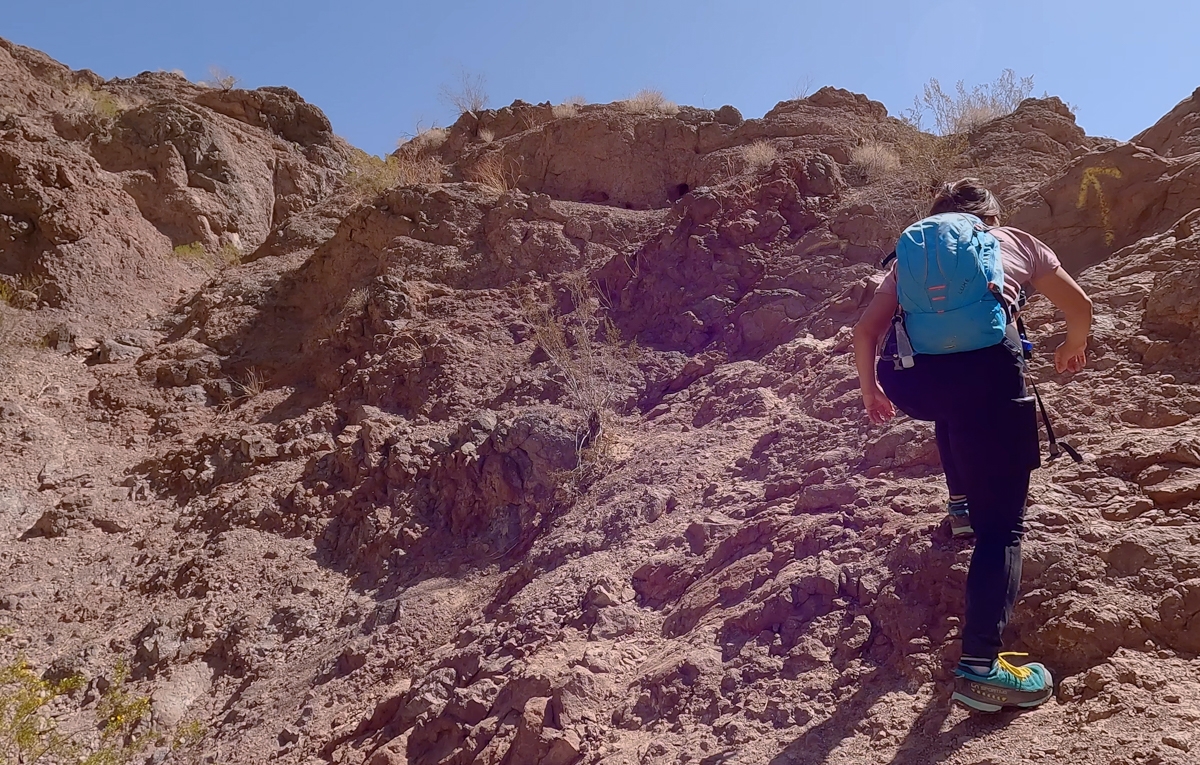
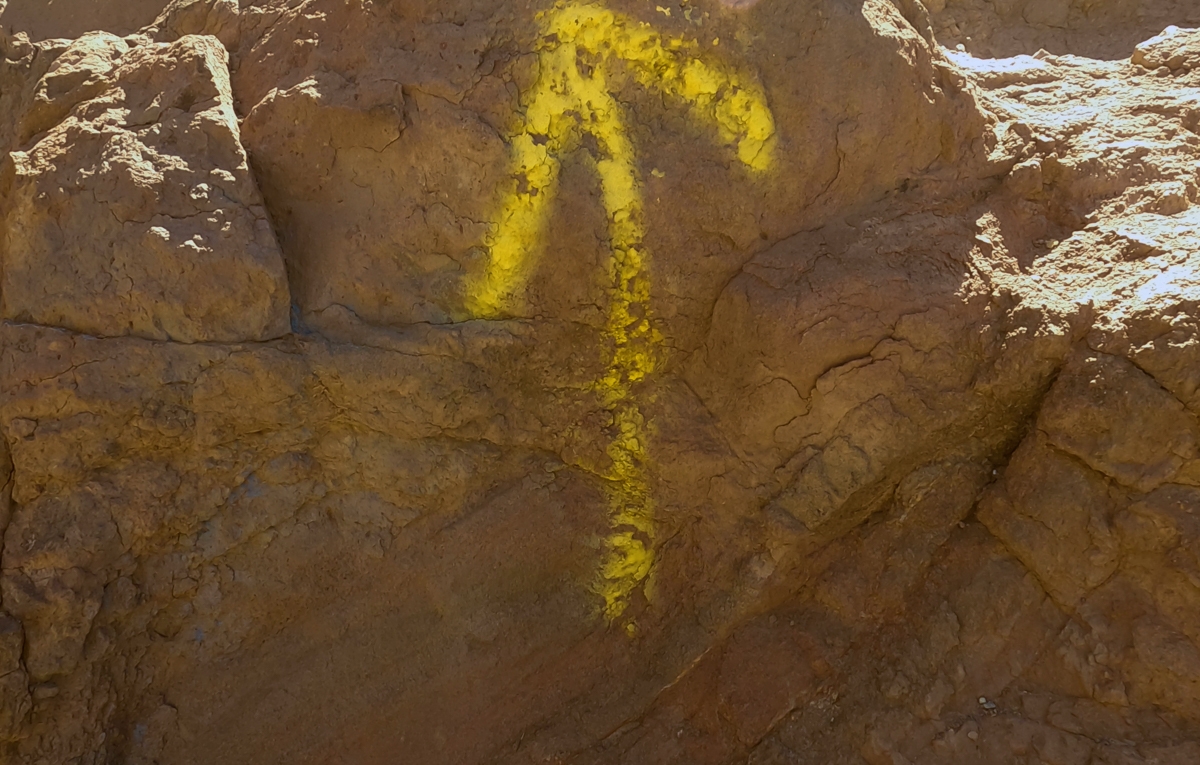
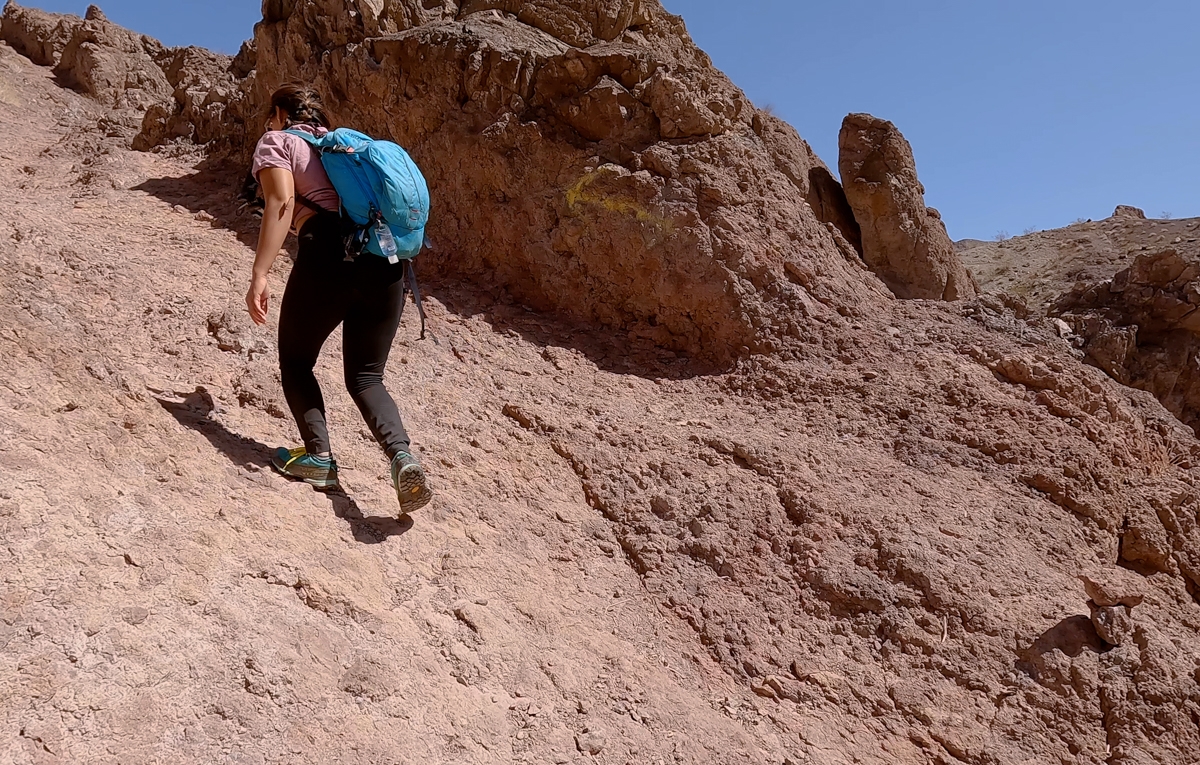
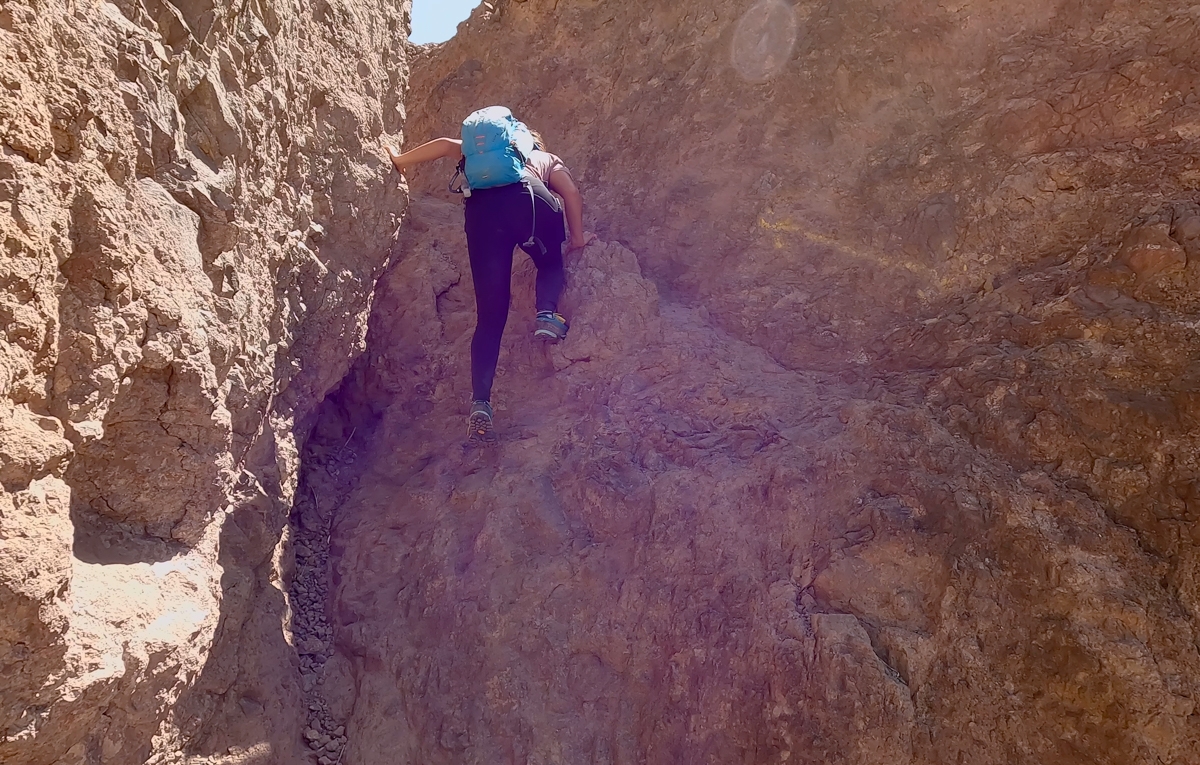
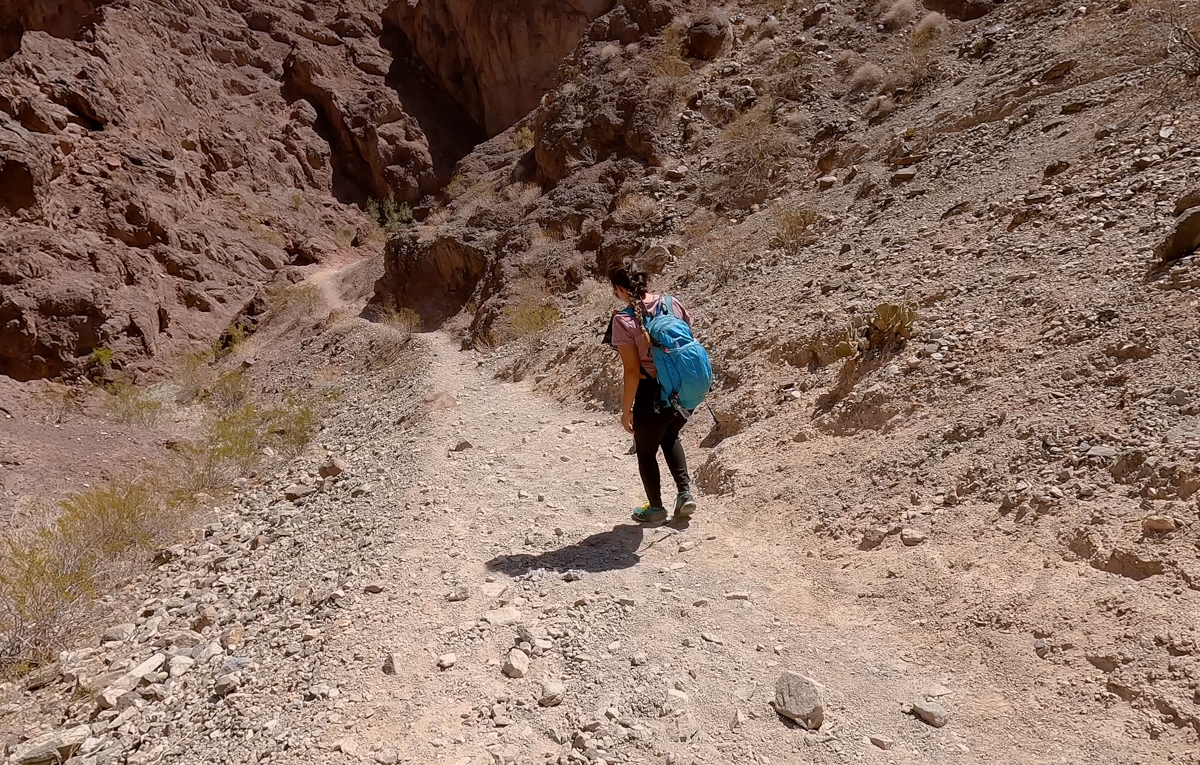
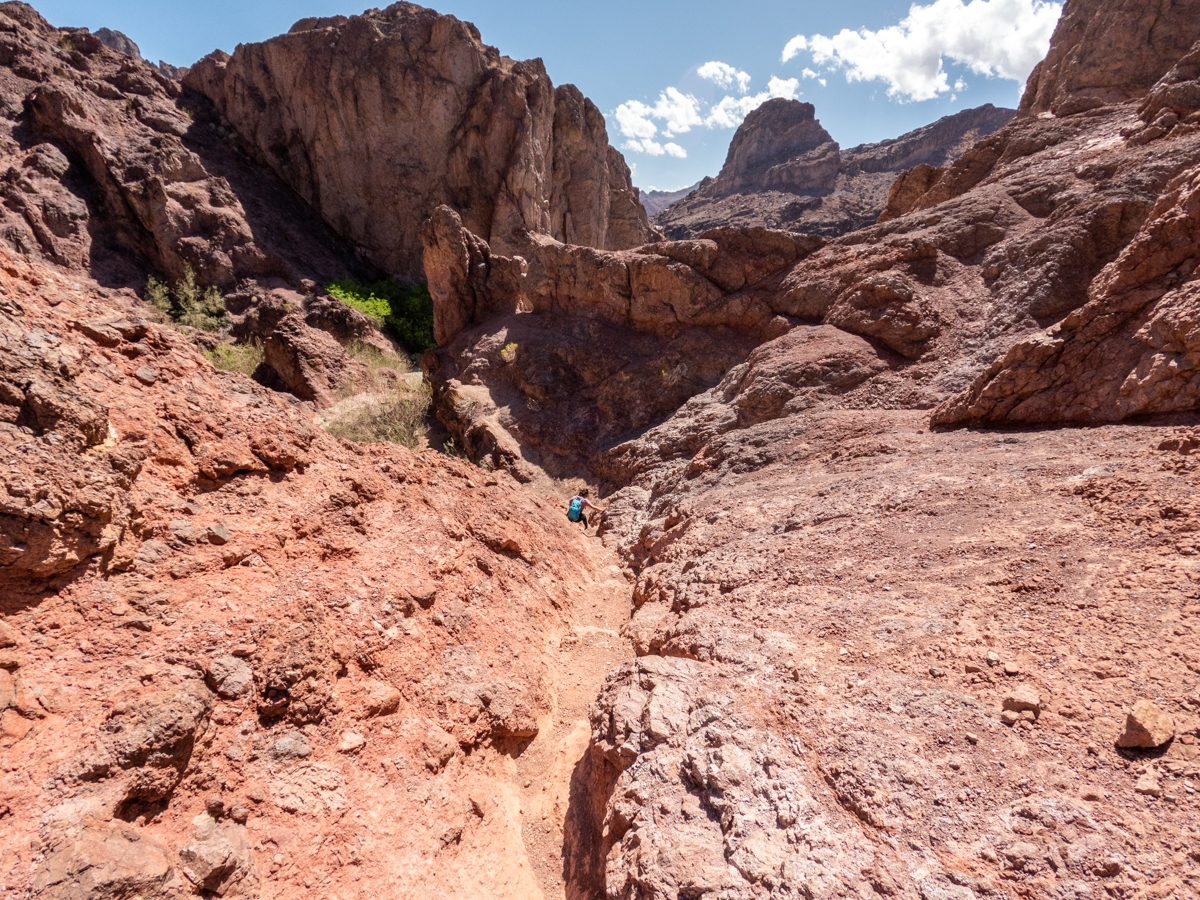
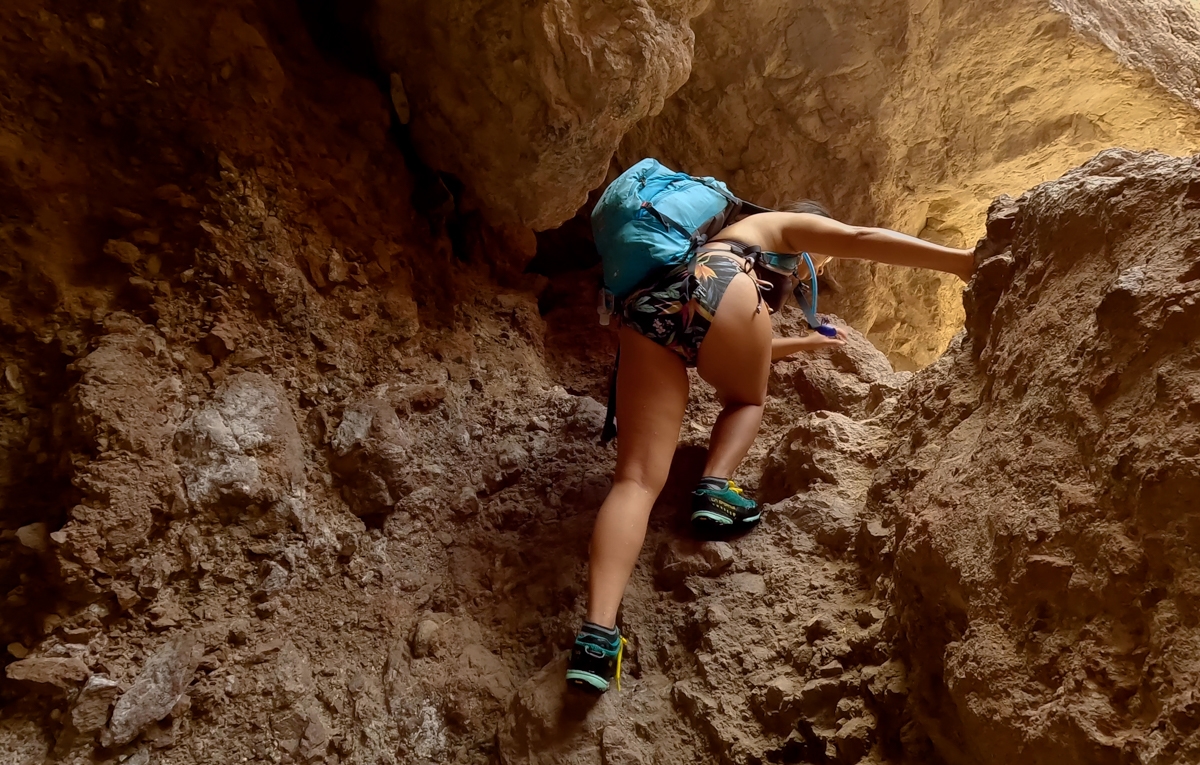
After crossing this small beach, we got a bit lost at this point. I have the coordinates of the hot springs on our GPS tracker, however, we couldn’t see a good trail to get there. Luckily, another hiker told us to follow the yellow arrows, which we did. By following the yellow arrow, we scrambled up a couple of steep hills. Then, we followed a small trail that curved around the hillside. The trail led us to a small gully. We quickly scrambled our way down to the wash below.
Follow the Watercourse to the Ladder
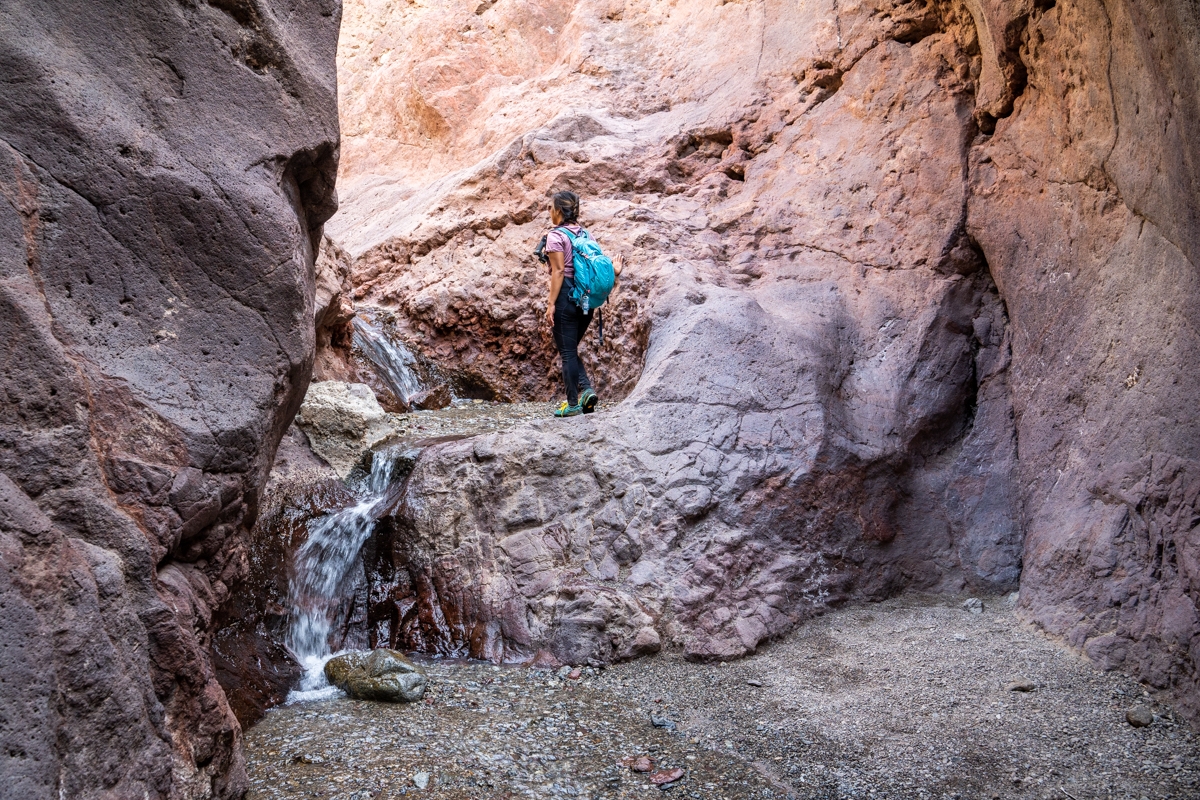
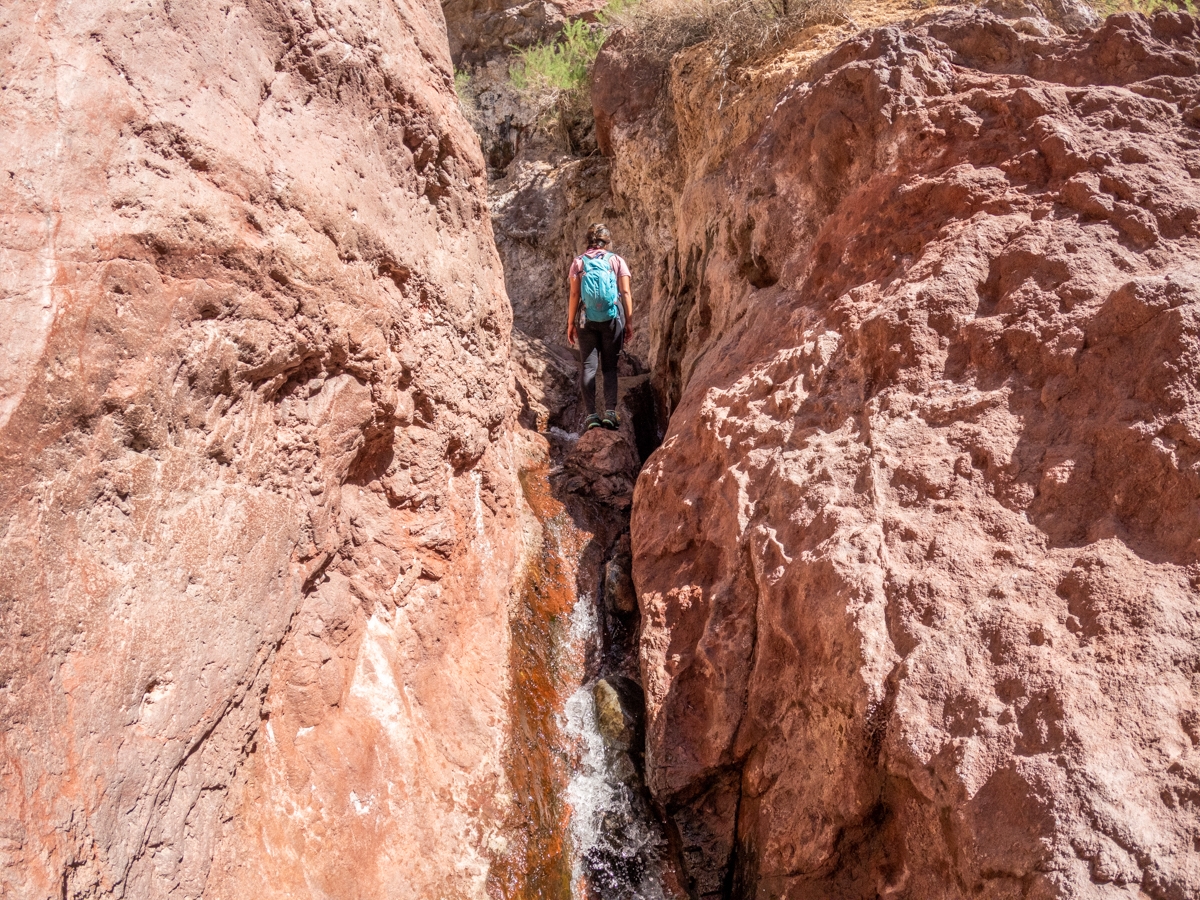
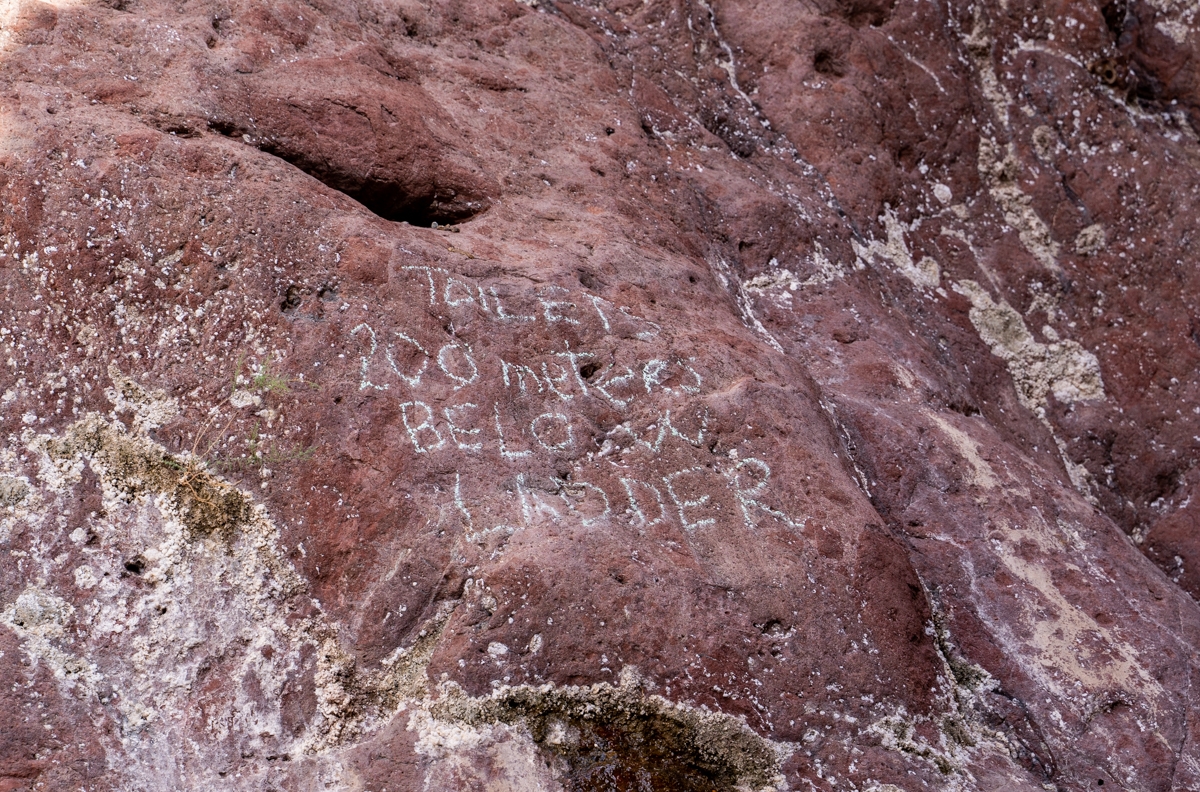
Once we finished scrambling down the gully, once again we weren’t sure where to go since there aren’t any signages. Suddenly, we heard a voice calling down, telling us to follow the watercourse. It was some nice hiker giving us directions. So if you’re here, go toward the running water (not the river). You will need to wade through the water to reach the hot springs.
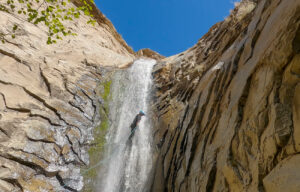
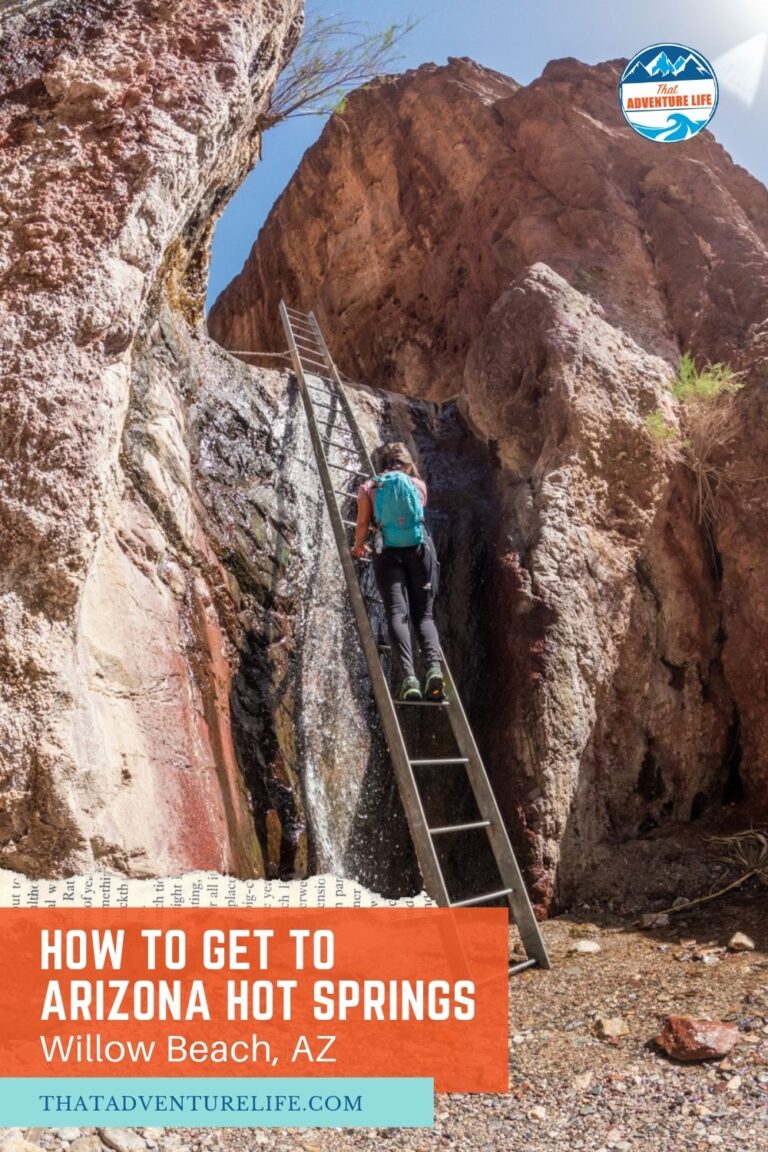
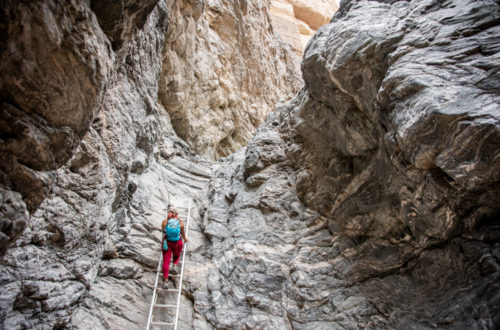
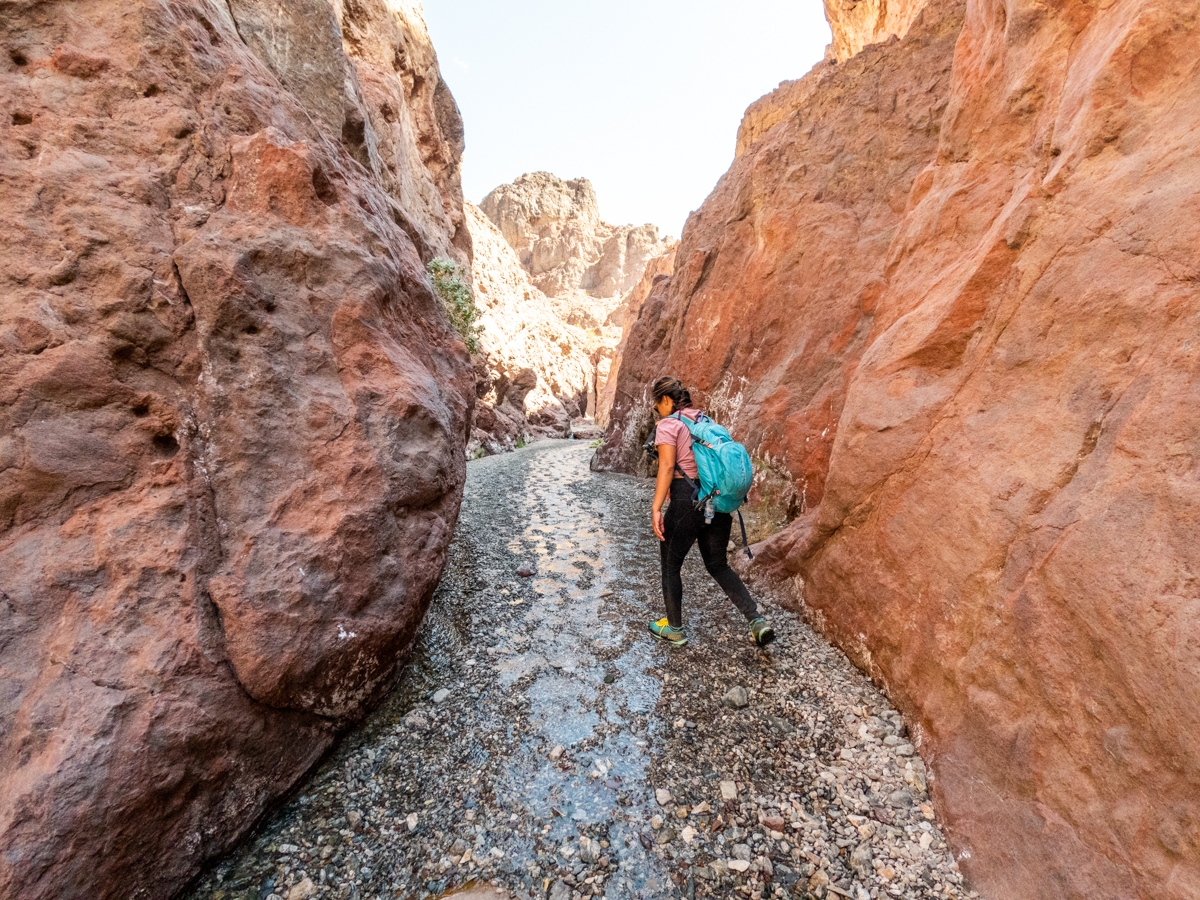
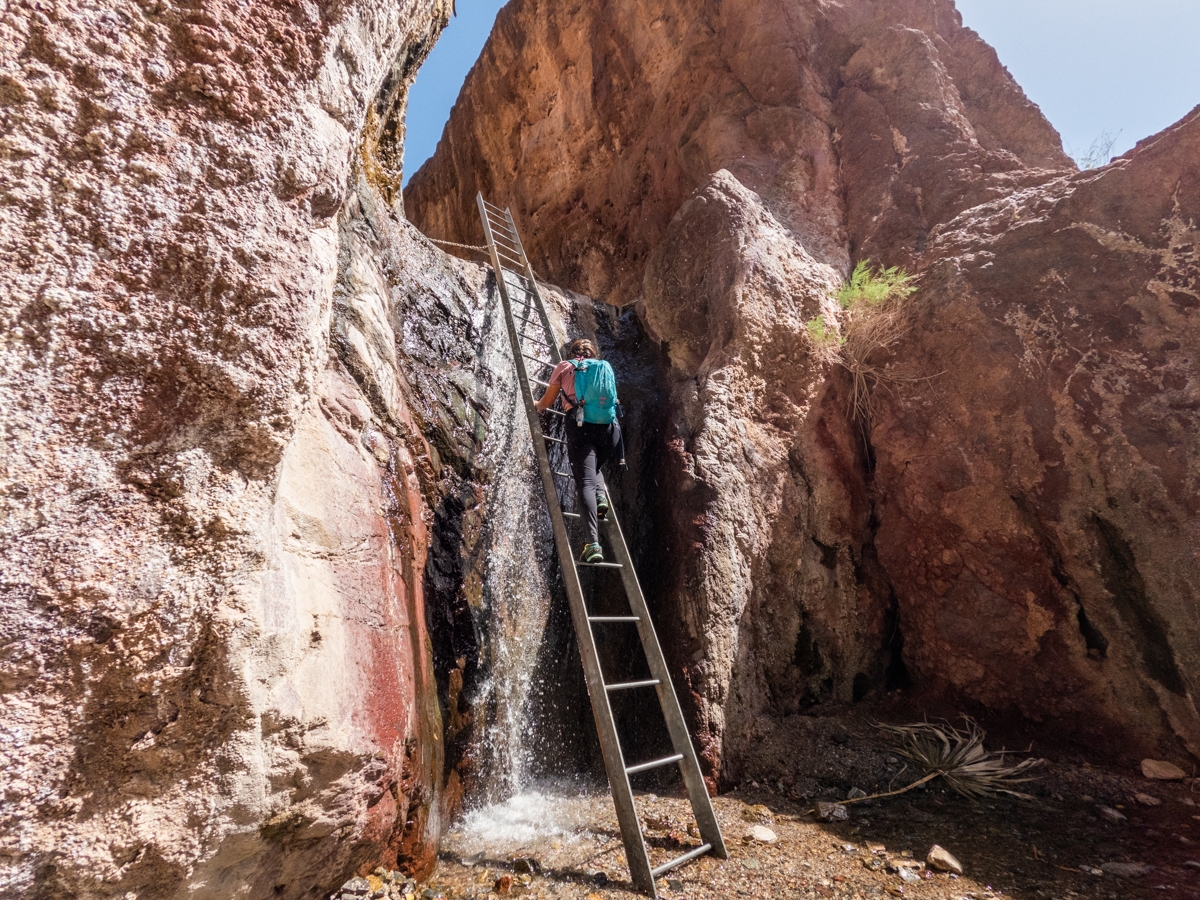
We followed the squishy gravelly wash to go upstream through the narrow canyon. The further we went in, the more water appeared. We ended up climbing up a few small waterfalls and wading through water to get to an alcove. There is a metal ladder leaning against the wall, next to the waterfall. This is the water overflowing from the hot springs above. To get to the hot springs, you’ll need to climb up the ladder. Please note that this ladder might not be here when you come. It’s not often, but it does happen. Also, the ladder and the transition from the ladder to the hot springs can be slippery. Please make sure to be careful. You might want to switch out to your watershoes here.
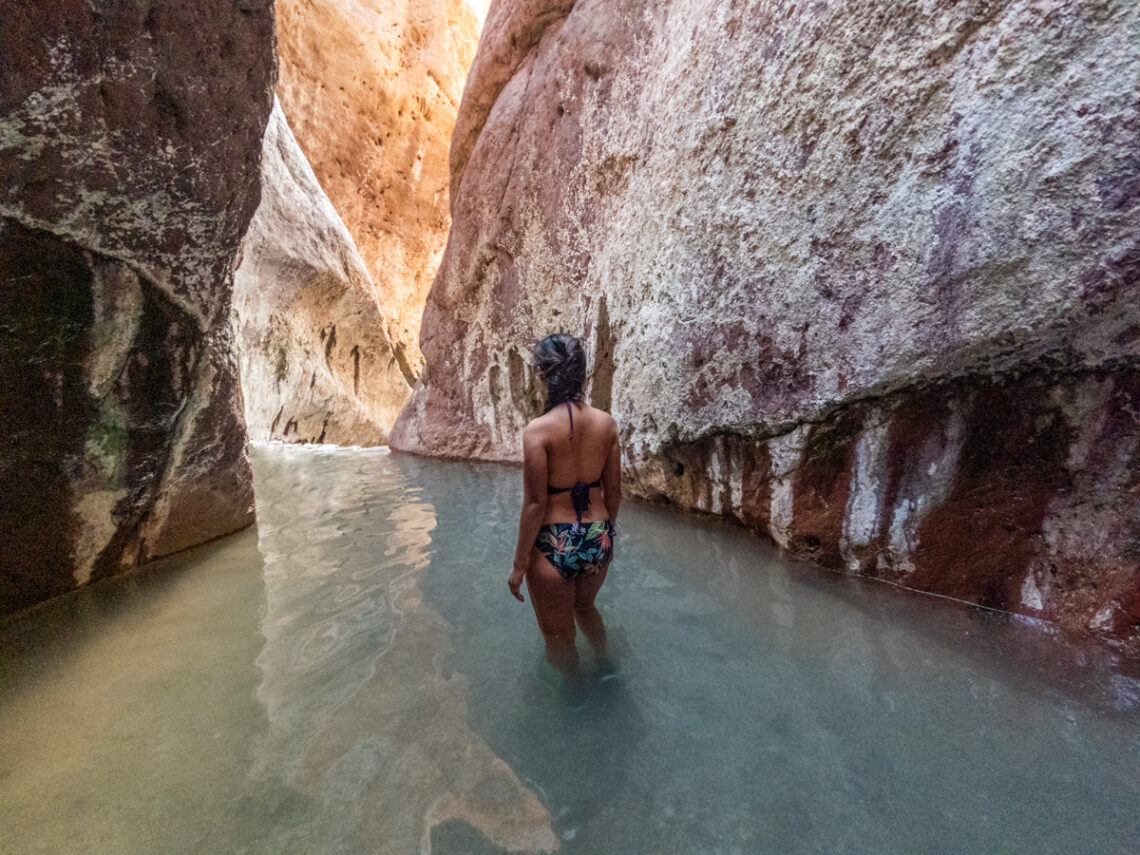
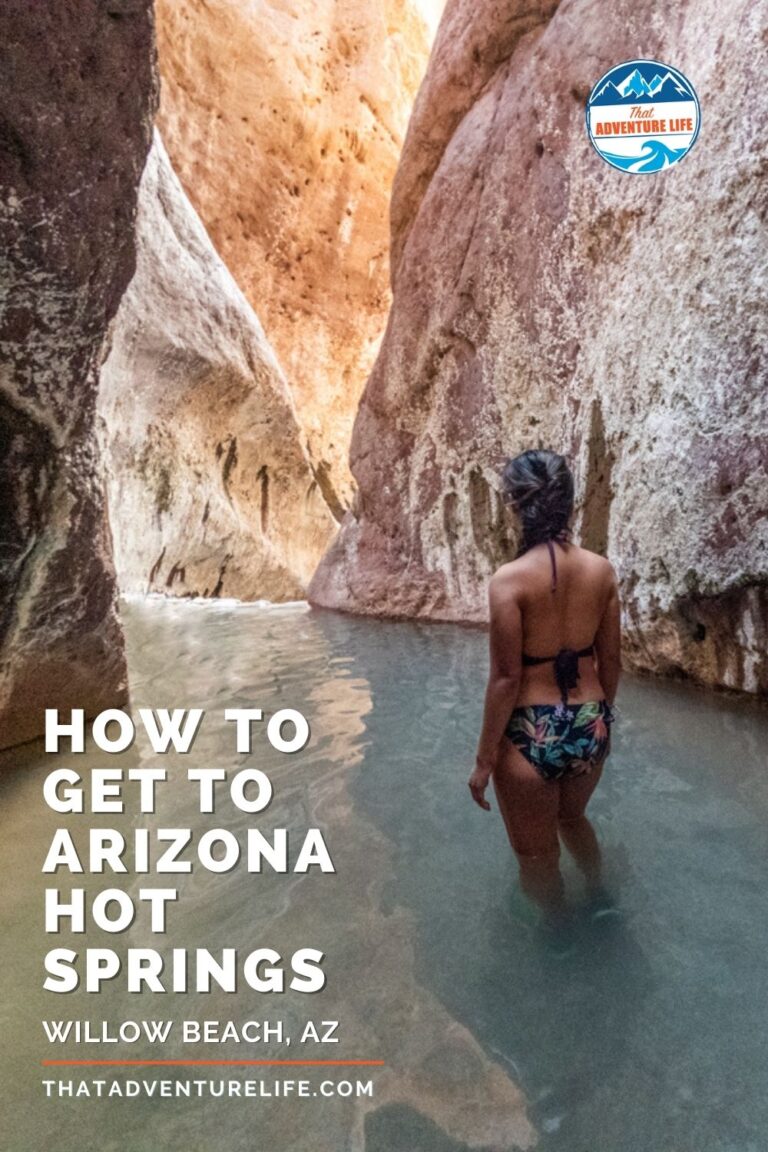
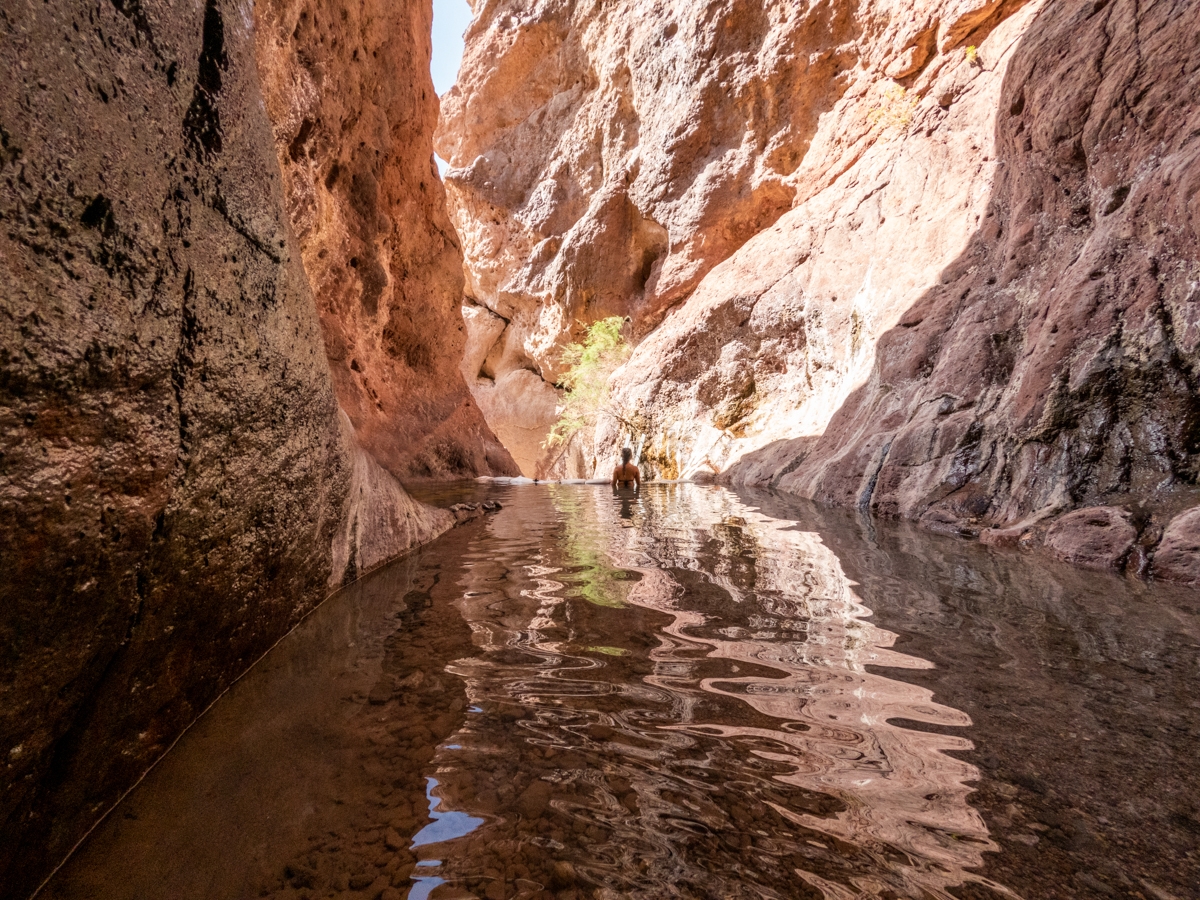
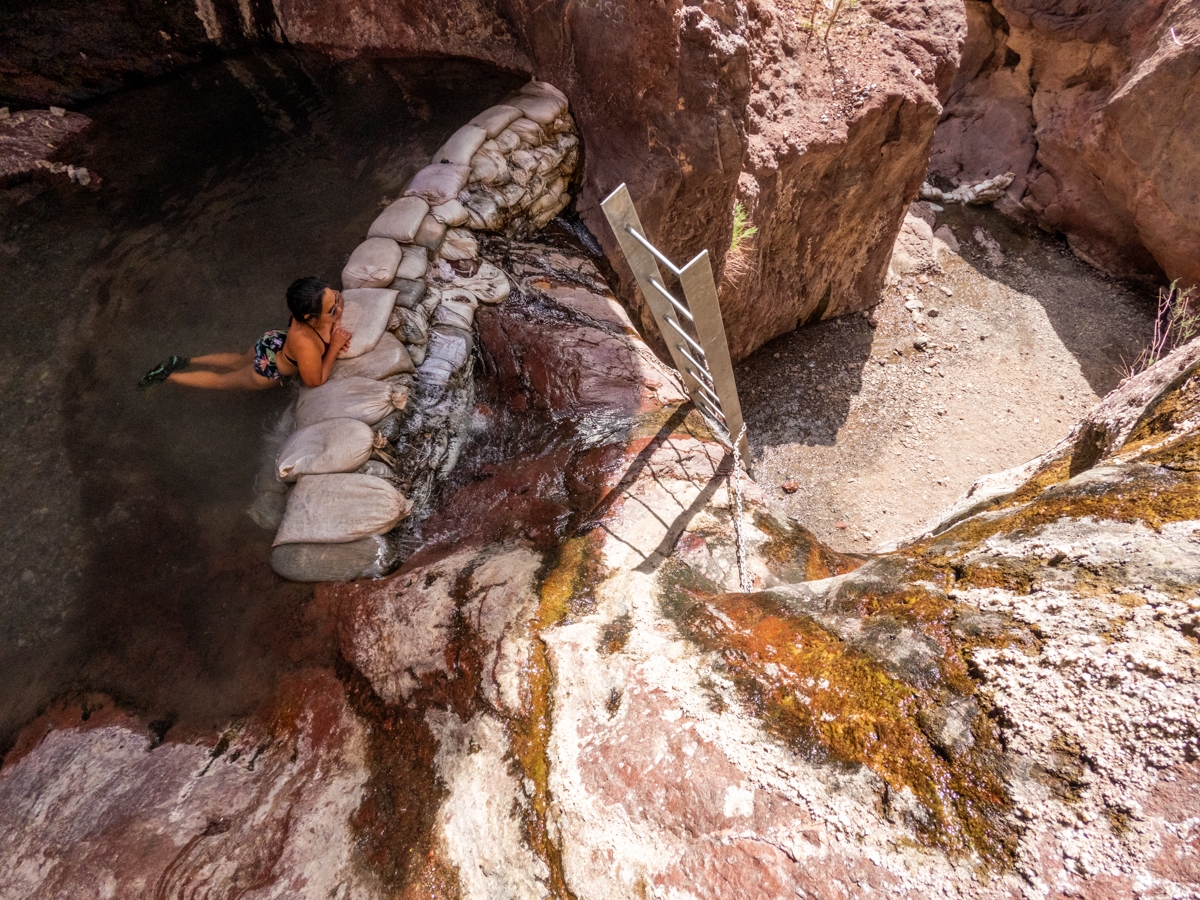
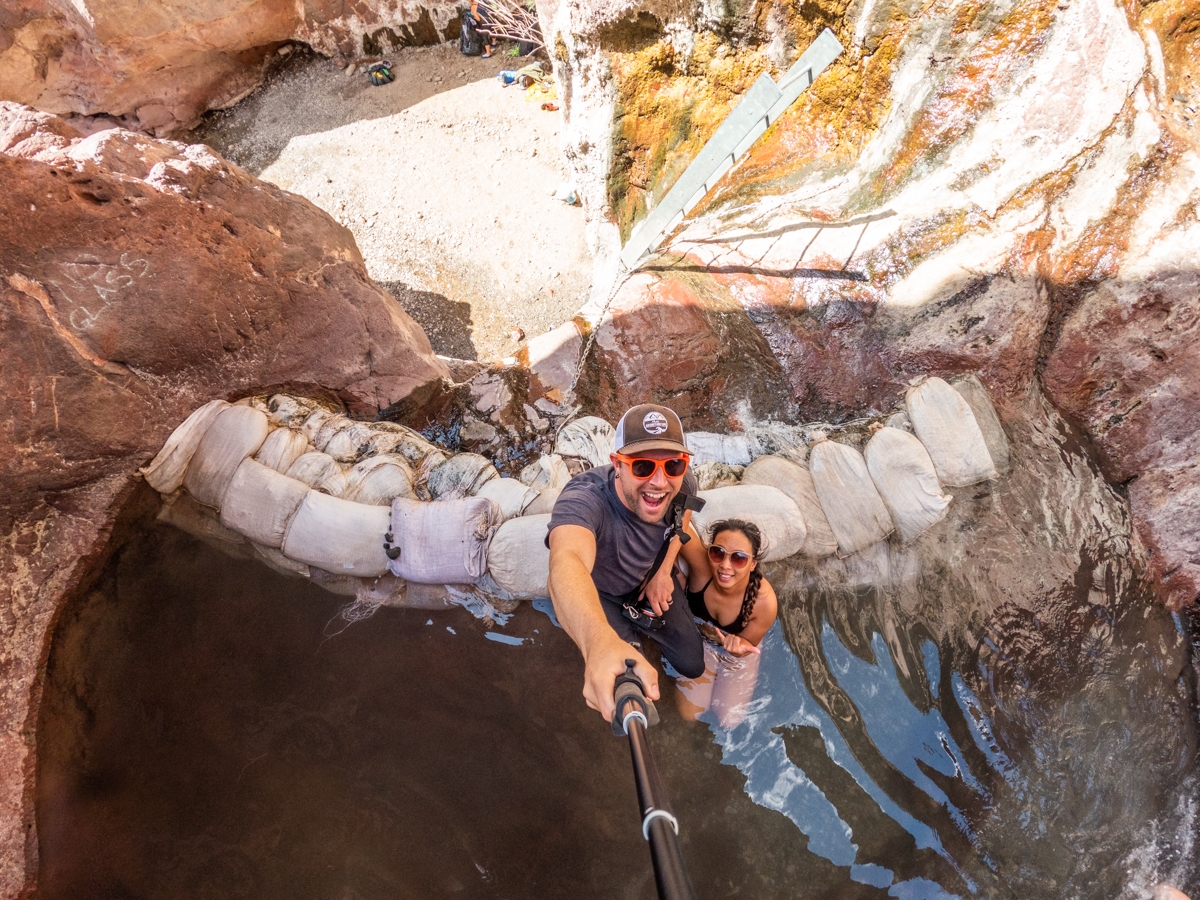
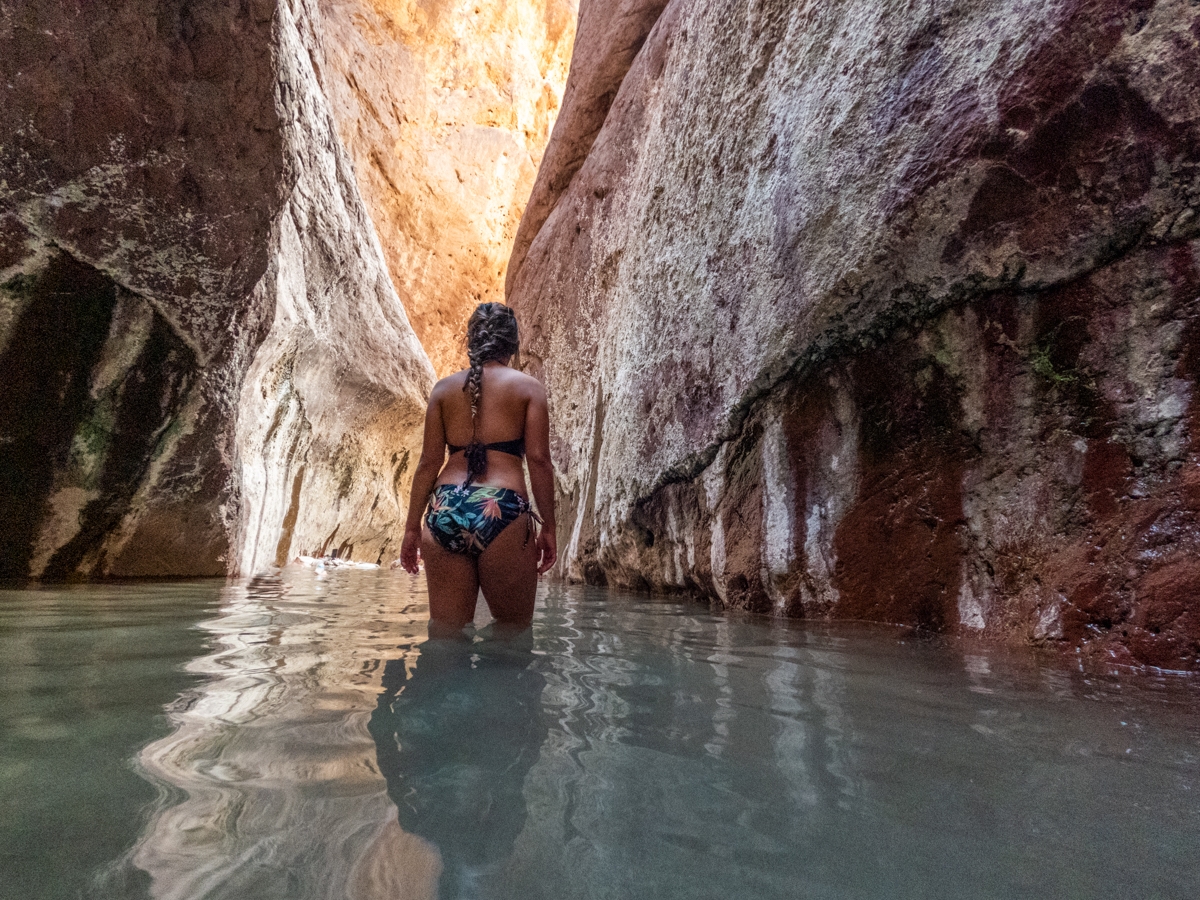
Arizona Hot Springs (aka Ringbolt Hot Springs)
Once we climbed up to the hot springs, we were very surprised. Arizona Hot Springs is unlike any other hot springs that we had visited. The springs are cradled inside the narrow walls of a slot canyon, with one pool overflowing into the next. The water was clear with a nice teal color. This place was surreal. The first pool next to the ladder is the coolest. As we go further in, it gets hotter, with the last pool being the hottest. Please note that Arizona Hot Springs is clothing optional. Also, don’t forget to keep your head out of the water to avoid the rare and lethal Naegleria Fowleri amoeba.
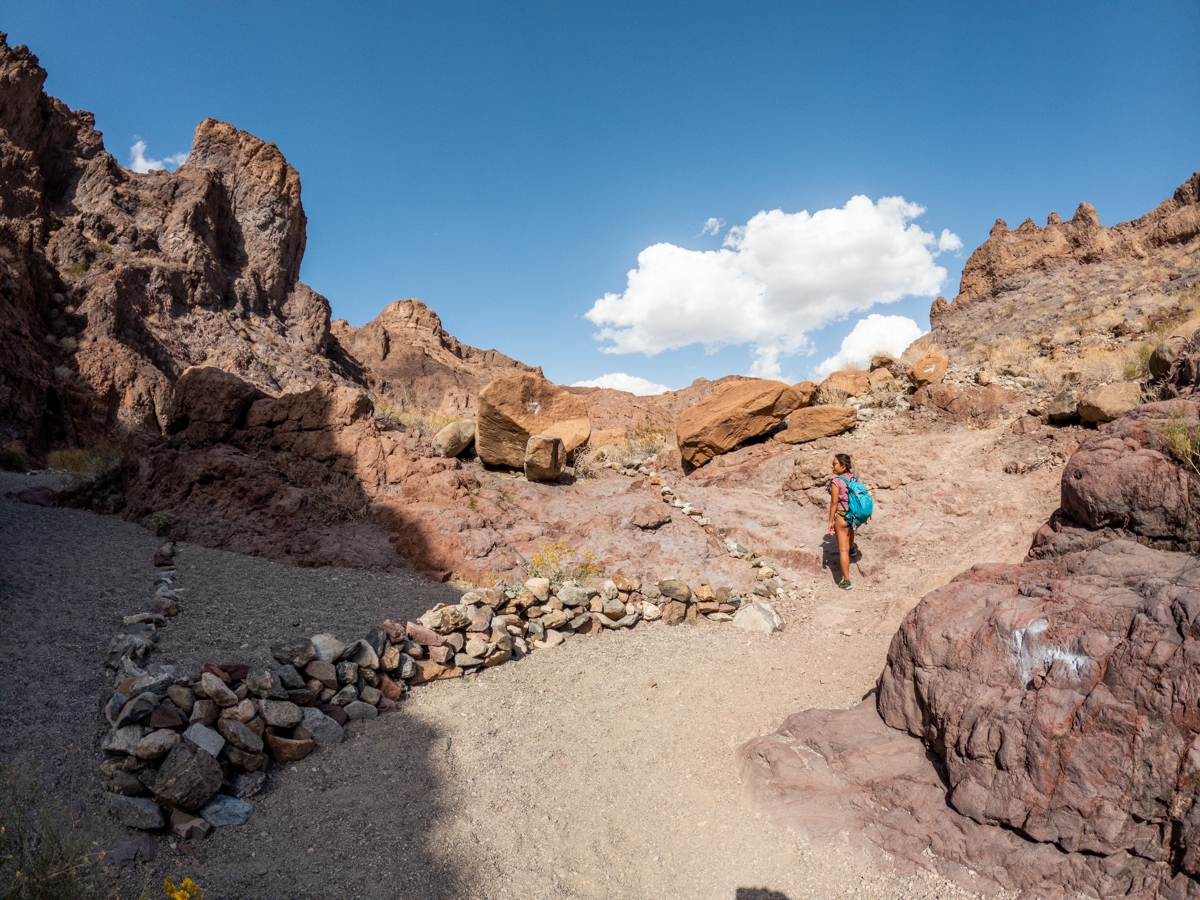
Getting Back through Arizona Hot Springs Trail
After spending our time soaking in the relaxing hot springs, it was time for us to head back. Since we wanted to do the loop trail, we waded through all the pools to get to the Arizona Hot Springs trail. The trail started through a narrow slot canyon before opening up to a sandy wash. There were a couple of scrambling spots in between. This trail can be a bit confusing, luckily, there were red arrows pointing the way. Someone also placed a bunch of rocks blocking some of the side canyons, to ensure that we’re on the right trail.
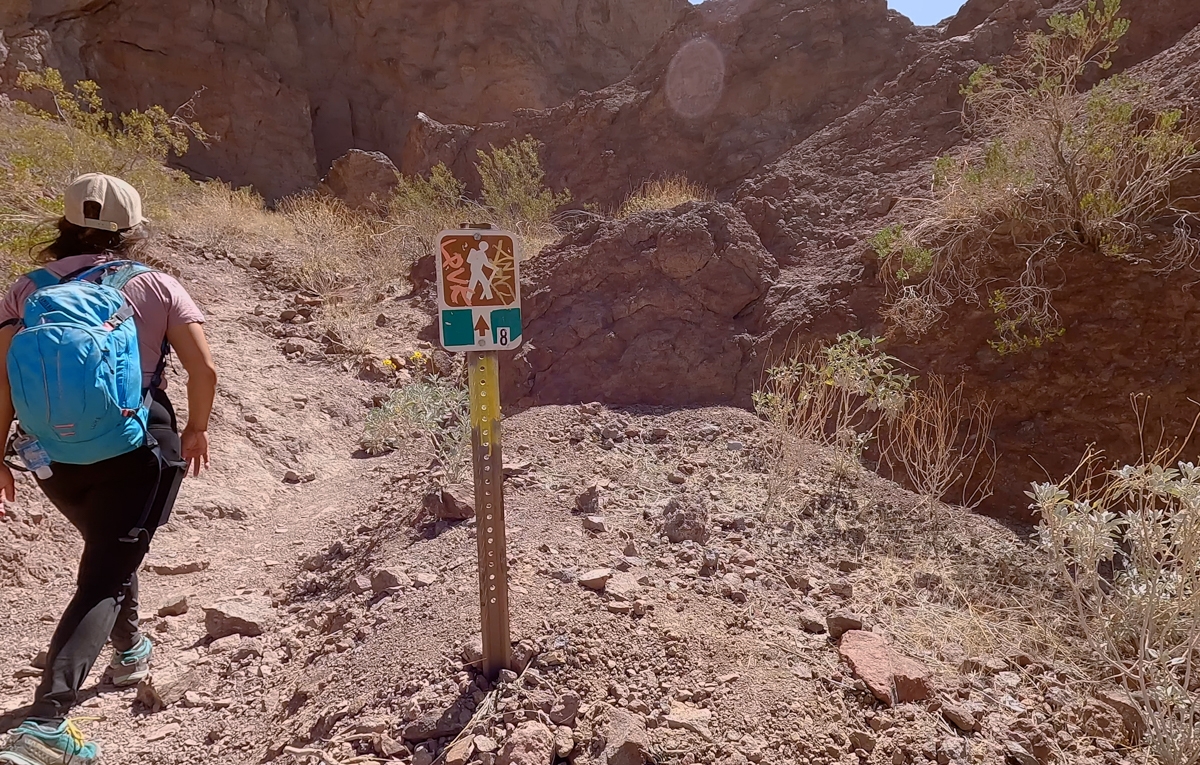
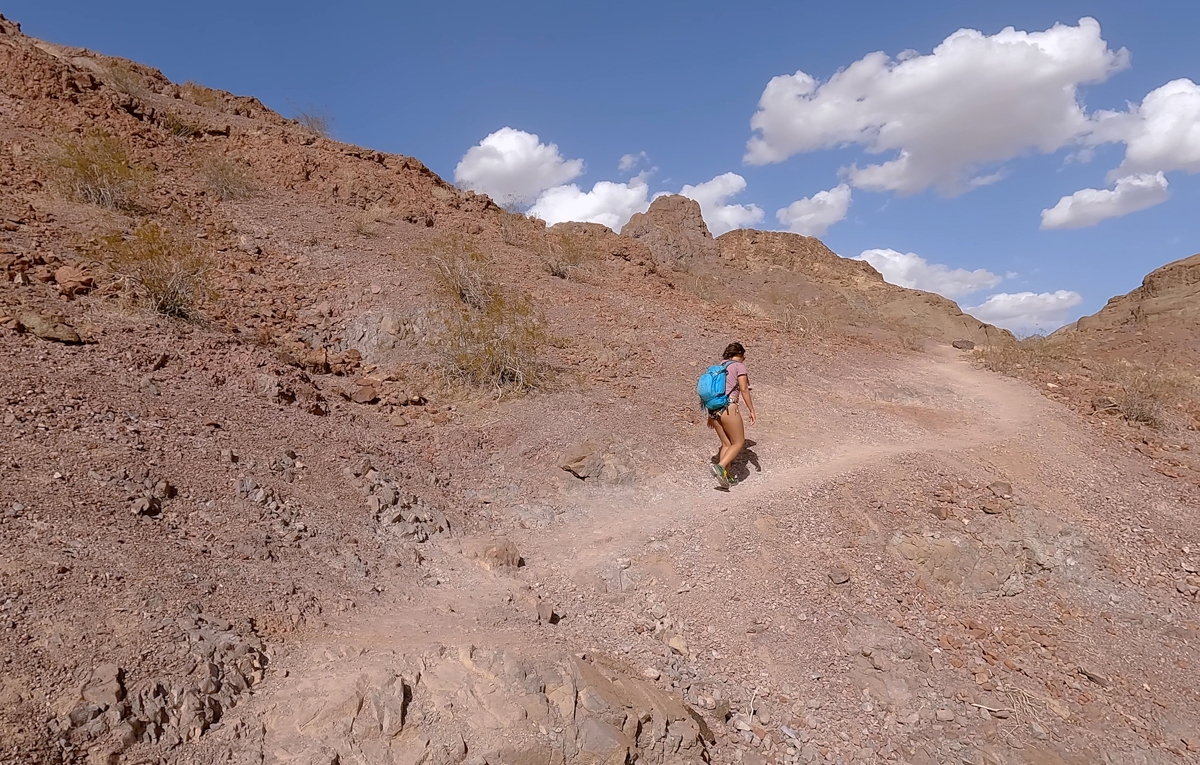
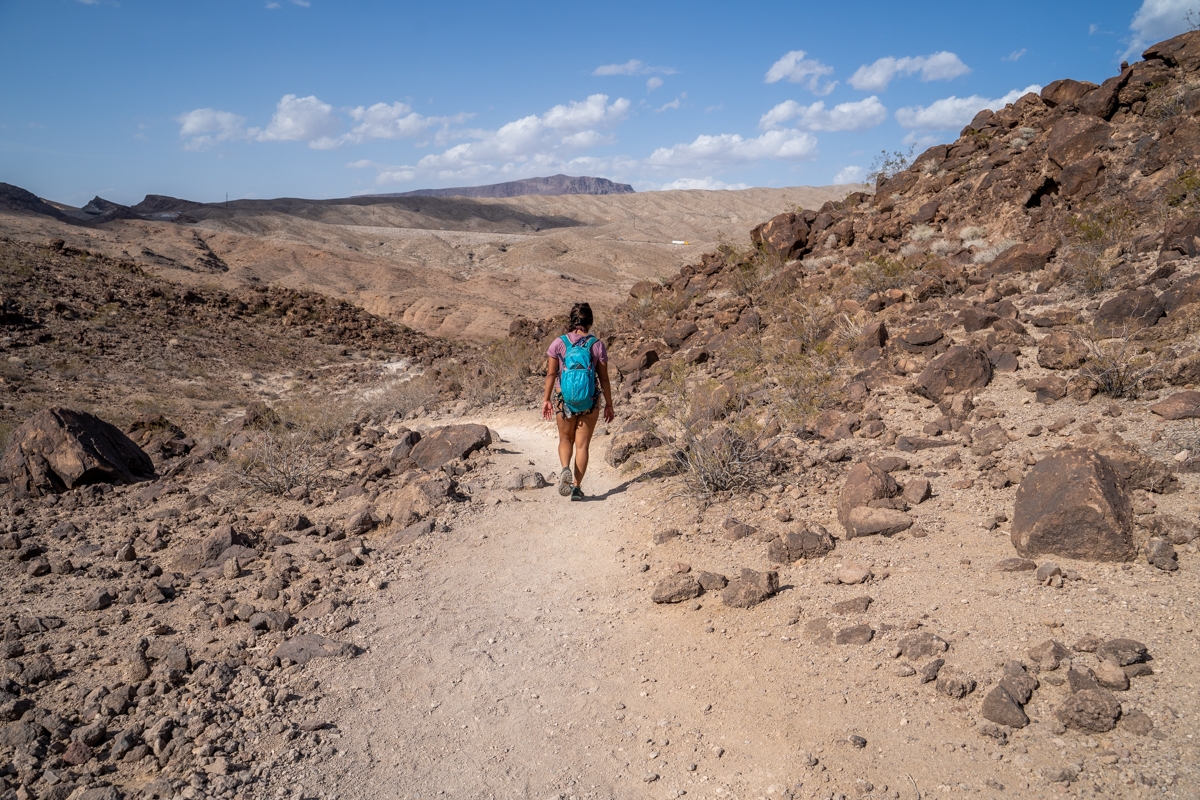
Arizona Hot Springs Trail
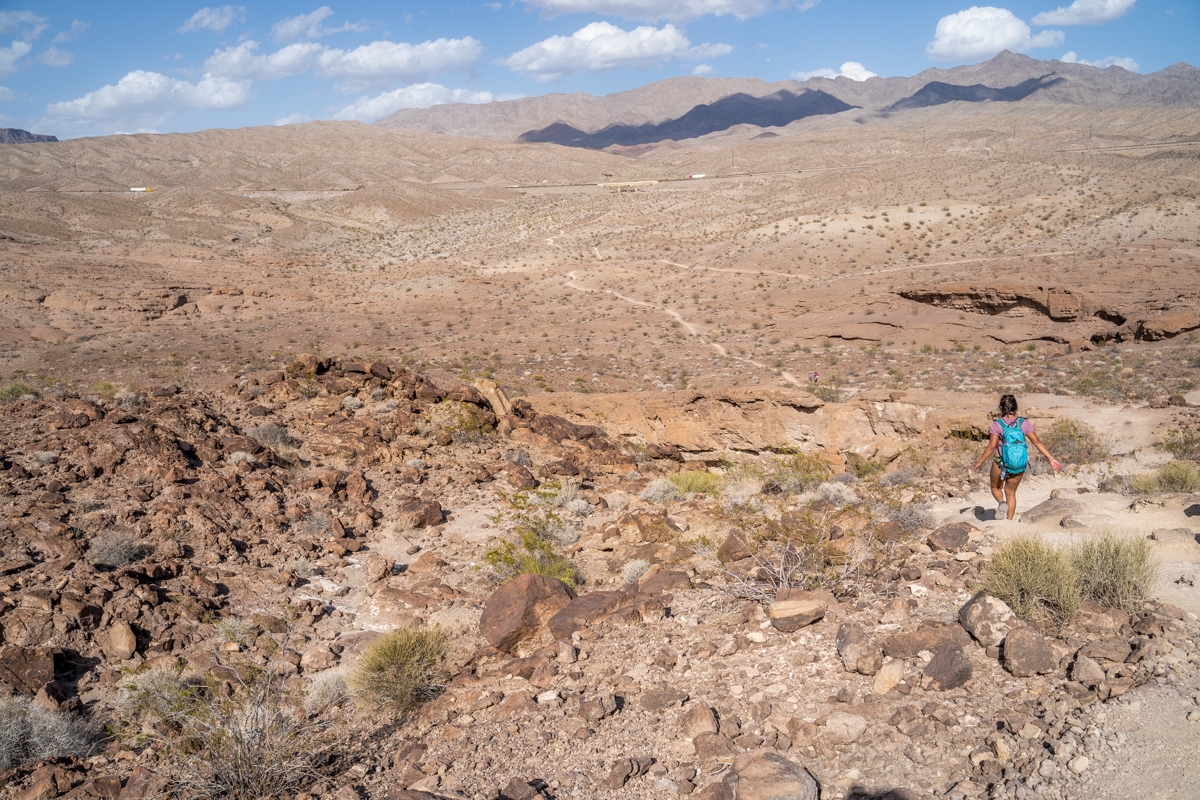
Along the way, we saw a directional sign, ensuring that we were going the right way. Soon, the sandy wash turned into a dirt trail and started up the hill. We were so happy because we were so over walking on the sandy, gravelly wash. It was a steep climb up the hill. From above the hill, we can see the freeway as well as the trailhead parking lot in the far distance.
At this point, the trail is split into multiple other side trails. As long as you keep the parking lot as your destination, you’ll be fine. Just make sure to follow the path that leads back down to the wash on the left. This is the same wash that you first started. It goes under the freeway bridges and will take you back to the parking lot.
We love Arizona Hot Springs. It was a lot easier to get to than Gold Strike Hot Springs yet the views are as beautiful, if not a bit better. There is something about soaking in the hot springs in the middle of a slot canyon. If you’re up for some hot springs time, go check this out. And if you’re looking for a longer hike, add Liberty Bell Arch to this hike. You won’t regret it!
These are the gear that we personally use and find them helpful for this particular adventure. Don’t forget to check out our Recommended Gear section as well.
adventure gear

You should bring good hike shoes with lots of traction. We love these shoes! Vy’s version.

Dustin’s version for La Sportiva shoes

Make sure to use lots of sunscreens! We use eco-friendly, reef-safe sunscreen, Stream2Sea SPF 30.

Face sunscreen is also important. We love these tinted, organic All Good Organic Sunscreen Butter.

Bring lots of water!! Vy loves the Camelback L.U.X.E.

For shorter hikes, the Patagonia Women’s Nine Trails Pack 18L is perfect to hold water and your essentials.


If you want something lighter, we love the packable Patagonia Women’s Houdini® Jacket and Patagonia Men’s Houdini® Jacket
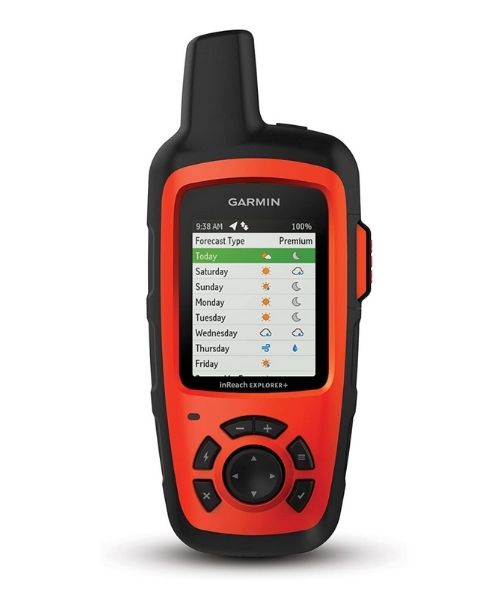
Make sure to bring a tracking device, since there isn’t a lot of signages and there is no reception. We use the Garmin inReach Explorer+

We recommend bringing water shoes. You’ll be wading through a lot of water to get to and through the hot springs. We use these ones.

Dustin uses this version.
other things to bring
- Hat and sunglasses. It’s very exposed here.
- Swimsuit and towel.
- Plastic bag to carry your trash and used TP out.
- Lunch and snacks. For healthy and easy snacks, check out some of our recipes.
camera gear


Related Posts

Save your pins:

