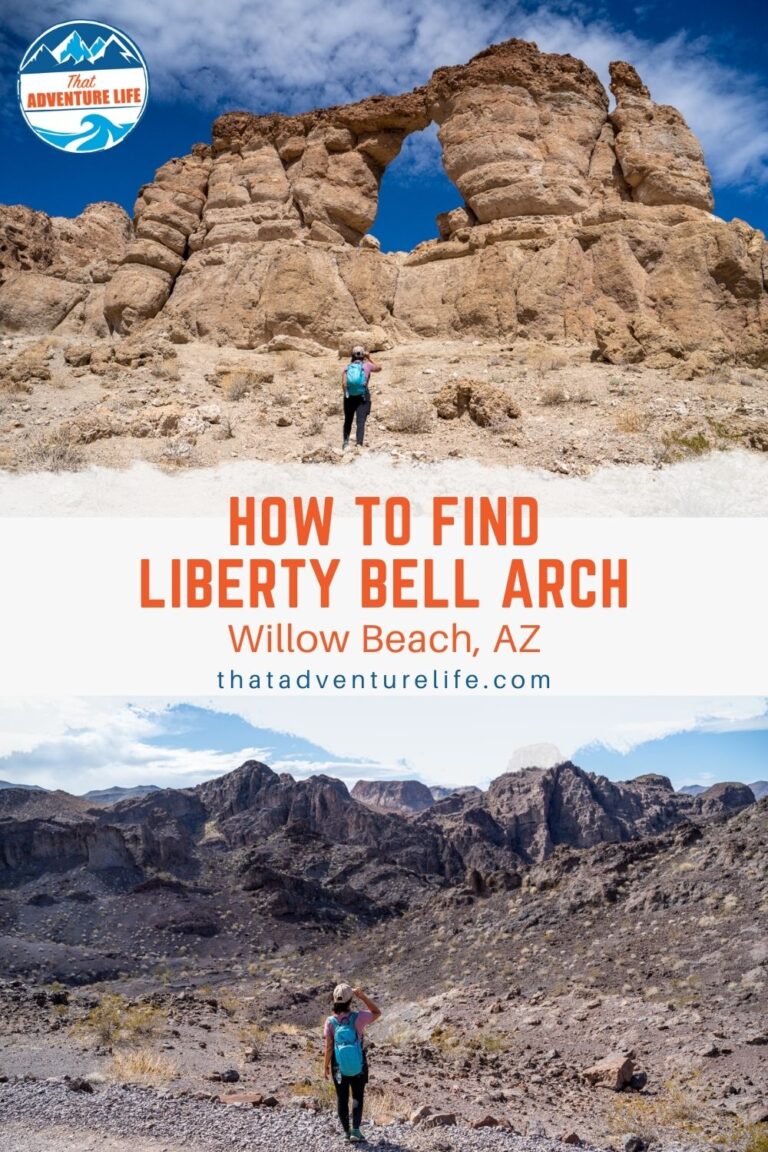
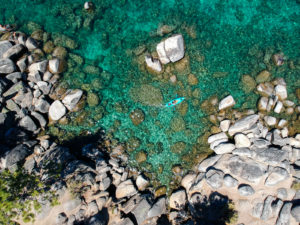
The shoreline of the Colorado River under the Hoover Dam is full of hidden gems, one of which is the Liberty Bell Arch. Liberty Bell Arch, located near Willow Beach in Arizona, is a big rock arch named for its resemblance to the famous Liberty Bell at the Independence National Historic Park in Pennsylvania. Even though it is a challenging hike, especially in warmer weather, the views are definitely worth it. Not only you’ll get to see the namesake Liberty Bell arch, but you’ll also get to see the beautiful view of the Colorado River from the overlook. You can either do this hike as an out and back or loop it in with Arizona Hot Springs Trail and make it into a full-day adventure.
Since it is located inside Lake Mead National Recreation Area. There is a fee to enter. You can also use the America the Beautiful pass.
Important Things
This hike is closed May 15 to Sept. 30 due to extreme heat. Please don’t attempt to hike this when it’s closed.
It is in a canyon so there’s chance of flash flood risk. Do not attempt this hike if there are rain or thunderstorms in the area.
Watch out for rattlesnakes along the trail.
Don’t leave your valuable in the car.
Distance
About 5.1 mi (8.9 km) R.T. 2 mile to liberty bell
Elevation Gain
908 ft
Level
Moderate to strenuous
Time:
3-4 hours
Pet-friendly
You can bring your pet, but they have to be on leashed.
Ideal Time
Winter and Spring are the best time to go since it won’t be as hot.
Weather
Video
Getting to Liberty Bell Arch Trailhead
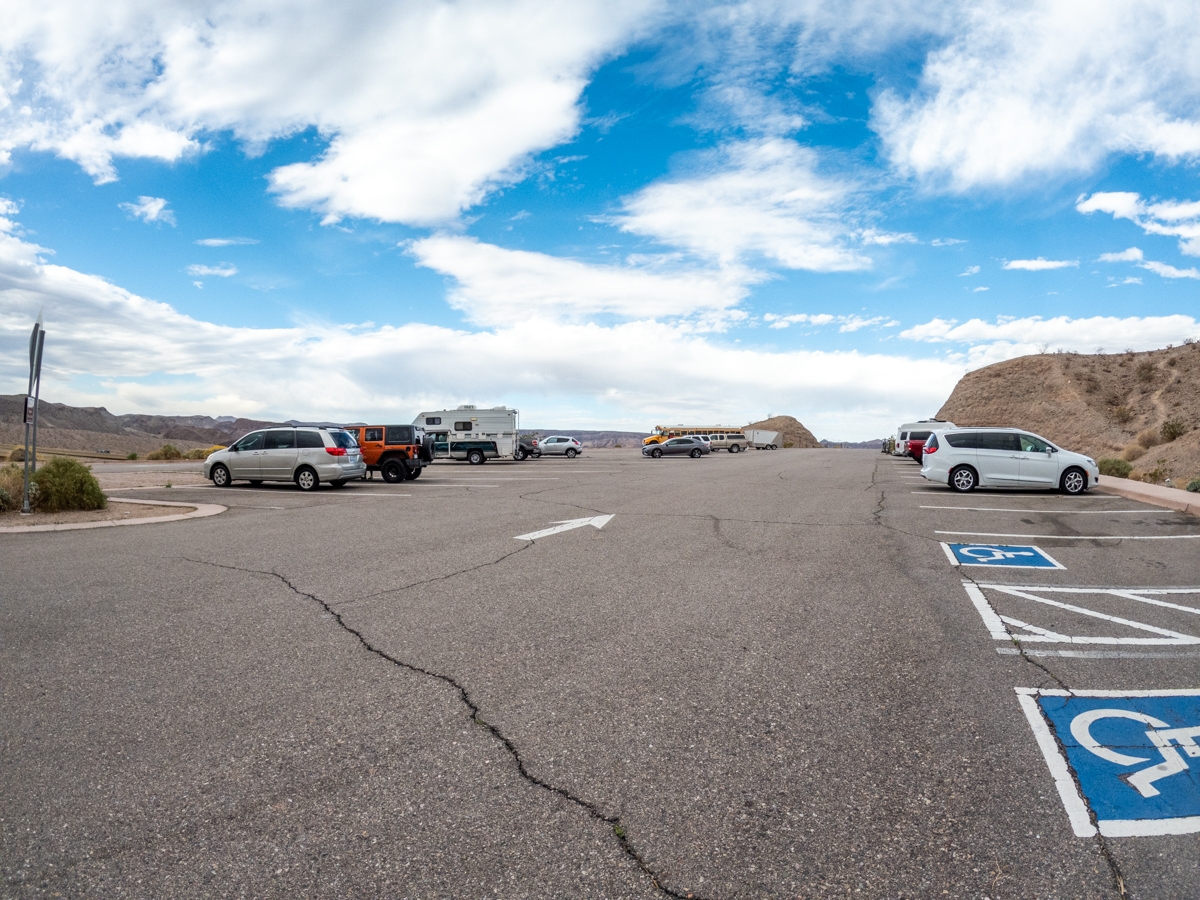
Liberty Bell Arch shares the same trailhead White Rock Canyon trail. It is located right off U.S. Highway 93, on the Arizona side of the Hoover Dam. If you’re coming from Boulder City, follow US-93 S toward Hoover Dam. You then cross over the Mike O’Callaghan–Pat Tillman Memorial Bridge. Once crossing over the bridge, it is about 3.2 miles before making a left turn across the highway to a street on the left side. Follow this unnamed street for a short distance before ending at a paved parking lot. The trailhead is at the end of the parking lot. If you’re coming from Kingman, AZ, the trailhead for Liberty Bell Arch is 0.2 miles before mile marker 4. We also put the coordinates above so you can use them to map your drive.
The Adventure
The Start of the Trail
Besides the trailhead, Liberty Bell Arch also shares a short section with White Rock Canyon trail, which also leads to the popular Arizona Hot Springs. We actually added on Liberty Bell Arch as a part of our main hike to Arizona Hot Springs. Before you start, make sure to bring plenty of water and sunscreens. This is a desert hike so it can get very warm with little to no shades.
After parking, we headed toward the information kiosk to find our way. There is a small directional sign pointing down the wash. The trail follows the wash to go underneath the freeway bridges. After the bridges, it can get a bit confusing since there are multiple worn trails along the way. We found that the best way is to stay in the wash, going toward the canyon. Soon after, we came up to a small directional sign. From here, we followed the arrow for Liberty Bell Arch/White Rock Canyon. This led us along the sandy wash, into the canyon. It is an open canyon with short walls.
Previous
Next
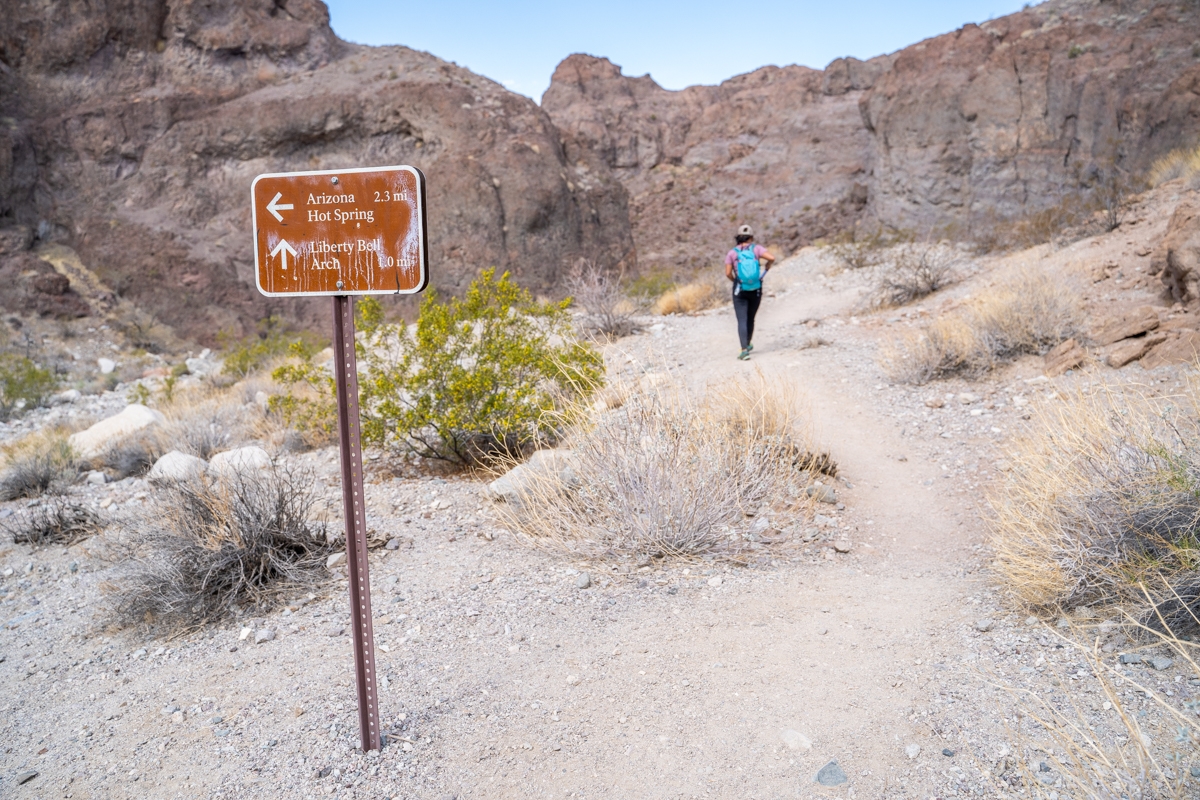
The Split
About 0.9 miles, you’ll come up to the split that will take you to Liberty Bell Arch. Make sure to keep an eye out for this split. Since it is not that noticeable, you might miss it if you don’t pay attention. On the right-hand side, you should see a small, worn trail leading up the hill. If you look closely, there is a small sign with arrows pointing the way. This is where you depart from White Rock Canyon trail to start the Liberty Bell Arch trail. If you continue to follow the wash, you’ll get down to the Colorado River and the Arizona Hot Springs. From the split, it is about 1 mile from here to Liberty Bell Arch and another 0.5 miles to the viewpoint, which is the end of the trail.
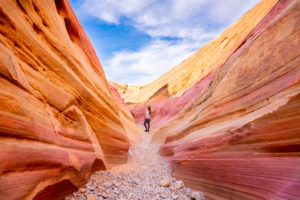
We followed the Liberty Bell Arch trail to go up the hill. The sandy trail also turns into hard-packed dirt which makes it so much easier to walk. The trail from here was quite easy to follow for the most part. It goes up and down through the canyon and then up the hill. As we hiked along, the beautiful desert scenery started to unfold. Rugged mountains rise up against the barren desert. There are tons of colorful rocks strewing along the side of the trail.
Previous
Next
Old Wooden Cable Car
As the trail wrapped around the side of the hill, we spotted a big wooden structure lying on the hillside. When we got closer, we realized that it was an old wooden cable car that used to be an old ore hopper. When the mine was in operation, the car was used as a loading chute. Miners loaded ore into buckets and sent them up the cable. Then, the ore was dumped into the cable car and loaded into trucks. We didn’t know it at the time, but apparently, part of the Liberty Bell Arch trail follows an abandoned mining road with shafts and equipment from a magnesium mine dating back in the World War II era. We also weren’t aware of the mine so we might have to come back to check it out.
Previous
Next
Getting to Liberty Bell Arch
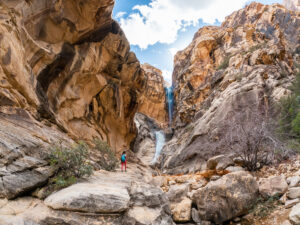
Once we pass the wooden cable car, the Liberty Bell Arch trail descends down to a sandy wash. Make sure to watch your footing here since the trail is steep and has these little marbles that can make it very slippery. From the top of the hill, you can see the worn trail at the bottom, leading toward the mountain range. After we got down to the bottom, we followed the sandy wash for a short distance. The trail then quickly gains elevation and goes up the side of the hill.
At this point, it seemed like we were quite close to the arch. So both Dustin and I were playing the find Waldo game, trying to see where this Liberty Bell Arch was. Apparently, this arch is sitting sideways to the trail, this means you can only see it once the trail curves around at an angle. And the closer you get to it, the better you can see. The trail also gains elevation the closer you get to Liberty Bell Arch. On the day we went, it was very windy. However, it seemed to pick up significantly around this part. I had to sit down a few times to avoid being pushed down the cliff.
Previous
Next
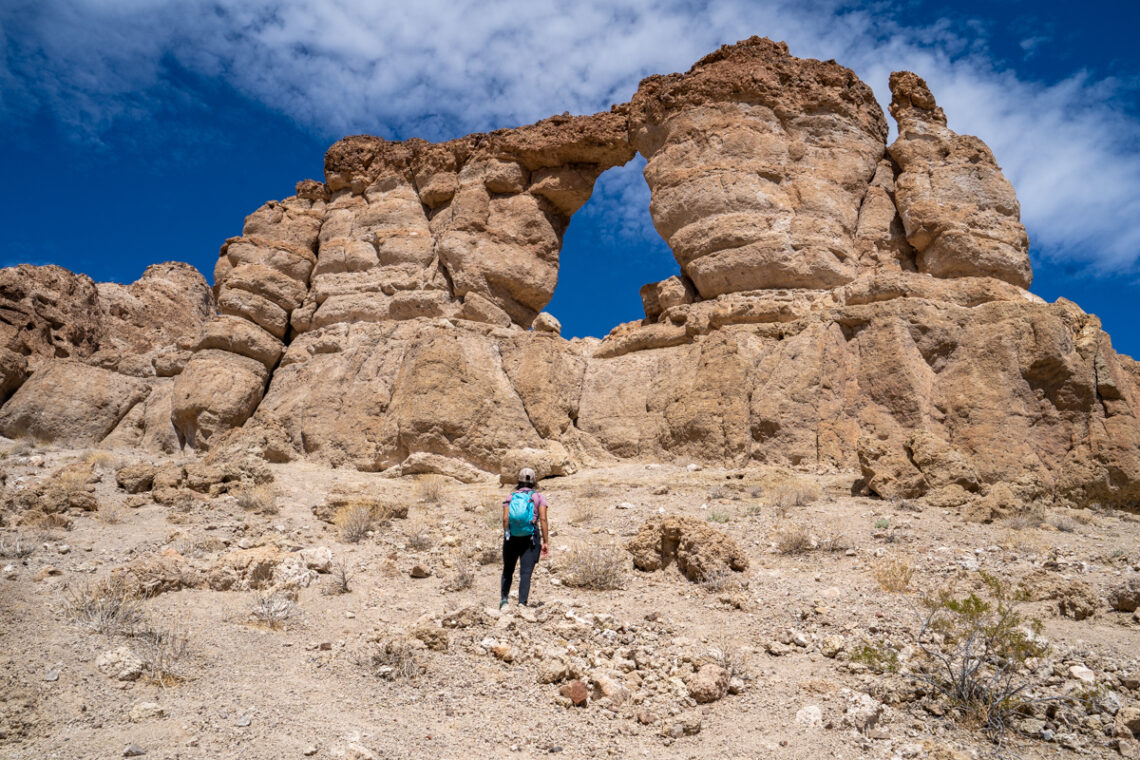
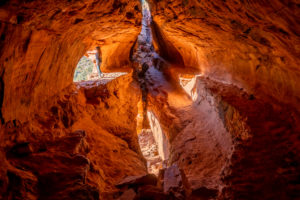
Liberty Bell Arch
For the best angle of the Liberty Bell Arch, we recommend following the trail toward the back side of it. If you’re facing the arch, it is to the left. From the main trail, you can scramble your way up closer to the arch. Be careful if you do. The hillside is full of marble, which makes it super slippery.
If your objective is just to see the arch, you can turn back the same way you came from. However, if you want to finish the trail, it is about 0.5 miles each way from the Liberty Bell Arch to the viewpoint, overlooking the Colorado River. It is quite a climb up the hill to get there, however, according to a lot of people, the view is worth the effort. Since it was super windy and we wanted to do the Arizona Hot Springs, we actually turned back from here. By the way, there is no way down to the river from the viewpoint. If you want to go down to the river, you can follow the White Rock Canyon toward Arizona Hot Springs.
If you’re looking for another cool hike in the area, check out Gold Strike Hot Springs. It is strenuous and you have to climb down a ton of rope, however, the views and the hot springs are worth it!
Previous
Next
These are the gear that we personally use and find them helpful for this particular adventure. Don’t forget to check out our Recommended Gear section as well.
adventure gear
This is our favourite hiking shoes. We use them for canyoneering as well. Lots of traction. Vy’s version.


