
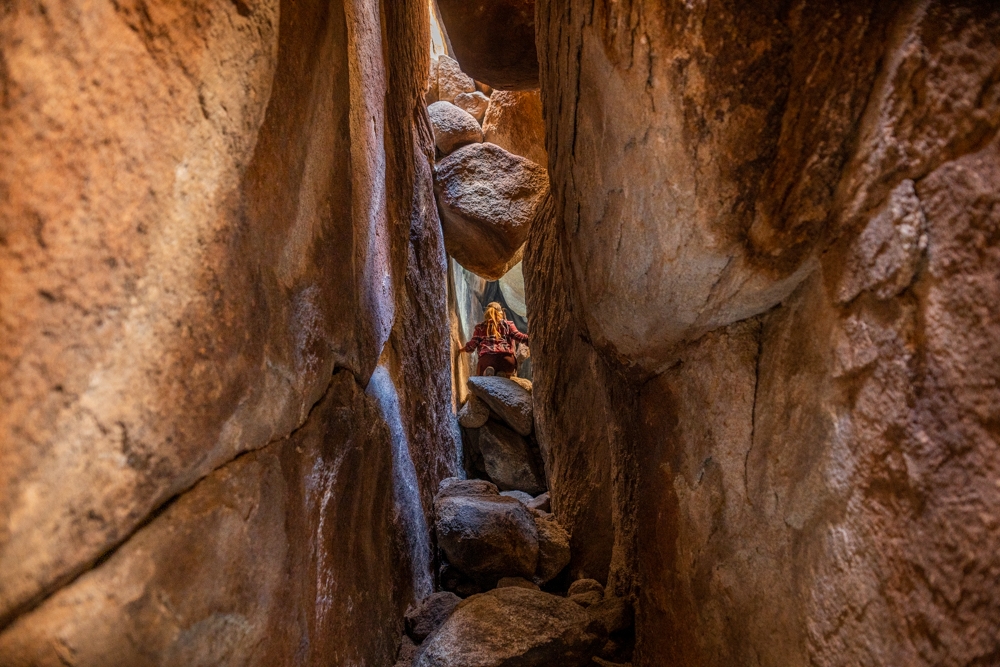
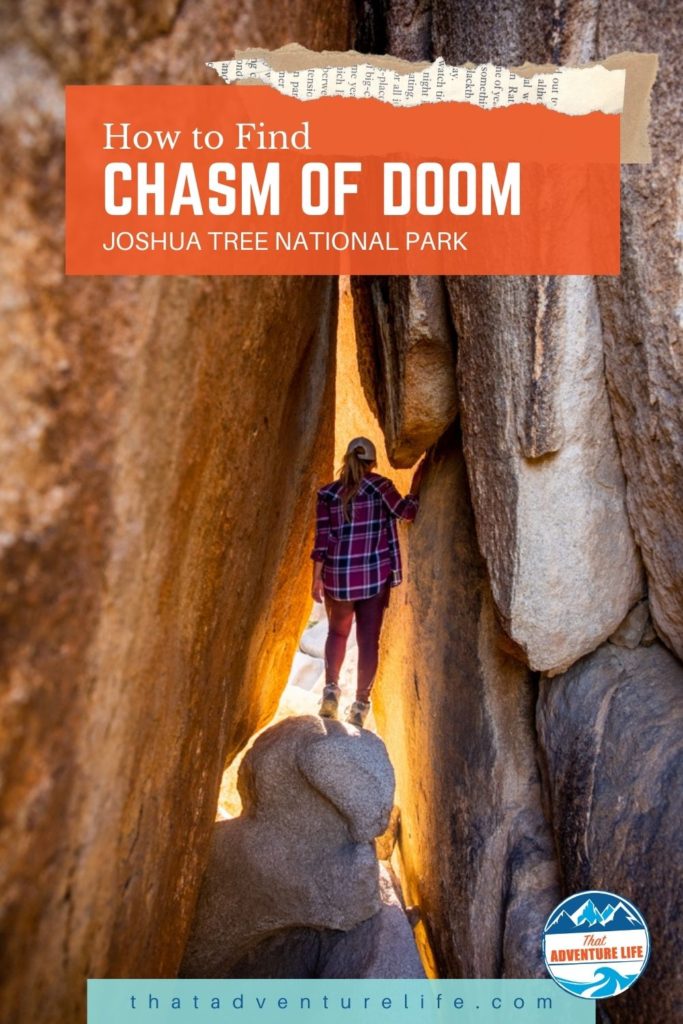
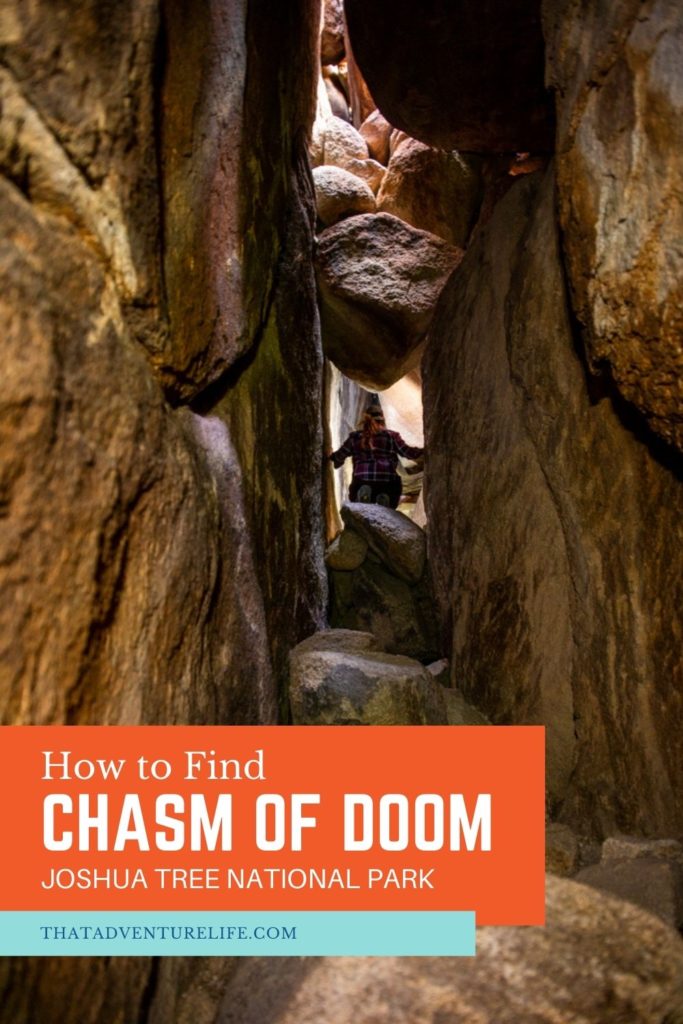
The Chasm of Doom is one of Joshua Tree National Park’s many hidden secrets. It is a twisting hidden maze consisting of many tunnels, passageways, and tight squeezes through the giant boulders of Hidden Valley. It is NOT for the faint of heart or the claustrophobic. In fact, with his mild claustrophobia, Dustin had a bit of a problem through some tighter spots. It is an awesome experience for the adrenaline junkies. However, not only you’ll need to be comfortable and able to fit in tight spaces, but you will also need to be able to climb, scramble, and boulder in the dark.
WARNING: If you’re attempting to do this, you need to be able to climb and scramble through very tight, dark spaces. Dustin is about 5’8 and 170lbs, and it was a bit difficult for him to squeeze through some of the spots. You will also need to be good at wayfinding. The GPS doesn’t work inside these tunnels so GPS coordinates or breadcrumbs won’t help you. If this is your first time, we recommend going with someone who knows the route. If not, proceed with extreme caution and at your own risk. Good Luck!
STATS:
Where:
Hidden Valley Nature Trail
Coords: 34°00’42.9″N 116°10’05.0″W
Parking:
There is a big paved parking lot here
Fee:
There is a fee to enter Joshua Tree National Park. The entrance fee is $30 per vehicle for 7-day. You can also either purchase a park-specific annual pass for $55 or get an America the Beautiful National Parks Pass for $80. For up to date fee info, click here.
Restroom:
There are vault toilets at the trailhead.
Distance:
100 yards
Level:
Difficult
Estimated Completion Time:
30 minutes to 2 hours depending on your skill level and how many people are in your group.
Ideal Weather:
You can do this year-round. Spring and Fall are probably best. Since it’s inside the tunnel/cave system, it won’t get too hot in the Summer. However, visiting the park can be unpleasant if it’s too warm out. Winter can get very cold here. It also snows sometimes. When it’s freezing out, the granite boulders are also freezing to the touch. We did this in the winter and it was miserable.
Ideal Time:
Mornings are preferred. It’s pretty dark in there so it’s best to do this during the day. The daylight helps a lot!
Accessibily:
You need to be able to fit through very tight spaces and tunnels. You’re also required to climb and scramble up many decent size boulders.
Dog-friendly:
DO NOT BRING YOUR PET ON THIS ADVENTURE.
Weather:
Video:
THE ADVENTURE:
Getting There
The Chasm of Doom is located in Hidden Valley, near the trailhead. Hidden Valley trailhead is located on Park Boulevard, closer to the Twentynine Palms entrance (instead of Cottonwood entrance). If you’re coming from Skull Rock, the turnout for the parking lot is on the left, immediately after passing Baker Dam Road.
Don’t forget to wear grippy shoes and bring extra headlamps with you. I would not use a phone light or a flashlight. You’ll need both of your hands free. Also, skip anything bulky such as backpacks.

The Entrance
The Chasm of Doom’s entrance is not the easiest to find. The first time we were looking for it, we actually went to the Hall of Horrors, which is in a completely different area. Dustin swore that’s where it was. Needless to say, we didn’t find the Chasm, but we did find the Hall of Horrors (stay tuned for this article 😊). After some more research, we realized that we pretty much walked past its entrance on our hike through Hidden Valley.
So, to find this secret Chasm of Doom’s entrance, you’ll want to get to Hidden Valley trailhead. Past the trailhead, you’ll see a couple of picnic tables that are adjacent to the parking lot. It helps if you look for the tall rock structure on the top of the rock mound (picture below). Skip the first picnic table and go around the second one. The start is behind the second picnic table, between a big rectangular boulder and a smaller one.


Getting to the Chasm of Doom
Once Dustin and I saw the familiar picnic table, we got super excited. Trying to contain our excitement, we walked swiftly and discreetly toward the opening. Please make sure to proceed inconspicuously to keep unprepared visitors from following you. As we noted above, this adventure is NOT for just anyone.
Once you have passed through this gap go around the tree and through two more boulders. Once here, you can look up to the right to notice what looks like an open door made out of rocks stacking over big boulders. This is your first waypoint. You will want to make your way up there. There isn’t a right way here. The key is to find the safest way to get to the main waypoints. Once you get up there, go left and down into the dark tunnel.


From here, it is kind of hard to describe the way. Pretty much you’ll want to find the best way that will go up, but still inside the rocks. If you go through the way we did, you’ll reach a tall boulder that has a small flake running horizontally about 1/3 of the way up. You can use this as a footing to climb up on top. Once you’re on top, follow the small opening above to get out to an opening. When you’re out in the open air, you’ll see a couple of palm trees against a rock wall. The beginning of the Chasm of Doom is right behind these palm trees. The palm trees are your third waypoint.


The Chasm of Doom
At first, we didn’t realize the Chasm of Doom is behind these palm trees. I went up first and started walking around. As I circled near the palm trees, I saw a small tunnel open up right behind them. The tunnel looked like it ended about 4 or 5ft in. However, when we went inside the tunnel, we realized that there is a gap that is big enough for us to crawl through. Once you crawl through this gap, the tunnel opens up into a big room with rock piles in the middle of it and a small skylight on the right.


From here, you’ll want to climb up to that small skylight on the right. Once you’re up there, there are a couple of small openings on the left that allow you to get back down and continue on. Once you climb down the opening, the room opens back up again into a long hallway with over-hanging boulders toward the end. This hallway made us feel like we were in an Indiana Jones movie. To get through, we had to climb over the small window under the over-hanging boulders. These boulders look like they could collapse at any given time.


The Coffin
Once you climb over this small window, you’ll quickly reach the end of the tunnel. When you get here, follow the light to go up and around the corner. This is where you find your fourth waypoint, the coffin!! (picture below). That small gap at the bottom (yep, THAT ONE), is where you’ll need to go in. At this point, YOU CAN TURN BACK!! If this is not something you want to do, turn back! This spot is not for the faint of heart. So there is no shame in turning back. In fact, the first time when we attempt this, we turned back because we didn’t realize we could go through here.


The coffin is a small, maybe 1ft high gap. To get through this gap, you’ll need to lie on your back and scoot through it. The best way to do this is to stay as far left, near the opening, as you can. It is wider closer to the opening. If you do this, you only have to scoot about 7ft or 8ft across to the other side. Since I’m much smaller, it wasn’t a problem for me. Dustin had about 2 to 3 inches between him and the boulder above. He wasn’t a big fan of this spot but he made it through like a champ.

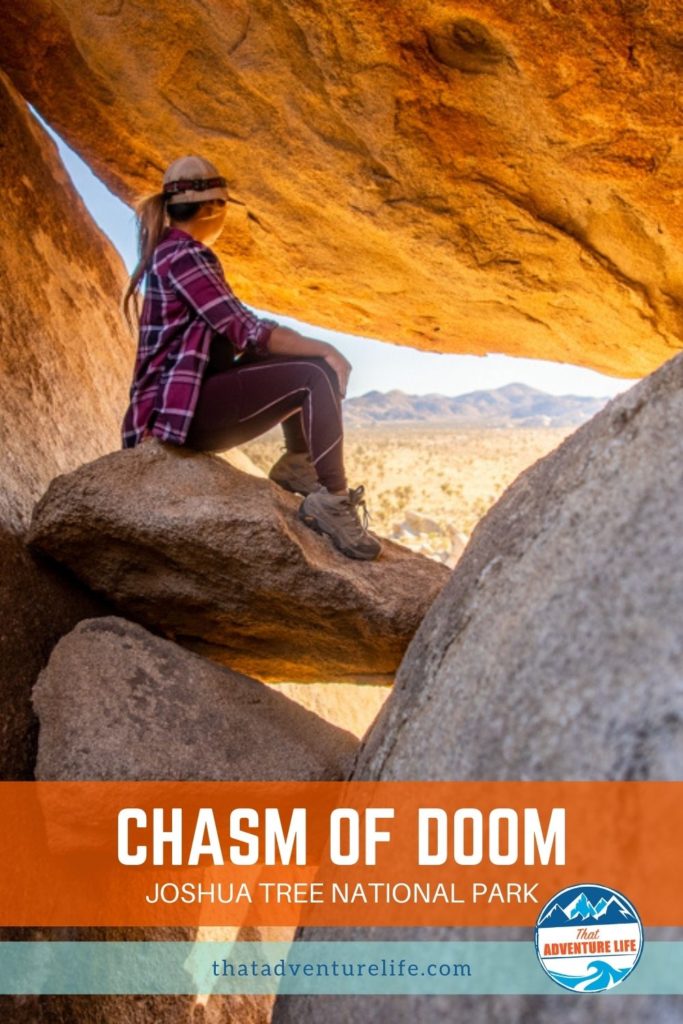
Once you get through the coffin, you’ll get to a small crack. From here, you can climb up the rocks to the small opening above. This climb here is a bit tricky, so be careful. Once you get out of the opening, you’ll get to an open area. If you go left and climb up above, you’ll get to a beautiful viewpoint, overlooking Hidden Valley below. It snowed on our second visit. While it was freezing climbing through rocks, the view overlooking Hidden Valey was beautiful.

If you want to continue on your journey, instead of going left, go right from the small opening, and head toward the gap between the boulder and the big wall. If you see the small tunnel, you’re at the right place. This tunnel leads to an open area right above the floor of Hidden Valley. You’re not completely out of wood here yet. There are a couple of downclimbs here that can be tricky for adventurers with shorter stature. Once you get down to the open area, go right and through a small gap between the rock and you’ll be on the Hidden Valley trail. From here, you can either complete the Hidden Valley trail or head back to the car.


Congratulations! You made it through the Chasm Of Doom! Another hidden gem in Joshua Tree National Park is Samuelson’s Rocks. It is nowhere as intense as this, but it is a unique place. Don’t forget to check out Arch Rock trail, a short trail that will take you to a super cool natural rock arch and other neat rock formations. Cholla Cactus Garden is another stop we recommended. You don’t need to spend a lot of time, but it is pretty cool to see these unique Cholla Cactus. This place is especially beautiful early morning or at sunset.
Happy Adventuring. Don’t forget to follow us on Instagram, subscribe to our Youtube channel, and sign up for our newsletter!
RECOMMEND GEAR:
These are the gear that we personally use and find helpful for this particular adventure. Don’t forget to check out our Recommended Gear section as well.
The majority of these links are through our affiliate links so if you buy something, it is at no extra cost for you but it helps us support the site. That being said, don’t buy something just to support us, buy something if you think it will enhance your travels and adventures.
• Good shoes with a lot of traction
You’ll need them for rock climbing and scrambling. Vy’s shoes are Merrell Women’s Moab 2 Mid Waterproof Hiking Boot. Dustin’s shoes are TARGHEE III WATERPROOF.
• Snacks
Always bring snacks with you, just in case.
• Sunscreen
Bring sunscreen! We use eco-friendly, reef-safe sunscreen, All Good Organic Sunscreen Butter – Zinc Oxide – Coral Reef Safe, and All Good Sport Sunscreen Lotion – Coral Reef Safe (3 oz)(2-Pack) or Stream2Sea SPF 30 Reef Safe Sport Tinted Sunscreen.
• Headlight
You’ll need plenty of light in here. We use Gearlight Headlight and Anazalea 40 Led Headlamps.
• Water
Bring some water with you, just in case. We recommend bottle water, or anything that is not bulky but easy to carry.
• Long sleeve and pants
Wear clothes that you don’t mind getting dirty or ripped. Long sleeves and pants help protect you from the sharp granite rocks here.
CAMERA GEAR:
• Camera:
Sony a7 III
Gopro Hero 7 Black
• Lenses:
Sony 24 -70mm f/2.8 Carl Zeiss Vario Sonnar T Zoom Lens
• Accessories:
GoPro The Handler Floating Hand Grip – Official GoPro Mount
Aluminum GoPro protection frame
SandMarc Extended GoPro Pole
Hybrid Pro Filters – DSLR / Mirrorless
Cinema CPL Filter – HERO 9


2 Comments
Molly
Amazing!! Thank you so much for your guide to the Chasm of Doom – we loved it and definitely wouldn’t have found the way without your guide and pics.
Vy
So glad that you guys got to experience it!! Isnt it fun?