
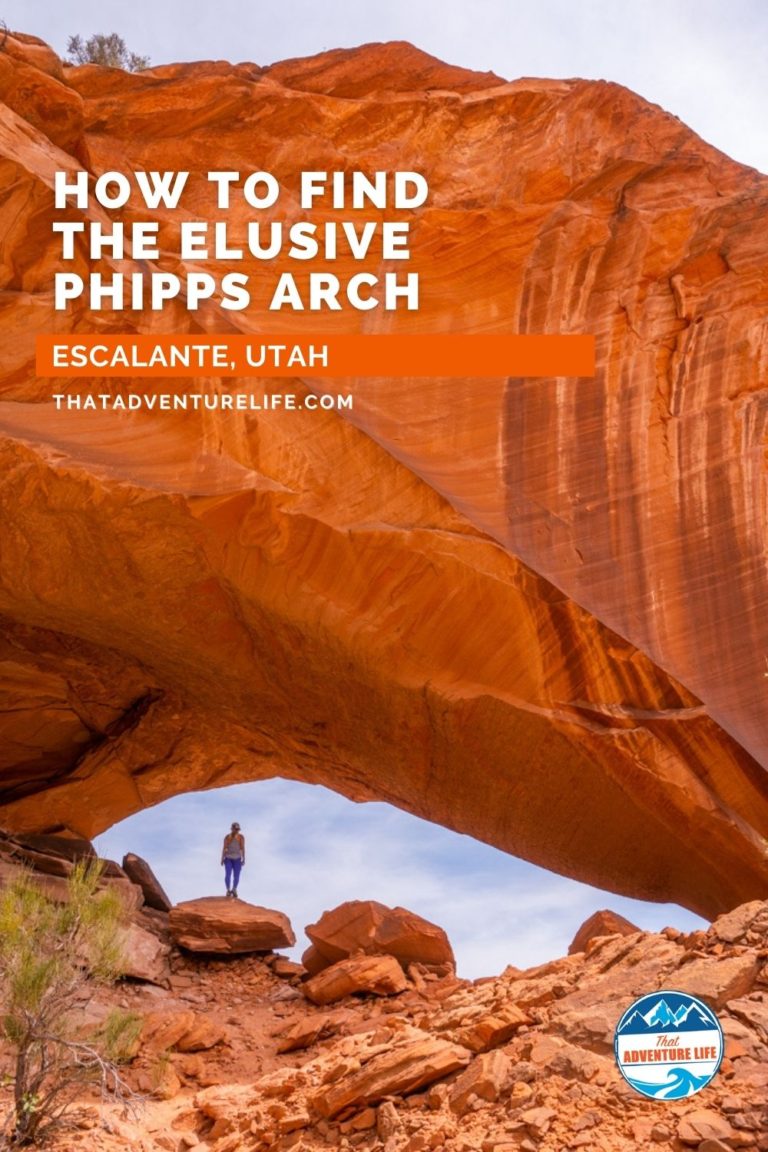
After spending a whole weekend canyoneering at North Wash and hiking Hickman Bridge, we met up with Megan and Tim, our friends, for a super cool adventure day in Escalante exploring Phipps Arch. Phipps Arch is a remote trail in Escalante, UT that takes hikers through multiple creek crossings, rock scrambling, a beautiful sandstone amphitheater, and an impressive arch at the end. Even though it is considered moderate, this hike requires good navigation skills along with class 3 rock scrambling toward the end. This is one of the trails in Escalante that will give you a taste of the backcountry without having to do an overnight backpacking trip.
Note: Please make sure to respect this beautiful place and the surround areas. Always practice LEAVE NO TRACE. This means no loud music, no graffiti, no carving in sandstone walls and pack out what you pack in! Please help us protect this place for generations to come!
Stats
Where
Shorter Route Trailhead:
37°46’33.2″N 111°25’07.5″W
Phipps Arch:
37°45’23.2″N 111°24’36.5″W
Parking
You can either park safely on the sides of the road or in the parking lot for Escalante River trailhead, just down the road.
Restroom
There is no restroom
Fee
Free
Weather
Distance
6.4 R.T.
Elevation Gain
About 603ft
Level
Moderate with some creek crossing, good navigation skills and some class 3 rock scrambling toward the end
Time:
6-8 hours
Pet-friendly
There’s nothing that say you can’t bring your dogs. However, we wouldn’t recommend bring your pups due to the climb near the end.
Ideal Time
Falls and late Springs are the best seasons to go so it won’t be too hot. We also recommend going earlier so you have enough daylight to find your way.
Need to Know
- The trail can be overgrown depends on when you go.
- River’s water can be freezing and overflowing in the spring and winter
- There are tons of bugs near the river so bring bug spray.
Video
Quick Note Before the Hike
There are two routes to get to Phipps Arch
- Short Route: This is the one we did. This route starts near the Escalante River Trailhead. It is shorter, however, it does require creek crossings and cutting through the possible overgrown areas.
- Longer Route: This is off mile marker 71 on Highway 12. This is a longer route (9.2 miles), but it is supposedly more scenic and has no water crossing. We haven’t done this route yet.
The Adventure
Getting to the Trailhead for Phipps Arch
In this article, we will be covering the Short Route. The trailhead to Phipps Arch for this route is located near the parking lot Escalante River trailhead, on the other side of Highway 12. If you’re coming from Boulder, it is about 14 miles west, on the left-hand side. Once you pass the parking lot for the Escalante River trailhead (on the right), the trailhead for Phipps Arch is on the left, right before the small bridge. There is no signage here. However, you could see a small trail there. Note, the first portion of this trail is through private properties. Therefore, please make sure you stay on trail and respect the landowners.
Along the Escalante River
Even though the trailhead was a bit hard to find, we quickly found it. After parking it, all four of us happily started our adventure. The trail starts on the side of the bridge, quickly down to the riverbank, and meets up with a small wooden bridge. The first part of the Phipps Arch trail is fairly well marked. For the first 1.4 miles, you will be hiking along the Escalante River. There are 3-4 times where you have to go in the water, only 1 time to cross it, and the other times to go along the edge of the river. We recommend either wearing hiking shoes that you can go into the water with or bringing sandals along to use for the creek crossing.
After crossing the small wooden bridge, the trail weaves through gorgeous tall sandstone cliffs, cottonwood trees, and some dense vegetation areas. It was quite beautiful, yet very sandy. Soon enough, we came to a little split on the trail. We followed the right to skirt along the edge of the river. However, I think if you go left, you should find a short wooden ladder. This route goes above the riverbank so you don’t have to go in the water. Even though we missed this ladder on the way out, we found it on the way back.
First Creek Crossing
After this part, the trail got denser and narrower as it led us to the first mandatory creek crossing, about 0.77 miles from the trailhead. At the time we went, which was early June, the river was quite shallow, barely above our ankles. Depending on when you go, it could be higher. The water was cold, but it wasn’t bad. Since it was a warmer day out, we actually welcomed the refreshing temperature change. Also, we’ve heard that the mosquitos can be pretty bad along the river, especially in the summertime. Make sure to bring bug spray just in case. We didn’t have any problem with them though.
After First Creek Crossing to Phipps Wash
Once we crossed over to the other side, we followed below the towering red cliffs to the second mandatory water encounter. This one and the one after don’t require river crossing. However, you will need to walk along the edges of the water. After the second water encounter, the trail leads to an open area before going back under red cliffs for the last water encounter of the hike out. Be careful when hiking on the Phipps Arch trail. We’d run into a couple of snakes along the hike. Even though these snakes were harmless, there might be a chance that you will run into a rattlesnake.
After we left the third water encounter, the Phipps Arch trail veers away from the river and goes toward the canyon and Phipps Wash. At this point, we left civilization behind. This is where the trail can get a bit confusing. We recommend bringing a reliable GPS device with you. We put all the important coordinates up above. They will help you to find your way.
Finding Your Way Through Phipps Wash
At about 1.4 miles from the trailhead, we came to a trail junction. Going left will take you to Lake Powell. To go to Phipps Arch, we went right. The trail at this point gets a lot more sandy since you will be hiking through a very sandy wash. Eventually, we came to a barbed-wire fence. There was an opening between the trees for us to go through. The area behind this fence was home to the Ancestral Pueblo and the Fremont Indian so please be respectful.
Finding Phipps Arch
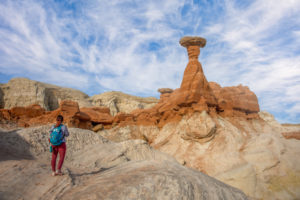
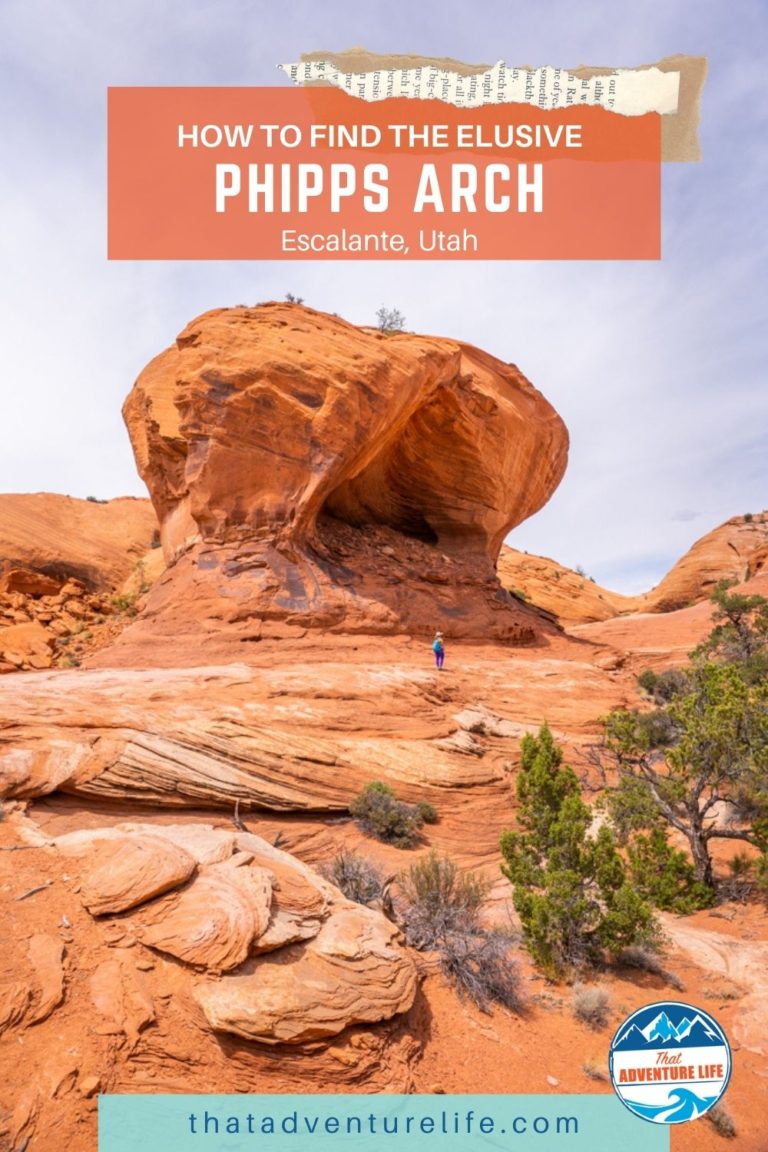
From the barbed wire fence, it is about 1 mile (2.7 miles from the trailhead) to where you need to climb up the sandstone. The trail curves along the sandy wash and leads toward a big rock formation that reminds us of the sideway of a kettlebell. Once we got close to this rock formation, we followed the trail to go left, toward the GPS coordinates that we have for Phipps Arch. At this point, Tim decided to go with a new fashion. His left shoe fell apart so we had to use paracord to tie it together. Not the best thing for scrambling up rocks and such but he did look very stylish.
After following that left trail, we kept hiking toward where we had the Phipps Arch marked on the map. However, we couldn’t find the arch or a safe way to get to it. After about 45 minutes of walking back and forth, trying to figure out how to get to the arch without killing ourselves, Megan proposed that we should go further to see if we could find a better route. This is when we realized that Phipps Arch is actually located on the other side of the cliff. To get there, you have to go past the arch, around the bend for a safer route up the slick rock. There were some rock cairns marking the start of the climb.
The Climb Up
Once we started to climb up the slick rocks, we found multiple cairns and trails to get to the top. You can find the route that works best for your ability. At this point, we were hiking east up the side of the cliffs. There is a lot of rock scrambling involved with a few steeper areas. Luckily, this part isn’t super exposed so it wasn’t as bad. Also, the slick rock is very grippy so it helps with the climb. That being said, watch out for areas with sand or small rocks, they can be slippery. Good hiking shoes with traction help a ton too! We still couldn’t believe Tim made it up here with his busted shoes.
The views along the way up are super beautiful. You have panoramic views of the whole area as you get higher. About halfway, we reached the steepest part of the climb. It didn’t look like there was another way but to climb up. However, it wasn’t as bad as we thought but it can be intimidating for some people. Once we climbed up this steep part, we decided to go left (if you’re facing the cliff). Going left will take you to a rickety tree stump that acts as a ladder up. It was fun for us to do this route. However, if this is not your thing, go right instead. The trail toward the right is easier.
Phipps Arch
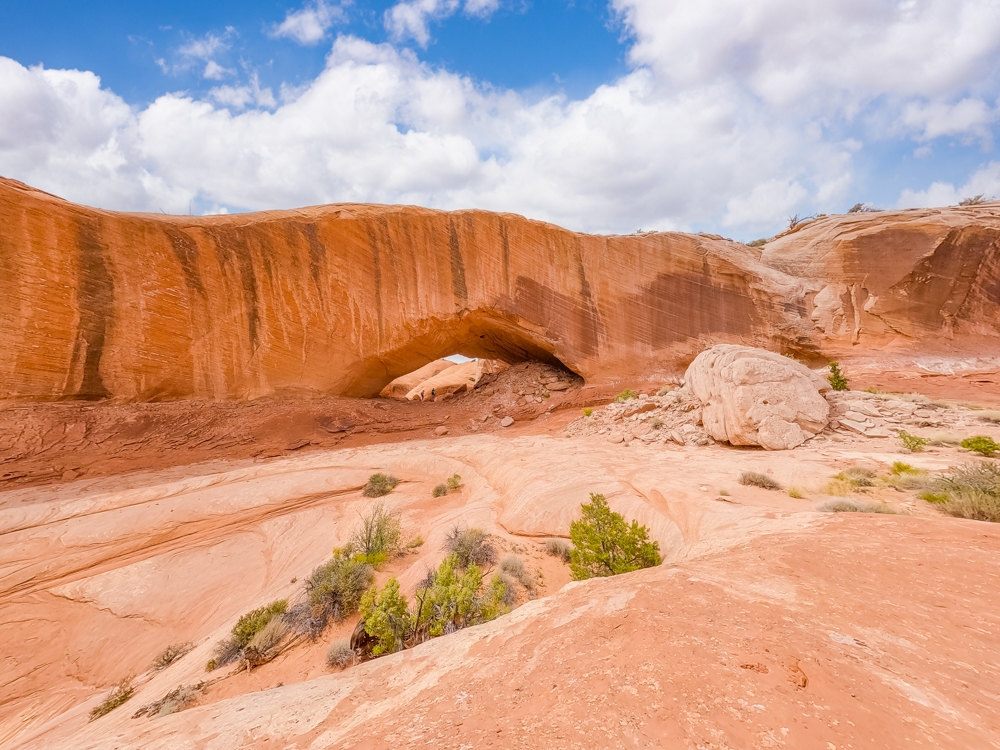
Once we climbed up the tree stump over the ledge, we got to a large bowl-looking slick rock area. There were three big caves toward the back cliff walls. It was really beautiful. We excitedly ran toward the caves. However, Tim and Megan were on a mission to find the Phipps Arch so they pushed forward.
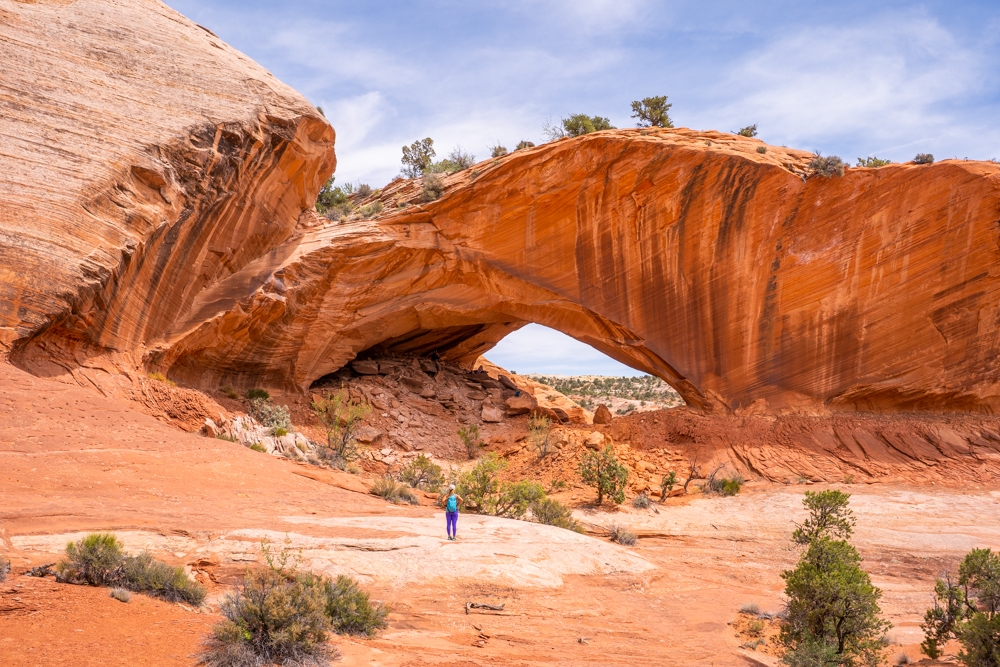
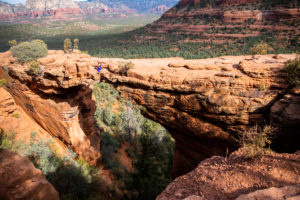
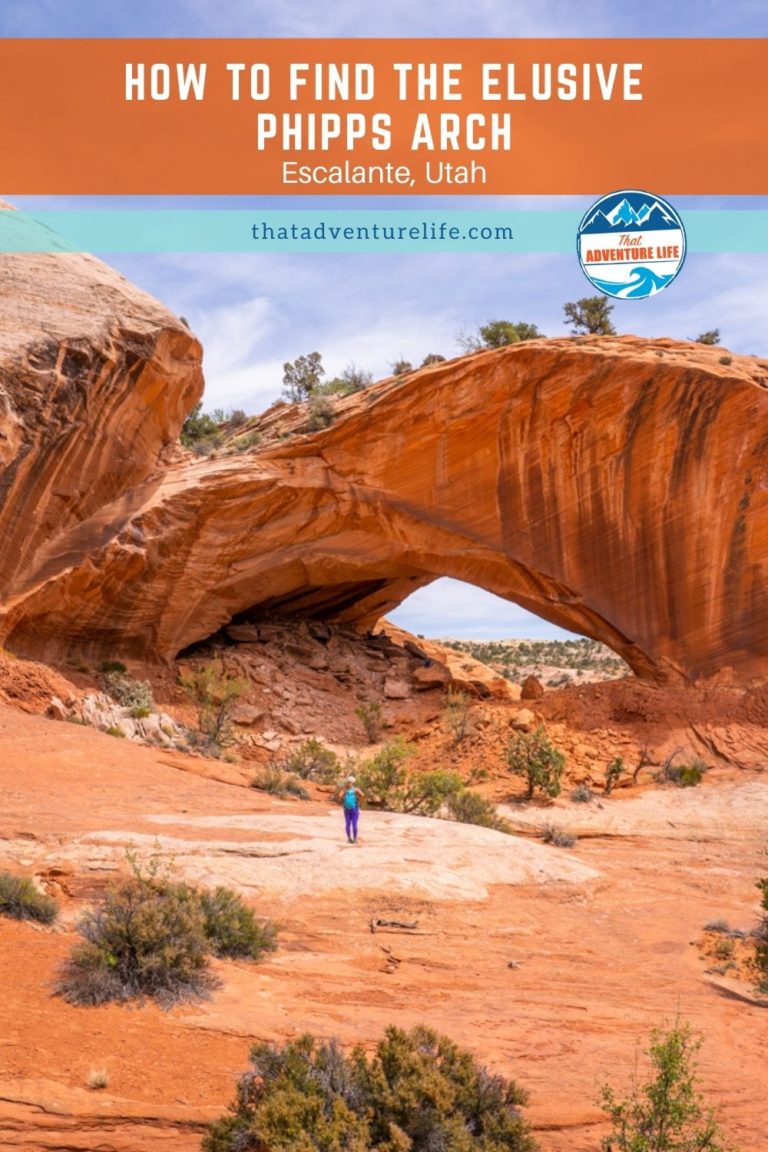
After curving around the corner, we saw the elusive Phipps Arch, looming on the right. From far away at this angle, Phipps Arch just looked like a big cave. However, as you get closer, it turns into an impressive arch. The whole area itself was just breathtaking. There were many interesting rock formations, huecos, and wind caves. I wish we would have more time to explore the area. Unfortunately, we lost too much time already while looking for the arch. However, we did spend some time relaxing under the arch. It was amazing. We had the whole place to ourselves. Phipps Arch is quite an impressive rock formation with a span of 100 feet and a height of 30 feet. Under the arch, it was quite breezy. So, it was a pleasant change to the rising temperature outside.
The Other Side and the Way Back
Once we were done, we decided to check out the other side of the arch. This side of the arch is where you would come up if you had taken the right trail from the top of the steepest part. So, we took this route back. The trail joins up once we get down. From here, we followed the same way back out to the car. Despite us being lost for a bit and Tim breaking his shoes, we had an amazing time here. I’m glad that we didn’t give up, but kept pushing on. It was definitely a rewarding experience. If you’re up for an adventure, we recommend checking out this elusive Phipps Arch.
These are the gear that we personally use and find them helpful for this particular adventure. Don’t forget to check out our Recommended Gear section as well.
adventure gear
This is our favourite hiking shoes. We use them for canyoneering as well. Lots of traction. Vy’s version.

Dustin’s version for La Sportiva shoes

Make sure to use lots of sunscreens! We use eco-friendly, reef-safe sunscreen, Stream2Sea SPF 30.

Face sunscreen is also important. We love these tinted, organic All Good Organic Sunscreen Butter.

The hike is exposed. You’ll need a lot of water! Vy loves the Camelback L.U.X.E.
For shorter hikes, the Patagonia Women’s Nine Trails Pack 18L is perfect to hold water and your essentials.
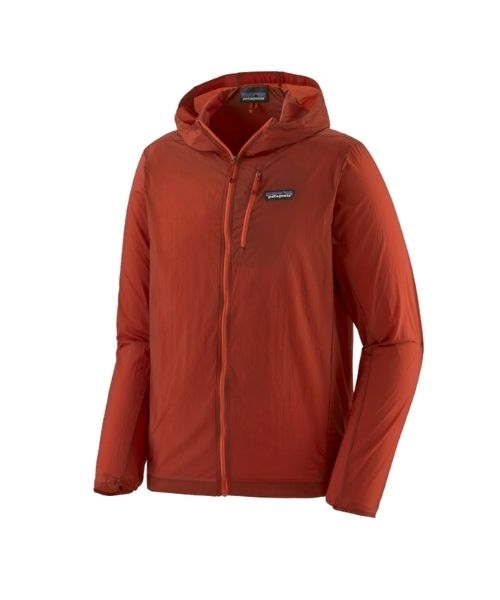
If you want something lighter, we love the packable Patagonia Women’s Houdini® Jacket and Patagonia Men’s Houdini® Jacket
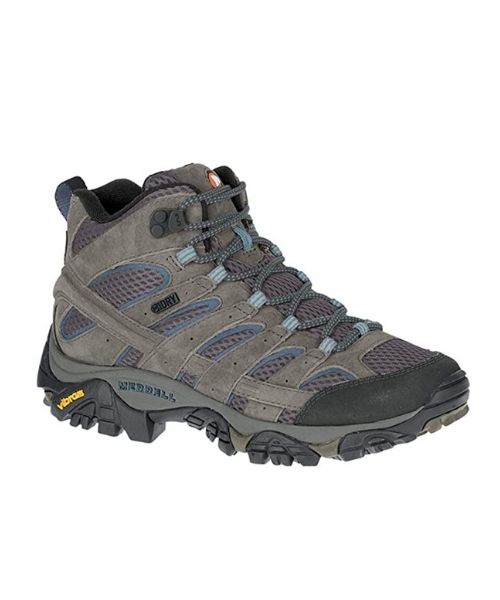
You really need ood hiking shoes for this hike! Vy uses the Merrell Women’s Moab 2 hiking boots
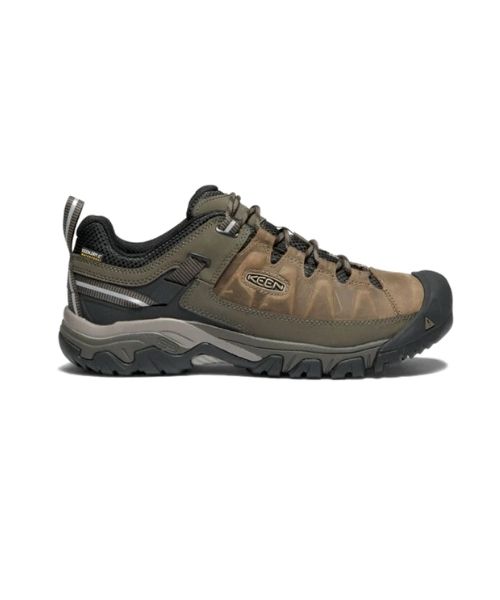
Dustin’s shoes are Targhee III Waterproof
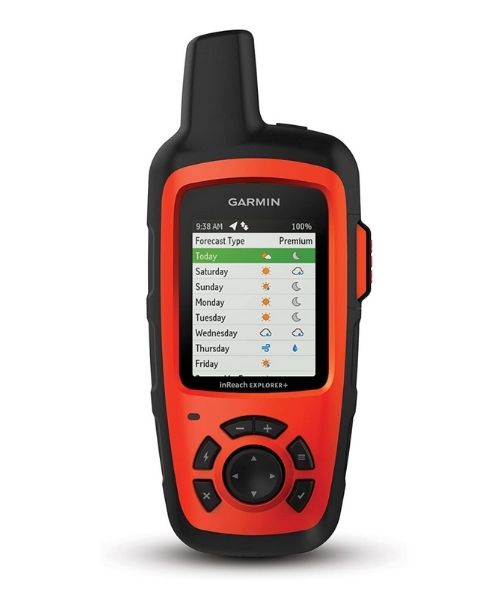
The trail can be confusing and remote. It helps to have a GPS device with you. We use the Garmin Inreach.
other things to bring
- Long sleeves shirt and pants since the trail can be overgrown.
- Bug repellent. It can get buggy here depending on the time of the year.
- Extra sandals/shoes for changing since you’ll get wet
- Make sure to bring lunch and snacks with you. For healthy and easy snacks, check out some of our recipes.
camera gear


Related Posts
Save your pins:

