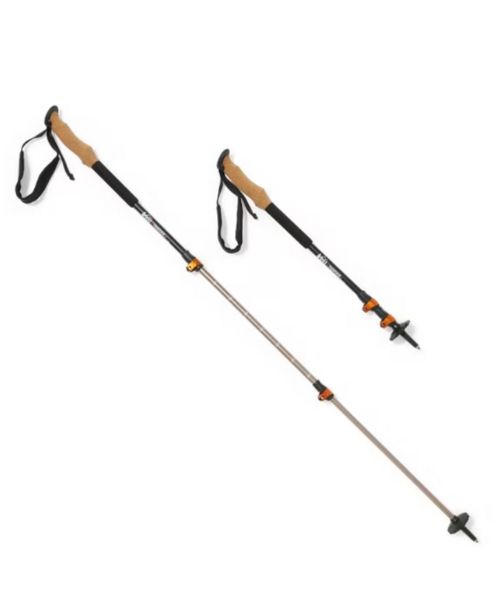
These hiking poles are sturdy, and great to help keep your balance on short or longer hikes
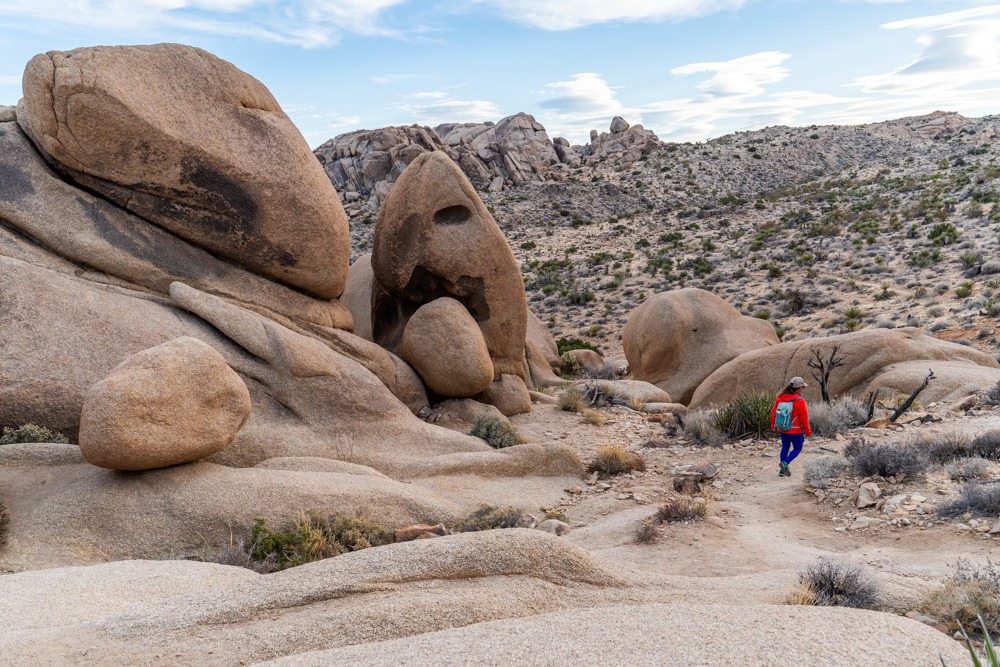
Every time we stopped by Split Rock trail in Joshua Tree National Park in the past, we usually just spent a short time near the trailhead to scramble around. We had always been too busy visiting other parts of the park. Little did we know, for an easy hike, the Split Rock Trail is actually very beautiful. The trail loops around the interesting rock formations, easy enough but with a bit of elevation gain, just enough to make it interesting. There are a lot of things to see, and if you love scrambling, there are tons of rocky outcrops. Split Rock trail is more rugged than a stroll in the park, but it is well-marked. So, you shouldn’t worry about getting lost.

Split Rock Trail trailhead:
34.009477, -116.055808
There is a paved parking lot in front of the trailhead.
There is a fee to enter Joshua Tree National Park. For more information, check out the park’s website. You can also use your America the Beautiful pass!
Vault toilet at the trailhead.
Leave your pet at home. They are not allowed on the trail!
2.25 mile loop
269ft
Easy
Takes average 40 minutes – 1 hour.
Since this is the desert, the best times to hike this trail are October through May when the weather is cooler.
The start of this trail is located just down the street from Skull Rock. There is a marked turn onto a dirt road from the main Park Blvd pointing to the Split Rock Trailhead This road can have some washboard on it at times, but it is pretty well maintained and accessible to pretty much all vehicles. At the end of the dirt road, you will find a medium-sized parking lot which can fill up pretty fast if the park is busy that day.
Unlike other rock formations such as Arch Rock or Heart Rock, where you’ll have to hike in, this trail’s namesake, Split Rock, a massive cracked boulder, is located directly at the trailhead. This trail is a loop so you can either start at the Split Rock or the other trailhead, not too far from it. We started here and went counterclockwise. In our opinion, the trail is best in this way to go, and all of the markers along the way seem to favor this direction.
After gazing at the gigantic rock for a bit, we began our hike. It started by curving directly around the base of the split rock. On the backside, there is a small cave. It seems like this cave was used by Native Americans for shelter thousands of years ago. There is still soot built up on the ceiling of the cave. Unfortunately, there is also some modern graffiti in the cave as well. Do us a favor, and please don’t add to it. This is one of the few places along the trail where you will find a decent amount of shade. Keep this in mind if you are visiting on a warmer day and also be sure to bring enough water. We recommend bringing at least 1 liter per person.
After you leave split rock behind, the trail will curve off to the left and head towards more large boulders. This is where you will encounter the first rocky stairs of the trail, we hope you like them because there are a bunch. Once making another left you will be heading out across a granite slab. On your right and behind you, there are enormous rock formations in the distance. There will be smaller but much closer formations on your left including some with some really neat veins in them.
Keep your eyes peeled for trail markers because you should eventually come to a short stack of rocks that looks like a fence with an arrow pointing you toward the right. After a quick zig-zag, the trail will turn back into a nice straight dirt trail again. Eventually, you’ll come to another set of rock stairs. Shortly after climbing, you should come to a sharp left turn. Don’t worry, there is a trail maker there.
While we would consider Split Rock an easy trail, things are going to get just a little bit more strenuous once you round the corner. The trail will rise and fall as you make your way over several small hills, each time, dropping you into a new valley with some pretty spectacular views. In addition to the beautiful scenery, be sure to keep a lookout for bighorn sheep. They are known to frequent the area.
As absorbed as you will be, looking at the picturesque landscapes, you will also need to watch your step at this point. What was a fairly smooth and flat trail will become rocky quite suddenly. Shoes with a good amount of traction and some ankle support will come in handy here. You will continue climbing up a gentle incline until you make your way up to the ridgeline. From there you will be crossing a wash and then it will be time for more stairs! The climbs are worth it though. Once you reach the top of the next hill, you will be in for one of several spectacular high-up views of the valley below.
If you want to have an extra special hike here, visit during the superbloom. There will be tons of flowers surrounding the trail. We haven’t been able to experience it yet, but we heard that it is pretty incredible.
After dropping down into the valley, you will be in for one of the hardest climbs of the hike on Split Rock Trail (it’s not that hard, it’s just longer than the others). The good thing is that after this climb, it will be mostly flat or downhill for the rest of the hike. As we crested the big climb, we were treated to another beautiful view. On our right and left, tan granite jutted up out of the earth. While in front of and behind us, the ground fell away, giving us glimpses into 2 postcard-worthy valleys. We stopped for a break here to catch our breath and to enjoy our surroundings. We would have stayed longer, but we were running out of daylight.
After leaving the little viewpoint, we descended into the basin. Off to our left, there was a huge boulder perched precariously on top of some smaller boulders. Stay on the well-marked trail as it curves off toward the right. You will be climbing just a little bit more, but the good thing is that it isn’t anything like the hill that you just climbed. As we neared the top of the hill, there was an interesting large boulder with a hole in it on the left. Shortly after passing it, you will be at the only junction of the trail. If you want a quick detour, you can take this trail toward Face Rock and Skull Rock. We were running out of time so we just stayed on the main trail.
Once we left the junction, the trail once again winding through beautiful rocky outcrops. If you look carefully, you can see a small arch on the left-hand side. Eventually, we passed by a cool rock formation on the right side that reminded us of a giant snake’s head. After leaving the snake’s head, we kept pushing forward toward the finish line.
Along the way, there are many other interesting rock formations and boulders that we probably could spend hours photographing. Unfortunately, we were losing sunlight very quickly so we had to keep going. We would love to come back and spend more time here. Soon, we were able to see the parking lot from the trail. This was the end of our loop. And we made it right on time. It was getting very cold as the sky got darker. For an easy hike, Split Rock was such a beautiful hike. It’s probably one of our favorite hikes here, along with Arch Rock, Desert Queens Mine, Barker Dam, and Willow Hole. We highly recommend checking this one out. If you’re looking for more things to do, check out our list for Joshua Tree.
Happy Adventuring. Don’t forget to check out the related posts below for more inspiration on your upcoming adventures. While at it, follow us on Instagram and subscribe to our YouTube channel! We’ll love you forever!
These are the gear that we personally use and find helpful for this particular adventure. Don’t forget to check out our Recommended Gear section as well.

These hiking poles are sturdy, and great to help keep your balance on short or longer hikes

If you tend to have foot blisters on hikes, get this! We use this all the time.
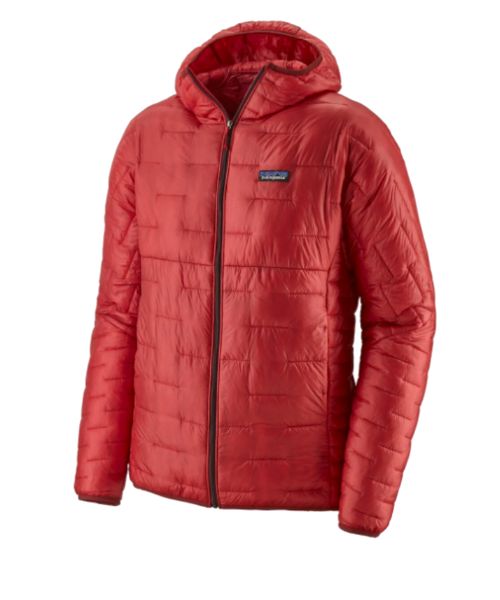
Our favorite hiking/travel jacket. It's warm and packable, perfect to bring on a hike or a road trip.
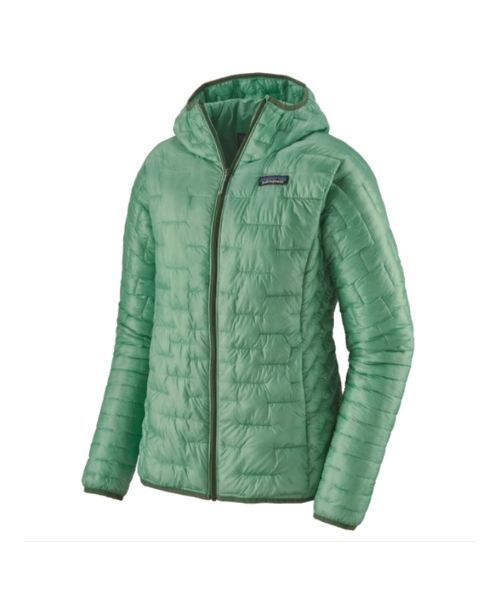
Our favorite hiking/travel jacket. It's warm and packable, perfect to bring on a hike or a road trip.
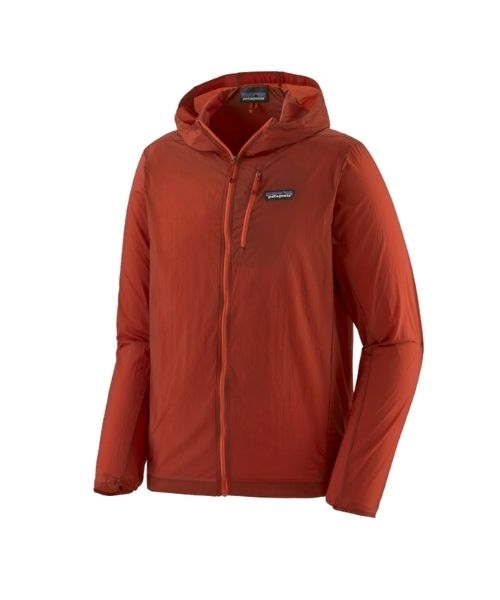
This jacket is packable into a super small and light little ball. Perfect for when you just need a little…
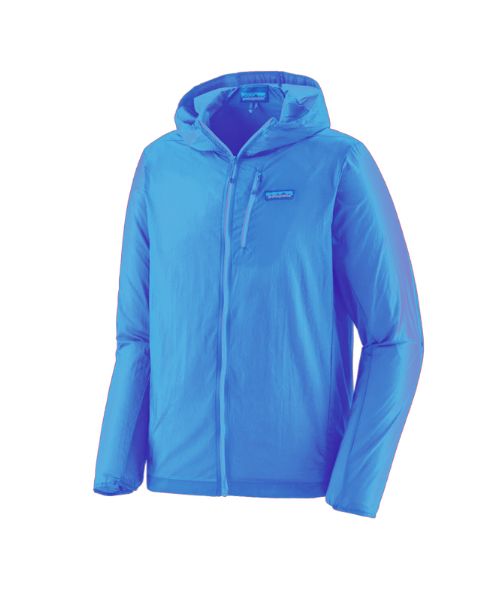
This jacket is packable into a super small and light little ball. Perfect for when you just need a little…

It's always good to bring a GPS tracker with you. We use the Garmin inReach.
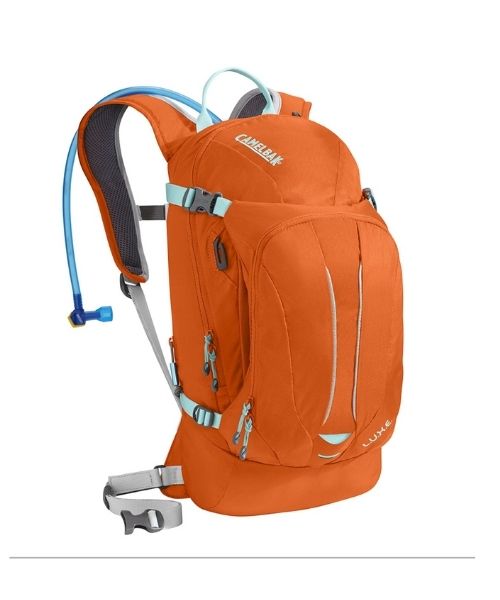
This is Vy's favorite hiking bag! It has tons of room for snacks and water!


Our favorite biodegradable, eco-friendly, reef-safe sunscreen!

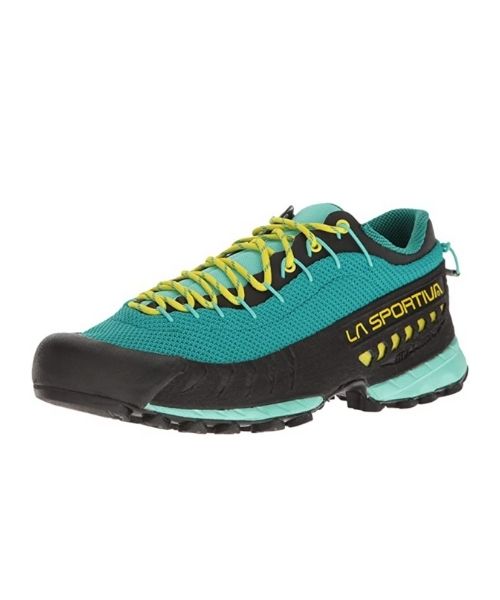
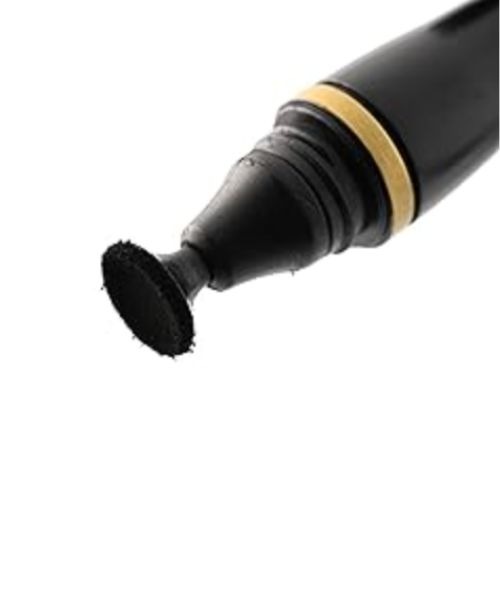

This is our go-to camera for all of our adventures. It comes with us everywhere!
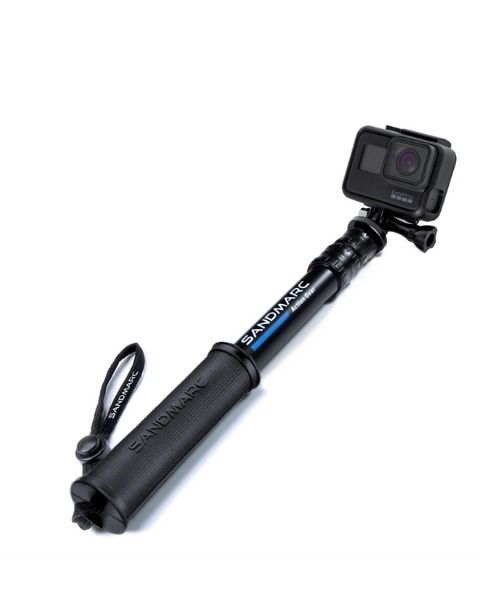
Compact GoPro pole that extends to 25", perfect to bring on your adventure.



Nice to meet you!
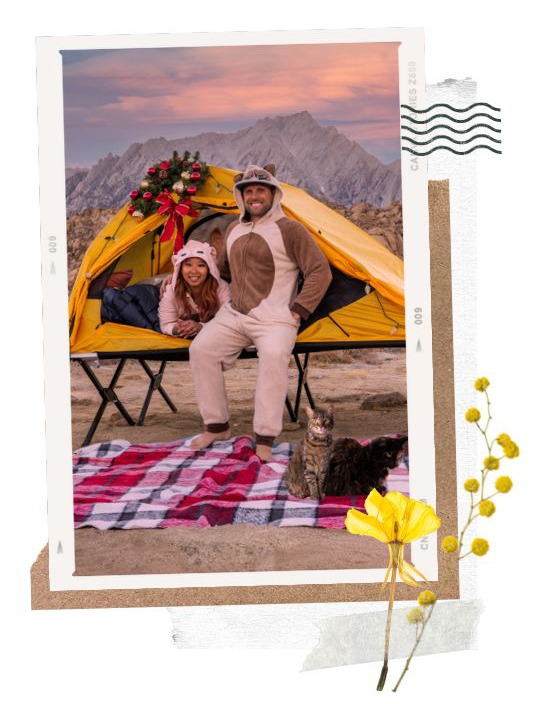
Hi! We are Dustin & Vy, the proud creators of That Adventure Life. We created this website because we wanted to inspire others to live their lives to the fullest. On here, you’ll find everything from hiking, canyoneering, kayaking, and snorkeling to adventure and travel tips, gear reviews, and bucket list items such as bungee jumping or wing walking. We’ll show you the ropes so you can do them too!
Subscribe
Get our best adventure tips, guides and more send to you!
Subscribe
Get our best adventure tips, guides, and more send to you!