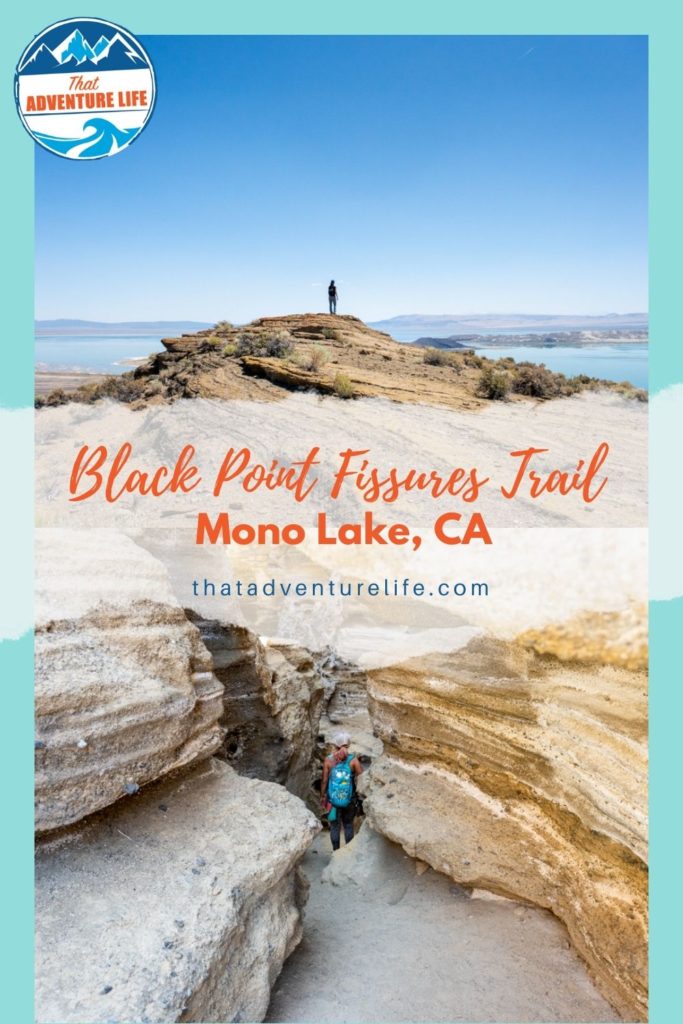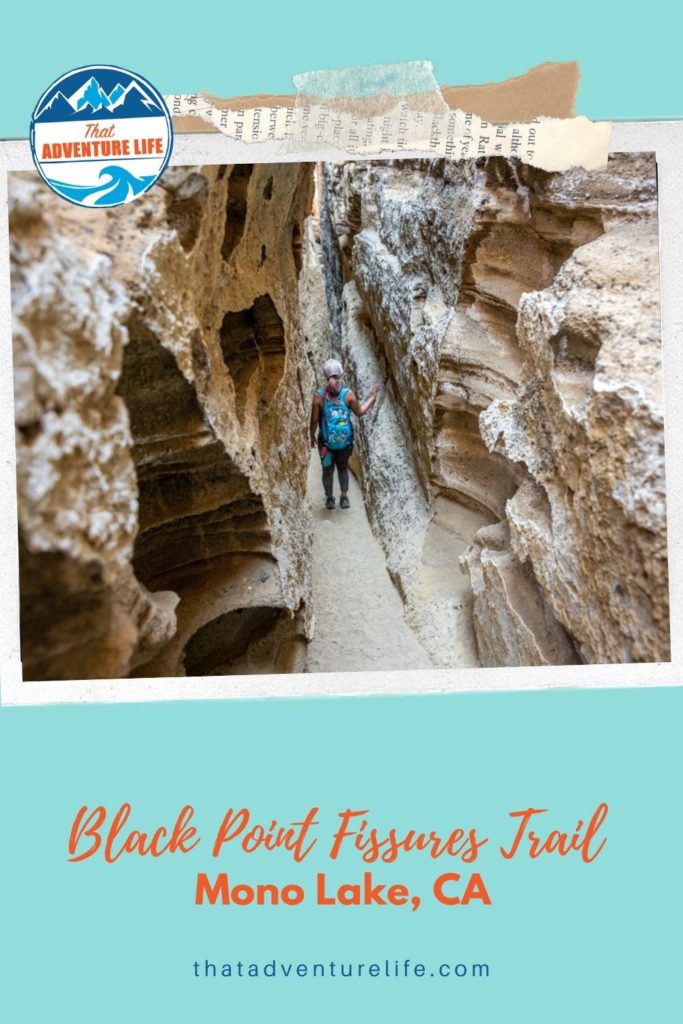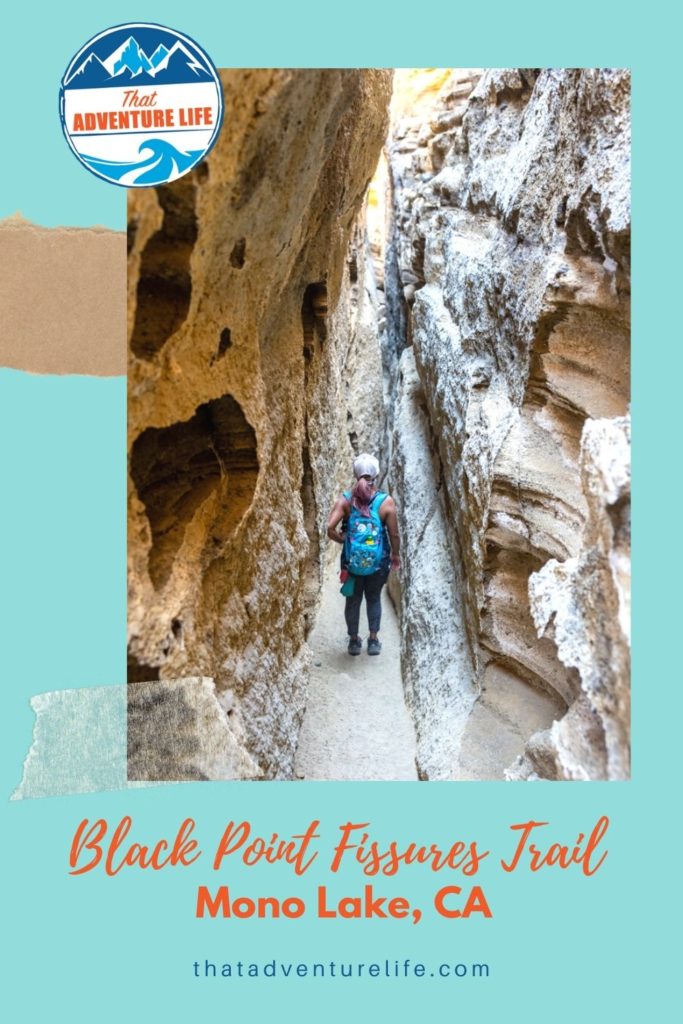
As many times as we visited Mono Lake, we had no idea that Black Point fissures existed. It is an off the beaten path “trail” located on the north side of Mono Lake. Black Point is a small volcanic hill. It looks quite boring and unremarkable from the distance. However, if you can look past that plain exterior, there are several deep, narrow fissures hidden beneath. These fissures resemble small slot canyons. They are super fun to explore and worth that climb.
STATS:
Where:
Parking lot:
38°01’37.6″N 119°05’05.0″W
Black Point Fissure:
38°01’36.1″N 119°06’00.0″W
Black Point:
38°01’40.5″N 119°05’48.7″W
Fee:
It’s free!
Parking:
There is a small dirt lot in front of the trailhead.
Restrooms:
There are no restrooms.
Distance:
1.8 miles R.T
Elevation Gain:
485 ft
Level:
Moderate
Estimated Completion Time:
2 – 3 hours
Ideal Weather:
Black Point Fissure is technically best to hike from March through November. There is usually snow here during the winter. However, We recommend avoiding doing this hike in the summer months. It’s REALLY HOT there, even in the morning. There is no shade AT ALL. Besides the fact that the sun also reflects off the black sand, which makes the temperature even warmer, it also heats up the sand. This can be very unpleasant if you accidentally got sand in your shoes.
Ideal Time:
Early morning for cooler temperature.
Pet-friendly:
There’s nothing that says no pet there. However, we recommend leaving your little buddies at home. The sand and the sharp edges of the rocks won’t be fun on their little paws, especially in the summer heat.
Weather:
VIDEO:
GETTING THERE:
The “trail” to Black Point Fissure starts at a small dirt parking lot. The coordinates for the parking lot are above. To get here from Mammoth Lakes, take the 395 North, go toward Mono Lake. As soon as you pass Mono Inn, turn right onto Cemetery Road. This road eventually turns into a dirt, gravel road. Stay on Cemetery Road for about 3.2 miles, before turning onto FS-2N20. There should be a small sign there for Black Point. Follow the signs to get to the parking lot.


THE ADVENTURE:
On our last camping trip here in Mammoth Lakes, my cousin, Anhimal, wanted to hike Black Point Fissure. It was the first time we’ve heard of this trail so we were super excited. After spending the day at our super cool and FREE campsite near the hot springs, we were ready to explore the fissures. (For our tips on how to camp for free, click here).
We got to the parking lot bright and early, in the participation of the heat. This was back in August so we knew it was going to be warm. However, we didn’t realize how miserable this trail could get, even when we get there early morning. So before you start, make sure to bring A LOT of water. It is a short trail but you WILL need A LOT of water! And we recommend to only do this hike during cooler months. Trust us, you’ll be a lot happier.


There isn’t any real, established trail to get to Black Point Fissures. You kind of choose your own adventure. The best way to get there is to pull up the coordinates on your GPS and hike up the hill toward your destination. Since Black Point is a hill surrounded by the open country for miles around, you probably won’t get too disoriented. However, don’t forget to do a drop pin for where you park. This way, you can find your way back. We listed two separate coordinates up there for reference. One is for the fissures. The other one is Black Point where you’ll get the 360º view of your surroundings.
The hike to Black Point Fissures isn’t hard per se. There are no crazy obstacles. However, hiking up the sand is not very fun. Especially when that sand is hot. You also have to go through tons of bushes with sharp thorns. So keep an eye out for those thorns and snakes.
There is a small sign at the trailhead with an arrow pointing up. You can follow that way until the cinder hill levels out to 2 plateaus, with the tallest one being Black Point. From there, you can see the Black Point fissures below.


We didn’t go that way this time. We actually go left and follow what looks like a small trail, lining the lake. The trail faded as it led us up the hill. As we went higher, the view got more beautiful. If you look back, you can see the calm water of Mono Lake behind you. It is a beautiful contrast between the blue water against the black volcanic rocks and the dry yellow bushes.
As we kept going up, toward what seems like a never-ending hill, we came across a cute little cave. It was heaven-sent as we were all dying from the heat. After taking a short break from the beating sun, we pressed onward. After more climbing up what felt like a never-ending hill, we finally made it to the fissure.


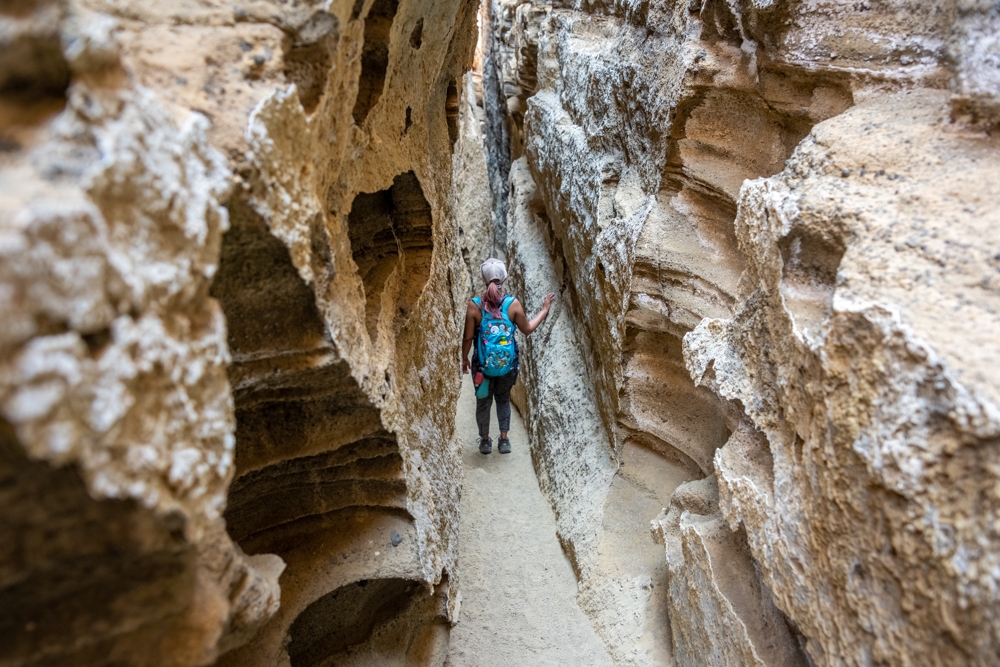
There are a few fissures around. Even though some are up to 80ft deep, all the ravines have sloping ends. In the main fissure, there is a spot in the middle where you have to climb down the short wall. It can be a bit challenging. Besides that, it was quite easy to explore and super cool. If you have time, make sure to spend some time exploring all the fissures, as well as on top of Black Point. We were dying from the heat so we didn’t get to spend that much time there.
To go back, find your way back down the hill, toward the parking lot. If you remember to do your drop pin on the map, you can follow that. Otherwise, go toward the direction of the smaller island on Mono Lake. Eventually, you’ll see the parking lot.


Once you finish this hike, don’t forget to check out the unique tufas at Mono Lake. If you like kayaking or paddleboarding, you can actually do it there on this unusual lake.
If you’re spending sometimes in Mammoth Lakes, check out the beautiful Crystal Lake Hike. Another, even more, beautiful long hike that we love is the Duck Lake Pass or Valentine Lake. If you’re into unique rock formations, check out Devils Postpile. From here, you can also hike to Rainbow Falls, one of the best waterfalls in this area! Also, don’t forget to check out the hot springs in Mammoth. They are especially wonderful after a long hike!
Happy Adventuring. Don’t forget to follow us on Instagram, subscribe to our Youtube channel, and sign up for our newsletter!
RECOMMEND GEAR:
These are the gear that we personally use and find them helpful for this particular adventure. Don’t forget to check out our Recommended Gear section as well.
The majority of these links are through our affiliate links so if you buy something, it is at no extra cost for you but it helps us support the site. That being said, don’t buy something just to support us, buy something if you think it will enhance your travels and adventures.
• Hiking shoes
You need hiking shoes for this, especially to climb over rocks. Vy’s shoes are Merrell Women’s Moab 2 Mid Waterproof Hiking Boot. Dustin’s shoes are TARGHEE III WATERPROOF.
• Snacks/Lunch
It’s a short hike but snacks are always good to bring.
• Sunscreen
The trail can get very warm. Bring sunscreen! We use eco-friendly, reef-safe sunscreen, All Good Organic Sunscreen Butter – Zinc Oxide – Coral Reef Safe, and All Good Sport Sunscreen Lotion – Coral Reef Safe (3 oz)(2-Pack) or Stream2Sea SPF 30 Reef Safe Sport Tinted Sunscreen.
• Water
Bring lots of water! More than you think you need. Especially if you go in the summer. Vy uses the Camelback L.U.X.E. Dustin uses the Clik Small pack (sadly Clik is no longer around). Patagonia Women’s Nine Trails Pack 18L is also a great backpack for a shorter hike like this.
• Hat and long pants
Bring a hat, there are no shades. As for long pants, there are tons of thorny bushes along the trail. Long pants will help you from being scratch up.
CAMERA GEAR:
• Camera:
Sony a7 III
Gopro Hero 7 Black
• Lenses:
Sony 24 -70mm f/2.8 Carl Zeiss Vario Sonnar T Zoom Lens
• Accessories:
GoPro The Handler Floating Hand Grip – Official GoPro Mount
Aluminum GoPro protection frame
SandMarc Extended GoPro Pole
Hybrid Pro Filters – DSLR / Mirrorless
Cinema CPL Filter – HERO 9