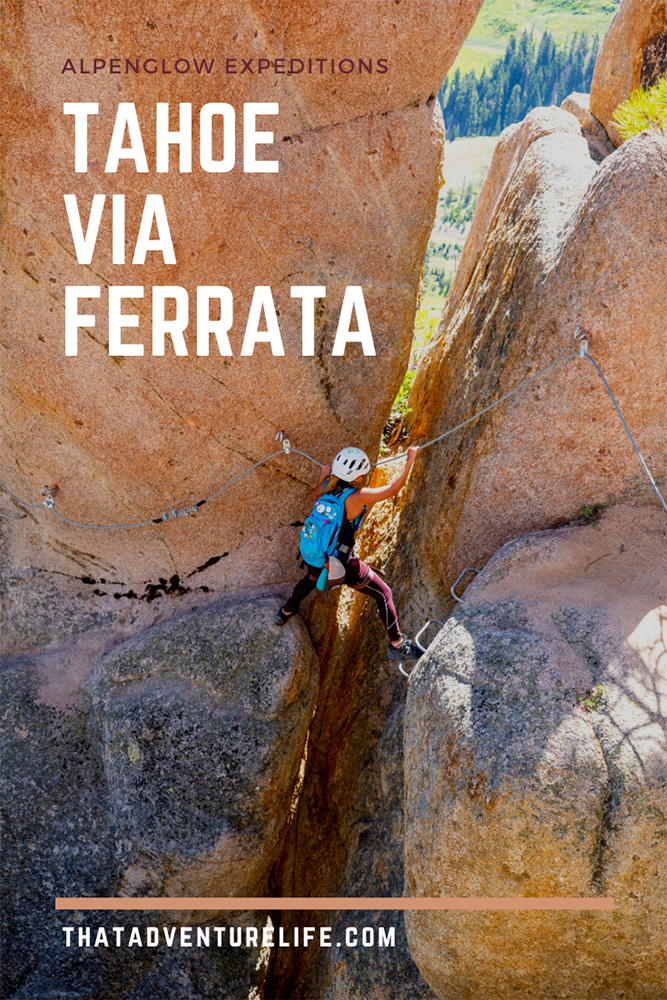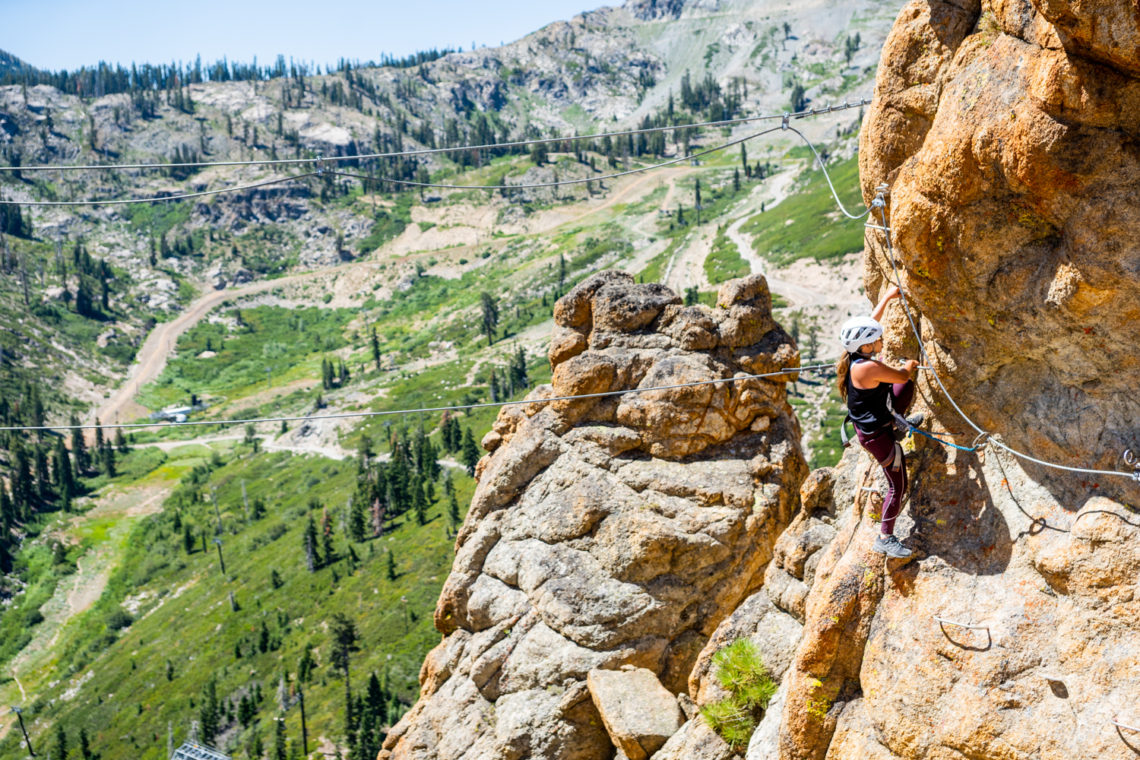
Via Ferrata is an Italian term which translates to “Iron Road”. This is referring to the steel cables that you are hooked to as you traverse and climb your way up the mountain. There are Via Ferrata courses set up all over the world. They give the relatively inexperienced climbers the opportunity to climb difficult peaks and dangerous routes without the risks, all of the training, and gear of a traditional rock climber. As soon as we realized there is a Via Ferrata in Tahoe, we had to squeeze it in on our road trip along Route 395. Tahoe Via Ferrata is guided by Alpenglow Expeditions.
STATS:
Where:
Tahoe Via Ferrata by Alpenglow Expeditions – 1985 Squaw Valley Rd #23, Alpine Meadows, CA 96146
(The office is located at The Village at Squaw Valley, in the breezeway between Starbucks and Fireside, facing the parking lot.)
Contact Info:
Phone: 877-873-5376
Email: info@alpenglowexpeditions.com
Website: http://www.tahoevia.com/
For more info, check out their FAQs page.
Time:
Daily with different availabilities for different tours, summer months only.
Cost:
2.5-hour Via Intro package: $99
4.5 hours Via Adventure: $149 (this is the one we did)
Pricing might change. Please check their website for more up to date info.
Parking:
Parking is free. There is plenty of parking behind the office.
Estimated Completion Time:
Depends on your tour, between 3 – 5 hours.
Ideal Weather:
Tahoe Via Ferrata opens only during the summer months, usually from June through October. Early morning seems to be the best. We did the 8:45 A.M. excursion in early august and the temperature was perfect. It started to get really warm just as we reached the parking lot after we were finished.
THE ADVENTURE:
Even though it is called Tahoe Via Ferrata, the course is actually located in the picturesque Squaw Valley, which was the home of the 1960 Winter Olympics. Our scheduled time was 8:45 am. According to our email instructions, we didn’t have to arrive early. That definitely worked towards our advantage since the traffic coming from Tahoe was pretty bad.
The office is located between Starbucks and Fireside Pizza Company. Once inside, it was like an adventurer’s paradise. There were helmets and harnesses carefully hung all over the walls. A video was playing on a big screen in the back of the room, showing other adventurers that had climbed the route before us. After signing our waivers, we waited for a few more people to join us.
We had a few seconds to chat with our guides Evan and Witt while we waited. According to them, our route is about 2.6 miles long, with 600 ft of the actual climb and 200 ft of hiking before and after. This means you will be gaining just over 800 ft of elevation over the course of your adventure. There are two different routes that you can experience. Your guide will decide which route is the best depending on your group and the weather on that day.
As soon as the last couple of adventurers finished with their waivers, everyone gathered up around the table as our guides went over the introductions and safety tips. One by one, everyone introduced themselves and their level of outdoor experience. It was interesting and kinda awesome to find out that we had a wide range of different experience levels in our group. We had everything from seasoned climbers to one guy who claimed his outdoor experience was that he’d “been outside before.”
After we introduced ourselves and went over all the safety tips, Evan and Witt helped us put our gear on. Our gear is a combination of a climbing harness and a helmet. The rope attached to the harness is what will keep you secured to the metal cables on the course. It is actually a shock-absorbing lanyard. As the name indicates, it will help soften your fall and prevent you from breaking your spine, something that would happen if you were attached to a static rope. The other part of your gear is your helmet. This is for dual purposes. It helps protect you from bumping your head as well as falling rocks.
As soon as we were all geared up, we began the small adventure parade across the shopping center. Some of the shoppers looked on with envy while others stared like we were insane. We were probably rocking our cheesy smiles, knowing the awesomeness that lied ahead.
As we rounded a corner to what is usually the ski slopes, the infamous “Beast” came into view. This is the monstrous truck that will be taking you on the roughly 10-minute ride, 960 feet up the side of the mountain. Everyone loaded in and buckled up for the crazy ride. They closed the metal steps and latched them. We were in this metal cage and there was no turning back. Lucky for us, Witt was pretty skilled behind the wheel as he navigated the Beast up the mountain road.
After a nice ride up the scenic valley, the Beast came to a halt. The sound of the engine was replaced by the voices of people who were ready to have some fun. From our parking spot, it was a short, downhill hike, about 0.4 miles to the start of our course.
Once we got to the beginning of the course, Witt and Evan gave us a live demonstration on how all of the gear works. This particular course uses a specialized carabiner that has a tiny opening at the gate. The opening is so small that it can only pass a certain way over specialized plates that are located along the course. Once you slid onto the cable, the only way to get out would be finishing the course. In case of emergency, our guides have keys to unlock the carabiners. This ensures that you’ll always be attached to the cable.
At first, it was a little challenging getting passed the metal plates since the angles have to be exact. But it didn’t take long for us to get a hang of it. Every time you pass a metal plate, it is like a save point in a video game. If you happen to fall, you shouldn’t fall any further than your last plate. Therefore, it is always advised to pass over the plate as soon as you can, just in case you happen to fall. Most of these clipping points are only 8-10 feet apart, so you are constantly ensuring your safety as you climb. There are 2 sections where you unhook from one cable to link on to a different cable. Both of these times, you are on the flat sections of the course.
The cable system at Tahoe Via Ferrata is over-engineered to ensure your safety. There are footholds and handholds wherever you seem to need one. Even though you can’t see it, each clipping point is drilled super far into the rock and is capable of supporting over 4000 lbs. The cable is no joke either. Alpenglow Expeditions also have people constantly checking on the conditions of the trail as well.
We had 12 people going at the 8:45 am time slot since there was a family of 8. Our guides divided every one to groups of 6, which is the maximum number of climbers each guide is allowed to have. That way, they can keep a closer eye on everyone. We ended up with Evan being our guide. When they asked for a volunteer that wanted to go first, I saw a blur of a person go streaking by. Of course, it was Vy. Before anyone could even say a word, she was locked in and ready to go. I jumped on right after her.
Tahoe Via Ferrata course began with a short but fairly steep, almost vertical climb that is known as Binky Buttress. It is a good introduction to what Via Ferrata is. It isn’t true rock climbing because they have bolted in hundreds of hand and footholds along the route. This made for easy climbing. I was actually able to keep one hand free to hold my camera for the most part of Via Ferrata. You should probably use both hands though.
Evan did a great job of periodically checking in to see if everyone was comfortable with what we were doing or if we needed a rest. Our group mainly consisted of rock climbers so we maintained a good pace for most of the climb. This got us a cool opportunity at the end, but I’ll get into that in a second.
There are 2 different routes at Tahoe Via Ferrata. They both, however, share the first section and the grand finale. After climbing for a little bit, Evan stopped the group and asked which route we wanted to take. We had to collectively make a choice between the Skyline Traverse route or the Sundial Arête. There was just something about the Sundial that made Evan’s eyes light up a little. I think we all saw it, so we went with that one. It was quickly evident why he loved this route.
As we reached our first vertical section, Evan added in a new safety guideline. It was to let the person in front of you get at least 2 clips ahead. This is a great idea because it ensures that if the person above you falls, they won’t land on you.
It could be because we both have climbing experience, but none of the climbs that day were overly challenging. Although, it definitely looks intimidating. I think my mouth dropped open when I saw the first vertical climb. In addition to keeping everyone safe, our guides were both quick to jump in with tips and tricks about how to get around some of the tricky sections.
After a few steep sections, we reached a giant rock pillar affectionately know as Bonsai because of the little tree that resembled a bonsai tree growing out from it. This part of the course is in the perfect place to give you a stunning view of the valley below. From here, you have to work yourself down the tower made out of rock then stretch over a pretty good-sized gap between the two boulders. I didn’t know if it would be hard for Vy since her legs are a lot shorter than mine, but she breezed through it like it was no big deal.
Right after the gap is another steep section. It was around this time that we found out someone in the group behind us had to go back because of vertigo. Tahoe Via Ferrata sent someone up to rescue her and allowed us to keep going on our course. It was very reassuring knowing that these guys have the ability to come and save us if needed. Don’t worry, she was safe and feeling better by the time we got back to the office.
As we continued along our way, we couldn’t help but notice a tree with a bright yellow ski bolted to it. It definitely seemed strange. Once everyone gathered up, Evan told us the story behind it. Some crazy extreme skier tried to ski his way down this (very illegal) section of the mountain which I swear is pretty much vertical. He triggered an avalanche. Luckily, the skier survived the ordeal and lived to ski another day. But his skis were ripped off in the chaos of the avalanche. His friends went back up to retrieve the skis. But instead of returning the ski to their friend, they bolted it to the tree where they found it as a reminder of the crazy ordeal.
One neat thing about Tahoe Via Ferrata is how the route seemed to increase in difficulty as we climbed our way up. A few more vertical sections and a long traverse with a boulder that you had to duck under, we reached the top of the second cable. We found ourselves at the spot where the Skyline Traverse route and the Sundial Arête joined back up. While we waited for the group behind us to catch up, Evan asked if we wanted to try the monkey bridge. It was not part of our route, however, since we breezed through our course, we had some time to spare. Of course, we said yes.
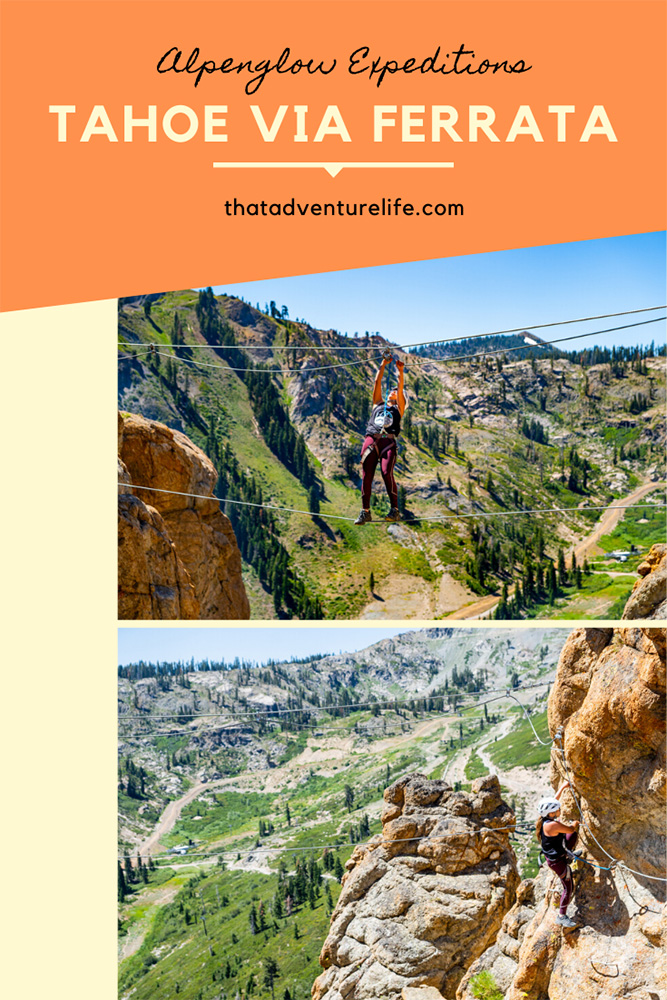
Evan led us to the start of the monkey bridge. It is a cable that stretched across the canyon with another cable on top that serves as a handhold. I hooked into the cable and shimmied my way down the ledge to get to the bridge. From the ledge, even though you can’t see it, there are footholds right underneath to help get you down to the bottom cable. It was fun getting to almost tightrope walk your way across the gorge. The trickiest part was to get your carabiner through several metal plates that line the top cable. Doing that while maintaining your grip and balance was a challenge. The hardest one is the last one at the end of the bridge. Vy struggled a bit more on the metal plates because it was almost too high for her to reach.
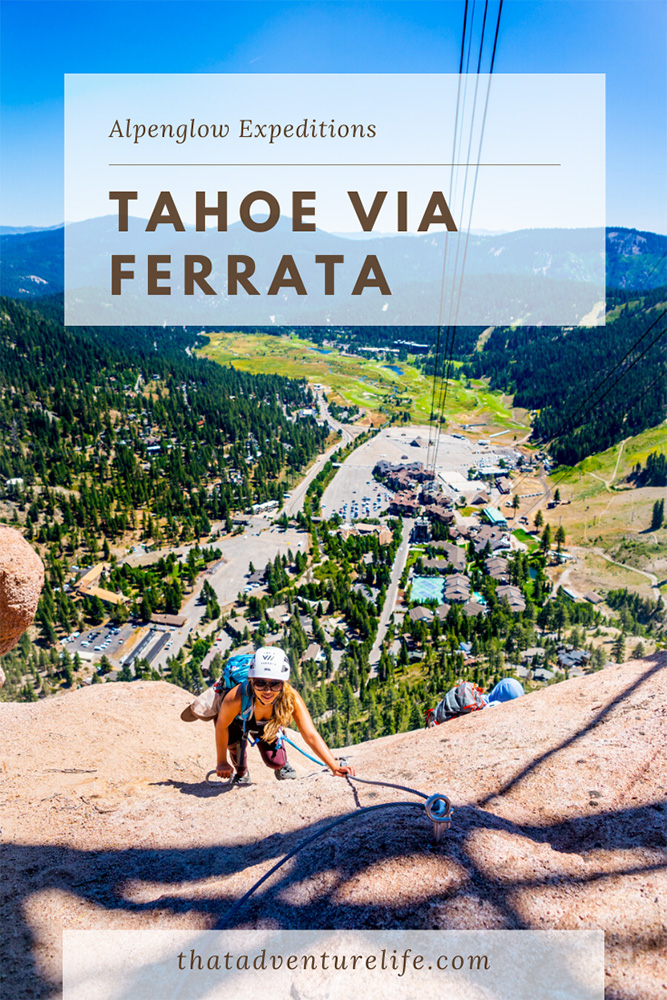
After the excitement of the bridge, there is a short cable that takes you for a short uneventful walk across a ridge. I would say that it was almost overkill, if it wasn’t for the fact that I slipped on some loose dirt. A slip like that without the cable could result in a major fall. After a couple of minutes and a small breather, we reached the last climb of Tahoe Via Ferrata. The last climb is a gorgeous and fully exposed peak that towers over the valley below with an expansive view. As we climbed our way to the top, we noticed the cables for the aerial tram were directly above us. With one more push, we crested the final peak.
As soon as Vy climbed over the top, we could hear the cables for the tram started to turn. Evan told us that we could stand at the edge of the cliff, right under the tram and promised that it wouldn’t hit us. We stood there giggling as the large capsule full of people climbed its way toward us. It looked like it was going to knock us right off of the cliff. However, at the last moment, the tram climbed steeply and went probably 25 feet over the tops of our heads.
Just when you thought that the hard work was over, you have to hike uphill back to the connecting trail that will take you back down to the Beast. On the bright side, this hike is beautiful. Although you might be breathing a little heavy, you will have the opportunity to enjoy the beautiful valley as it opens up on your right side. This will be your first time seeing this particular area of Squaw Valley because it was hidden by the mountain the whole time.
Once you get back to the Beast, you’re done! Witt took us back to the office where you will be returning your gear. Don’t forget to tip your guides. They work hard to ensure your safety and to give you a pleasant experience that you can’t forget.
If you are spending the rest of your time at Tahoe, don’t forget to check out our blog on Kayaking at Sand Harbor or a quick sunset hike to a hidden Chimney Beach.
You can hear Dustin’s interview about Lake Tahoe on the Between The Mountains Travel Podcast here
Happy Adventuring. Don’t forget to follow us on Instagram, subscribe to our Youtube channel, and sign up for our newsletter!
RECOMMEND GEAR:
Don’t forget to check out our Recommended Gear section as well.
• Sunscreen:
Bring lots and lots of sunscreen. You will be exposed most of the time. We use eco-friendly, reef-safe sunscreen. Alba Botanica Hawaiian Sunscreen or Sun Bum Sunscreen
• Good hiking shoes
or at least closed-toe shoes. Although, hiking shoes are recommended as they will give you the best traction. Vy’s shoes are North Face HedgeHog GTX. Dustin’s shoes are Coleman Tasman Hiking Shoes.
• Water
It can get extremely hot here. Bring more than you think you need. Vy uses the Camelback L.U.X.E. Dustin uses the Clik Small pack (sadly Clik is no longer around).
• Snacks
You don’t want to get hangry on the climb.
• Jacket
The weather is unpredictable up there so a jacket might be best if you are going on a colder day.
CAMERA GEAR:
• Camera:
Sony a7 III
Gopro Hero 7 Black
• Lenses:
Sony 24 -70mm f/2.8 Carl Zeiss Vario Sonnar T Zoom Lens