This is the women's version. It has an Omega easy-to-adjust, semi-rigid headband with a pronounced notch for wearing the helmet…


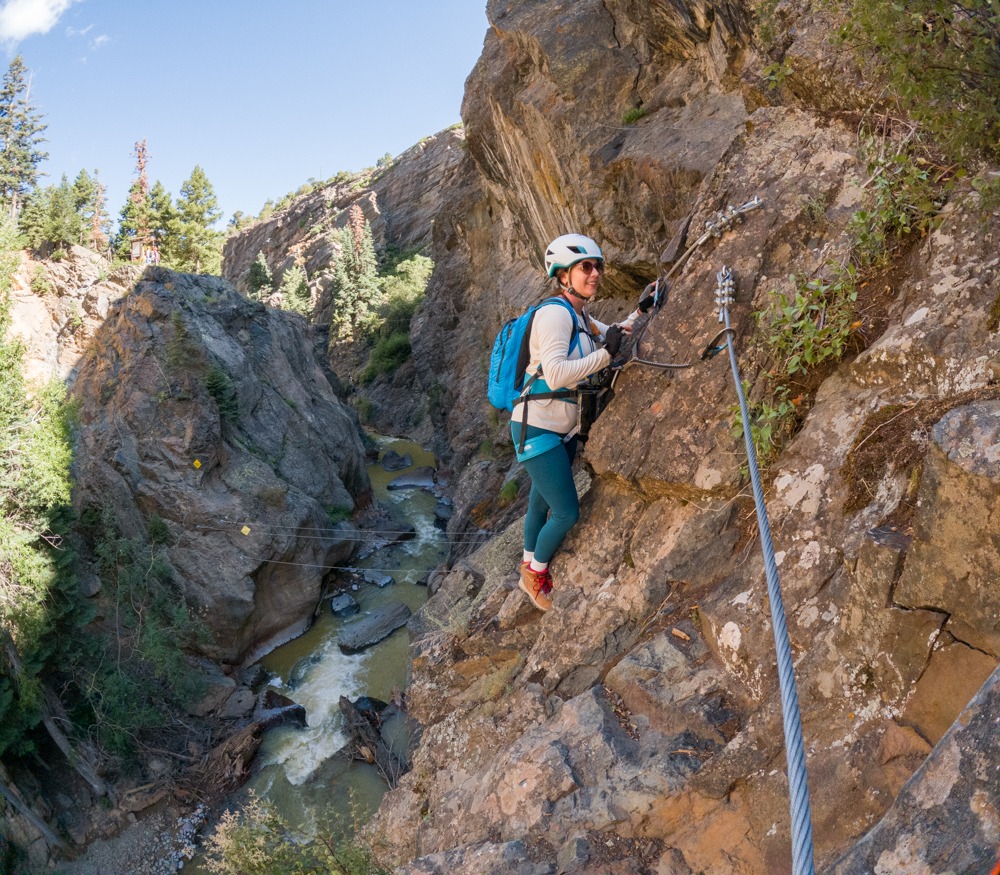

This is the women's version. It has an Omega easy-to-adjust, semi-rigid headband with a pronounced notch for wearing the helmet…
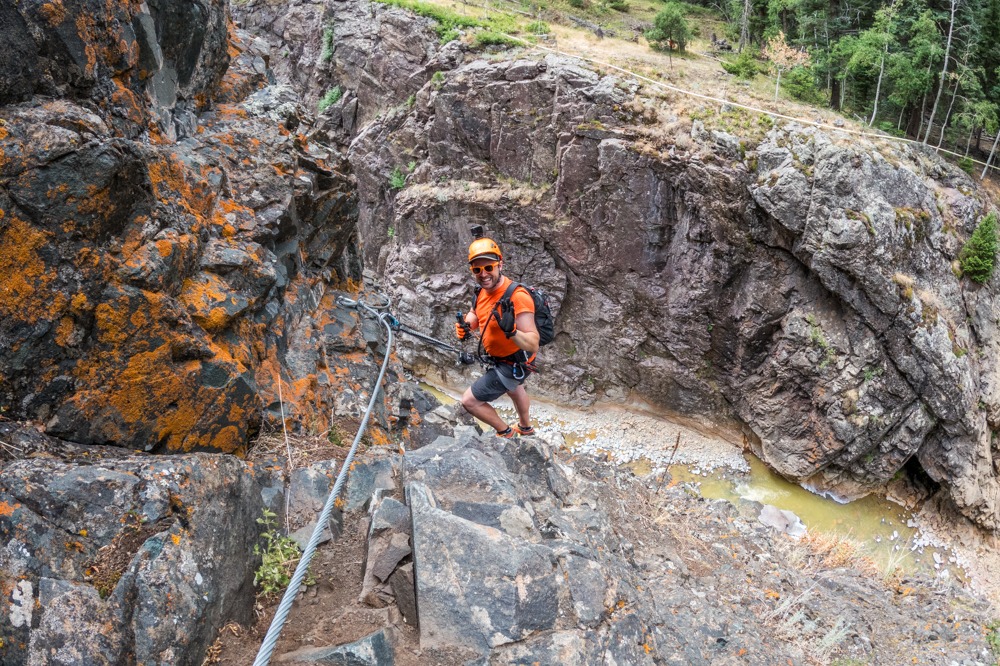
This is the Men's version. We love the adjustable lateral webbing and a fully adjustable chin strap that help keep…
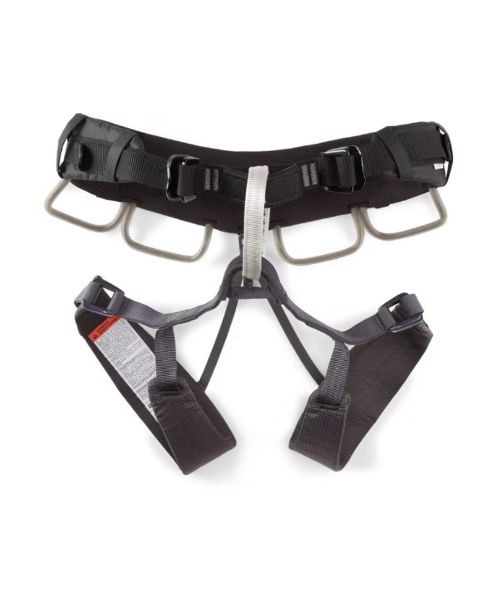
This is Dustin's harness. It's a great all-around harness, a very comfortable harness, easy to use, and extremely lightweight.
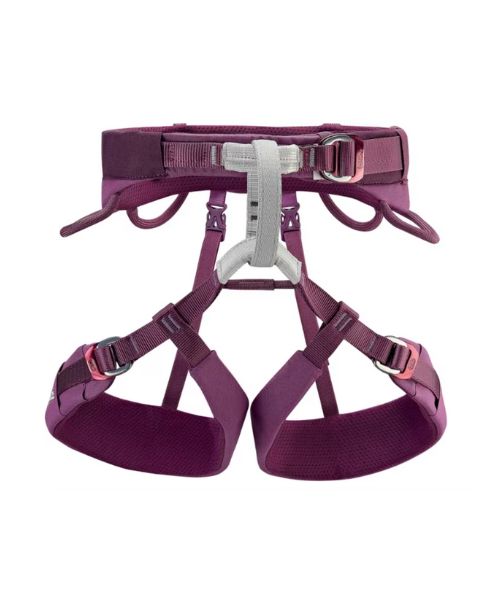
This is Vy's harness. It's a great harness for beginners, used only indoors so far, comfortable padding.
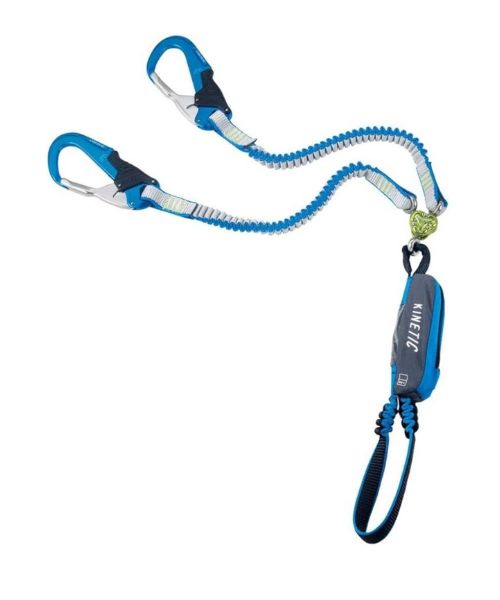
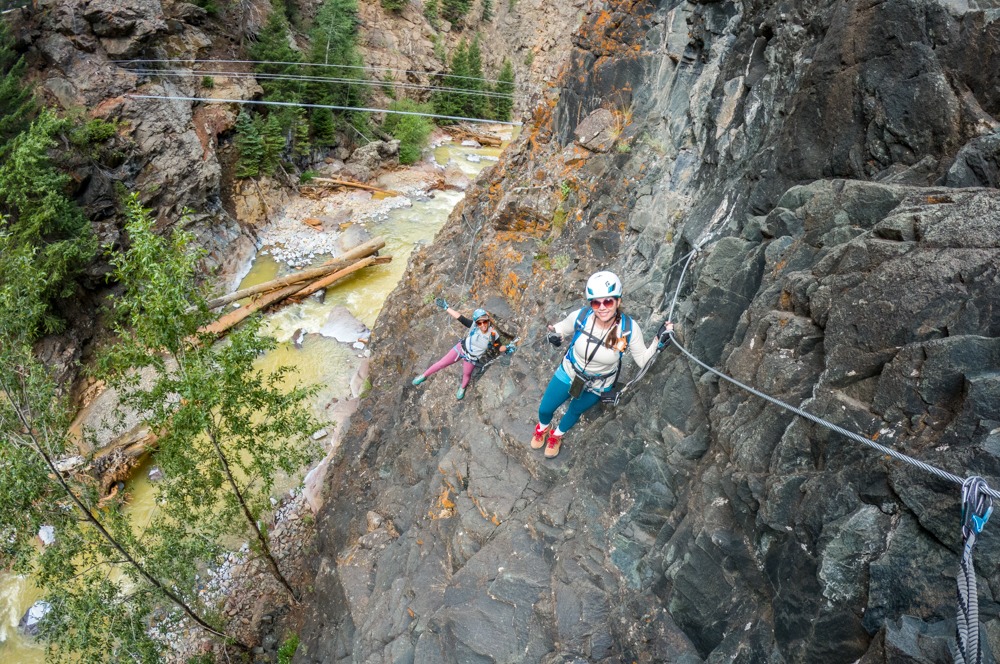
The Horai squeeze-activated carabiners and the Gyro system have three independently rotating swivels to prevent twisting and tangling is awesome!
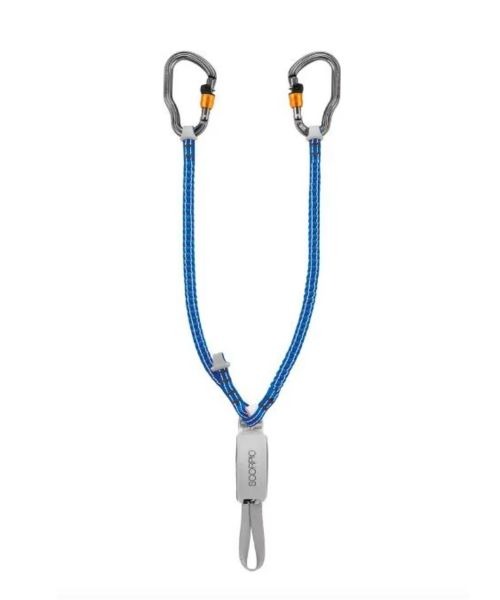
Light and compact, the Petzl Scorpio Vertigo lanyard is designed for a wide range of user weights, perfect for your…
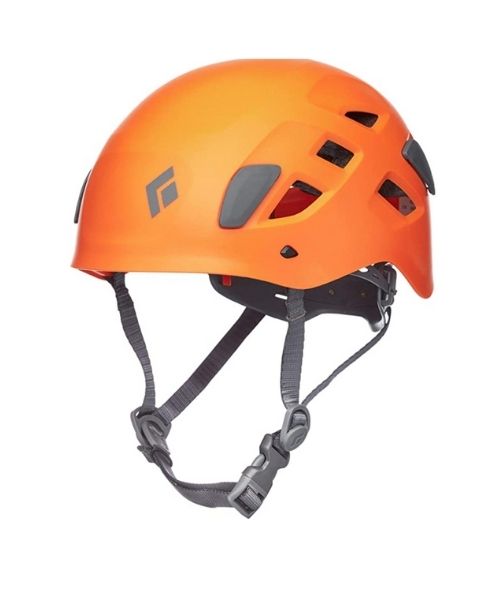
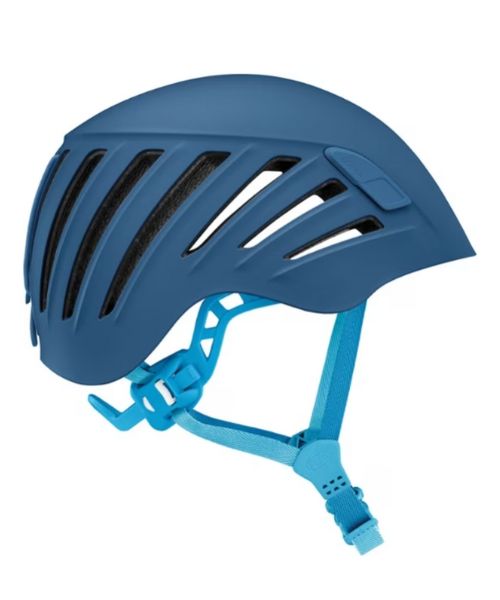
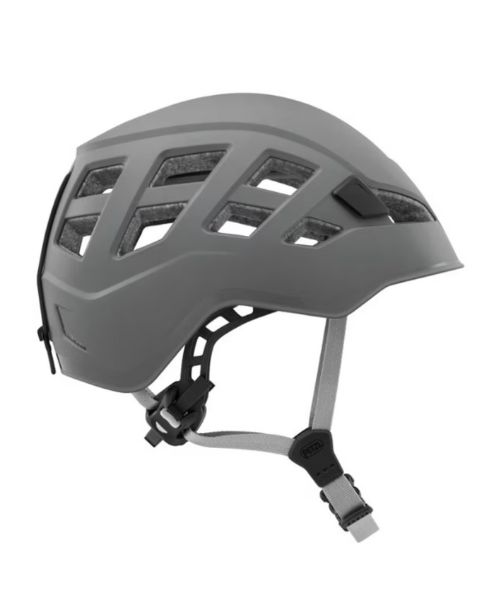
A great starter helmet, perfect for canyoneering or Via Ferrata
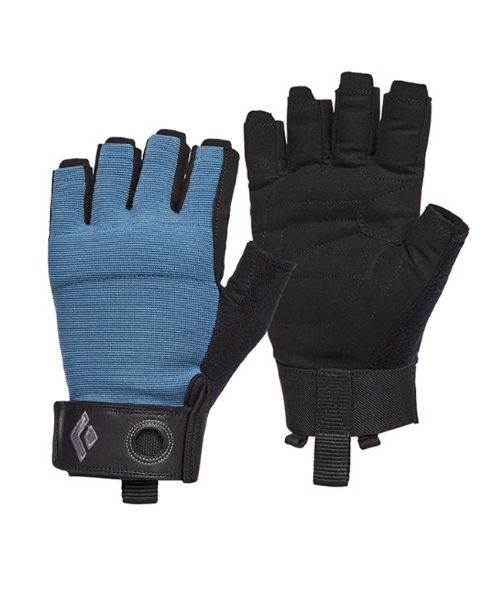
These gloves are perfect for climbing, scrambling and canyoneering
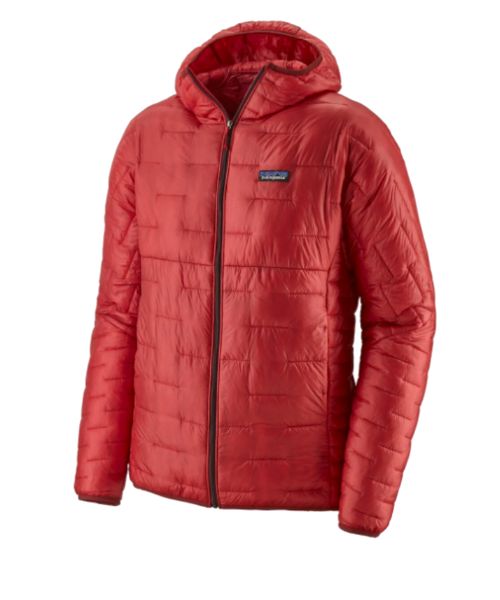
Our favorite hiking/travel jacket. It's warm and packable, perfect to bring on a hike or a road trip.
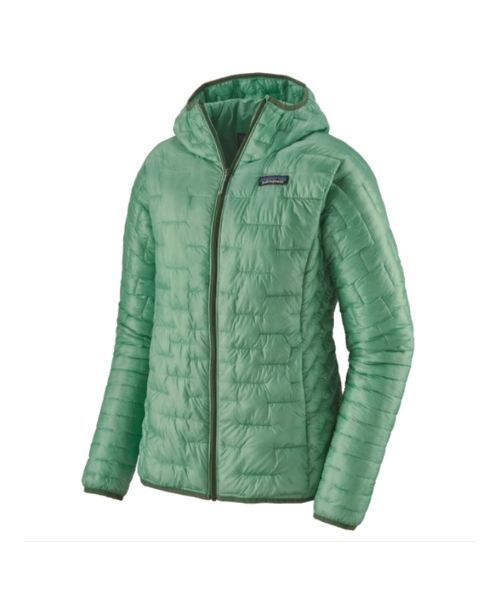
Our favorite hiking/travel jacket. It's warm and packable, perfect to bring on a hike or a road trip.

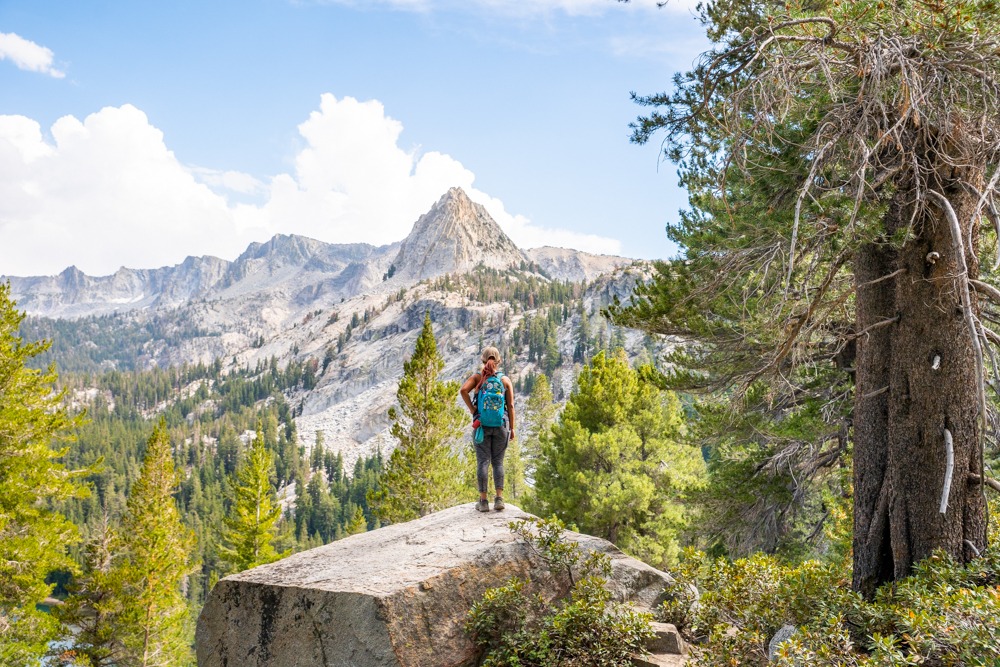
This is Vy's favorite hiking bag! It has tons of room for snacks and water!
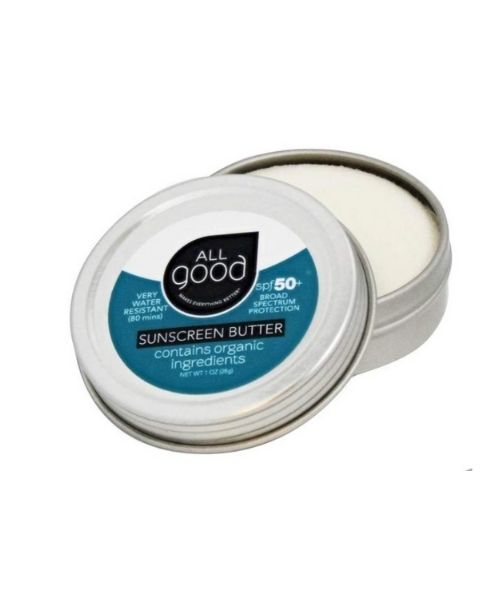
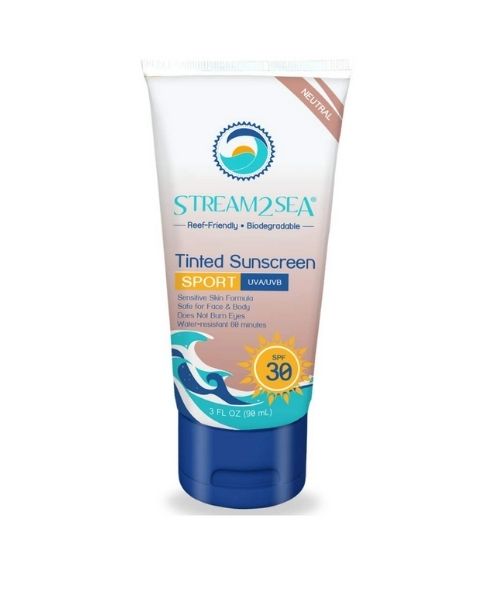
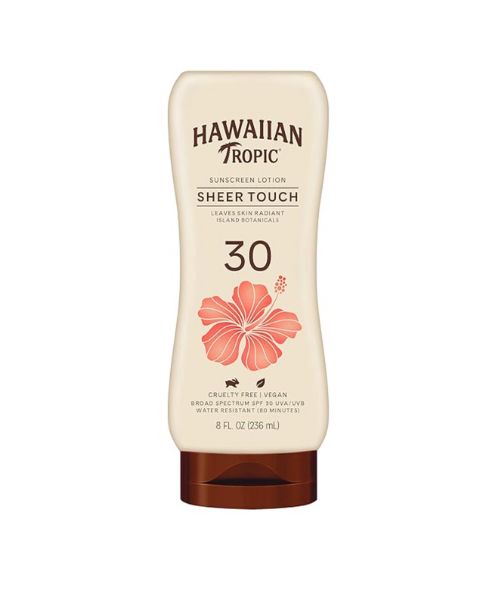
Our favorite biodegradable, eco-friendly, reef-safe sunscreen!

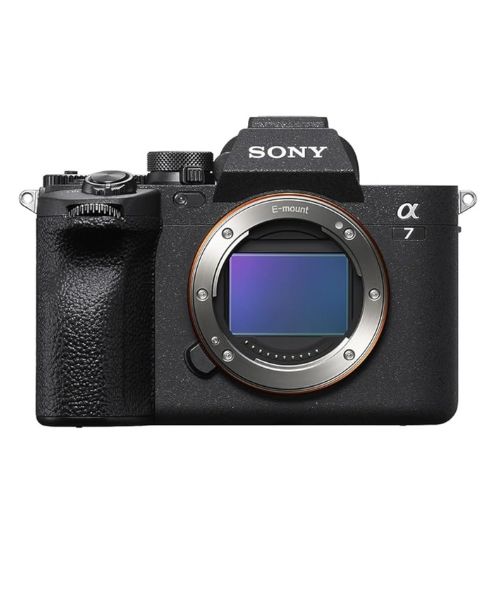
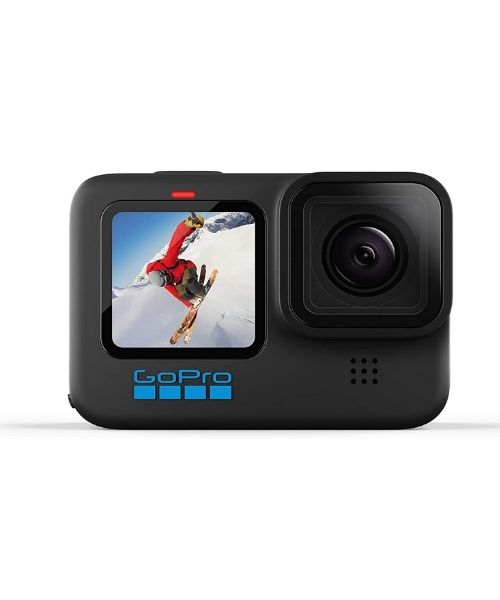
This is our go-to camera for all of our adventures. It comes with us everywhere!

Compact GoPro pole that extends to 25", perfect to bring on your adventure.