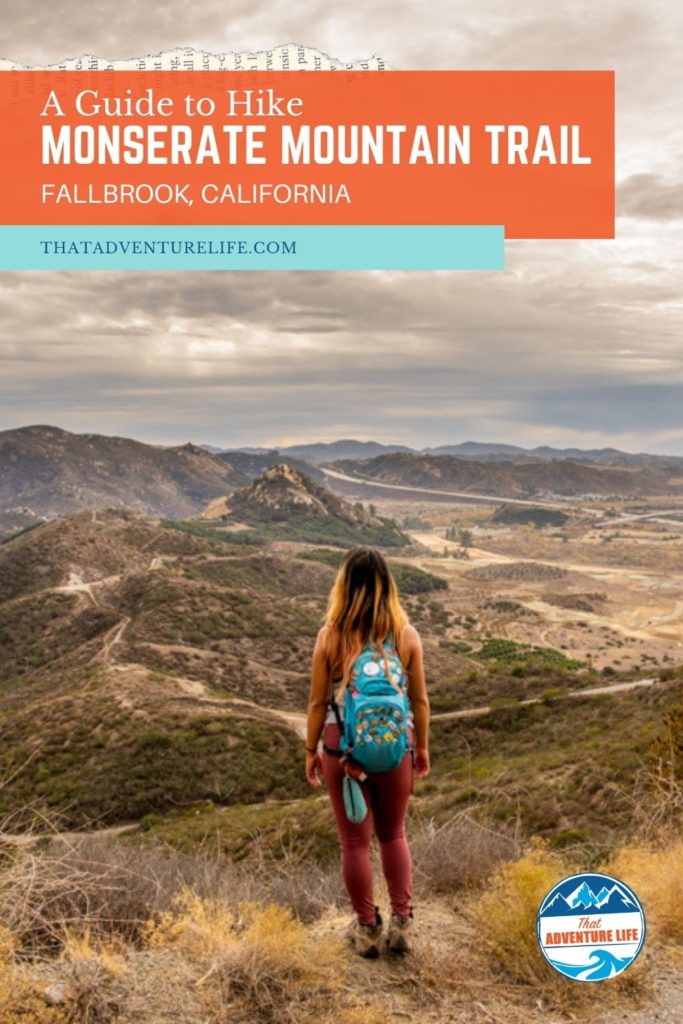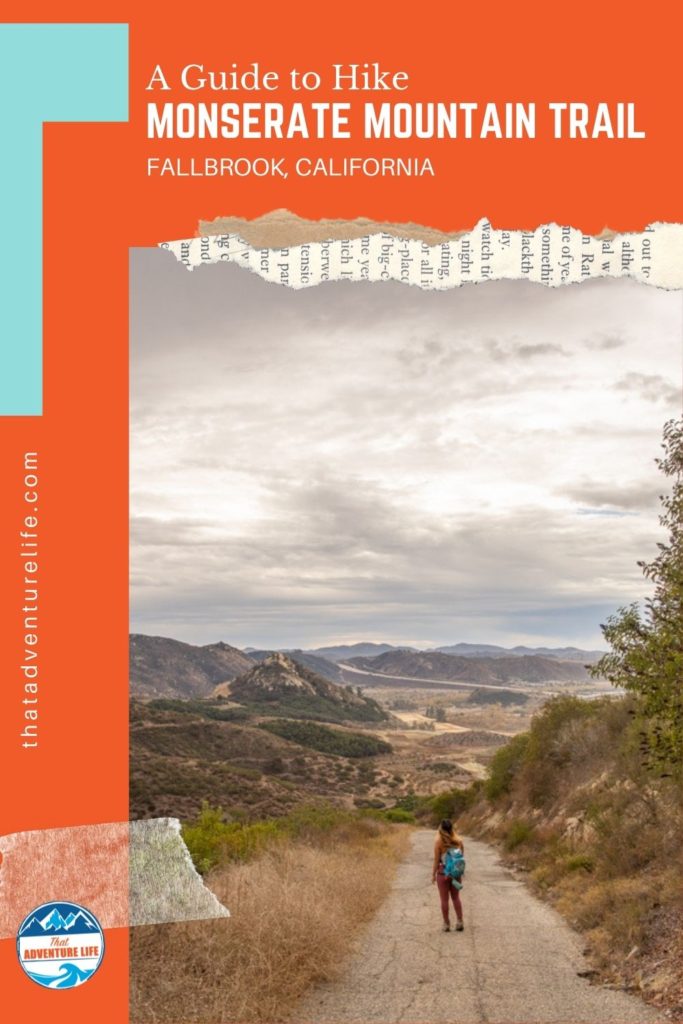
Every time we drove past Fallbrook, California on Interstate 15, we always saw hikers making their way up an unassuming trail on the side of the mountain. From the freeway, the trail looks like a short, boring, but brutal hike going up the steep side of the mountain. Little did we know, besides being a butt-kicker, Monserate Mountain Trail is actually quite beautiful, and a popular workout trail for the locals. Not only will you get your heart pumping with the steep elevation changes, but Monserate Mountain Trail also offers panoramic views of the surrounding areas.
STATS:
Where:
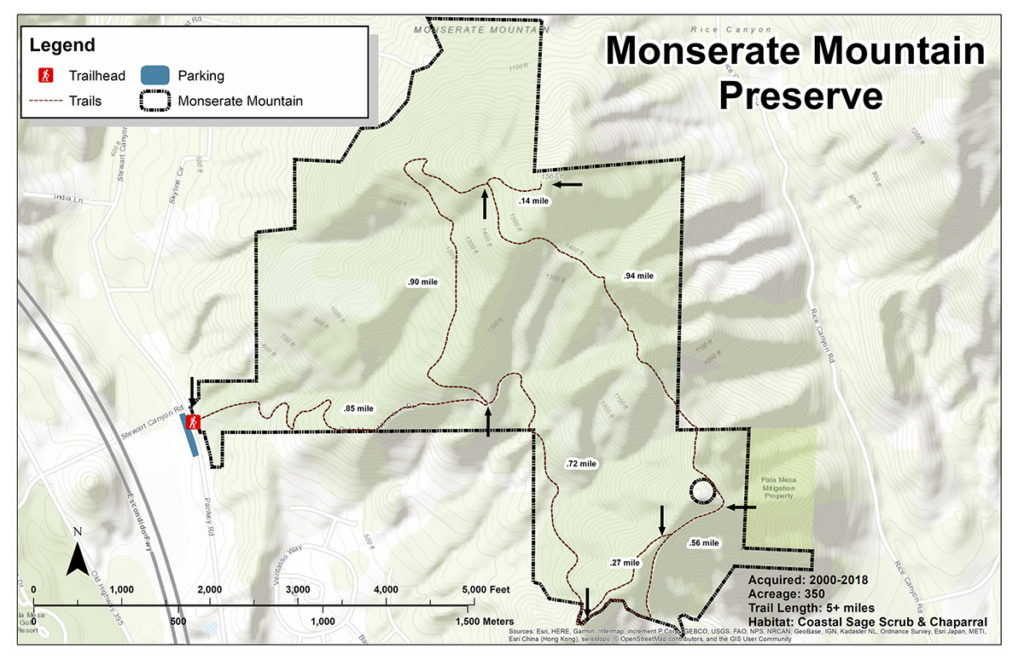
Trailhead: 243 Horse Ranch Creek Rd, Fallbrook, CA 92028
Coords: 33°21’57.3″N 117°09’32.9″W
Fee:
It’s free!
Parking:
Parking is on the side of the road, across from the trailhead.
Restrooms:
None
Distance:
Shorter route: 3.4 miles out & back
Longer Route: 4.7 miles loop
Note: these distances are from our tracking (Strava + Garmin). They seemed to be different than the official map below. However, I believe they are more accurate.
Elevation Gain:
1381 ft
Level:
Moderate
Estimated Completion Time:
2-3 hours depending on your pace and how often you stop for photos
Ideal Weather:
Cooler days. Winters and Springs are best. The trail can be beautiful in the Spring with wildflowers and lush green hillsides. Summers can get very warm. There is little to no shade here.
Ideal Time:
Early morning for cooler weather and parking. Evenings might be beautiful if you can catch the sunset. Make sure to bring headlights for the way back if you do.
Pet-friendly:
Pets are allowed on the trail as long as they are leashed.
Weather:
VIDEO:
GETTING THERE:
Monserate Mountain Trail is very accessible off of I-15 North. The trailhead is located on Horse Ranch Creek Rd, near the intersection of Stewart Canyon Rd. The small, dirt parking lot is directly across the street from the actual trailhead.
THE ADVENTURE:
To the start of the loop:
We pulled in our parking space across from the trailhead on a cool, rainy day. The storm was brewing in the background. Surprisingly, it didn’t seem to stop all the ambitious hikers attempting the hike that day.
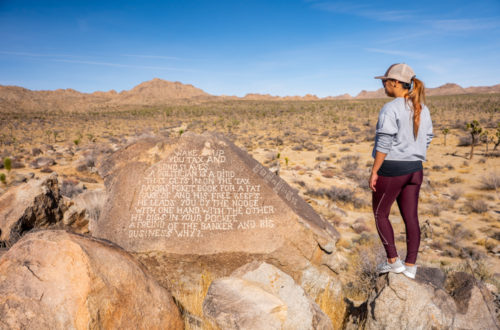
Monserate Mountain Trail is a popular trail for locals and tourists alike. Since 2013, this trail has become a memorial to honor all the fallen first responders who lost their lives on 9/11. The trail markers A1-A11 represent every 10th floor of the former twin towers.


The trail is a lot more rugged than we thought. Right after crossing over the metal gate, the eroded trail immediately started climbing up the mountain. There are sections full of loose rocks, rain ruts, and uneven ground. Make sure you watch where you’re going. Even so, as you go higher, don’t forget to look behind you for the spectacular views of the surrounding areas.
Even though Monserate Mountain Trail is located right on the side of Interstate 15, the noise of the freeway fades away quickly as you make your rapid ascent.
The ascent:
At around the 0.8-mile mark, a little bit after the A5 marker, you’ll come to a junction. This is the start of your loop. If you want a shorter route, you can go left here to go to the summit then go back down the same way. Once at the summit, you can always change your mind and go down the other way to complete your loop. We opted to go to the right first. The views are better on the right trail. Doesn’t matter which route you take, we recommend doing the whole loop. It’s more beautiful that day.
From the split, you can see the trail on the right running across the side of the mountain. You quickly start going downhill for a decent amount before having to hike back up. This part of the trail is on a service road. We were both grumbled about having to hike downhill just to go back up again, but it wasn’t that bad.


The trail is pretty straight forward. You’ll want to follow it all the way to the bottom of the giant water tank on the left. There are two metal gates that you need to pass through. The first one is at the top of the hill. The second one is not too far after passing the first gate. Make sure you pay attention. This second gate is at the split, where you need to go left and head towards the water tank. Also, watch out for cars. Although probably not very often, we did get passed by a service truck on its way to the water tank.


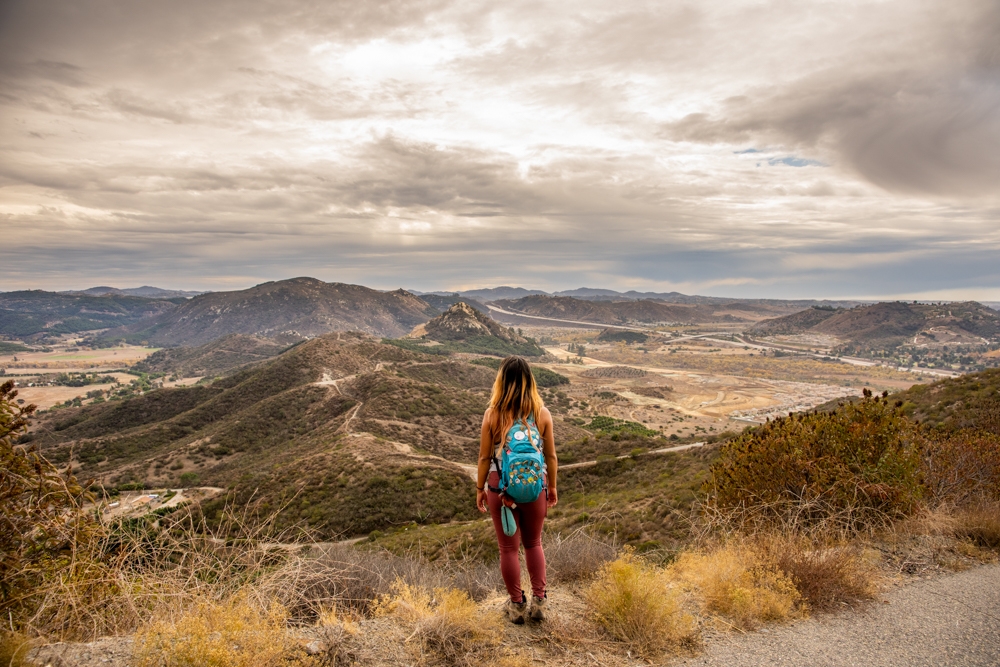
The views on this trail are beautiful, especially during cloudy days or toward sunsets. Because we went on a stormy day, the beautiful clouds were residing over the fertile valley lined with chaparral and orchards. As you climb higher, the sweeping views become more spectacular.
Once you get near the bottom of the water tank, there is a small trail to the right. This is where you want to go. There are signs there to give you directions. From here, Monserate Mountain Trail gets steeper. At one part, the trail gets quite steep. However, there are wooden steps built in to help make it easier. It’s still not super fun to climb up though. After the steps, the trail also gets rockier.


To the summit:
About 2.9 miles in, you’ll get to the second junction. If you go right, you’ll get to the summit. If you go left, the trail will take you back to the trailhead. From this junction, you’re only about 0.1 miles to the summit of Monserate Mountain Trail. There is a metal chest full of “treasures” and a logbook right next to the summit marker. Go ahead and sign your name. You made it!
There is not much to see at the top. We honestly thought the views along the way are so much better. The top was surrounded by tall bushes that obscured the view. However, it still felt good to make it.


Once you’re done here, head back down the same way. However, at that T-junction, continue straight down to complete your loop. The way down is not super hard but can be tricky because of the rocky and uneven terrain. Make sure to watch for potholes. I stepped in one of those and ended up with a bleeding knee. If you want to add even more fun to this hike, there are some geocache’s hidden among the trail. We found a couple along the way.


If you want a fun, yet challenging hike, this is the one. We definitely would come back, maybe during the wildflowers season. If you want a more challenging hike, check out Sitton Peak. Some of the other cool southern California hikes are Pumpkin Rock, Potato Chip, Three Sisters Falls.
Happy Adventuring. Don’t forget to follow us on Instagram, subscribe to our Youtube channel, and sign up for our newsletter!
RECOMMEND GEAR:
These are the gear that we personally use and find them helpful for this particular adventure. Don’t forget to check out our Recommended Gear section as well.
The majority of these links are through our affiliate links so if you buy something, it is at no extra cost for you but it helps us support the site. That being said, don’t buy something just to support us, buy something if you think it will enhance your travels and adventures.
• Hiking shoes
The trail can be a bit slippery. Make sure to wear your hiking shoes. Vy’s shoes are Merrell Women’s Moab 2 Mid Waterproof Hiking Boot. Dustin’s shoes are TARGHEE III WATERPROOF.
• Snacks
Always good to bring some snacks with you.
• Sunscreen
There is little to no shade here. Bring your sunscreen! We use eco-friendly, reef-safe sunscreen, All Good Organic Sunscreen Butter – Zinc Oxide – Coral Reef Safe, and All Good Sport Sunscreen Lotion – Coral Reef Safe (3 oz)(2-Pack) or Stream2Sea SPF 30 Reef Safe Sport Tinted Sunscreen.
• Water
The trail can get very warm! Bring lots of water. Especially if you go in the afternoon. Vy uses the Camelback L.U.X.E. Dustin uses the Clik Small pack (sadly Clik is no longer around). Patagonia Women’s Nine Trails Pack 18L is also a great backpack for a shorter hike like this.
• Jacket
You usually won’t need this. But it can get windy depends on the season. You can get Vy’s version here, and Dustin’s version here. If you want some lighter, we love the packable Patagonia Women’s Houdini® Jacket and Patagonia Men’s Houdini® Jacket
CAMERA GEAR:
• Camera:
Sony a7 III
Gopro Hero 7 Black
• Lenses:
Sony 24 -70mm f/2.8 Carl Zeiss Vario Sonnar T Zoom Lens
• Accessories:
GoPro The Handler Floating Hand Grip – Official GoPro Mount
Aluminum GoPro protection frame
SandMarc Extended GoPro Pole
Hybrid Pro Filters – DSLR / Mirrorless
Cinema CPL Filter – HERO 9