
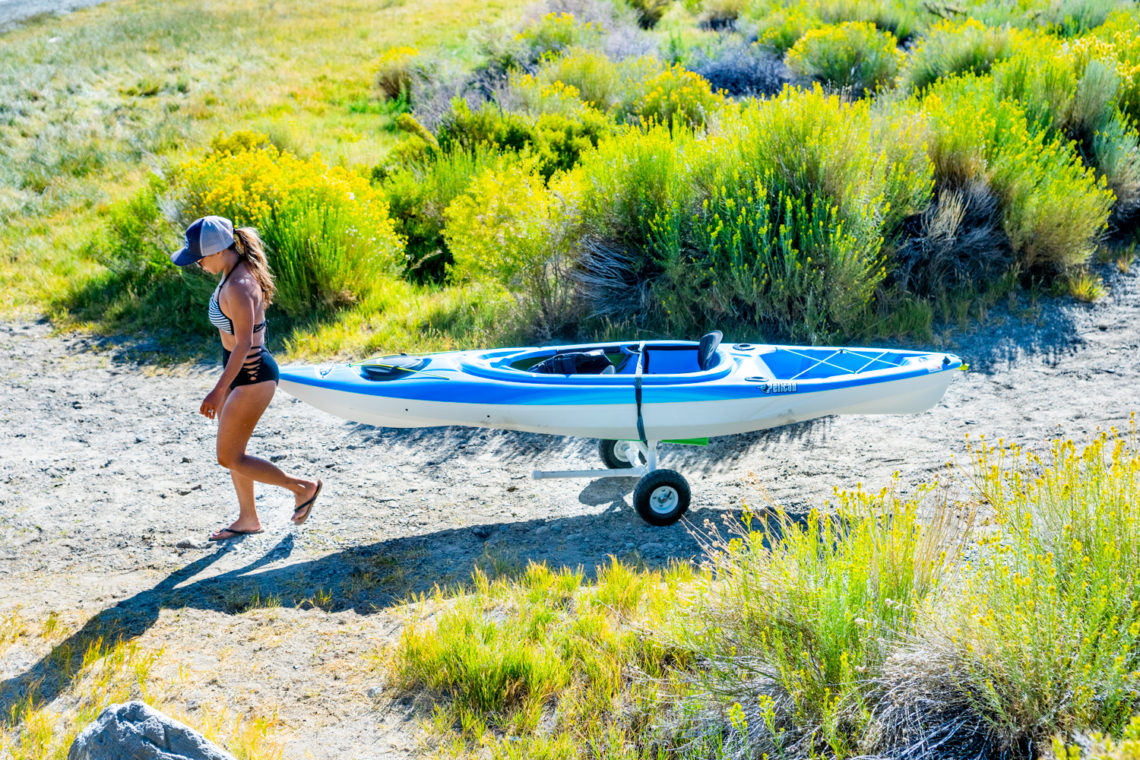
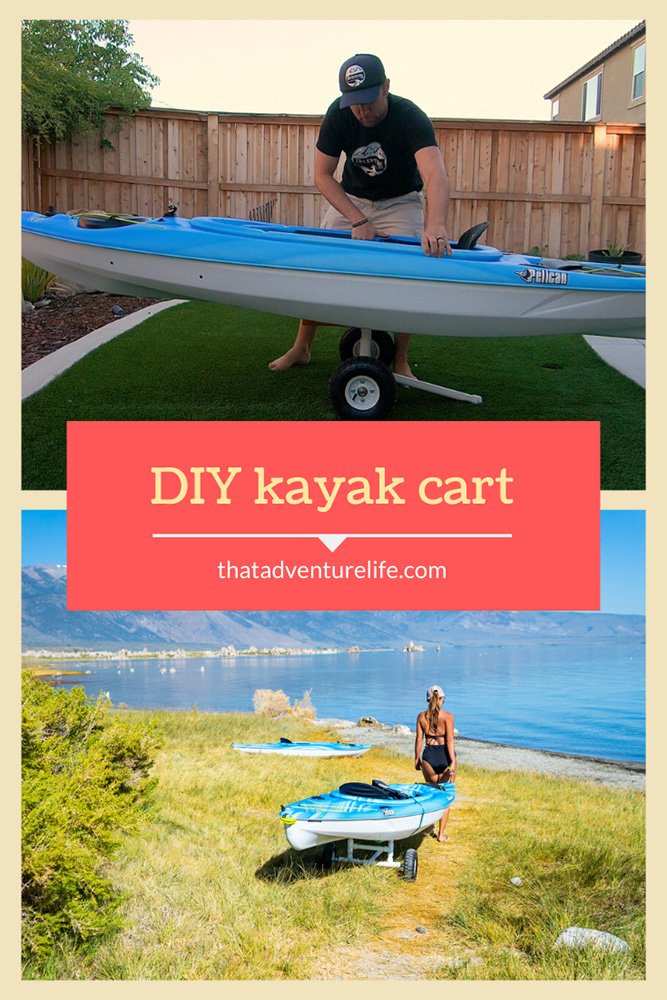
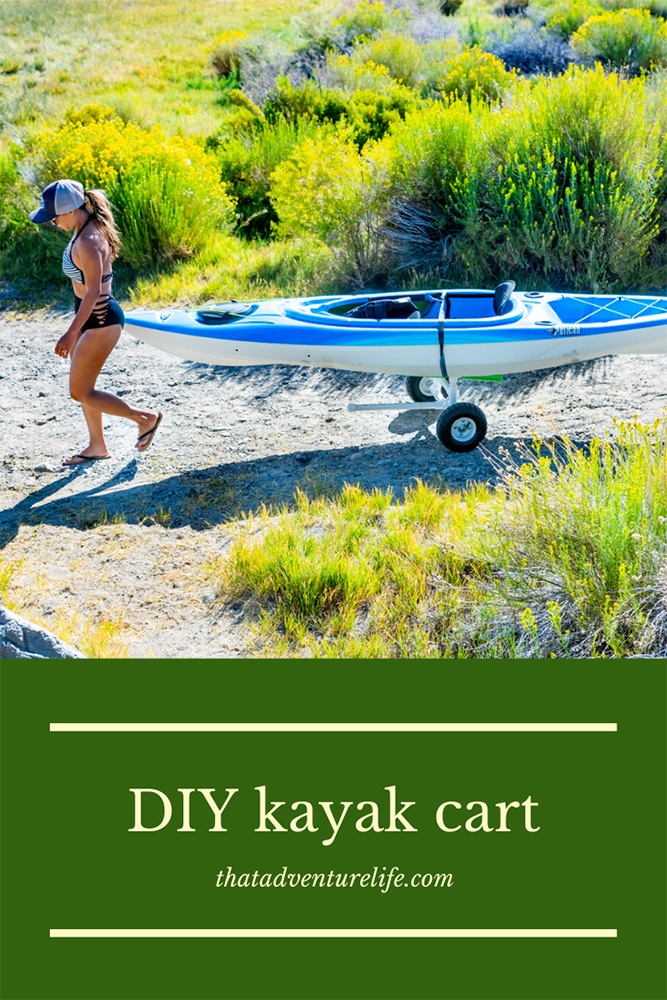
One of the challenges of owning a kayak is having to transport from your car to the water’s edge. This could mean that you will have to carry your kayak quite a ways. Even with our Pelican Mustangs, some of the lightest kayaks in the industry, it will still tire you out if you need to carry it 0.5 miles or more. I don’t know about you, but we would rather save our energy for paddling. As we started looking into kayak carts, we realized that they can get very expensive. Luckily, we figured out how to build a DIY kayak cart that is not only inexpensive but affordable as well. Here is a quick video of the build.
WHAT YOU NEED:
The great thing about this design is that it doesn’t take a lot of mechanical skill. It’s also not very time-consuming. You can probably finish the DIY kayak cart in about an hour. Here is what we will need to make our cart:
(1) 10ft section piece of schedule 40 PVC pipe – $3 (Make sure it’s schedule 40 since it’ll be more durable)
(7) 1 inch PVC tee fittings – $3.50
(3) 1 inch PVC caps. – $1.20
(1) PVC glue – $3
(The glue, pipe and all of the fittings should be on the same aisle at the hardware store.)
(1) 3 ft section of 5/8 threaded rod – $4
(1) 5/8 inch create-a-bolt kit that comes with the nuts, washers and lock washers. (This should be on the same aisle as the threaded rod) – $3.80
(1) Jumbo fun noodle (Target or the 99 Cent store) – $3.88
(2) 10-inch Pneumatic tires (Harbor Freight) – $12
This DIY kayak cart comes to a grand total of $34.38 before tax. One thing that I really like about the design is the rubber tires. They do weigh more but it also delivers a much smoother and quieter ride than the pre-built kits with the hard power wheels types of tires.

INSTRUCTIONS:
Once you have everything that you need for your DIY kayak cart, it is time to cut the PVC pipe into different sections. There are multiple ways to cut the pipe. Pipe cutters are obviously the best. A chop saw is also a great option. If you don’t have either of those, you can also use a hack saw. The good thing is that all of your cuts will be going into either tee’s or end caps, so the cuts don’t need to be pretty.
You are going to need the following lengths of pipe:
1 x 18 inches
1 x 10.5 inches
4 x 8 inches
2 x 4.5 inches
4 x 3 inches
2 x 1.75 inches

Next, we need to drill a 5/8 inch hole in the center of (2) end caps. If you want to make your life way easier, pre-drill it with a smaller size first. Do your best to drill the hole in the center of the cap. Otherwise, your cart is going to be a little bit lopsided.

It is now time to assemble the bottom portion of the cart.
Take those (2) end caps with the hole and glue them into (2) of 1.75-inch pieces separately.

Take those and glue them into one side of the (2) tee’s

Now glue those into the 4.5-inch pieces.

And finally, glue both sides into (1) tee. This part is very important because the center hole of the tee that you are gluing both sides into will be used for the kickstand. The angle just slightly past 90 degrees seems to work the best. It is super important to glue this joint. Otherwise, the kickstand will collapse under the weight of the kayak.
Now that we have the bottom section assembled, you’ll need to cut the threaded shaft and slide it through. You can measure the amount you need to cut by measuring the lower section of your cart and then add 8 inches. This will give you enough room for the wheels and hardware. We are going to cut ours to be 26 inches long. Having a grinding wheel here will make things a lot easier.
Once the threaded shaft is cut, you can slide it through the pipe. Be careful if you used a grinding wheel because the end of the shaft can be quite hot. Take a quick measurement to make sure that the threaded shaft is sticking out both sides equally. Once it is centered, lock it into place with a lock washer and a nut. Then, you can slide the wheels on and lock them into place with the other nut.
The bottom section is now complete. It is all pretty smooth sailing from here. See what I did there. It’s a boat pun.
Next, we will take (2) tees and put them on both ends of our 10.5-inch pipe. That’s pretty much it for the top section.

Now connect the top section and bottom section with (2) of the 3-inch pieces with glue.

From here, you’ll make the two railings that the kayak will rest on. Take the (4) 8-inch PVC pieces and attach them with (2) tees. Then, you’ll take the other 3-inch pieces and place them into the bottom of the tee.
These pieces go into the top of the cart. This is one of the joints that I don’t glue. It is because I want the rails to be able to swivel to conform to the bottom of my kayak.

You should, at this point, only have (1) piece of pipe (18-inch), a cap, and a fun noodle left. This piece is going to be your kickstand. You can put the end cap on the last opening of the cart. I don’t glue the kickstand in because I like to be able to remove it to make the cart a little bit more portable.

The last thing that you need to do is slide on the fun noodles and you are all set. You’ll need to cut the fun noodles into (4) equal sections. To measure these sections, you’ll hold them up to the rail and added a couple of inches. I found that taking a file or sandpaper to the edges of the pipe will help a lot. Otherwise, there is a good chance that the sharp edges will tear your fun noodle.
Congratulations! You are the proud owner of a kayak cart.

Now let’s get into using it. The best way to do it is when you balance the center of mass over the wheels. If you do this, the kayak should almost float in your hand while it is on the cart.

I always run a strap through the middle of the cart just so the kayak doesn’t fall off on the way to the water.

Now that you’re done, be sure to comment to let us know where is your favorite place to kayak. Our favorite one is kayaking at Sand Harbor in Tahoe. Our second favorite is at Mono Lake.
Happy Adventuring. Don’t forget to follow us on Instagram, subscribe to our Youtube channel, and sign up for our newsletter!


21 Comments
Mike
The pricing for this project is way out of date. Using Home Depot for the plumbing parts and Harbor freight for the tires it comes to $75 plus tax.
Aaron G
I just made it to the specs posted and it works great for my 14′ 6″ canoe. Cheers
Vy
That’s awesome! We’re glad it works out for you. 😊
Chuck
I just built this last night and was wondering if it was going to work as advertised on my Ocean kayak Prowler which is a little over 12′. Then I saw your comment and feel more confident. My glue is drying now(I dry fit checked everything first). So I’ll try to put it on the cart tonight!
Vy
Let us know how it goes! We use this for Crescent Lite Tackle Kayak, which is 12ft and 75 lbs. It works pretty well.
Nate
I plan on building this when I get back from vacation in a couple weeks. Came super close to getting the Crescent Lite Tackle, but found a Seastream Angler 120 a 1000 miles closer and a couple hundred dollars cheaper (and 30 pounds heavier). Can’t wait to give it a try.,
Vy
We have the Crescent Lite Tackle and we love them so far! Can’t wait to see what you think about the Seastream Angler. Hopefully the cart works for ya. 😊
Sandy
Twice as complicated as needed. Using half the material means you can easily stow it in the kayak at half the price as it dismantles easily and quickly. I use 2 T pieces and that means 4 glued joins. NO, the two Ts don’t need to be locked together with a cross bar.
The stand, daft, totally unneeded complication and my stands never get in the way. It doesn’t matter if they aren’t stowed when towing starts and they cost about nothing.
Mark Ezrin, “I can’t find any noodles that have a large enough diameter to go to the PVC.” So why not split them lengthwise and glue them on the top – only.
As for straps, use two. Go inside a tube to the back of the tube, across under the kayak through the other tube and then loop over the top of the kayak and connect to the other end of that strap. The other one strap ends come out towards the front end of the trolley each side going the opposite way. you now have two straps across the kayak. Pick up the kayak and the trolley stays attached.
Yes, I designed the first one back in 1995.
Yes, they still work.
https://canterburyseakayak.wordpress.com/t-bar-trolley/
Vy
Wow that is a great design! We have been working on some more compact versions as well. I think we will be taking some major inspiration from your designs into consideration! Thank you for sharing 🙂
Ray Streit
Once you get to your launch site, what happens to the cart. You just leave it on the shore.
Vy
Hi Ray, for this version, it’s too bulky to bring with us so we usually put it back in the car or tie it somewhere on the launch site with a lock on it. We’re working on a mini version where you can just strap it on your kayak.
Nathan Cross
Excellent destructions! Can you please tell us how far apart the support bunks are when completed? That will be crucial for my build as my kayak hull has channels that the will need to slot into. Thanks!
Vy
Hey Nathan! Ours ended up being right around 12.5 inches center to center. All these dimensions can be modified if you for example have a large fishing kayak or a narrow racing boat. Hope this helps 🙂
Tim Po
You didn’t include labor cost. Our time is valuable. For an extra $16.26, you can get one on Amazon. It’s sturdier and no hassle. My time is more valuable than $16.26. Just sayin’
Vy
I’m sure everyone has a different opinion on whether this worth their time or not. We never say you can’t go buy one. We just give you the option of building one if you prefer to.
Cliff & Kathy Calgary Alberta Canada
Thanks very much for the cool design. We assembled our first cart last night with some of our own slight modifications. Pool noodles are in short supply since COVID so I just used foam pipe insulation which is cheap. In response to Mark in the previous comments the foam will help keep the cart in place while loading, its worth a shot.
I highly suggest your viewers dry fit the entire unit before hitting it with glue to be sure of width measurements (which we extended). We decided not to glue the kickstand and keep it removable as some of the trails and paths we use require more clearance.
We also added a ratchet strap to the cart by bolting the strap portions to each side of the cart for rough terrain.
Happy Kayaking!!
Vy
Yea a dry fit can definitely be helpful especially for your first cart.I would love to see how you mounted the strap. enjoy your cart! 🙂
Mark Ezrin
Hi,
Great design and easy to build. But I’ve done something wrong and have 2 problems.
First, I made the dimensions a little larger because of the size of my kayak. I’ve not glued anything so I can always cut it down.
Issue #1 is the axle. The wheels aren’t turning. I’m sure I did something wrong between the various pieces of hardware – nuts, locking washers and regular washers. I feel like I might have overtightened the nuts but otherwise they’re not locked in and will come off. I’ve got large 5/8″ washers on both sides of the wheels.
Issue #2. I put the kayak on and it just won’t stay. The cart slides out under the weight of the kayak. It is a Wilderness Systems Pamlico tandem that weighs 72lbs. Even if I get it to stay underneath, and then strap it, once I start moving, the cart just squirts out from underneath. I’ve tried placing the cart 2/3 and halfway. Same issue. Now, I don’t have noodles on their but I can’t imagine that is the issue. I can’t find any noodles that have a large enough diameter to go to the PVC.
HELP!! 🙂
Thanks.
Vy
I think we replied to your comment on Youtube 😀
Murray Laatsch
Thanks for the inspiration! I built this Murray Mover based on your design. Few mods but all credit to you!!
Vy
So glad that we were able to help! We are hoping to make some miniature carts soon that are easier to keep on your boat! Stay tuned 🙂