There’s something magical about waterfalls that make us want to seek them out wherever we go. When we planned our trip to Oahu, of course, Lulumahu falls showed up on our list of places to go. Lulumahu falls is one of Oahu’s most popular unsanctioned hiking trails. This short 2 miles round trip trail is more like a cross-fit training course than a hiking trail. It’s not only going into a dense bamboo forest, but it also includes stream crossings, and giant rocks and ended up at the foot of an impressive 50 ft waterfall.
The land is owned by the Honolulu Board of Water Supply and passes by the Nu’uanu Reservoir, so make sure you obtain a permit first.
THIS IS A VERY MUDDY TRAIL! Bring extra clothes and shoes, socks. Please make sure to pack your trash out to keep the trail clean for everyone to enjoy.
STATS:
Lulumahu Falls is an unsanctioned trail with no restrooms or any other amenities.
Where:
Lulumahu Falls trailhead – 4459 Pali Hwy, Honolulu, HI 96817
Coordinates: 21.353880, -157.811334
Parking:
Small dirt lot between the trees and the fence, at the corner of Nuuanu Pali Drive and Pali Hwy.
Distance:
2.3 miles R.T.
Elevation Gain:
900 ft
Level:
Intermediate (Slippery stream crossings, boulders climbing in very muddy conditions)
Estimated Completion Time:
3 hours
Ideal Weather:
Dry days. Do not go after recent rain as the trail will get very muddy. However, the waterfalls are stronger during the rainy season.
This trail is not handicap accessible.
GETTING THERE:
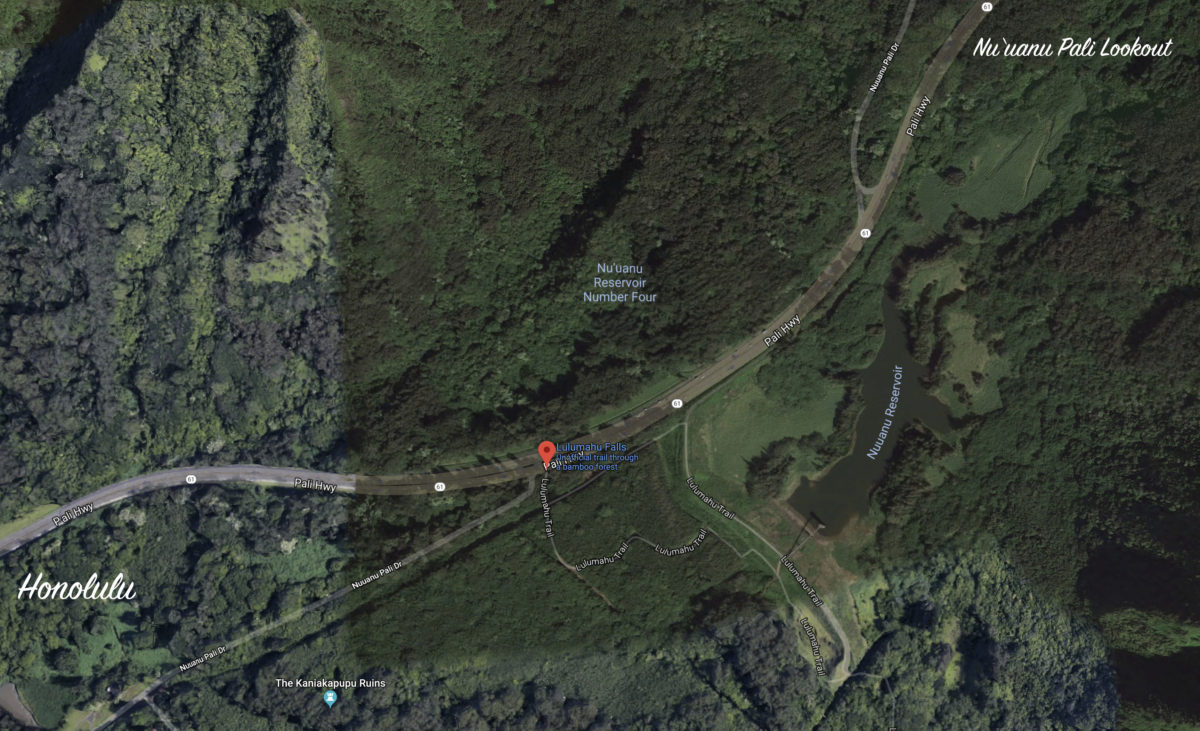
It is easy to find this trail. You can pull it up on Google Maps by putting in “Lulumahu Falls” or the coordinates above. If you are coming from Honolulu, take the Pali Highway. There’s a dirt parking area off Old Pali Road, right before the Pali Lookout. If you get to the Pali Lookout, you have gone too far.
The parking is a small dirt area on the right-hand side, right after Nuuanu Pali Drive if you are coming from Honolulu. Park in the grassy dirt area between the trees and the fence. It is small and does fill up fast so get there early. The area is on an incline, but you should be okay with a regular car.
CAUTION: don’t leave valuables in your car.
THE ADVENTURE:
As you’re facing the fence from the parking lot, you’ll see the hunter’s entrance. This is where your trail starts. Go ahead and pass through the fence. Even on a Monday when we went, there were a few people hiking the trail. Once we passed over the fence, there was a family of chickens, just hanging out. The chicks were adorable.
It seemed like they recently updated the trail with actual markers. As soon as you pass through the gate, there is a sign on the left-hand side, blocking a dirt path telling you to go straight instead. You’ll then come up to an arrow sign pointing to the right. It is directing you toward the gravel road which is to the right of the parking lot.
We didn’t realize that the trail after the arrow sign would take you to the gravel road. All the older directions that we’ve researched mentioned going through a bamboo forest. Therefore, when we found an opening in the bamboo forest with a pink ribbon on it, we decided to go through it. The trail took us out to that main gravel road. It was definitely fun crossing through the bamboo. As the wind rushed through the forest, the bamboo rustled harmoniously, sounding like ocean waves. It was very soothing.
Once you get to the gravel road, turn left and head straight toward the mountain. There was another path to the left, but we went straight. You’ll pass through a few foresty areas before coming up to an outhouse-looking structure with an astronaut. After that, you’ll cross the concrete dam and then come up to a very muddy, dense bamboo area. We followed the kind of established trail, along with the stream, and up through the forest. As you can see, it is very wet and muddy even though we went on a dry day. We used a few drier shortcuts through the bamboo but still stayed close to the stream.
Eventually, you’ll come out at a clearing. You can see the fenced-off area to the left. There is a sign across the way showing you to go proceed back into the forest. You’ll see a dip that looks like a muddy former stream and climb up to a small bank. After that, there is a trail marker, pointing right to follow a flatter trail. You’ll then come up to a concrete path, where the stream drops off into a small pool. Depending on the water level when you go, it’ll turn into a small waterfall. From here, you want to go to the end of the concrete path and then cross over to the other side of the stream. Be careful, even though the water level wasn’t that high, it can be very slippery.
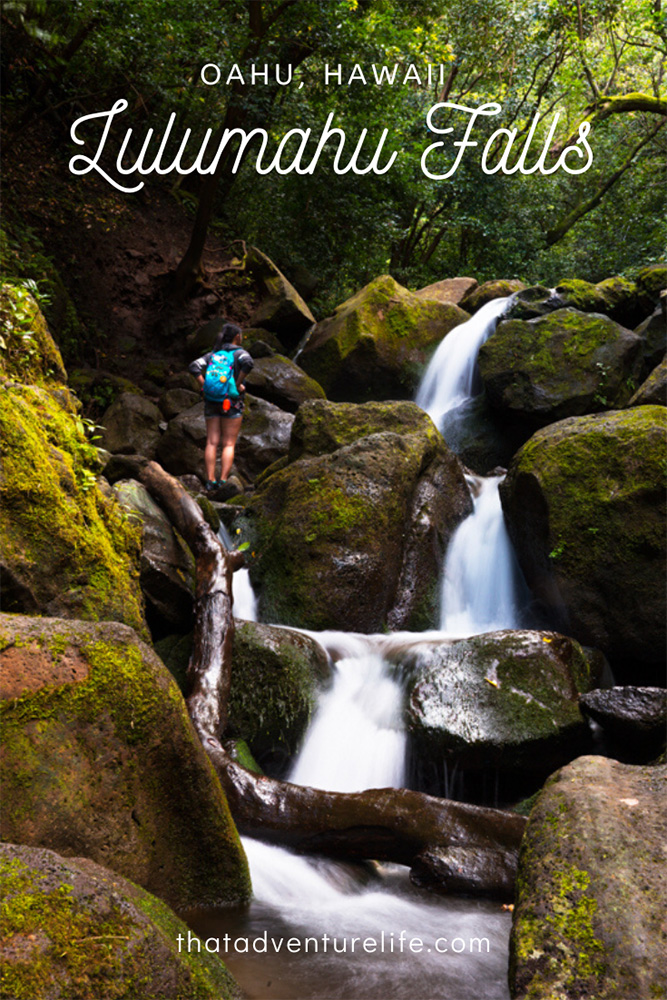
From here, work your way up the stream. You will have to cross over to the other side again to continue the trail. Again, be very careful when you cross over the rocks. They are covered in moss and can be very slippery. There are a few stream crossings before you get to the waterfalls. I believe it is about 6 crossings in total. Some are over big boulders and giant tree branches. This area is gorgeous because of the way the whitewater accents the lush green forest and moss-covered trees and rocks. It reminded Dustin of the movie Avatar.
Once you get to a three-tier cascading small waterfall, you’re almost there. Cross over the stream and climb up a good size hill that takes you to the top of this waterfall. There is a rope there to help you climb up the top. We didn’t need it on the way there but it was very helpful on the way back down.
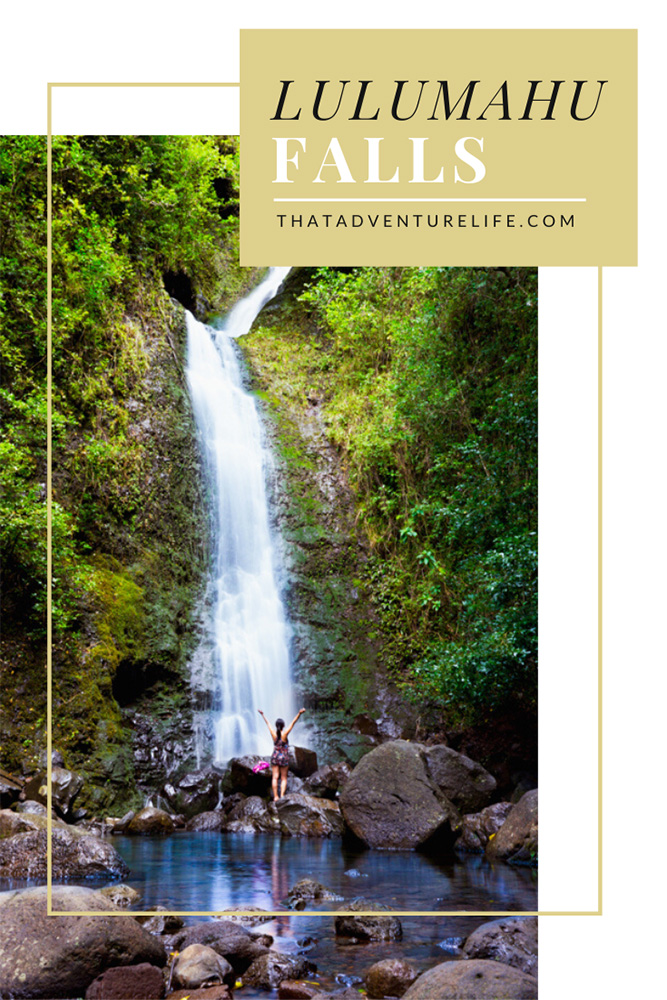
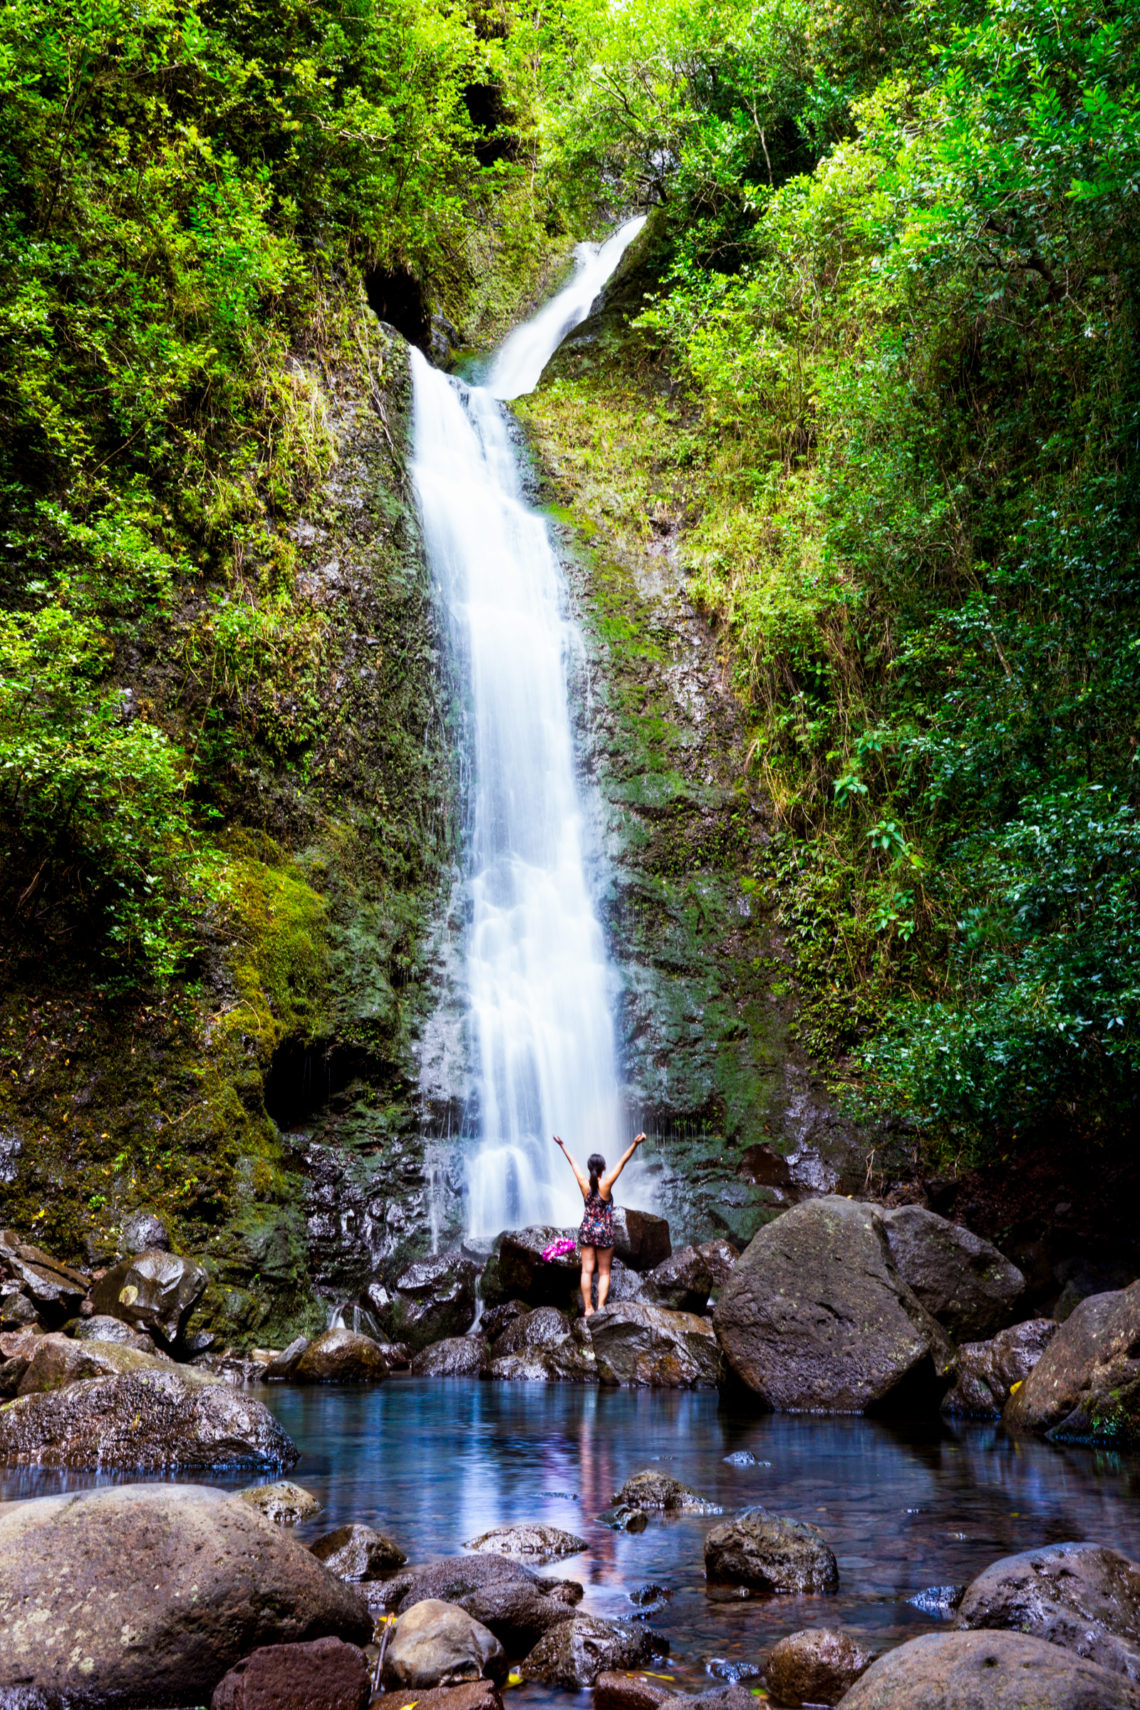
After you cross over the stream on the top, you’re pretty much there. Congratulations, you make it to Lulumahu falls. The fall was very impressive. In March, the water was flowing quite heavily. There is a nice pool at the bottom of the fall. A few people were playing in the water when we were there. You can cross over the rocks to get to the base of the fall. The rocks are very slippery so again, be careful. I made the mistake of running too fast and falling into the water.
There was a beautiful fresh lei on the rock in front of the waterfall. I’m not sure where it came from but everyone was taking photos with it, so we borrowed it for a few photos. After eating our lunch, we made our way back to the car the same way we came from. It was definitely an unexpected hike. This hike was more challenging than we initially thought, but we loved every moment of it.
We highly recommended this hike, especially if you are looking for something off the beaten path but not extremely difficult. Don’t forget to check out our other blogs on Makapu’u Tide Pools, Sunrise at Lanikai Pillbox, Kaena Point Hike, or Moanalua Valley Middle Ridge, as well as 10 off-the-beaten-path things to do on Oahu. If you’re island hopping, check out our things to do on the Big Island.
Happy Adventuring. Don’t forget to follow us on Instagram, subscribe to our Youtube channel, and sign up for our newsletter!
RECOMMEND GEAR:
Don’t forget to check out our Recommended Gear section as well.
• Sunscreen:
Always helpful with the Hawaiian sun. We use eco-friendly, reef-safe sunscreen. Alba Botanica Hawaiian Sunscreen.
• Comfortable hiking shoes, preferably with good tread
The trail will get very muddy and slippery, especially when climbing over rocks and the fallen trees. Vy’s shoes are North Face HedgeHog GTX.
Dustin’s shoes are Coleman Tasman Hiking Shoe.
• Water
Lots of water! It is in the desert and it will get very toasty. Vy uses the Camelback L.U.X.E. Dustin uses the Clik Small pack (sadly Clik is no longer around).
• Lunch and snacks
It’s good to tame the hangry monster.
• Bug Spray
It’s a tropical, muddy forest area with lots of water, so there are a lot of bugs.
• Change of clothes, shoes, and socks
The trail is very muddy and wet. It will be nice to have a change of clothes.
• Wet wipes
I found it very helpful to clean up all the mud after.
CAMERA GEAR:
• Camera:
Sony a99
• Lenses:
Sony 24 -70mm f/2.8 Carl Zeiss Vario Sonnar T Zoom Lens
Sigma 10-20mm f/3.5 EX
Save your pins:




2 Comments
Senaida
Thanks for the great article